Find Popular and Awesome DIY Projects
Easy and fun diy projects are the easiest way to liven up your space and your life. Our organized projects cover all aspects of life and are enough to keep you busy for weeks on end.
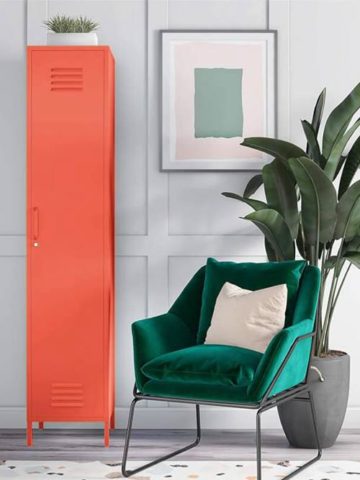
Recent Diy Projects
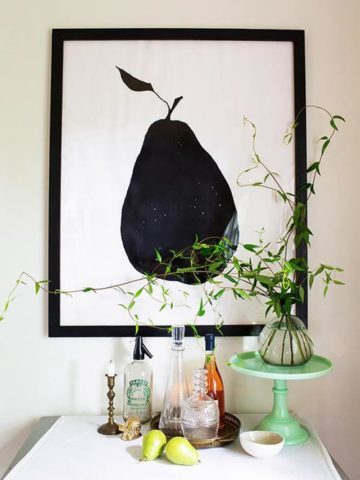
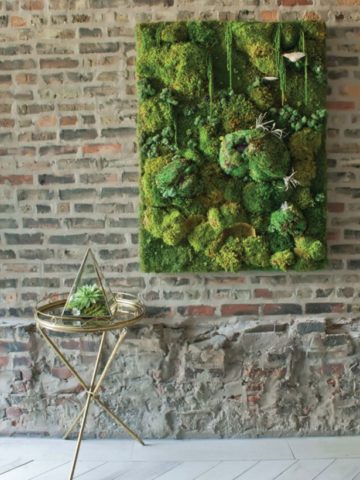
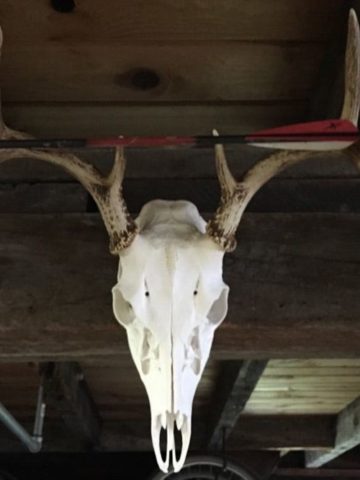
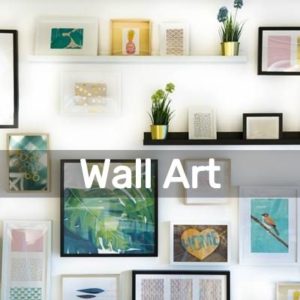
DIY Wall Art Projects
So many crafts can be created, and hung in your home as wall decor. Here are some inspirations and projects.

See more DIY Wall Art Projects →
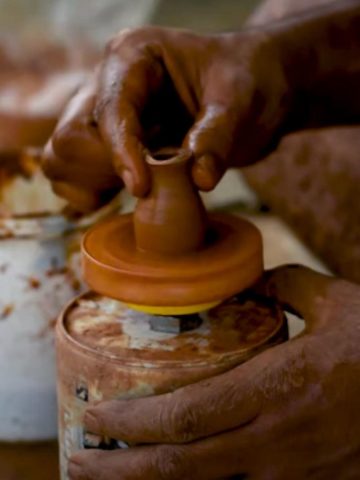
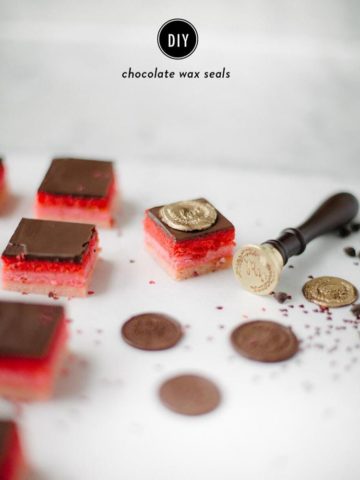
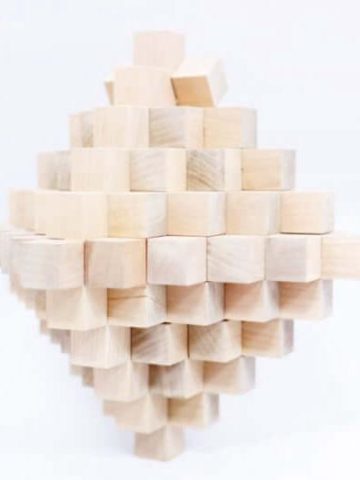
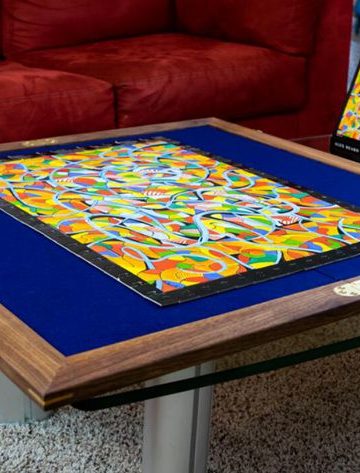
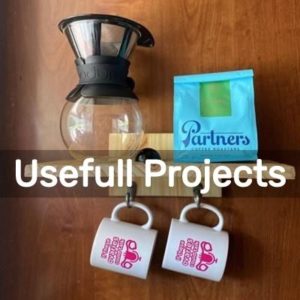
Diy Craft Projects
Do you want to learn a new craft hobby, but don't know where to start …… Check out our general arts and crafts projects, from easy to difficult there is always a project for you.
See more Diy Craft Projects →

About Us
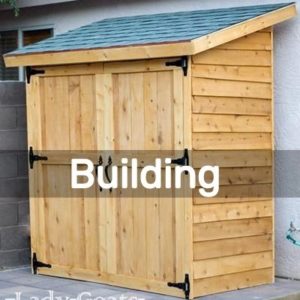
Welcome to Little Lovelies! We are excited to share all of our favorite upcycled, crafted, and homemade ideas with you! From simple home decor to complex shed building tips, we're here to make your busy life a little easier and more fun.
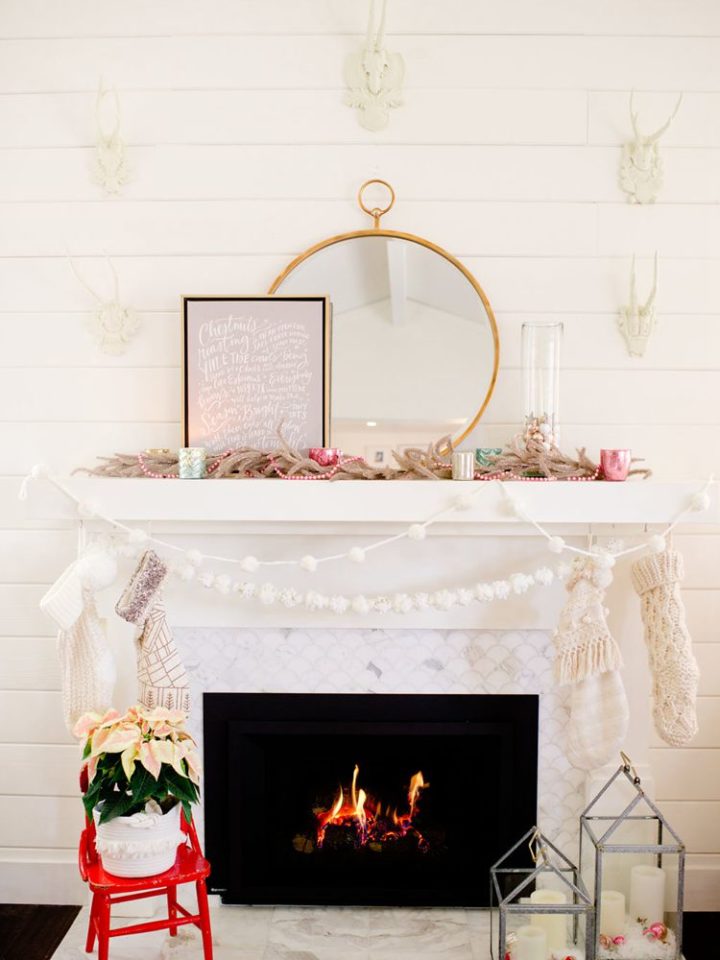
Home Decorating Ideas
Steal these easy ideas for how to decorate every room of your home, from the kitchen to the bedroom.

See more Home Decorating Ideas →
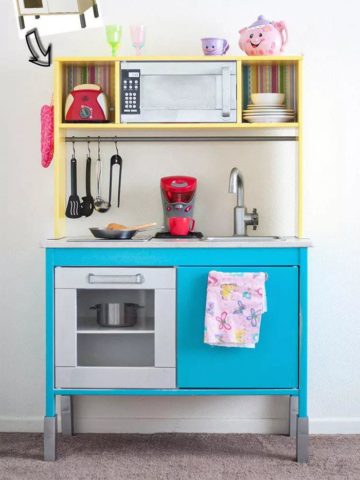
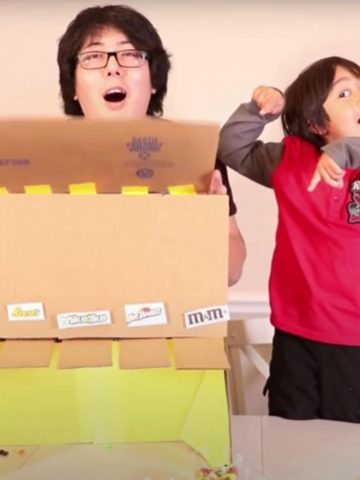
Homemade Toys & Games Ideas For Kids
These fun activities and crafts for kids are easy, creative, and DIY. Test out these DIY projects that'll bust boredom for good.
See more Homemade Toys & Games Ideas For Kids →
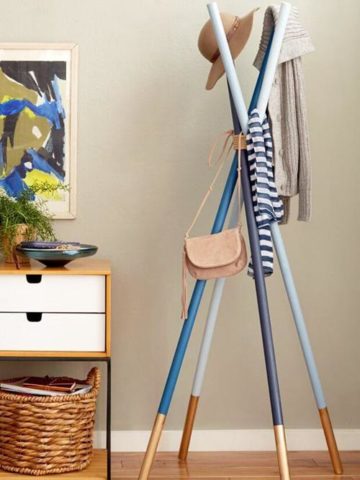
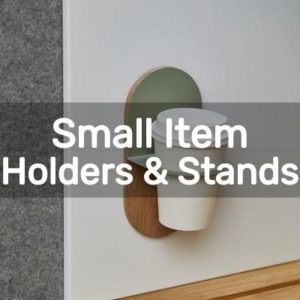
Small Item Holders And Stands

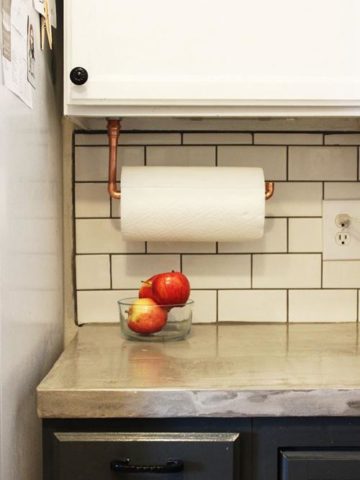
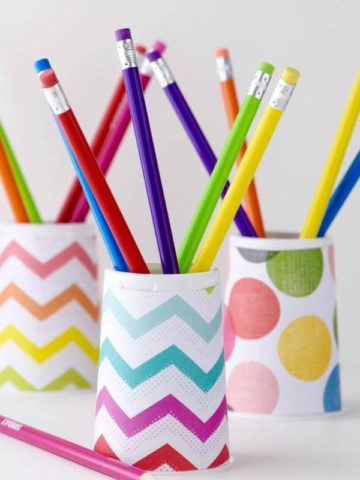
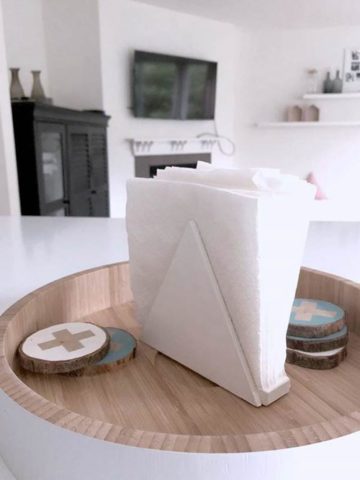
See more Small Item Holders And Stands →
Diy Handbag & Wallet Projects
Everyone loves a nice handbag and wallet, but if you make it all by yourself you'll love it even more.

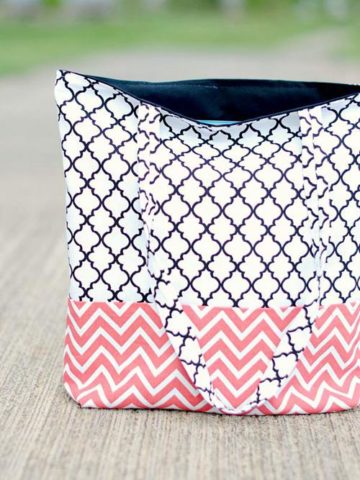
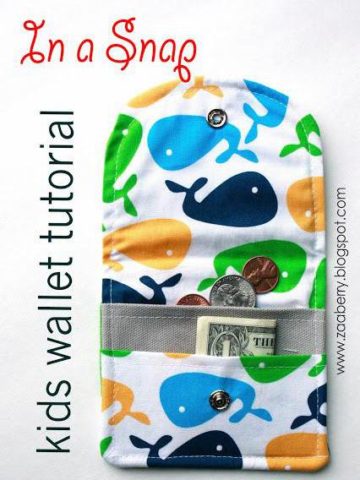
See more Diy Handbag & Wallet Projects →
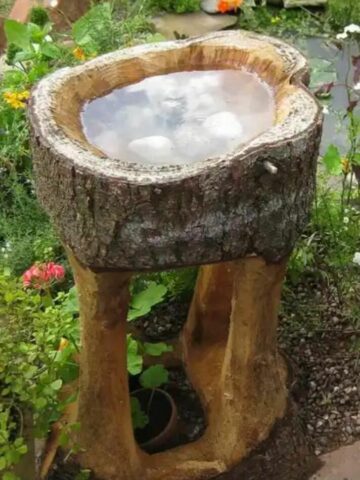
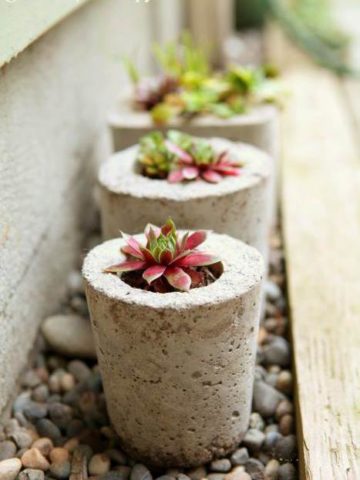
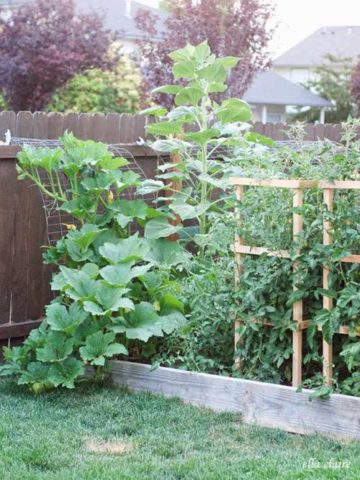
Diy Projects For Plant
Get inspired with these garden DIY projects that anyone can do, from plant labels to raised garden beds. Here are projects for every gardener to try.

See more Diy Projects For Plant →
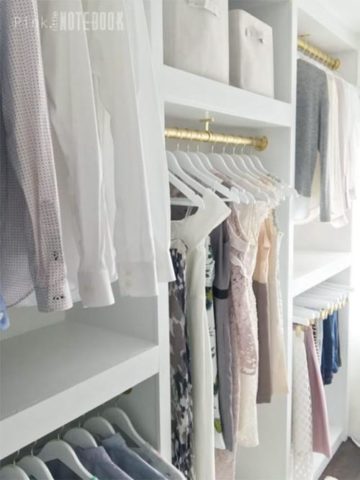
Diy Clothing & Closet Storage Projects
Getting dressed in the morning has never been so stress-free, thanks to these best DIY closet organization ideas. We have got the easiest—and most affordable—ways to organize your closet with your own two hands here.
See more Diy Clothing & Closet Storage Projects →
Home Decor & Craft Ideas
Decorate your home with these easy, do-it-yourself crafts that add fun touches to every room.


Diy Projects For Women
Life Tips Every Woman Should Know About.


Home Improvement Projects
Tackle common home improvement projects and transform often-overlooked spaces with simple and budget-friendly updates. You'll be surprised at what a big impact these changes can have on the style and function of a room. Try one (or a few) of these affordable mini makeovers to help your home look better and work harder.


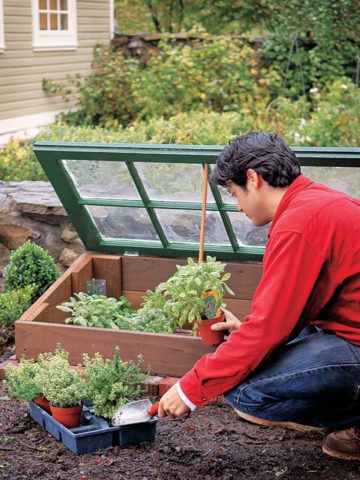
Diy Projects For Outdoor
These DIY outdoor projects will make family time more enjoyable and give you more reasons to spend afternoons out in the backyard!


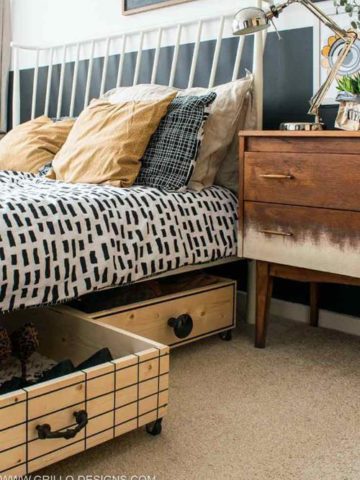
Diy Storage & Organization Projects
Say goodbye to clutter and chaos and hello to a happy, organized home with these creative DIY storage and DIY organization solutions!


Diy Kitchen Projects
All kinds of creative ideas for your kitchen including DIY kitchen furniture, kitchen decor ideas,kitchen design ideas.


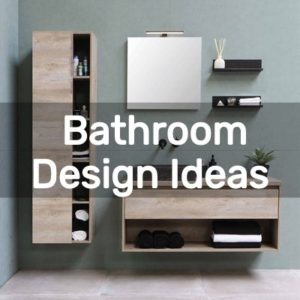
Diy Bathroom Projects
Does your bathroom need a makeover or refresh? Here are many easy, cheap & DIY bathroom projects to help you create a bathroom you will love.

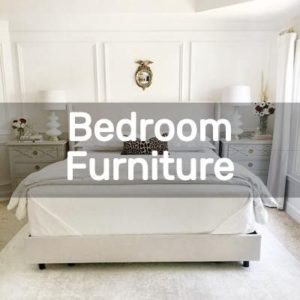
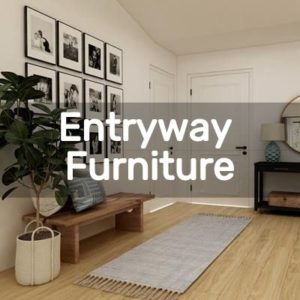
Diy Furniture Projects
If you are looking for a budget-friendly DIY furniture project that could be done easily, we have selected the best ones for you.


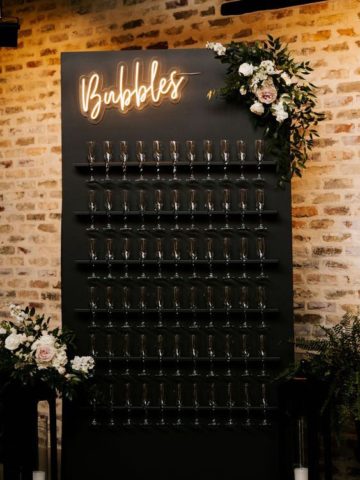
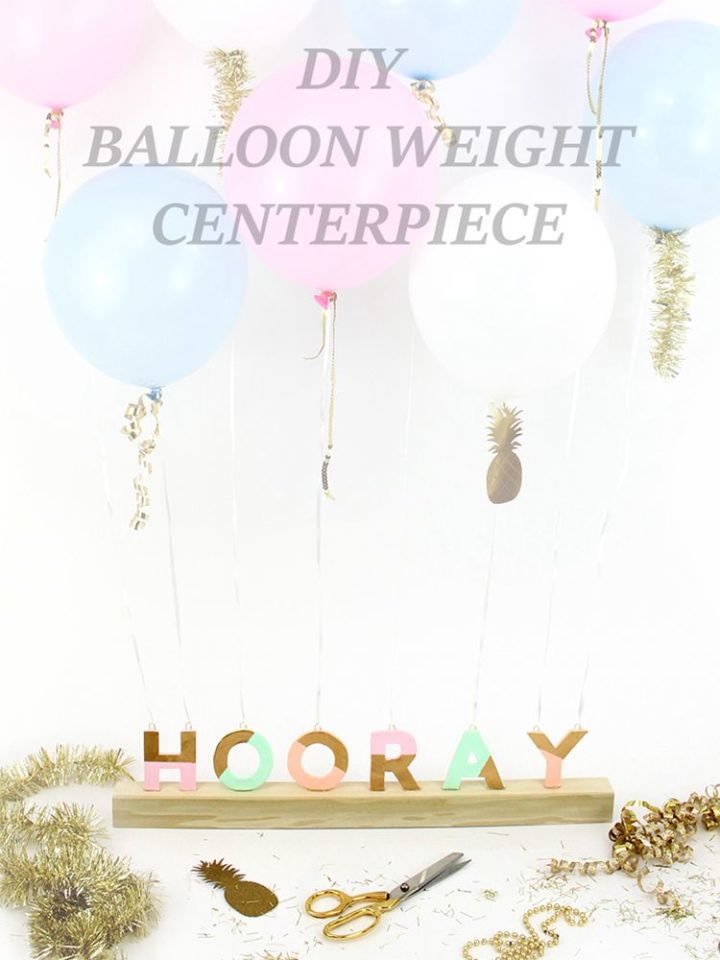
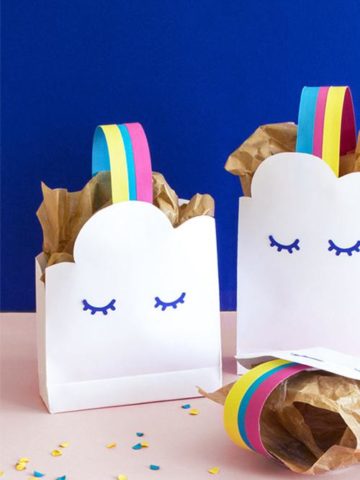
Event & Party Ideas
Curate the perfect party atmosphere with our easy DIY party decor projects.


Diy Projects For GYM And Sports


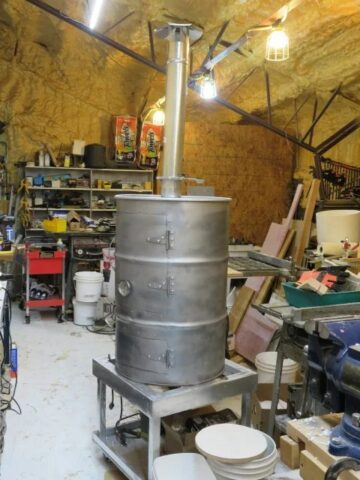
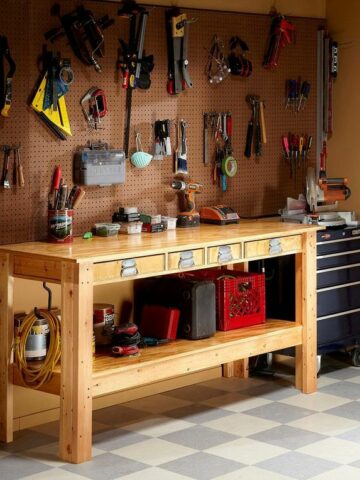
Diy Tool Projects


Diy Vehicle Projects


Diy Projects For Animal
Pets are an important part of the family and there are many diy projects for pets here so you can make something useful for your pet. Find a category for your pet and get started!