Is your carpenter charging so high to make a simple monitor stand for you? Hold it right there! Did you know that you can actually build a simple and less expensive monitor that will last for years without needing a replacement?
Below, you will find a compilation of monitor stands that you can make from home. There is a total number of 25 DIY monitor stand projects below. Go through the list, find your preferred stand, and start the building process.
Table of Contents
1. DIY Smart Monitor Stand
Search no more for a cost-effective monitor stand, here's one that can easily be done without breaking the bank. With red oak, belt sander, drill & drill bits, router, pull saw, polyurethane, orbit sander, dowels, and USB hub, move on to construction and you can have your stand ready.
2. Smart Monitor Stand DIY
This smart monitor stand has a space created for a USB hub. Cut your wood to size and sand them. Mark space for USB and use a chisel to carve it out in a way the USB will fit in. Assemble the legs and fit the USB in its space. You're done with that and your monitor ready for use.
3. DIY Monitor Stand And Desk Shelf
Right here is a monitor stand and desk shelf or drawer so your work table can be more organized to perform your duties. Get the necessary tools to get this done but ensure that you have basic carpentry skills.
4. How To Build A DIY Monitor Desk Stand
What we have here isn't just a stand but it has a shelf where other items can be kept. With your oak board and oak plywood, circular saw, drill, pocket hole jig, miter saw, sander, and polyurethane for staining, you can construct this.
See also: 25 DIY Book Stand Hacks
5. DIY Simple Monitor Stand
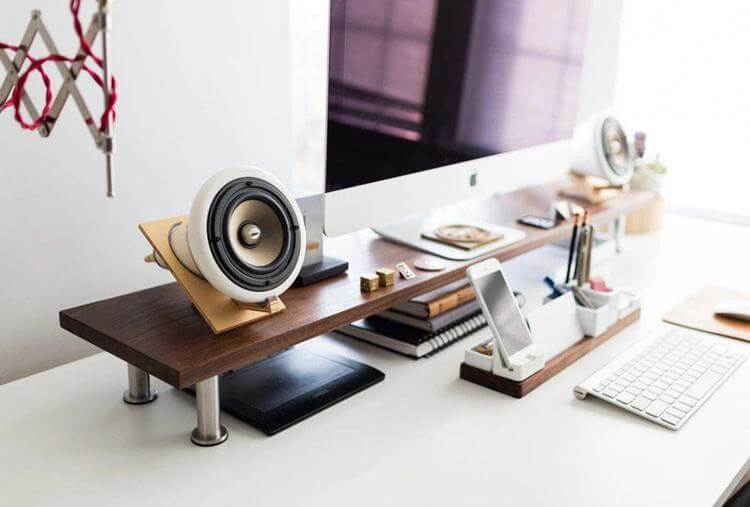
This is a simple homemade monitor made using walnut, drill, screw, capita legs, leg bracket, wood oil, wood coat, and wood stain. Cut and sand walnut wood. Mount legs to brackets. You can now place your monitor and get to work.
6. DIY Monitor Stand
To achieve this basic stand it is necessary that you get plywood, dowels, saw, sanding paper, sander, try square, drill, and tape measure. After sawing wood, sand the wood, fix dowels into holes, and assemble properly. Your stand is ready!
7. DIY Cardboard Monitor Stand
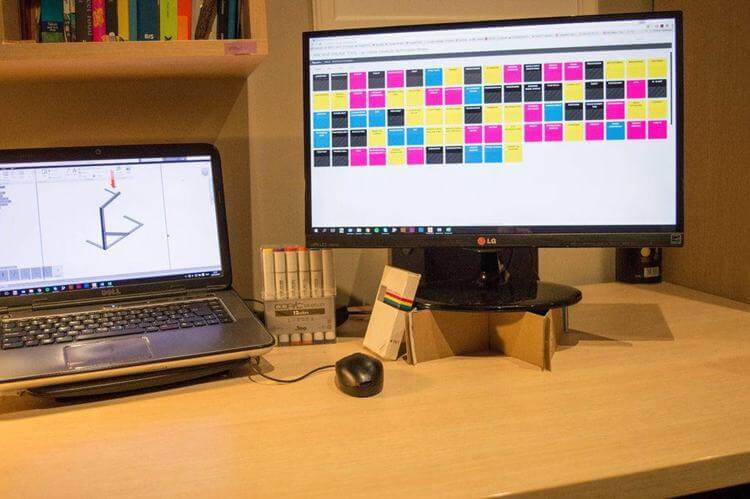
You will be making a really basic monitor stand using cardboard. No special skill set is needed here. Just use the lid of a cardboard box and cut out long and short strips. Make a cross with the king strips then use the short strips to add balance to the base and it's that simple.
8. DIY Smart Monitor Stand
This is a special kind of wooden monitor stand that has a USB hub embedded in it. A crafty skill is required to be able to put in the hub. Get a wooden board, USB 3 hub, USB 3 extension cable, screw, aluminum plate, jigsaw, saw, chisel, and wood oil.
9. How To Build A Monitor Stand For Less Than $50
If you'll need a stand for a low budget then this desk shelf will suit your pockets. Get a wood panel, 3 legs, walnut varnish, shelf, sandpaper, spray paint, 5 angle bracket, felt, and wood screws. You can easily assemble your parts and have your cool walnut desk shelf.
See also: 25 DIY Phone Stands
10. DIY Cheap Wood Monitor Stand
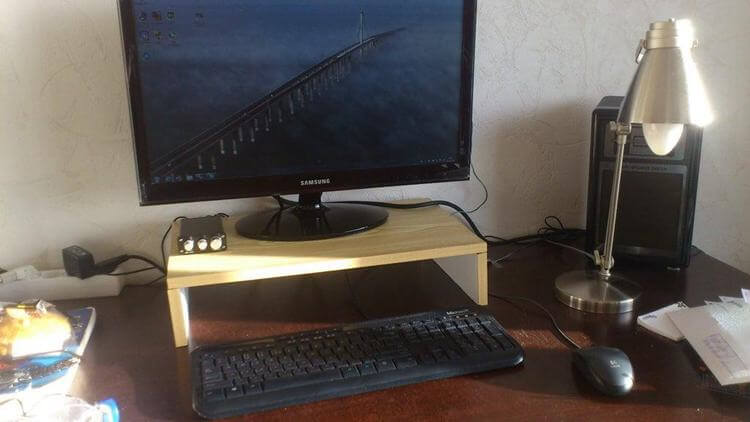
You will be needing a 2m by 30cm wood panel, triangle timber, angle molding timber, furniture feet, screws and a circular saw to carry out this project. It is a cheap, basic, and simple DIY monitor stand.
11. DIY Walnut Monitor Stand
This is a beautiful monitor stand that has a contemporary look. It has a waterfall-shaped look with mitered corner and shelf held in place with mortise and tenon joinery. Gather the needed materials and get the building.
12. DIY IKEA Desktop Monitor Stand
Much work isn't needed to get this IKEA monitor stand ready, it's beautiful and cost-effective. Just get an IKEA Fredrick, IKEA capita legs. Place the feet on corners of the shelf accurately, mark holes and pre-drill then secure with screws. You can mount your monitor and get to work on your space-free table.
13. DIY Dual Screen Monitor Stand
To declutter your working table from two monitors right here is a dual homemade monitor stand. Ensure to get Micro screws, Microtome, Bolt & nut, 32" long, 0.5" wide PVC pipe, Elbow joints, T-joints, metal clamps, Metal Support, end caps, Drill, Screwdriver, screws, and wood batten. Mount your monitors after assembling.
14. DIY Monitor Stand
Here's a super-easy way to improve your work area by making these supplies available. 10" x 20" pine, Wood Stain, polyurethane, Tack cloth and 220-grit sandpaper, Liquid Nails, and Ikea Stubbarp peg legs. Stain the wood and coat with polyurethane, attach legs and set up your monitor ready for use.
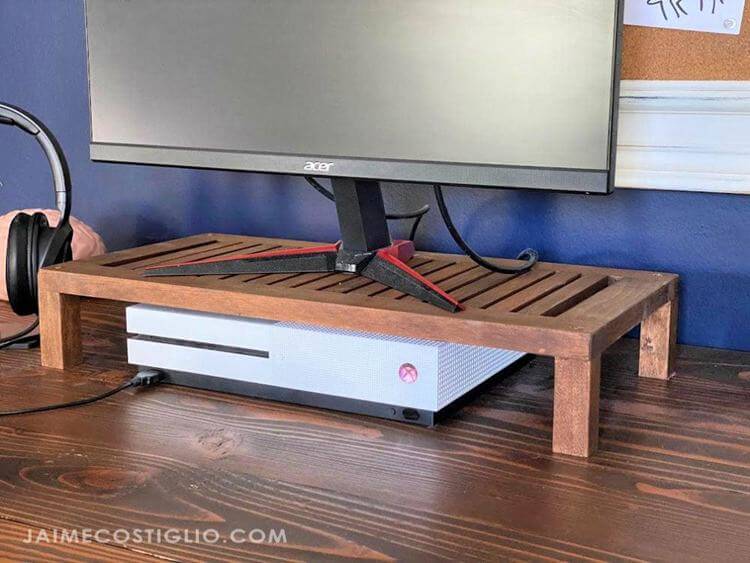
15. DIY Vented Monitor Stand
Unlike the regular wooden stand, this has a vent so that the gaming console underneath it can breathe and not overheat. Get the following supplies 1 – 1x2x6, 4–¾” square wood dowels @ 36", 1 – 1” square wood dowel @ 36", pocket hole screws, wood screws, wood glue, miter saw, pocket hole jig, drill, and drill bits, measuring tape and sander. Assemble cut parts and mount.
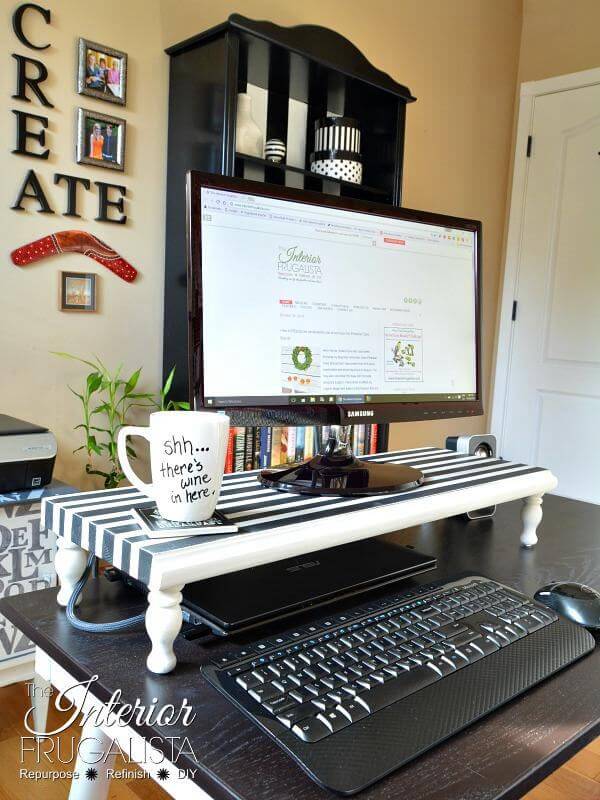
16. DIY Computer Monitor Stand
This monitor stand has a unique feel but is unbelievably made out of scraps. It has a beautiful stripes painting design that doesn't just sit dumb but adds beauty to the interior decor of your home. These were used to achieve the stand; Salvaged footboard, 2 Antique Chair Spindles, 5/64 Pilot Hole Drill Bit, Countersink Drill Bit, and necessary tools.
17. $20 DIY Monitor Stand
Before commencing this project, they're needed materials and tools to effect this plan out which are your wood, wood putty, wood stain, sandpaper, wood glue, tinsnips, metal gutter mesh guard, screws, drill & driver, hammer, 2 Phillips bit for impact and drill bit. After these are set then you can get a building.
18. How To Make A Monitor Stand
This is a tactical wooden monitor stand because not so many people can bend wood and that's what you'll be doing here. Use kerf cutting by making relief cuts so you can bend both ends without the wood breaking. Once you're able to achieve that you can cover up other parts and stain your work.
19. DIY Wooden Monitor Stand
This is not so different from others, it is cost-effective and keeps your budget low. What you need to do is just get your wood and cut then to the right size and dimensions, cut the parts, and sand. You can now stain and assemble your parts together to achieve your monitor stand.
20. DIY Monitor Stand From Wood
Ensure that you have a sketched-out plan of the design you want to implement and the materials listed out. Go ahead to get those materials. Measure and cut wood to parts, sand, use glue to attach parts. Pilot holes then use a coping saw to expand the holes and use a Dremel to smoothen.
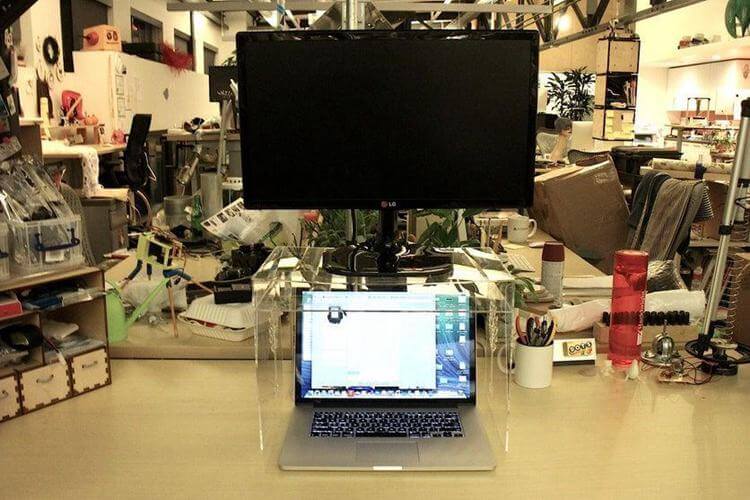
21. DIY Space-Saving Monitor Stand
This is a really cool, nice, and unique monitor stand not made with wood or PVC. To achieve this project get the following materials; (x1) 16" x 16" sheet of ⅛" acrylic, Acrylic glue, 2 Command Wire hooks, 2 table clamps, Measuring tape, workbench, Lasercutter. Proceed to design the stand, cut patterns and parts then assemble parts. Set your monitor on top and your laptop can slide underneath.
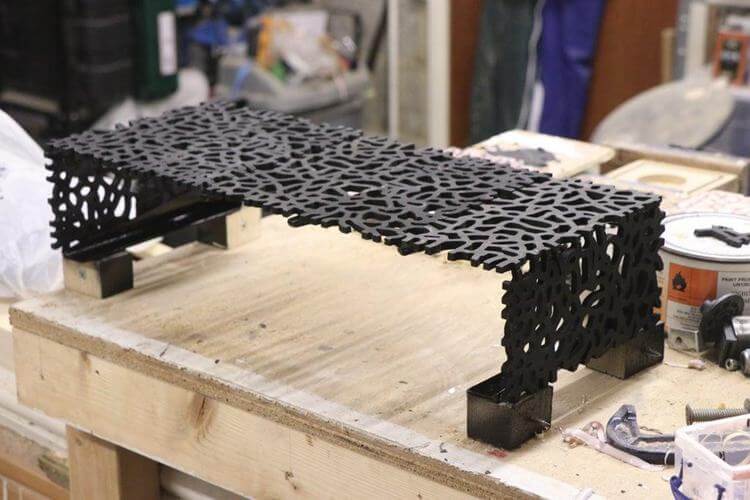
22. DIY Mucem Monitor Stand
This is not a regular wooden, PVC, or cardboard monitor stand. It's more of an antique item here. After getting a CNC / scroll saw / drill + files, Welder, Grinder, Metal cutting saw, Silicone mold making, Jesmonite, Angle iron, flat bar stock. Move on to create panel design then create the stand structure and assemble your parts.
23. DIY Desk Monitor Stand With Shelf
Here's a desk monitor stand with a shelf for other items. Before proceeding to construction these are the needed materials for this homemade stand; 15mm thick Plywood, Carpenter's square, L-brackets, 12mm wood screws, Plate or large round object, Sandpaper, Sanding block, Paint or oil, Mini foam roller, Router, and Router piece.
24. DIY Laptop Or Monitor Stand
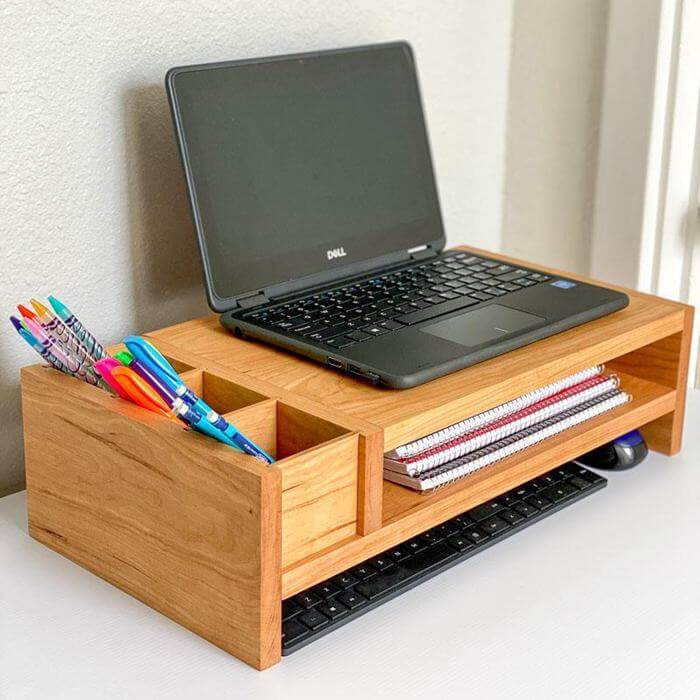
This cool and organized monitor stand is good for students and for others who usually have busy work tables. With this stand, you can have a more organized table with fewer clutters. If you have basic carpentry skills then you can build your homemade monitor stand.
25. DIY Simple Monitor Stand
Cut your maple to size and parts, then assemble together. You can stain and paint your work also. You'll be using a table saw, drill & driver, drill bits, miter saw router, drill press, scroll saw, wood glue, threaded inserts, and maple.
Conclusion
We have come to the end of this article on DIY monitor stand projects. Feel free to contact us via the comment section below if you have questions or contributions regarding this article. Also, just before you leave, kindly share this content with your friends and family that might be interested in building a DIY monitor stand.











Ask Me Anything