One of the challenges that a lot of people face while doing constructions is having enough room on their workbench to spread out and carry out their building activities. Or perhaps you even just need a table saw stand because you’re tired of picking up your saw from the floor while you’re working? Whatever your reasons for looking up this tutorial, you would soon find that making a table saw stand is fun and quite easy to DIY.
Just like many DIY projects, you would find that you don’t have to spend a lot of money on this project, unlike if you decide to purchase an already made one.
Table of Contents
1.DIY Collapsible Table Saw Stand
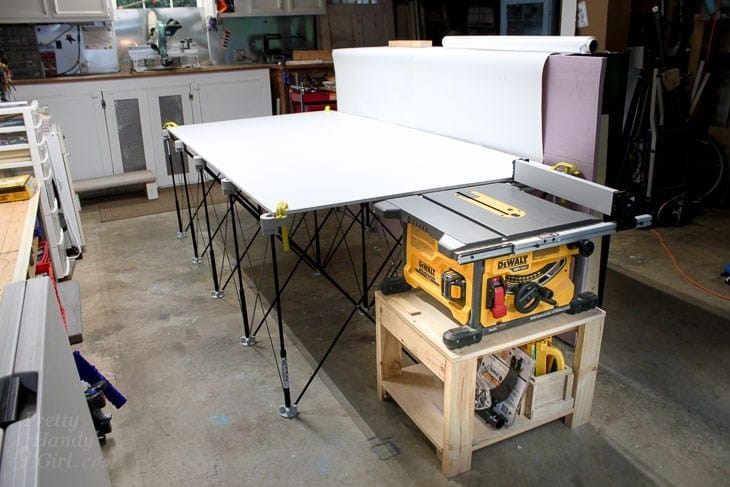
You would need some PVC panels, lumber, screws, drill, tape measure. Mitre Saw etc. In this written tutorial, you would find some pretty detailed instructions on how best to go about creating this table stand. The good news is that this tutorial also comes with a lot of pictures to aid understanding.
Unlike other table stands, this one stands out for one thing. It is a table stand that can be easily collapsed and packed up if the need arises for you to move it to another location. This is excellent news because you not only get a table stand for your saw, storing it after use no longer has to be a tedious task.
This table stand would be convenient for construction workers who work both at home and on-site. Your table saw stand can follow you everywhere you go!
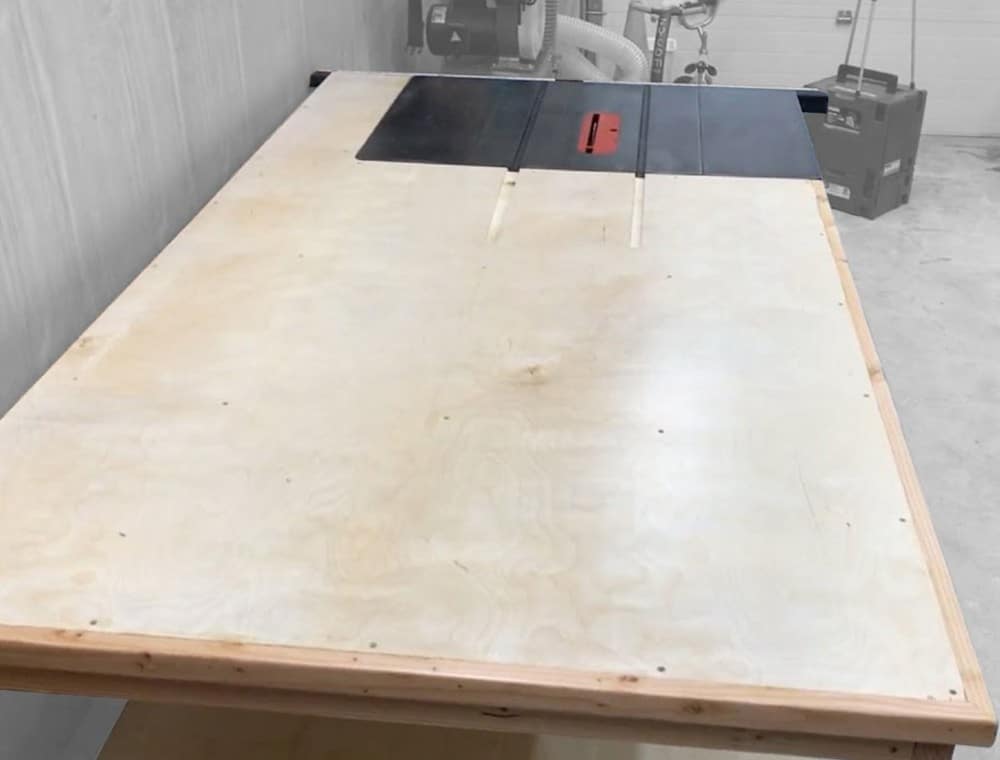
2.DIY Table Saw Outfeed Table
This is a video tutorial, written tutorial, and picture tutorial wrapped in one. You get three instruction methods in one, so you don’t have any excuse for not building your table saw stand.
For this table saw stand, you would need Mitre Saw, some plywood, lumber, sanding discs, screw, leveling feet, and some other items. Don’t worry; you would find all the necessary materials listed in the written version of the tutorial.
This DIY building plan is divided into five parts. First, you have to mill the lumber and to do this, you would need to measure the table height, rough-cut the legs, square up two sides, and a few other steps.
Next, you would need to assemble the three parts of the table. This involves front and side assembly and adding the back and long sides. Then comes adding in the support. This takes a lot more time than the other steps and needs to be meticulously done.
After that, it’s time to crown the table with a top, and then finally add finishing touches to your creation. Easy-peasy.
3.Homemade DIY table saw stand
If you’re the type to use your table saw often, this table saw stand would be right for you. If you want, you can even add drawers into your stand to keep your tools and accessories.
Materials you would need for this stand include plywood, some pieces of wood, electric saw, tape measure, screws, and screwdriver. This is by far one of the easiest of the table saws to make with only nine super-simple steps in the written tutorial.
Each of the steps come with the precise dimensions and measurements you require. Although the instructions are written in clear and straightforward words, having pictorial attachments would have made it even better. Nevertheless, it’s worth a shot!
4.DIY Table Saw Stand with Extensions
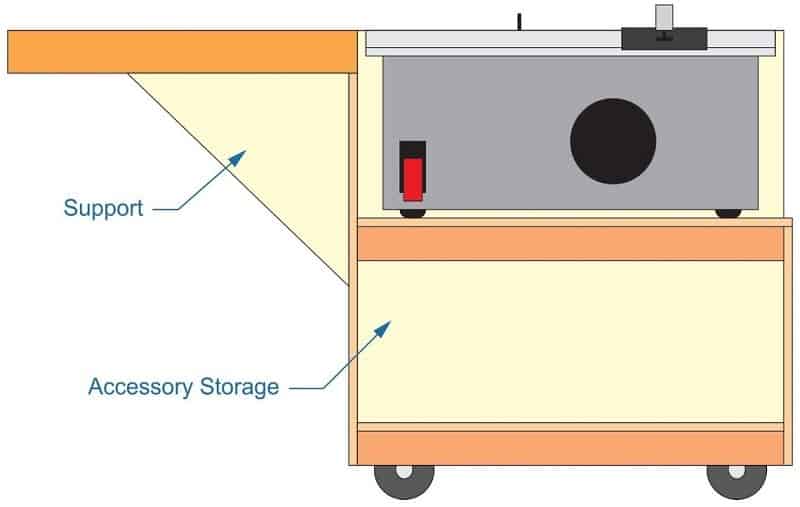
This table saw stand was born out of the need for a more compact and less expensive table saw stands. Portable saws became popular over 25 years ago and earned its place as a powerful and accurate tool for many construction workers.
This saw stand is portable, and also popular among the woodworking community. The need for this kind of table saw stand is also because they have a small table, which gives little room for working. The designer of this plan sought to fix this problem by creating a portable DIY table saw stand that also features extensions at the same height as the table.
In this written tutorial, there are helpful tips and vital information you would need to know before you begin construction. The tutorial is not too daunting, and you can get the construction done in good time. It comes with a few pictures for clarity.
5.Small DIY Table Saw Stand
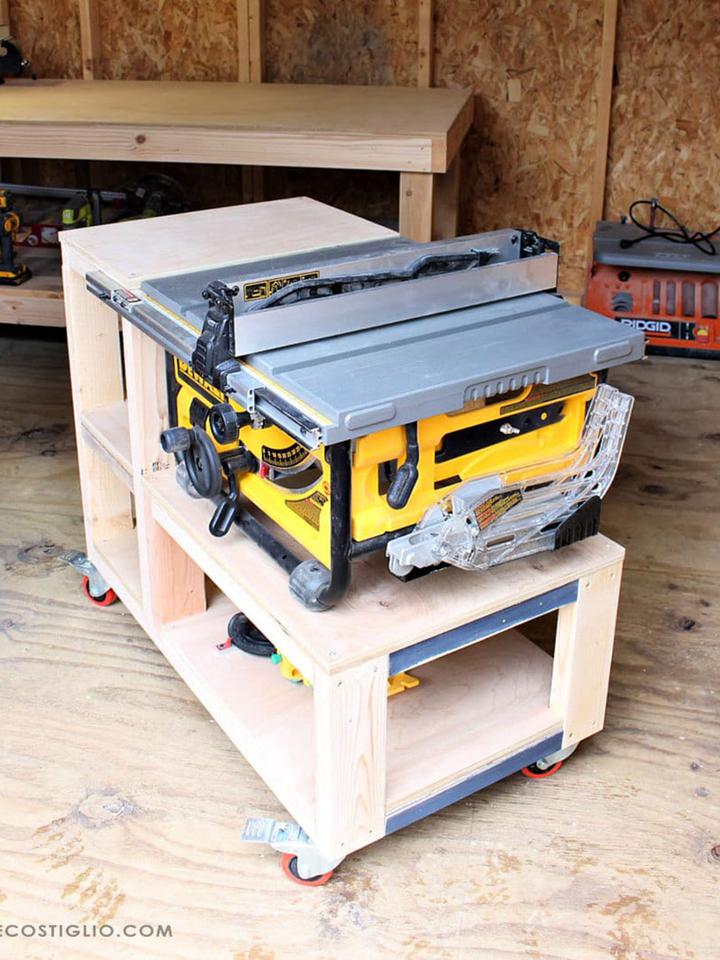
You’ll need: Locking casters, screws, plywood, MDF, glue, Mitre saw, drill, etc. This is mainly a pictorial tutorial, but it has a few written instructions to accompany it. Many table saw users complain that the table saw stands that accompany it are usually too big, hence the need for a smaller sized one.
To begin with, you would need to make some cuts into the plywood and do some drilling. Next is to assemble all the parts and then add finishing touches. This particular author painted his stand, and also added a few compartments for keeping equipment and tools.
6.DIY Table Saw Workstation
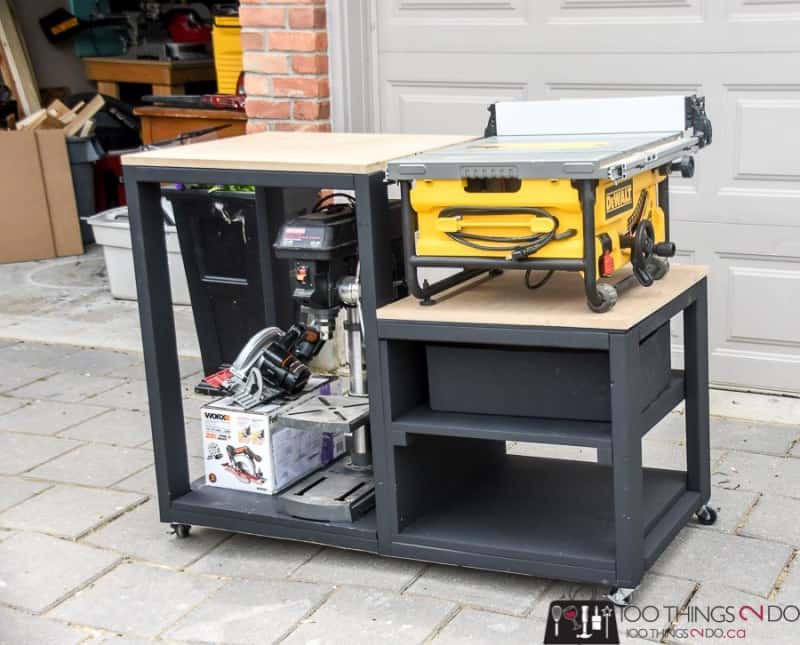
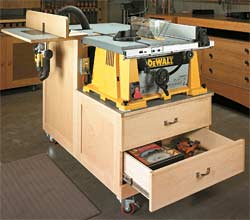
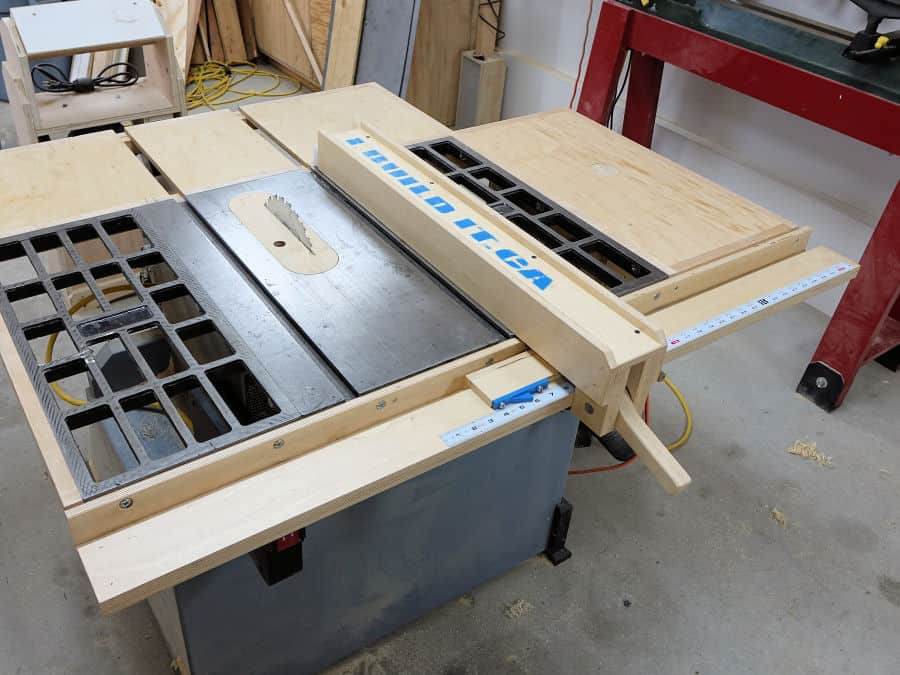
This DIY table saw stand is more than just a stand, it is a full-blown workstation! There’s enough space for a table saw as well as an outfeed station that can also be used as a router. Also, the builder includes drawers in his plan where you can keep your materials and tools.
The designer of this plan believes that this workstation is a sort of solution to the many challenges that construction workers face. For example, the author believes that portable tools only look great when you’re working away from the shop, but it becomes challenging when you need them to act as stationary tools.
For more about his materials, tools and picture diagrams, see the tutorial.
7.Large Table Saw Stand for WorkStation
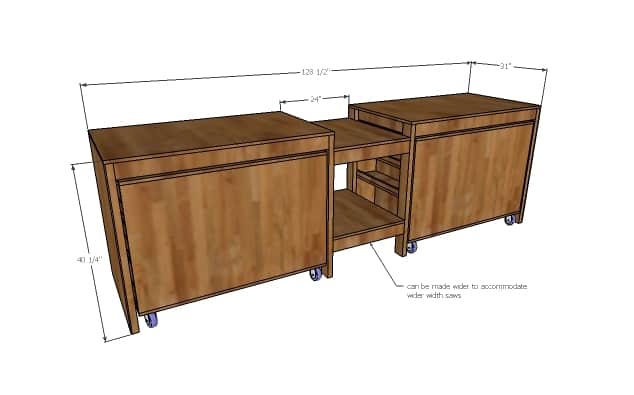
This is an easy video tutorial for those who need table saw stands for larger workspaces. It is simple and provides plenty of room for you to carry out larger sized projects. For this project, you would need plywood, self-drilling wood screws, casters, and others.
The worktable is a three-sectioned table with two columns on the outside. The designer got to work by building the surrounding columns first. Next, he created the base of the work station. He claimed to have found the dimensions a bit tricky, so you may want to do some proper confirmation of measurements before you attempt anything.
Afterward, he took some measurements of the work to ensure precision before fitting in the next part of the workstation - this part is called adding the casters. Finally, he did a test run of the finished product, which he claimed worked perfectly.
For a more detailed set of instructions, follow the tutorial carefully and creating a near-perfect match would be a breeze.
8.Anika’s DIY Table Saw Stand With Folding Outfeed Table
A clever way to add a little more work area to your table saw stand is an outfeed table. This building plan features a table saw stand that has a folding outfeed table that you can whip out whenever the need arises, and when you’re done with it, it can be collapsed and kept in the proper place. Simply great for a small workshop.
In this video tutorial, Anika explained in detail using a six-step plan how she went about creating her table. If you would prefer a written tutorial, you may click here. Her lengthy list of materials includes lumber, folding table leg brackets, drop down casters, furniture levellers, circular saw, Mitre saw power drill, screws, and a few more, which you can find in the tutorial.
Anika’s building plan appears to be one of the most straightforward DIY plans yet, and it’s great because almost anyone can use it without a hitch.
9.DIY Table Saw Stand on Wheels
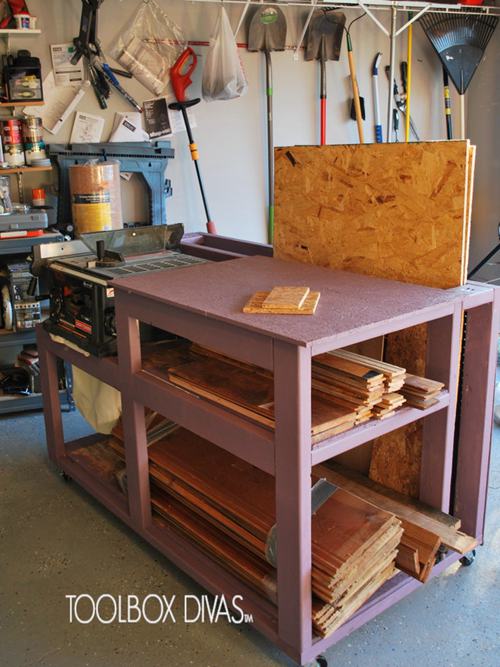
Unlike the usual types of table saw stands that stay firm on the ground, how about the ultimate roll away workbench this time? This table saw stand offers you portability, compactness, smooth movement, and lots of storage.
Before you begin, you would need to prepare some plywood, casters with brakes, screws, gauge staples, and handles for carts drill, sander, pencil, tape measure, Mitre saw, and a few other items. The full list, which includes sizes and quantity, is in a comprehensive building plan complete with pictures.
This tutorial has a whopping sum of 19 steps, but rest assured, these steps are hardly difficult. You can efficiently handle any of them as you work towards building your stand.
Conclusion
From portable table saw stands to the large ones for bigger workshops, or the stands on wheels, you’re covered. Table saw stands are mostly easy to build and usually do not give DIY builders any hassles. To ensure that you have hitch-free construction experience, thoroughly scan through each of the tutorials above. When you have made your choice based on your table saw needs, you can then go ahead to prepare all the materials and tools you would need for work. When all this is in place, you may begin building using your chosen tutorial as a guide.





Ask Me Anything