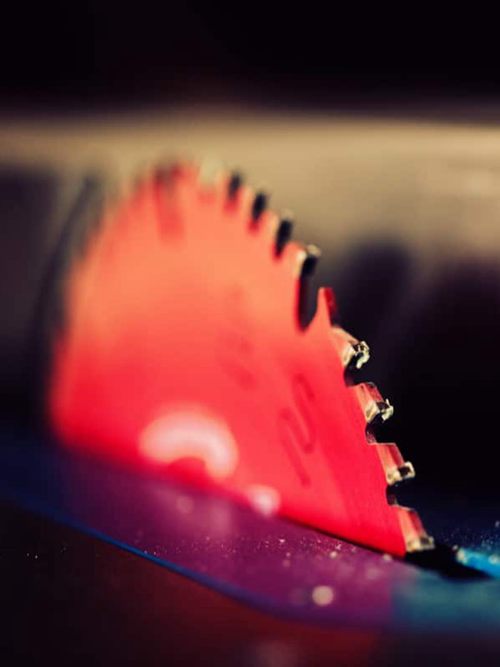
A table saw is quite an investment and one of the bulkiest tools for woodworking. The blade is an essential part of a table saw, and once it spoils, it can cost a lot of money to replace. While you will need to replace the blade at some point, you can get more use out of the blade by sharpening it.
A dull saw blade not only ruins your work but also dangerous when cutting wood. It can easily produce splinters that can fly towards you and cause accidents. If you have a dull saw and wondering how to sharpen it, this article will guide you.
I have compiled steps that you can follow to sharpen correctly without compromising the quality of the blade.
Table of Contents
How Do You Know The Blade Needs Sharpening?
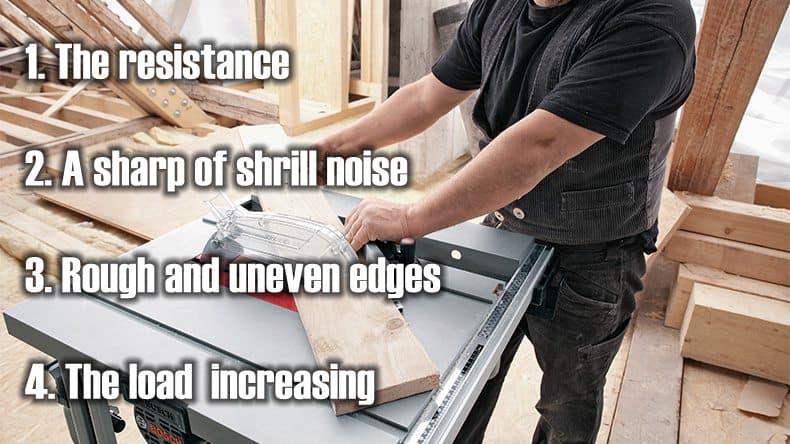
First, you need to ascertain that the blade is indeed dull to sharpen. Here are signs that you can look out for:
- The resistance of the blade when cutting through the material.
- A sharp of shrill noise when the blade touches the surface of the material.
- Rough and uneven edges of the material after cutting. Look out for splinters and chips.
- If you notice the load on the motor increasing, then the blade needs sharpening.
What Do You Need To Sharpen A Table Saw Blade?
- A diamond blade to replace the regular blade.
- Safety goggles to cover your eyes from any debris from the sharpening process.
- Gloves to protect your hands throughout the process.
- A respirator if you are concerned about small pieces.
- A jig for stability when sharpening.
Step by Step Process of Sharpening a Table Saw
- Safety Precautions First
Safety should be your top priority when handling any power tool. You want to ensure any debris or chips that come from the process do not cause any injury to you. Also, the blade, as it is, is dangerous, so you need to handle it with care.
Wear your gloves and goggles. Also, you can invest in good earphones to protect your ears from the noise of sharpening. Lastly, ensure you unplug the table saw from the wall socket before you start sharpening.
- Setting Up The Blade For Sharpening
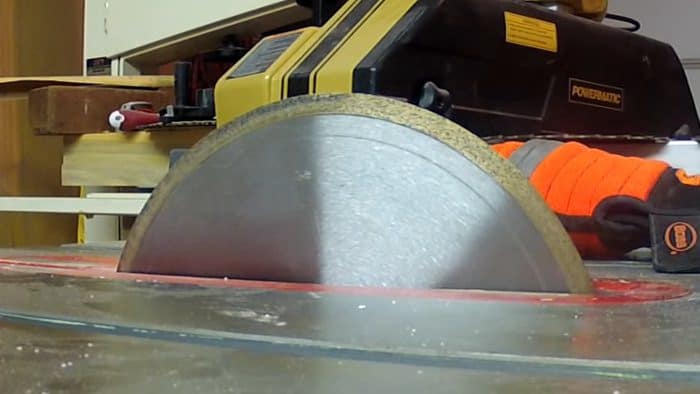
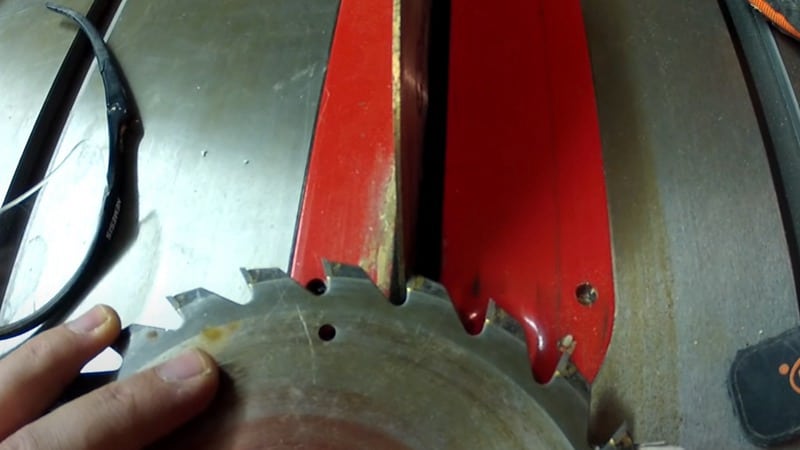
Start by replacing the regular table saw blade with a diamond blade. Be careful when placing the blade to prevent injury on your hands. Set the blade you need to sharpen and place it next to the diamond blade. While doing this, ensure the two align properly for effective sharpening.
- Sharpening The Blade
At this stage, you can now turn on the saw. Then turn the first tooth up against your diamond blade. Ensure you touch the tooth briefly against the diamond blade then pull back to set the next tooth for sharpening. Do this for all the teeth ensuring they align properly.
The process can be difficult, so you need time to do it. It is quite a task, but once you master the skills, sharpening in the future will be easy and quick. The goal is to ensure you sharpen the blade well; however, how much time and effort it takes.
If you do not want to use a diamond blade for sharpening, you can choose a sharpening file. With this method, you will have to sharpen in sections. Ensure you use the sharpening file in back and forth strokes across the blade section. Rotate the blade and continue to sharpen until you feel it is sharp enough.
- Lubricating and Attaching
Achieving a perfectly sharpened blade does not mean it will not go dull again. Remember, if you intend to use it for multiple projects, care after sharpening is extremely important. This is why you need to lubricate them after sharpening. Lubricating your blade keeps them sharp for longer and protects the surface from rust.
First, use a clean cloth to dust off the blade. The sharpening process can produce some chips and debris that you should clean up before lubrication. Also, the carbide dust on the blade can cause rusting or tarnishing of the blade if you leave it on the surface.
You only need a tiny amount of lubricating oil on the blade. Ensure the oil touches the edges that you just sharpened. Get a newspaper, roll it, and use it to rub the oil into the blade. This will ensure the lubricating oil reaches all the teeth.
Spread the oil as much as possible to cover the entire blade. After this, follow the correct way of reinstalling the blade. The attachment process can be dangerous with a sharp blade, so be careful to avoid injury.
- Testing
You want to make sure the blade is sharp enough to handle the projects you have in line. After attaching it back to the saw, run the saw to test. If the blade fails to function well, you may have to repeat the procedure.
Check how smooth it runs, if it has any resistance or if there is a sharp noise when cutting through. Once you have ascertained it is functional, stop the saw and unplug it until the next use.
- Maintenance
Now that your table saw blade is sharp and functional, you want to make sure it remains that way for a long time. Check for any rust stains and deal with them immediately you notice. Also, clean the blade regularly as grease and grime build-up can affect how well it cuts.
Video tutorial Learn How to Sharpen a Table Saw Blade
Conclusion
Keeping your table saw in the best condition gets you more use out of it and saves you a tone of money for repairs. The blade specifically requires regular sharpening as part of maintenance. A sharp blade ensures you achieve clean cuts fo your projects and contributes to the life of your saw.
The procedure above is a simple guideline on how you can sharpen your table saw blade; hopefully, you get to do it at home. Here is a quick recap of the process:
- Take safety precautions seriously to prevent injury
- Set the blade for sharpening. You will need a diamond blade for this.
- Turn the saw on and sharpen.
- Apply lubricating oil before attaching the blade.
- Reinstall the blade and run the saw to test.


Ask Me Anything