A table saw is one of the most useful tools in any woodworker’s workshop. Not only are they versatile for many projects, but the best when it comes to making accurate, repeatable cuts. But, to reap these benefits, the saw needs to have the best blade. At some point, you will have to remove the blade and replace it with a new one.
The process can be overwhelming, especially if it is your first time. But, with easy-to-follow steps, you can hack it in minutes. In this article, I have compiled steps that you can follow to change your table saw blade.
Table of Contents
When You Should Replace the Blade
As one of the most useful tools in the woodworking shop, it is inevitable that some problems will arise in its use.A table saw blade over time, loses its quality as far as the teeth go. After using it consistently for quite some time, the teeth get dull. Although you can sharpen the blade, some blades are in the worst situation to restore functionality.
What You Need To Change the Blade
- Replacement blade
- Screwdriver
- Allen or Hex Wrench
- A small block of wood
The Video Tutorial about How to Chang a Table Saw Blade
Steps to Follow When Changing a Table Saw Blade
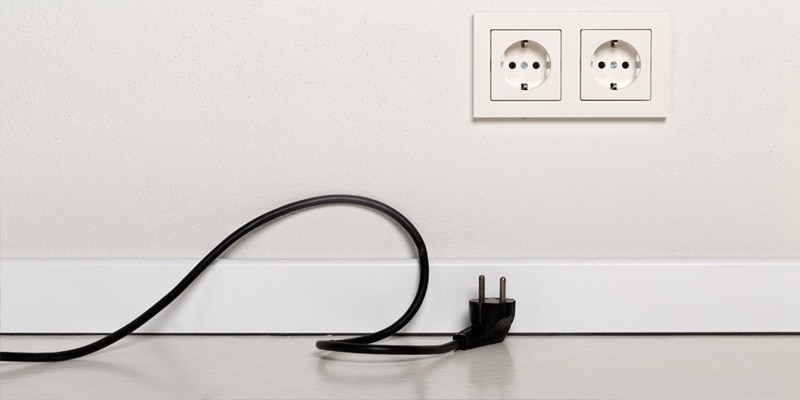
- 1. Disconnecting the Power
Like other power tools, it is important to unplug your table saw before changing the blade. Since the process involves uninstalling some parts, you want to ensure safety to prevent electrocution.
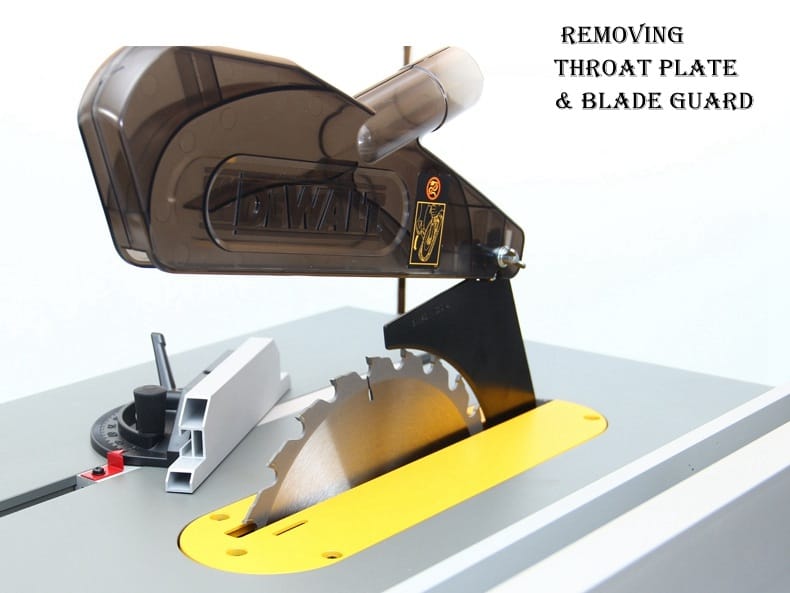
- 2. Removing the Throat Plate and the Blade Guard
After ensuring the table saw is disconnected from power, remove the throat plate and blade guard. Table saws are different; therefore, you need to confirm the design from the user manual. You want to ensure you follow the right procedure according to the manufacturer's guidelines.
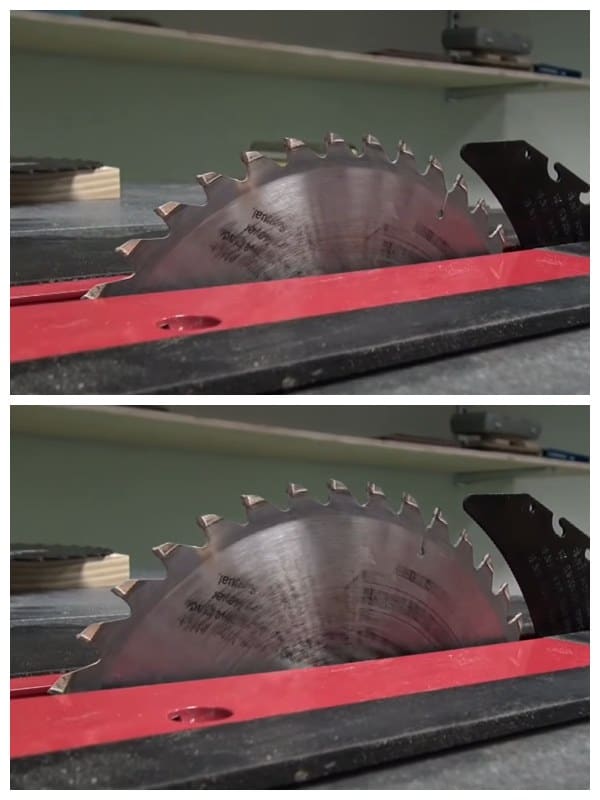
- 3. Raising the Blade
After you remove the guard, your blade will be exposed to remove. Raise it to its maximum height for the easiest access when removing it. In this step, you should be careful how you hold it when raising to prevent any unforeseen injuries.
- 4. Loosening the Arbor Nut
The arbor holds the blade in place in your table saw. You need to loosen the arbor nut for you to remove the blade. Usually, table saws come with wrenches for this purpose.
One wrench works to hold the blade immobile while you turn the arbor nut with the other wrench. The wrench holding the nut turns in the opposite direction of the other one to loosen. If you do not have these wrenches, I will highlight what you can do after the steps.
- 5. Removing the Arbor Nut
Unscrew the arbor nut and pull it out using your hands. When doing this, be careful not to place your fingers close to the teeth. Also, be careful when pulling the nut out as it can easily fall into the body of your table saw.Also, remove the washers and set them aside for the next step.
- 6. Removing the Blade and Replacing With a New One
The blade at this point will be exposed and ready to pull out of the saw. Slide it out, slowly taking care not to hurt your fingers. Place the new one and ensure it is well-positioned. Ideally, the teeth should point towards you and not away from you.
- 7. Replacing The Arbor Nut With The Washers
Fix the washer and the arbor nut properly and tighten them. For this step, follow the same procedure when loosening them. The wrench holding the nut should rotate towards the other one to tighten. Ensure they are tight enough and not fidgety to secure the blade properly.
- 8. Replacing The Throat Plate And Blade Guard
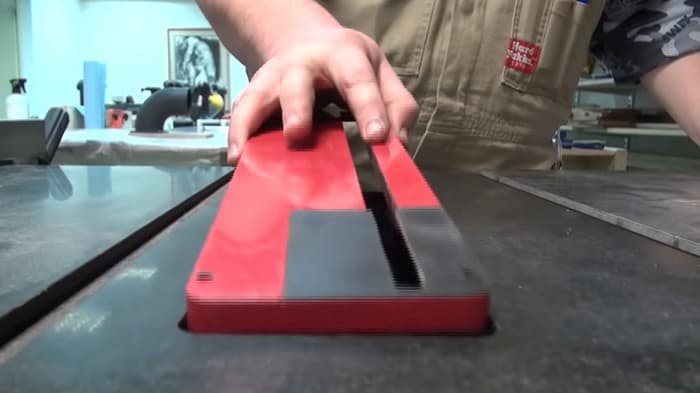
Place the throat plate on and ensure it clicks in place for security. Additionally, fix the blade guard to complete the installation process.
- 9. Reconnect the PowerPlug the saw back into the power outlet and reconnect it. Turn the saw on and run it to determine if the blade is in the right position. If it is shaky, you will need to tighten the arbor and ensure every other part is in place.
Change Table Saw Blade without Wrench(Alternatives to Table Saw Wrenches)
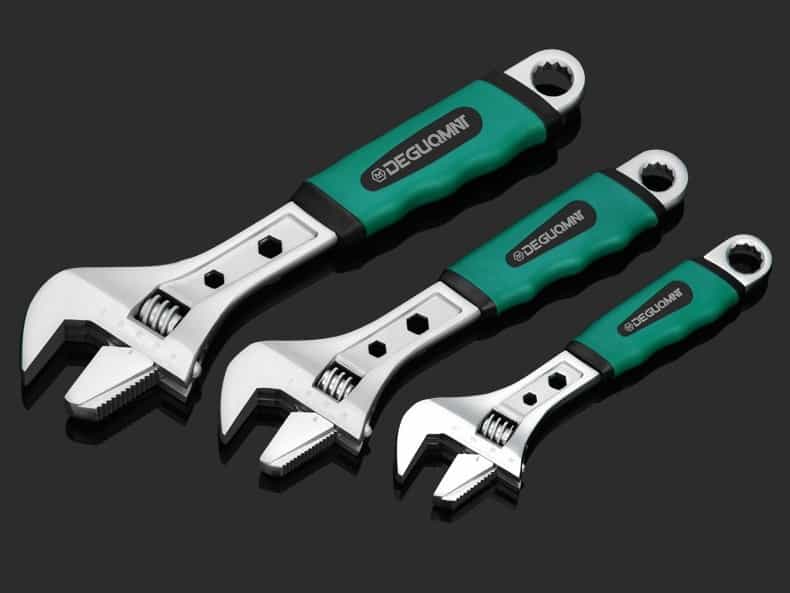
- A Regular Adjustable Wrench
You probably have one of these in your stash. It can come in handy when loosening the arbor nut. With the right size, you can use it to hold the nut and an additional one for the blade.
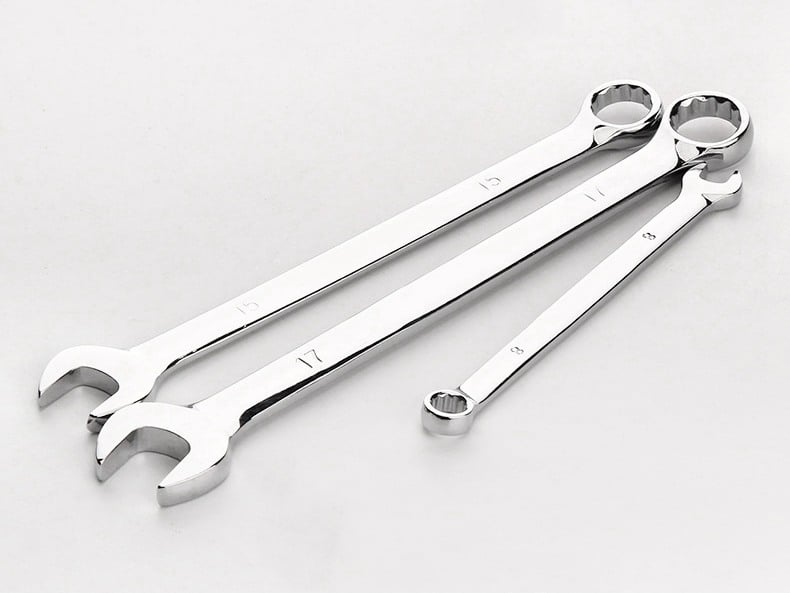
- An Open-Ended Wrench
You probably have one of these in your stash. It can come in handy when loosening the arbor nut. With the right size, you can use it to hold the nut and an additional one for the blade.
- A Block Of Wood
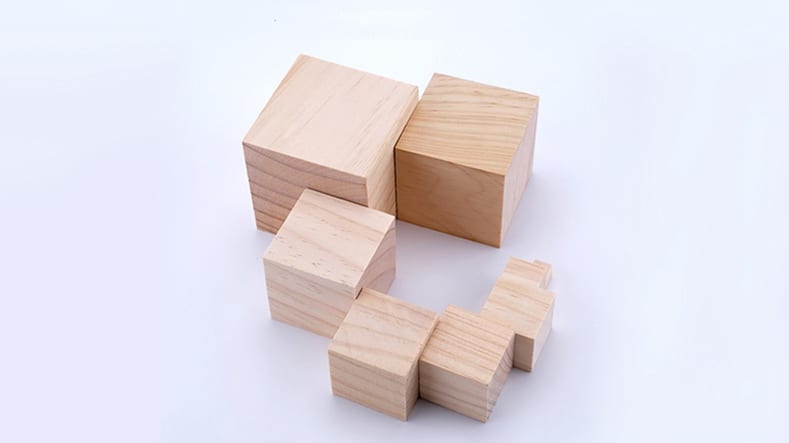
A block of wood will come in handy if you only have one wrench. Use it to hold the blade, so it does not turn when loosening the nut. You can simply wedge it into the teeth, so it stays in place the entire time.
- A blade LockYou can buy a blade lock from your local hardware to hold the blade in place when loosening the nut. This device goes over the blade and stops it from turning. You can then you a wrench to loosen the nut.A blade lock has a couple of benefits, but the main one is that it protects your hands during the process.
- Use The Arbor LockSome table saw models come with an arbor lock function. This feature comes as a switch that stops the blade from turning when loosening the arbor nut. This feature is common with small table saws.
Conclusion
Once you understand the process of changing a table saw blade, it becomes easier and does not require extensive planning beforehand. If you use your table saw frequently, you may realize you need to replace the blade regularly. The same case applies if you are working with different materials.
The above steps can guide you through the process. Here is a summary:
- Disconnect the power.
- Remove the throat plate and the blade guard.
- Raise the blade for easy removal.
- Use a wrench to loosen the arbor nut.
- Remove the nut carefully with your hands.
- Remove the blade and insert the new one.
- Fix the washer and arbor nut to secure the blade.
- Tighten the arbor nut and replace the throat plate and blade guard.
- Reconnect the power to ascertain proper installation.
The process is simple; however, if you have any questions, leave them below, and I will be glad to answer you.

 Like other
  After ensuring the table saw is disconnected from power, remove the throat plate and blade guard. Table saws are different; therefore, you need to confirm the design from the user manual. You want to ensure you follow the right procedure according to the manufacturer's guidelines.
 After you remove the guard, your blade will be exposed to remove. Raise it to its maximum height for the easiest access when removing it. In this step, you should be careful how you hold it when raising to prevent any unforeseen injuries.
 The arbor holds the blade in place in your table saw. You need to loosen the arbor nut for you to remove the blade. Usually, table saws come with wrenches for this purpose.
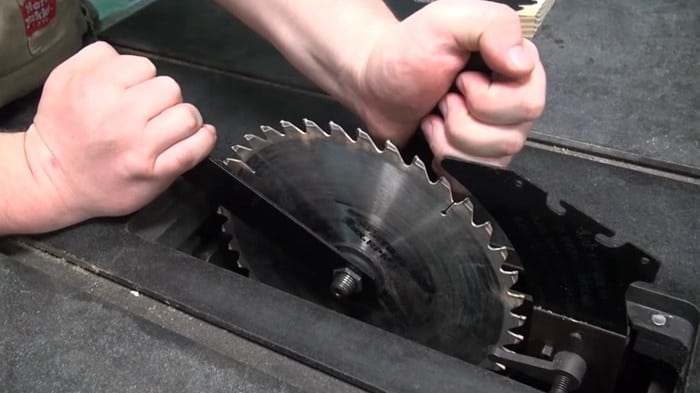 One wrench works to hold the blade immobile while you turn the arbor nut with the other wrench. The wrench holding the nut turns in the opposite direction of the other one to loosen. If you do not have these wrenches, I will highlight what you can do after the steps.
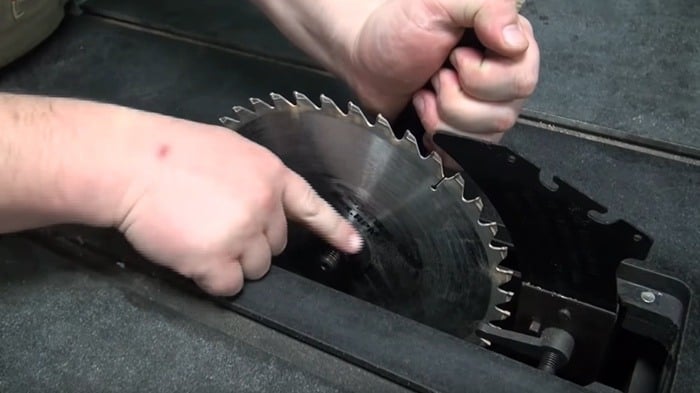 Unscrew the arbor nut and pull it out using your hands. When doing this, be careful not to place your fingers close to the teeth. Also, be careful when pulling the nut out as it can easily fall into the body of your table saw.Also, remove the washers and set them aside for the next step.
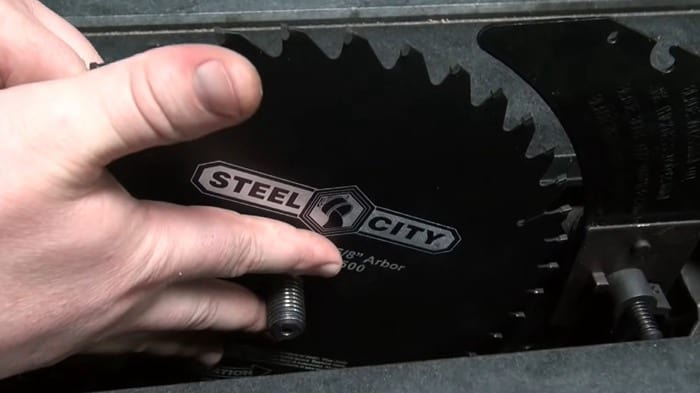 The blade at this point will be exposed and ready to pull out of the saw. Slide it out, slowly taking care not to hurt your fingers. Place the new one and ensure it is well-positioned. Ideally, the teeth should point towards you and not away from you.
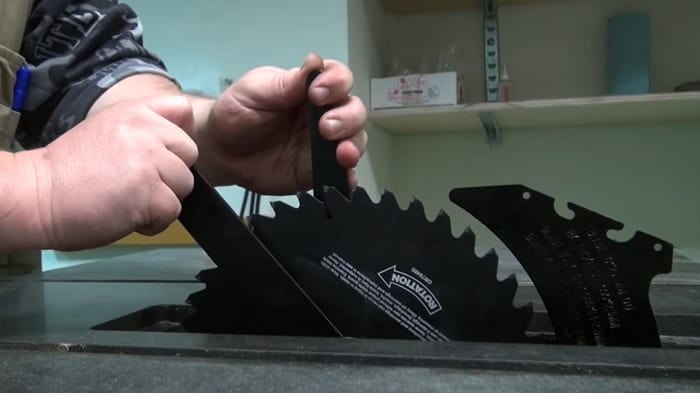 Fix the washer and the arbor nut properly and tighten them. For this step, follow the same procedure when loosening them. The wrench holding the nut should rotate towards the other one to tighten. Ensure they are tight enough and not fidgety to secure the blade properly.
 Place the throat plate on and ensure it clicks in place for security. Additionally, fix the blade guard to complete the installation process.
 You probably have one of these in your stash. It can come in handy when loosening the arbor nut. With the right size, you can use it to hold the nut and an additional one for the blade.
 You probably have one of these in your stash. It can come in handy when loosening the arbor nut. With the right size, you can use it to hold the nut and an additional one for the blade.
 A block of wood will come in handy if you only have one wrench. Use it to hold the blade, so it does not turn when loosening the nut. You can simply wedge it into the teeth, so it stays in place the entire time.
Ask Me Anything