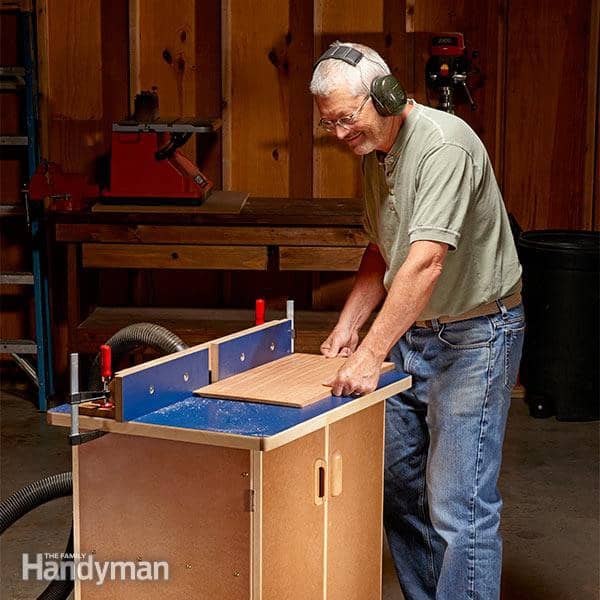
For you to have a proper working router table, you need a fence. Router table fences are mainly used for making joineries, creating decorative mouldings, door making, profile routings, etc. Have you ever tried to build any project, but it didn’t turn out as accurately as you intended? For accurate and precise projects, you need a good one.
Factory-made router table fences are quite on the expensive side, but thankfully, a homemade one isn’t costly at all. With the right building plans and tutorials like the ones below, you can make a great router table fence for yourself with cheap materials.
Table of Contents
1.DIY Router Table Fence
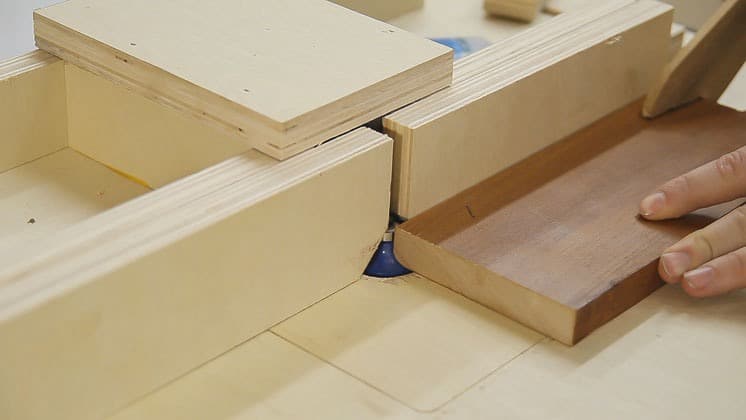
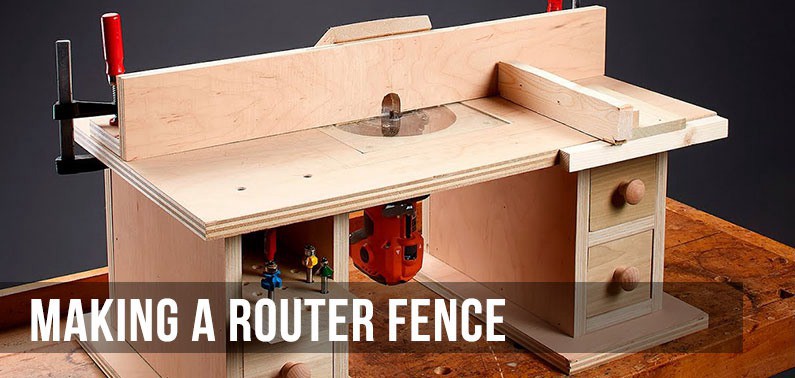
This router table fence is a simple split based design that would help to accommodate the dust, and fit in every other necessary feature, including the router lift, extension table, dust collection, and fence to make it exactly what you need in your workshop.
If you need the building plan, you can find the link to it within the tutorial. You would need plywood, a 2HP drill master router, a router table, a router lift, a router, some knobs, a drill, and a jigsaw to complete this build.
The written tutorial is ordered in a step by step format and has the necessary pictures that will help with your work.
2.DIY Feature-Filled Router Table Fence
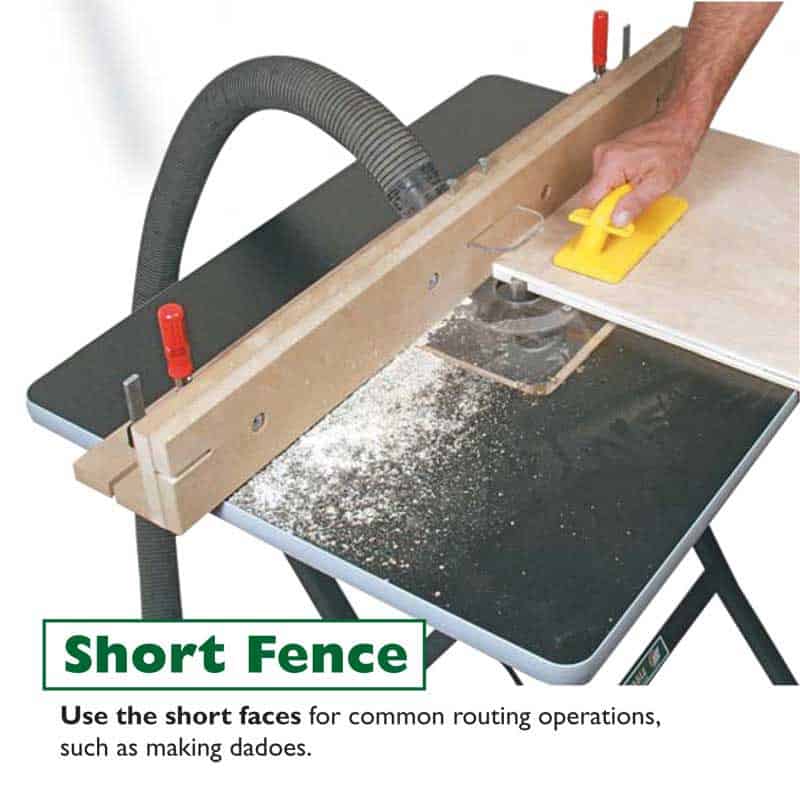
According to this designer, this fence was made with about $50 at the time of building. It offers many features, such as flexibility, since you can swap between faces; adjustability because you can adjust faces to surround the bit; and safety.
It also collects dust; it has easy-clamping features, its fences are interchangeable, and it can offset outfeed fence. This makes a pretty good fence.
This router table fence was built to work with router tables that are about 28 to 24 inches in length. If you are working with a longer table, you would need to cut the fence parts 4 inches longer than your table length.
You would need a table saw, a router table, a straight plyboard, some MDF, hole saw, slots, screw, and some glue. The written tutorial is segmented into 24 short and easy steps; it has a list of dimensions and labelled pictures too.
3.Standard DIY Router Fence
This is a simple and basic design, but it is so versatile that it fits on any router table that you wish to use it for. Before you begin, the designer suggests that you get your tools ready. They include oak, maple, or pressed plywood, fine sandpaper, lacquer (oil paint), glue, screws, bolts, and a drill.
In this tutorial, you would find plans for the first cut, detailing how you should go about it. You would also find that it is broken down into about 5 simple steps to help with clarity.
For about $100, you would be able to create a good and functional router table fence, with the aid of this written DIY tutorial.
4.Simple DIY Router Table Fence
This tutorial is an entire package for building a router table from scratch, but it encompasses everything, including plans for a router table fence. According to the designer, this router table design was built to help with storage and also offers stability.
For the fence, you should prepare some MDF planks, jigsaw or hole saw, a drill, carriage bolt, and some other items. The fence building instructions come in the lower part of the tutorial, so you might need to scroll down a little to find it.
The written tutorial has some photos for guidance and step by step process for ease.
5.Homemade Router Table Fence
The entire fence was created from about 3x1½ in. lumber. For this fence plan, you would need to do a lot of cutting, so get your sawing tools ready. The link to this building plan can also be found in the description box of the tutorial if you need to take a look.
You would need to cut some spaces in the base and support plate so that the fence would fit. The designer used holes about 2in. wide and 2in. long. The video tutorial is fully instructional, and the instructor tells you exactly what he is doing as he works.
The router table fence plan is pretty simple and easy to follow along.
6.DIY Router Table Split Fence
A good router table fence should be sturdy to avoid shifting around during use; it should be simple to give your work precision and accuracy; it should be functional and fit for use around the workshop, square, portable, and adjustable.
These are all the functions this router table fence possesses. It is a very simple to build design and quite solid; the designer also gives tips on what and what not to include in your fence as you build.
For this fence, he advises that you used hard maple plywood, no MDF needed. Each of the tips included in this video tutorial help to make your router table fence quite sturdy and unmovable, no matter what.
7.Adjustable DIY Router Table Fence
This router table fence was designed from Baltic birch plywood and has a ton of neat features. For instance, its front plates are adjustable; it has dust collection and a T-track for repeatable cuts. It is also lightweight and small so you can store it easily.
You can find in the description box, a link to the building plans, and a list of tools and equipment used. This is another quality tutorial that shows the step by step building process of the router table fence. It is a short tutorial so that you can watch it in one sitting.
Conclusion
If you own a router table, making a good fence should be one of your primary concerns. Each of these tutorials offers plans that fulfil each or most of the needs listed above. Choose any of the plans that suit you best and get to building yours too!



Ask Me Anything