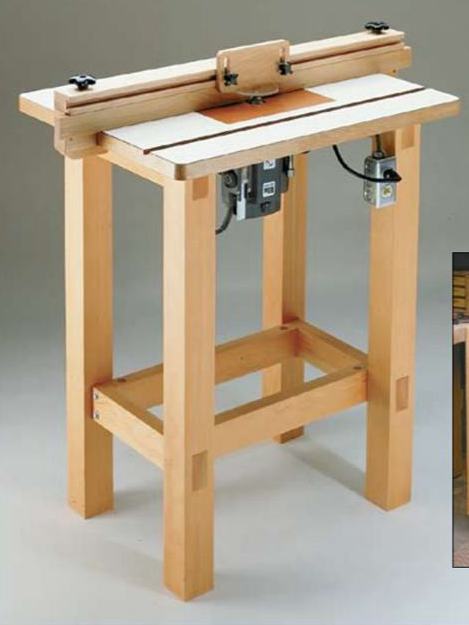
There’s not much you can do with your router table if you don’t fit in a router lift. But the problem is, buying a new factory-made one is just too expensive, and to be honest, not worth all the hype. Because why buy one when you can make it yourself, right there in your workshop?
With just a few bucks, spare time and good materials, including those you already have in your workshop, you can get one up and running in no time. You would, however, need a guide to walk you through the steps, this article will show you how through any of the tutorials.
Table of Contents
1.DIY Precision Router Lift
This router lift came to be because the designer needed to create router lift plans to meet client demands. According to him, these router lift plans would be suitable to mount their table saw extension wing or their table design.
This router lift was designed to fit on any table. A link to its details is embedded within the tutorial. In this tutorial, you will find only the building instructions for the lift and covers used for specific parts of the lift. The plans and drawings are also within.
In this written tutorial, some instructions show you how to cut out and prepare all your plans and then smoothen out the bits and pieces that need to be sanded. After this, you can begin to assemble the parts using the embedded videos as well as notes.
2.Ultra-Cheap DIY Router Lift
The designer claims that this router lift can be put together for as low as $70. This is quite cheap for a router, although it is not the same as a professional-grade router. With the right connections, you can even make yours for lower.
This written tutorial is built in 6 simple steps. The tutorial is complete with images so that you can quickly grasp what you’re reading. The pictures are clear and ample. The first step of this plan is to go through the design overview; you would find a breakdown of the design.
Next, the designer worked on the depth stop by replacing it and tightening it. Afterward, he drilled through the base and then marked and drilled the recess for bolt head on the router plate. Finally, he constructed the compression bolt and completely assembled the lift.
3.Solid DIY Router Lift
This is a router lift design for a table saw wing. This video tutorial is not so long and easy to understand. It is very instructional and has the designer guiding through the tutorial. It’s also very detailed and precise for a DIY beginner skill level.
You would need some plywood, wood glue, clamps, a jigsaw, drill press, mallet, drill bit, T-nut, and other tools you would find in the video tutorial. He also gives dimensions and measurements as he works.
For this tutorial, you might have to watch till the end to get all the information about the materials and tools you would be working with. Accurately following the instructions found in this video should get you a similar looking router life.
4.DIY Shop-Built Router Lift
For this design the constructor used a 90-degree drill attachment to make the lift mechanism adjustable from the front, instead of above; and used an aluminium T-track and polyethylene for the linear guides.
You would need some screws, plywood, drill, circular saw, clamps, glue, nuts, and the rest of the materials you would find in the tutorial. It’s a fully instructional video, and the instructor gives directions as he works. You can follow easily and see the tools.
In the description box, you would also get a link to more information about the project and a video tutorial for a table mount for your router lift if you wish to build one yourself. The video is not too long, so you can watch it in a sitting.
5.Easy and Cheap DIY Router Lift
This video tutorial has the link to the pdf version and building plans embedded within the description box. If you would prefer the written text, you may go for those. It is a short video, however, and would not take too much of your time.
For this video, you would need a router, drill bits set, optimum drill press, planer, clamps, Makita router, Makita drills, aluminium clamps, and some others listed in the description box. This DIY router lift is very easy and cheap to build.
This video is the first part of the series, and you may check the YouTuber’s website for the remaining parts. The designer built this router lift for his IKEAhacked BEKVAM kitchen cart, but it is suitable for other router tables if you can stick to the design plan.
6.DIY Router Lift
This designer used a scissor jack for the raise and lower mechanism of the router lift, and also made use of other scrap materials he already had in the workshop. This video tutorial is about 9 minutes long, not very instructional, but you can follow easily.
In this tutorial, the designer used the following tools and materials to build his router lift. Flap disc, welding helmet, angle grinder, metal cutting saw, mitre saw, plasma cutter, sander, sandpaper, bandsaw, bandsaw blade, and others within his list.
To make the most of this video, watch through to the end and make notes of dimensions and a cutting list as you follow, this would help you remember the necessary information as well as help you prepare the materials you would assemble.
7.DIY Motorized Router Lift
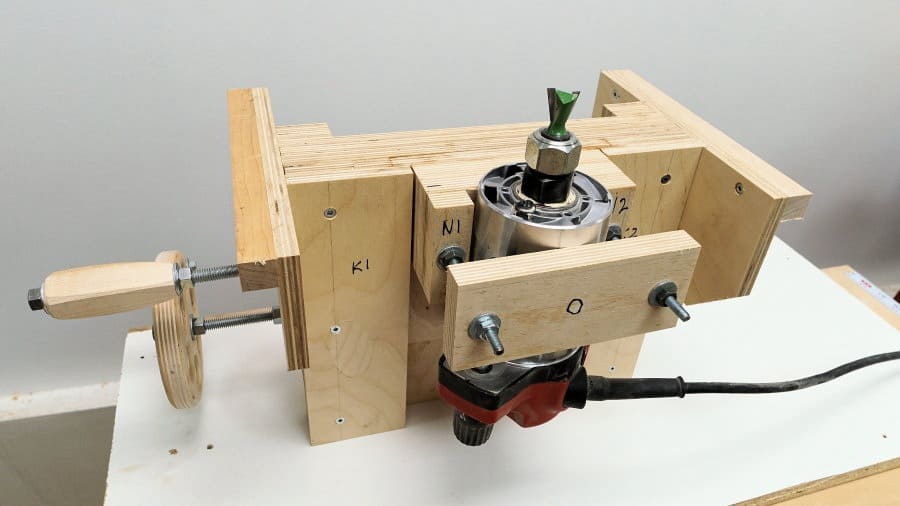
This router lift was made from the builder’s desire to make mortises with a router. According to the builder, it’s a simple tool to build, especially if you follow the instructions within. The building plan is easy too.
In the written tutorial, the designer teaches about the concept of the project. You only control the movement of the router while incrementally plunging the bit to make the mortise. This is done by motorizing the lifting mechanism of the router.
He also added a Tenon jig to the router table, thereby controlling the movement of the workpiece. You would find that combining those two techniques will help to make a highly effective and efficient router table mortising.
Within the tutorial, you would also find some benefits of using this router lift; for instance, it can be used to change bits. For further information about the router lift, and building plans, see within the written tutorial for an embedded link.
8.Easy DIY Router Lift
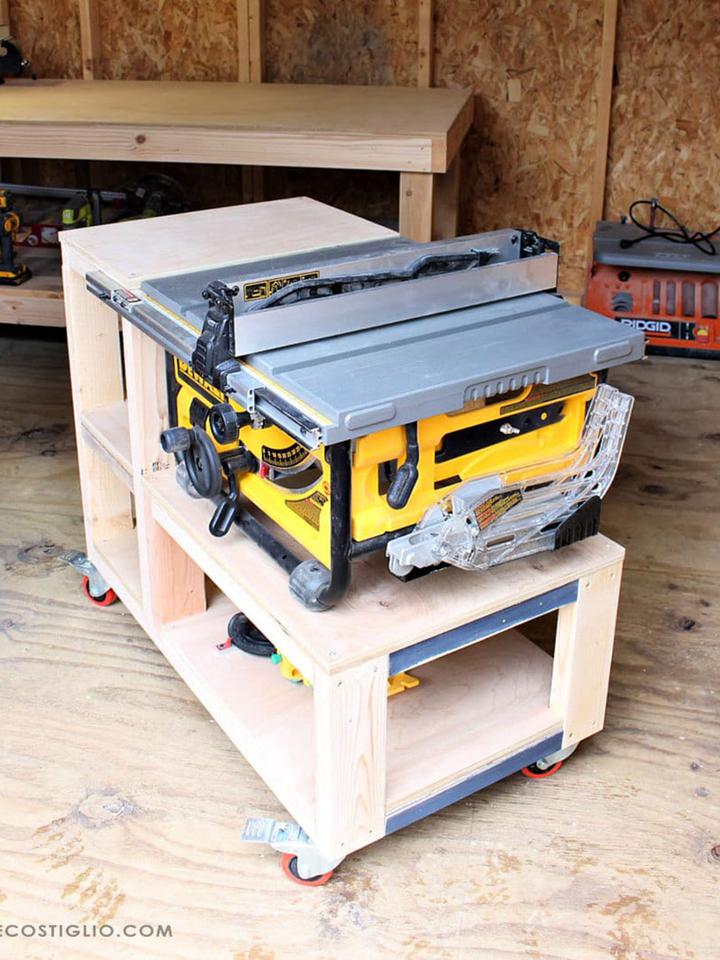
This router lift was built to be installed on the overhang of a table saw. This designer created an easy to use lift mechanism with the location of the crank handle and height adjustment at the front panel to allow for ease of access.
The position of the crank handle and height adjustment also makes it easier to check the height of the bit while you work. The tutorial has links to download its dimensions and cutting list within the article. It also has the video tutorial version within too.
The video is divided into two parts, so watch sequentially, don’t forget to watch the second part. Prepare your working material as well, plywood, clamps, drill bit, aluminium, screws, nuts, and other items that would be necessary for getting the job done.
You will find all of these within the video if you are not sure of all that you will need.
9.WWMM DIY Router Lift
This design was created to help with raising and lowering the router without having to reach underneath the table. Also, the bits of the router can be changed from the top of the table. You would need building skills a little higher than the beginner level.
Although it’s an easy concept, the builder found it a little challenging to build. That is because he tried to combine two different router lift designs to create one special one of his. It turned out quite well and also worked excellently.
This video tutorial, however, does not have building plans; instead, you would find an embedded YouTube video that shows you how to build your router lift. Embedded in the description box is a link to his working tools and other items you may find necessary.
10.DIY Poor Man’s Router Lift
This designer made a makeshift router lift by adding a Benchdog router table extension to his table saw. In addition to his pre-owned Porter Cable Plunge router, he bought a Benchdog aluminium router table extension and quickly built a router lift.
Using a few other items like some bolts, T-nut, angle iron and more, find out how the builder created this cheap improvisation within this written tutorial.
Conclusion
The tutorials in this guide are filled with instructional materials and well-written plans to help you build your router lift at a minimal cost. All you need to do is go through the written or video versions of the tutorial. After this, prepare your tools and materials for the construction.


Ask Me Anything