
What good is having a knife if it’s not sharp enough to do your cutting? Knife sharpening jigs are necessary for any workshop. Without having to buy professionally made or factory-made sharpening jigs, you can build an effective and efficient knife sharpening jig yourself. A well-made jig is built to hold your whetting stones well.
You also don’t need too many expensive hand tools or hardware. You would only require simple tools such as a band saw, drill press, a tap, and a die set. Find out how to make a good one using any of the tutorials below.
Table of Contents
1.DIY Knife Sharpening Jig
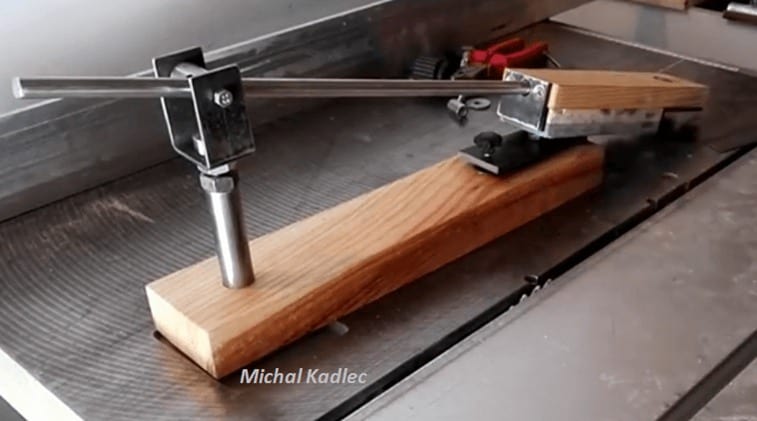
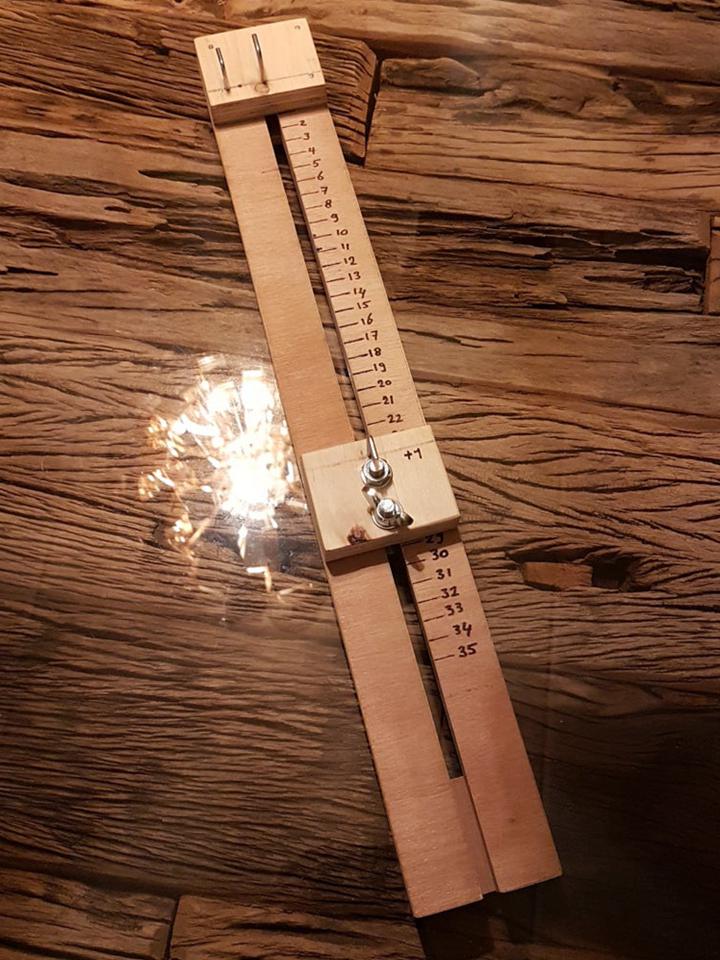
According to the designer, this knife sharpening jig doesn’t require a CNC or plasma to build. For this construction, you only need some tools like a band saw, a drill press, a tap and die set. The materials used in the tutorial were mostly scrap materials.
The screws used in this homemade knife sharpening jig was built in a way that would make the angles of the tool adjustable. The video tutorial contains a step by step building process on how this jig was made.
It, however, has no voice or written instructions, so you need to follow carefully to figure out what the designer is doing at every moment.
2.Handmade Knife Sharpening Jig
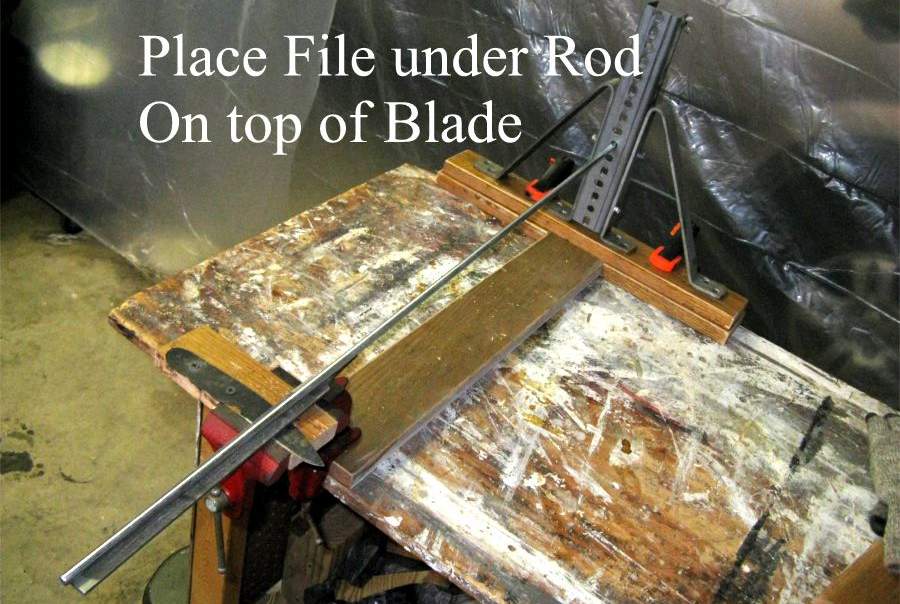
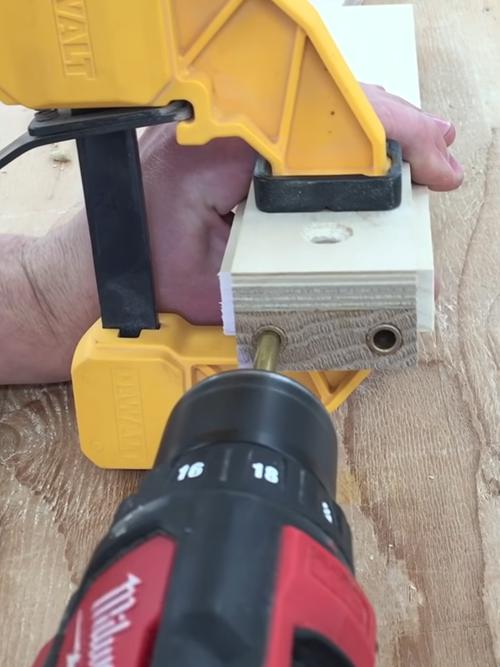
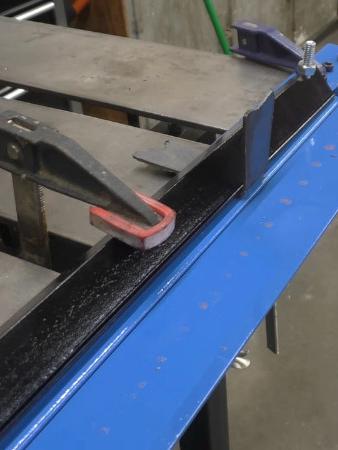
This jig is inexpensive to make, easy to construct, and built to fit a small workbench or project table. The designer also created it intending to have a jig that worked. The 8-stepped tutorial is easy to understand, and the building of the jig is not so difficult either.
The first step is assembling the wooden base of the jig; this involves some cutting and screwing together of wood. The second step has to do with working with the metal materials and setting up the shelf brackets and L steel. In the third step, you place the knife.
The fourth step involves placing the metal file beneath the rod, and atop the knife, while the fifth and sixth step entails trying out and test running the jig. In the seventh and eighth step, you give the jig a subtle finish to complete the project.
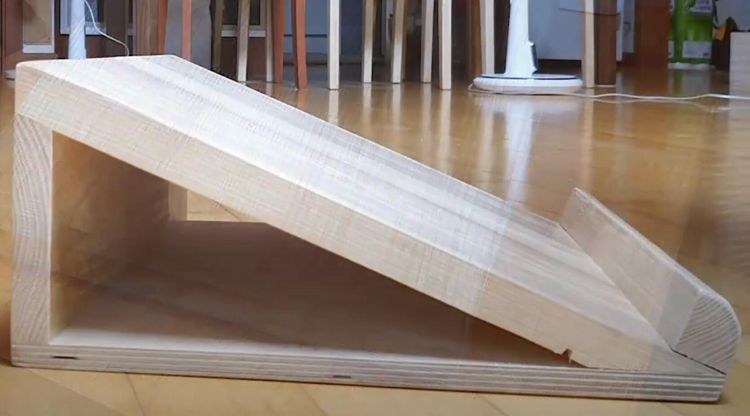
3.Right-Angle DIY Knife Sharpening Jig
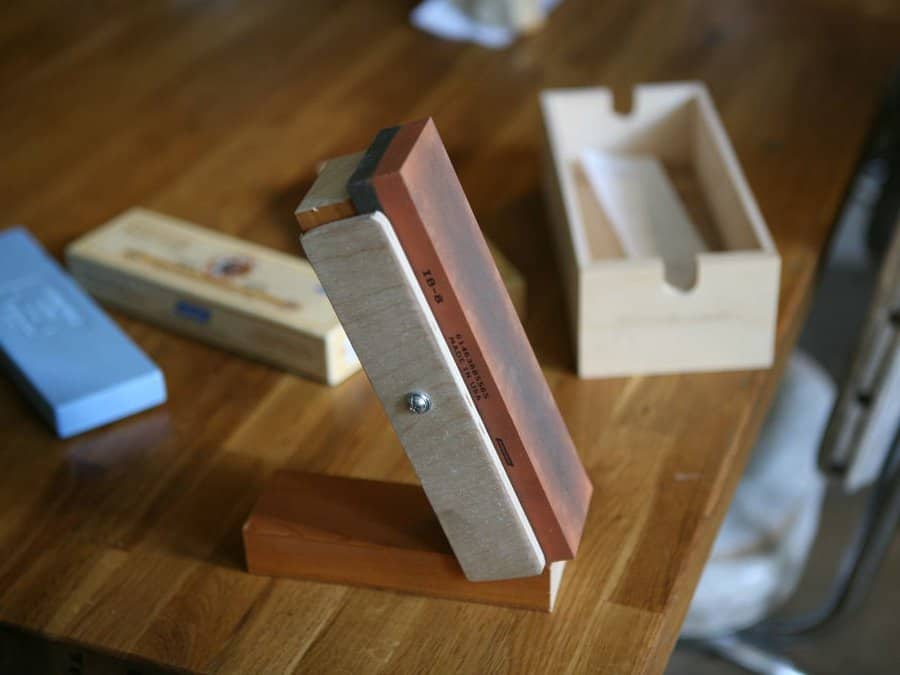
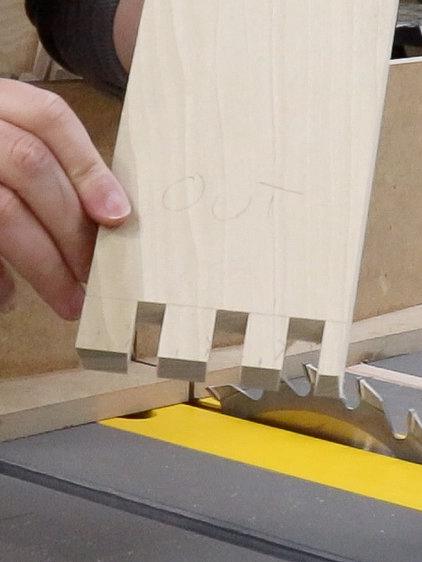
This jig is very simple to make, nothing extraordinary or extra-fancy, just perfect to get the job done. The designer built this knife sharpening after sustaining a series of cuts while trying to sharpen his knife manually. This is probably very relatable to many.
The trick to this knife sharpening jig is to set it at the correct angle that makes it suitable enough to do the proper sharpening. In this design, the jig is structured at a 90 degrees angle, just the right bevel to help you get the right angle at all times.
For this 5-stepped written tutorial, you would need some scrap wood, a chop saw, a drill, clamp, a jigsaw, scroll saw, or handheld saw, sharpening stones, and a good knife. You begin by cutting the base and main support; this will help keep the stone in place.
The rest of the steps can be found in the tutorial.
4.DIY Knife Sharpening Jig and Systems
This project was done based on the Lansky Sharpening System, Edge Pro Apex, DIY Precision Knife sharpening setup. The link to these systems can be found in the description box of the video tutorial. This jig can be used for all types of knives, even pocket knives.
In the description box, you would find some new updates for this design. For example, the initial screw tops are no longer being used by the designer because it scratches the blade surface. Also, the sandpaper grits have been reduced to 400-800-1200.
For major re-profiling, the designer uses 280 grit. The video is fully instructional, with its step by step process and voiced instructions; you can’t go wrong as you build your jig. It’s a long video, so make sure you have enough time on your hands.
5.Homemade DIY Knife Sharpening Jig
The tutorial starts by listing the materials and tools that you would need for this jig. The list includes sandpaper, plywood, screws, plyboard, L steel, tape measure, and other items. There are no plans, measurement or dimension for this project in the tutorial.
However, this video tutorial is straightforward to understand. The process is well detailed and precise, you can tell what he’s doing and the steps he’s handling just by watching the tutorial. It’s a pretty short video, so you would be done watching it in no time.
You can also get your project done under record time if you follow the tutorial closely and accurately.
6.DIY Guided Knife Sharpener Jig
This knife sharpening jig was made using the peel and stick sandpaper, also called PSA sandpaper. The designer includes a building plan within the tutorial, it is shown briefly, so pay attention. Next, he begins sawing and cutting up plywood materials for the jig.
He drills holes into the wooden construction and sands it down for a neater look. This video tutorial is fully instructional with the instructor telling you what to do and how to do it. The video is self-explanatory, with easy to do instructions.
As you watch this video, you may want to watch it to the end before you start your building to avoid all the mistakes the builder made as he tried out the jig making procedure. You also would need to get your materials and tools ready before you build.
This will help you do a faster and less tasking job when you begin.
7.A DIY Knife Sharpening Jig
This is a short tutorial. It doesn’t have voice over instructions, but the procedures used, and video is quite clear. He begins by cutting out all the materials he would use in making this jig. This includes a bit of sanding as well.
This video tutorial needs to be watched with rapt attention to get all the necessary steps down. You would need plywood, screws and drills, sander, saws, and a few other items. The drill design is a simple and efficient design that can be adjusted to fit different types of knives.
The tutorial is simple; all you need to do is get the right material and tools and begin building yours.
8.QuickFix DIY Knife Sharpening Jig
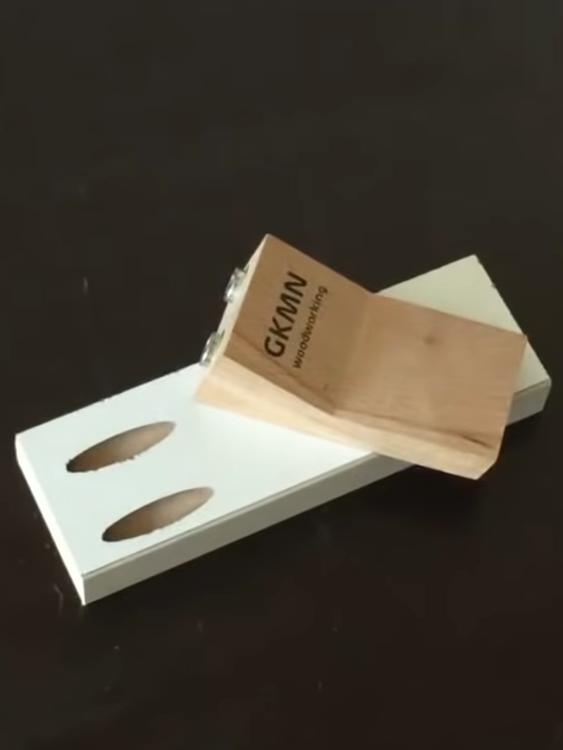
This jig works for not only sharpening knives but other woodturning tools. A good (knife) sharpening jig is essential for both knives and woodturning tools. It is necessary for creating tools that make precise edges. It is very cost-effective and straightforward.
The designer built this sharpening jig in a way that it is not overly engineered; he created a design from scrap things he found lying around in his garage. He, however, bought about 2 eye bolts in addition to his preowned working tools.
In this concise video tutorial, the instructor takes you through her steps accurately and precisely for ease of understanding. The structure is set at a 45-degree angle for easy usage. This jig is very simple to build, and the tutorial would do a great job as a guide.
This design is missing a plan or cutting list and dimensions, but you can figure all this out as you go along.
9.Homemade ‘Scary’ Sharpening Jig
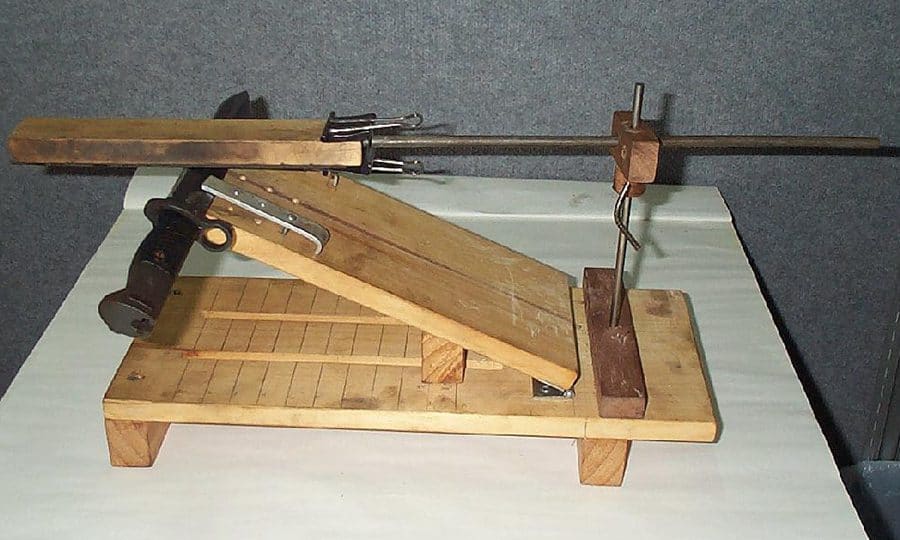
This written tutorial is quite a few years old, but the design is still as relevant as ever. The blade of the knife is held in place by a hinged bed, by clamps made using aluminium, some bolts and wing nuts. The bed angle can be modified and adjusted by a sliding block.
This block also locks in place with wing nuts and bolts. The angle you use to sharpen is set by changing the bed angle. This tutorial includes more information about how to get your sharpening jig done. It also includes newer updates to the plan, so ensure to read through entirely before you begin.
The tutorial includes a few pictures so you can see what the finished product ought to look like.
10.Super Sharp DIY Knife Sharpening Jig
This design is super cheap and works well in handling the exact degrees, which means that without prior knife sharpening skills, you can make a knife sharp. For this sharpening jig, the designer used sandpaper as the knife sharpener.
This short tutorial is simple, straight to the point, and is done in a step-by-step manner. Get your plywood, saw, drill, sandpaper, wood glue, and steel rod ready before you begin building. You would also find the rest of the materials and tools you need inside the video tutorial.
Conclusion
Keeping your knives sharp sounds like a seemingly easy task. But building a knife sharpening tool to function well enough that it helps with that ‘easy’ task is the difficult part. Although many of these knife sharpening jig designs are simple, the trick is to make sure that they are aligned at a particular angle that would give your knife the sharp edge it deserves.

Ask Me Anything