Even though you spend a significant part of your life sitting, do you ever find that a lot of times, your seat is not entirely comfortable? It is possible that whoever built your seat didn’t make it fit your sitting needs. When you’re home, in the kitchen, out on the patio, or even at the workshop, chairs are necessary furniture, whether they’re for comfort, work purposes, or as a piece of decoration.
Using any of the following DIY tutorials, you can build any of these chairs to suit your specifications, preference, and needs with cheap and scrap materials.
Table of Contents
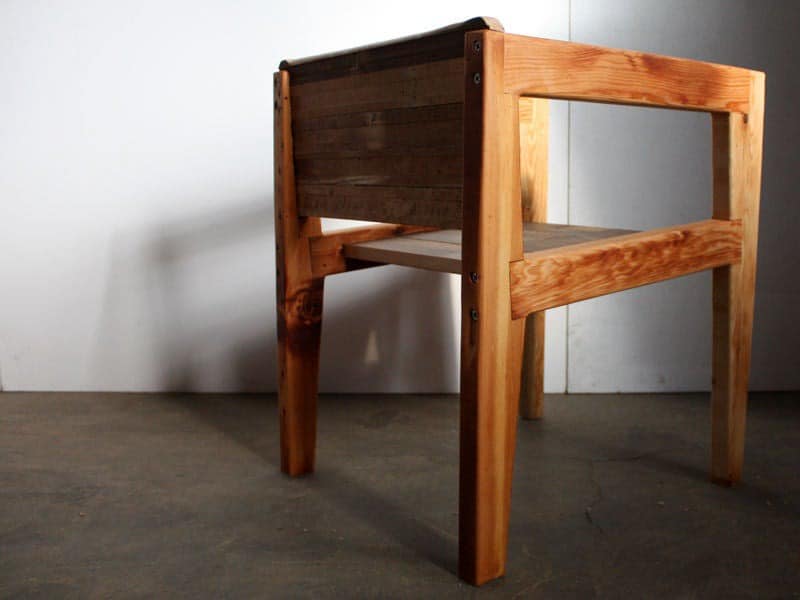
1.DIY Scrap Armchair
Building an armchair is a little bit difficult because fitting in the arms into the sitting structure and making it look good enough for use is a tough task. But this armchair was built so simply, that with scrap wood that you have lying around in the workshop, you can create a simple-looking, but rustic, traditional styled furniture.
For the frame of this chair, you would need 2 x 4 in. plywood, galvanized wood screws, wood glue, Tung oil, circular saw, chop saw table saw, router, and other tools listed in the written tutorial. The tutorial is divided into 5 steps, short and straightforward.
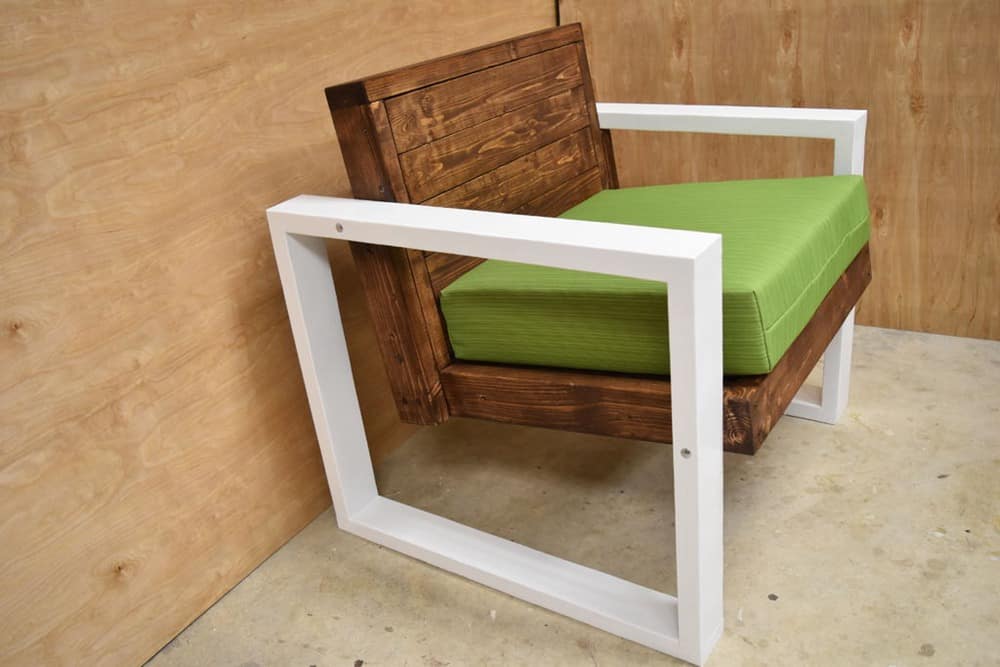
2.DIY Modern Chair
Included in this tutorial are the dimensions used for the project. You would need bolts, plywood, screws, washer, and lock washer. The project has 12 steps. For the first step, the builder does the cutting of all woods needed.
Next, he goes ahead to prep and assemble the arms, he goes ahead to construct the seat, drill the pass-through bolt, attach and install the seat and arms, and the last three steps give the work a fine finishing.
The steps in this written tutorials are short and easy to understand. Within the tutorial, there is a link to the video version, which contains beefier instructions and visuals for you.
3.DIY Kids Chair
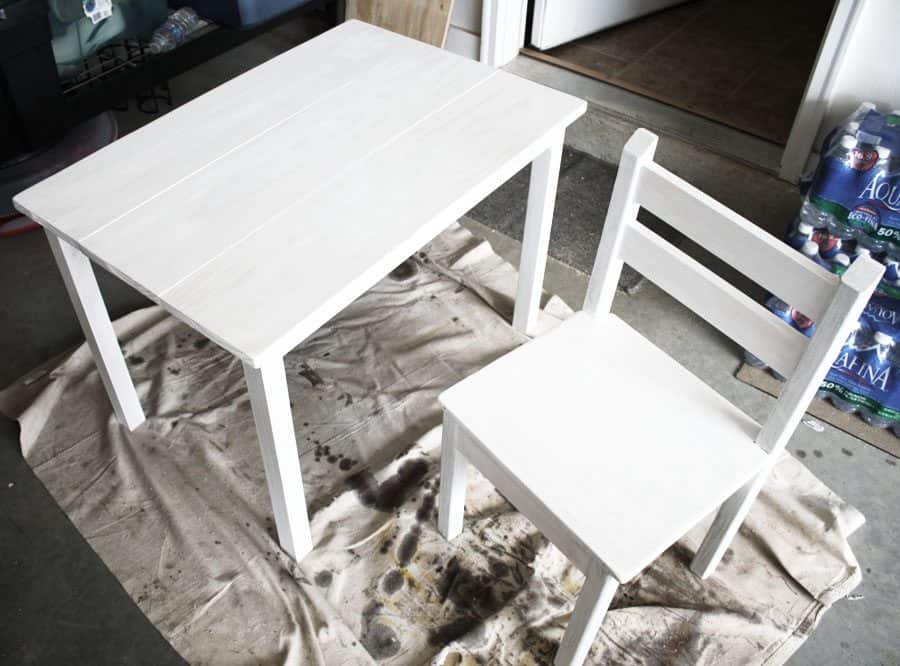
This builder made a cute and tiny kid’s chair for just about $5, and it is very durable and strong. Although this design was an initial design from another builder, this is a thoroughly modified version by this builder.
This design is suited for a child’s chair. In this written tutorial, you would find measurements for this plan and some pictures as a guide. You would need either some glue and nails or a Kreg jig; you would also need some wood filler, nails, and a few plywoods for the building of this chair.
Once you are done with coupling and assembly, you can finish it off with 1 coat of primer, 2 coats of paint and 3 coats of satin polyurethane.
4.Simple-to-Make DIY Chair
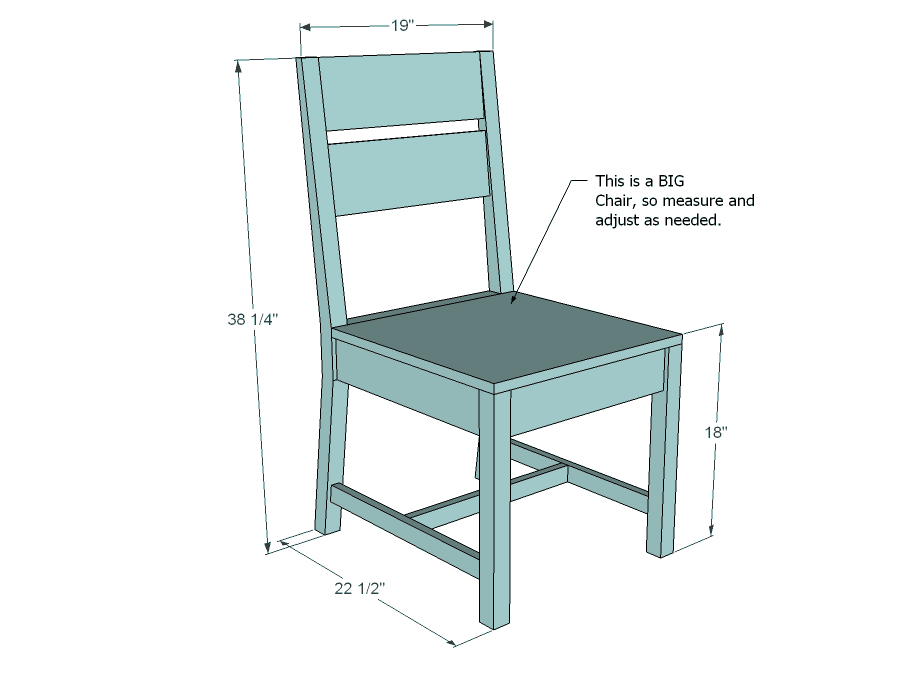
This chair was made roughly under an hour, so if you are short on time, but want to make something nice, this would be a good fit for you. The plan has a detailed list of cuts and the sets of diagrams that would help you as you begin to build.
The builder made this with about $20 and is set to only ‘beginner level’ difficulty. This means that you don’t need any special skills to be able to recreate this design. The designer warns, however, that the back legs of the chair may be a little challenging to cut.
You would need varying lengths and sizes of plywood, a yard of fabric, 1 piece of thick foam, some staples, tape measure, pencil, Kreg jig, and then pocket holes screws. The sizes and lengths of plywood used alongside other tools can be found within the written tutorial.
5.DIY Twin Sleeper Chair
This design was made to be used as both a chair and a bed. The twin sleeper chair can be unfolded into a chair, and also comes with a storage compartment for the bedding. The builder spent about $100 on this project, and building it is also quite easy too.
This video tutorial is fully instructional, and the designer takes you through each step as the video progresses. For this design, you need some plywood, mostly 2 x 8 boards. You would also need a Kreg jig, some screws, fabric, and a host of other items in the DIY.
The building part of this design is quite easy to do, the hard part is the stitching and sewing of the cushions. Nevertheless, this video tutorial comes with free plans which you can find the link to in the description box.
6.DIY Pallet Chair
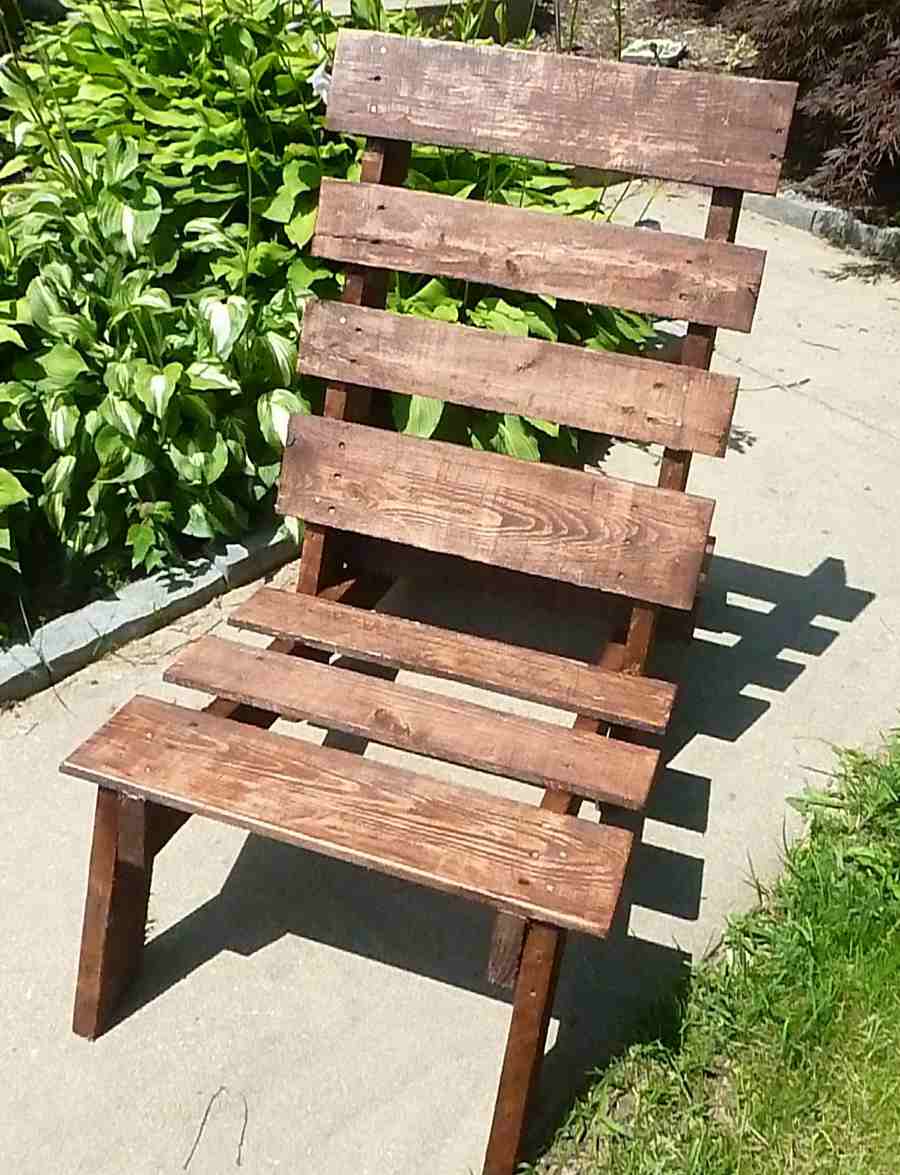
This written tutorial is very brief, and the design is super easy to make. If you have some spare pallets, you may want to try this one out. The designer only used a single pallet for this build. You would need a pallet, nails, a belt sander, grit paper, and some stain.
The pallet chair tutorial has some pictures that show the before and after transformation of the pallet. At the end of the build, he sanded the chair down using 50, 120, and 330 grit paper.
For a beautiful finishing, he painted the chair with some leftover furniture stain. With or without the stain, the chair still looks good; you can decide which of them you prefer.
7.DIY Recycled Folding Chair
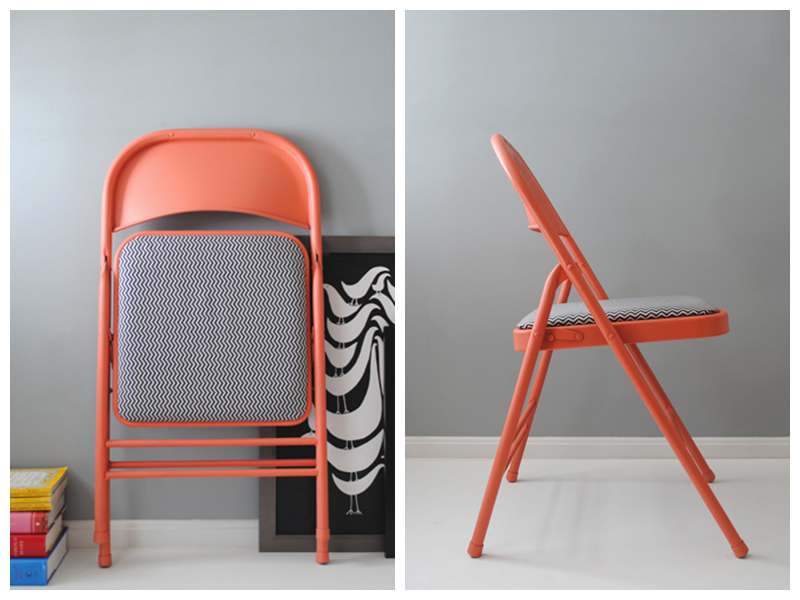
Do you have a folding chair that’s starting to look like scrap? Don’t discard it just yet. This DIY tutorial is for your plain-looking folding chairs. The best part about this chair is that you don’t have to build it from scratch.
You are merely going to make slight modifications to one that’s already existing. You’ll need a folding chair, screwdriver, drop cloth, some spray paint (2 cans per chair), fabric (20 x 20 in. piece per chair), scissors, staple guns, and staples.
This chair has only 4 simple steps, broken down into understandable and straightforward steps. First, you remove the existing cushion, then paint the chair using the cans of spray paint. You can find how to do this in the written tutorial.
Next, you re-do the existing chair using the new fabric, and finally, you can assemble your chair and start using it as soon as you wish.
8.DIY Stick Chair
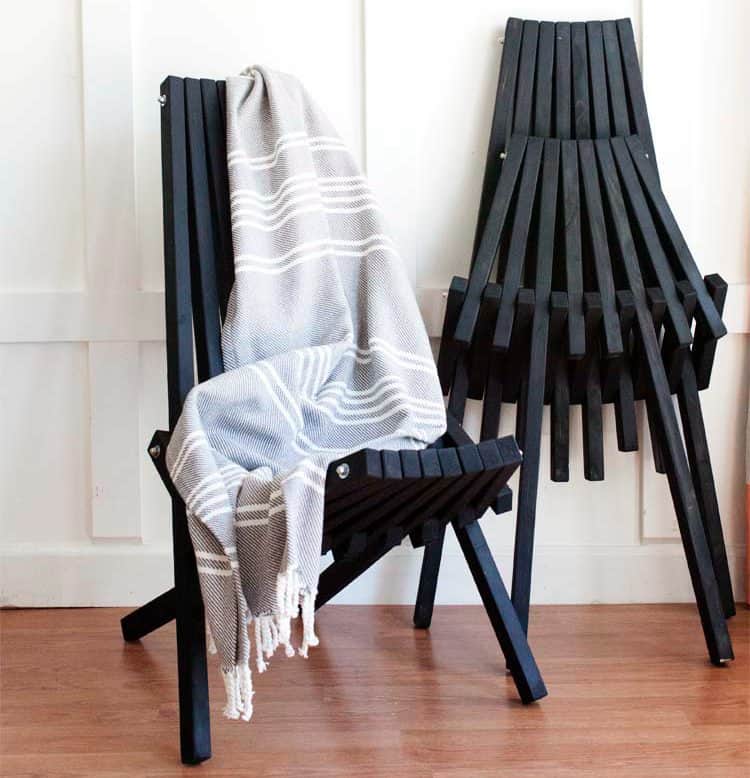
This is a great porch chair, but it can also be used in the garden, or anywhere outdoors. It is also great if you’re low on storage space, because you can fold it up and pack it away when you no longer need it, or you want to keep it out of the way.
The design is mostly varying lengths of 2 x 4 inches plywoods that have been screwed together. The chairs were made for about $40 each, and here is a list of what you would need; pine or cedarwood, table saw, mitre saw, a sander, drill, drill bit, router, and other items.
You can find the rest of the materials and cut list within the written tutorial. The necessary diagrams, dimensions, and building plans can also be found in it.
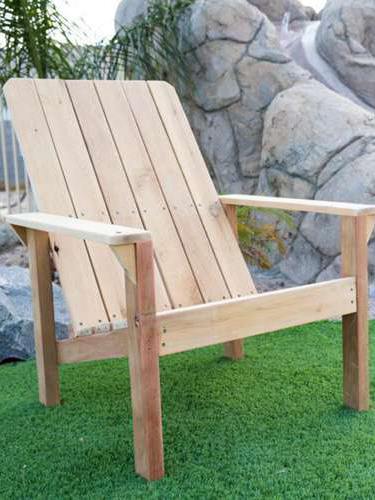
9.DIY Outdoor Chair
This outdoor chair is a must-have to make the most of your outdoor space if you have a lot of space outside. It also works amazingly out on the patio. This is an outdoor lounge chair that is ‘so comfy’ according to the builder, and interesting to build.
The link to the project’s plans can be found in the description link below to give you a better look at how to build the chair. You would need different sizes of plywood, which would be cut up for the frame of the seat, then some screws, wood glue, and a drill.
This video tutorial is instructional, a lot of geometry is also involved in this build, so you may need to pay close attention. This luxury seat is given a shiny coating, and feet to keep the wood out of water.
10.DIY Dining Chairs for less than $100
This video tutorial shows you how to build 6 dining chairs for only $100. You would need different sizes of plywood (he lists the sizes in the tutorial), pocket screws, and a can of paint. The chairs are pretty easy to build and would save you a few bucks.
Each step of this building project is described in the tutorial as he works. He starts by making cuts of his plywood and then uses a Kreg jig to create pocket holes. He uses a jigsaw to make his cuts, and he gives the measurements and dimensions as he works.
He also uses a sander for a neater finish. This video is quite lengthy, but worth every minute. You can make notes as you follow along carefully. If you only need about 4 chairs instead of six, you can find the hack that the designer proposed in the description box.
11.DIY Lounge Chair
In this video tutorial, you will learn how to make a lounging chair, but you will also learn how to bend your plywood, using a method called Kerf Bending. It makes plywood more flexible.
For this design, you would need cardboard, hardwood plywood, MDF, jigsaw, sharpie, screw, tape measure, and different types of clamps, a lot of wood glue, and other items you would find in the tutorial.
You need to pay close attention as you follow this video because it is a little bit complicated. The designer, however, gave detailed instructions as he worked so you can understand the tutorial. This project may take a while to build, so make sure you have ample time. The beauty and style of the finished chair is worth all your time.
12.DIY Rope Lounge Chair
This is another project that involves bent lamination, almost like the DIY Lounge Chair. In this video tutorial, the designer starts by drawing a chair outline on plywood and building the mould pieces from leftover wood. He then cuts out 40 layers of thin veneer sheets.
He goes ahead to cut the sheets to length, then sands them down. Next, he bends the sheets and glues them together with melamine glue. After 24hours, the pieces in the mould are then taken out and planned. The parts are assembled with nylon rope braided in between.
For a more detailed and accurate description of this project, follow the tutorial and check the description box for further details.
13.DIY Children’s Play Chair
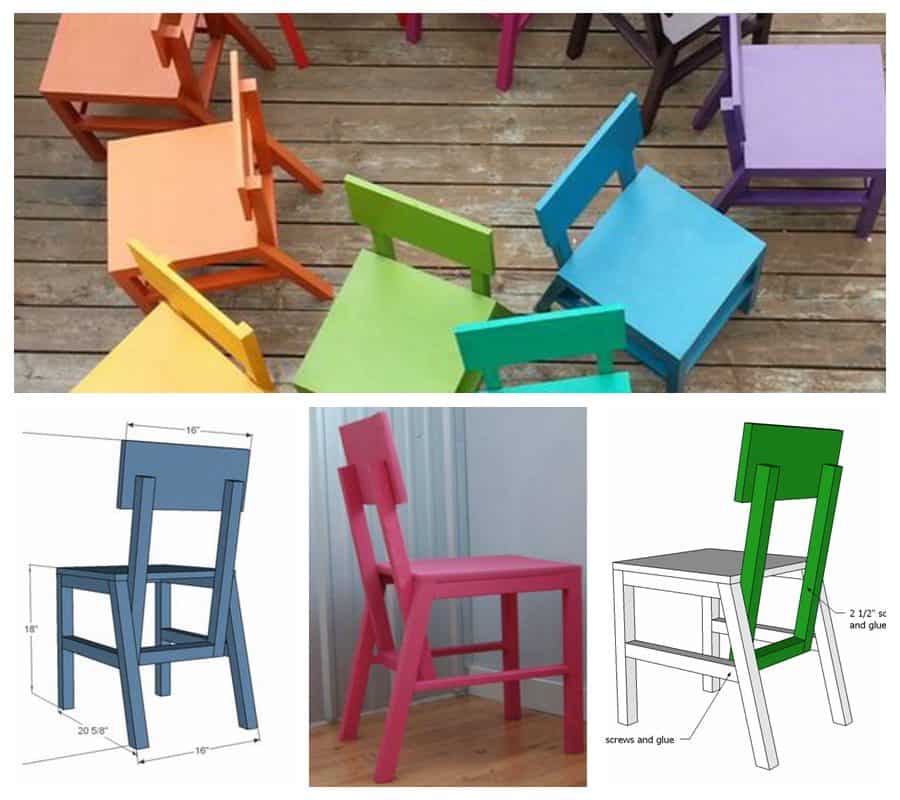
This chair is built in a simple design that is also cheap, colourful and modern. The chairs are lightweight and suitable for children’s play or homework space. To build it, you need plywood, screws, wood glue, wood filler and paint.
You may find the rest of the measurements and chair plan within the tutorial. It has 5 simple steps that can be done within a short time.
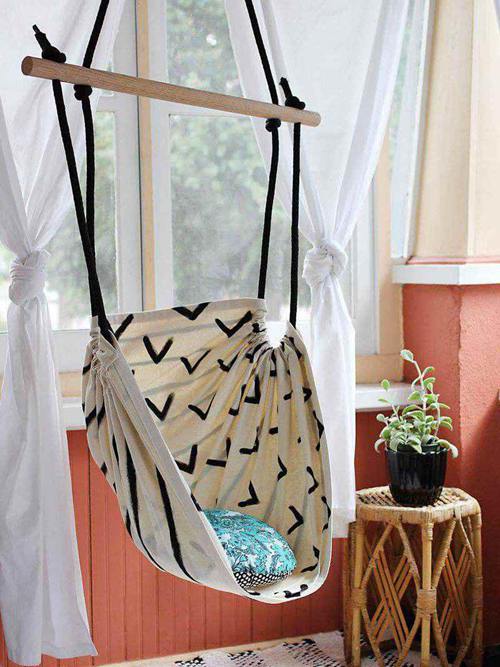
14.DIY Hanging Lounge Chair
This is a unique and simple DIY design, where the lounge chair is suspended in the air with some ropes. You need only oak dowels, canvas drop cloth, strong rope and a support hook. This chair is super simple to make and great for relaxing out on the porch.
Note that you would do some sewing, so you need a sewing machine. A simple and precise list of instructions is inside the written tutorial.
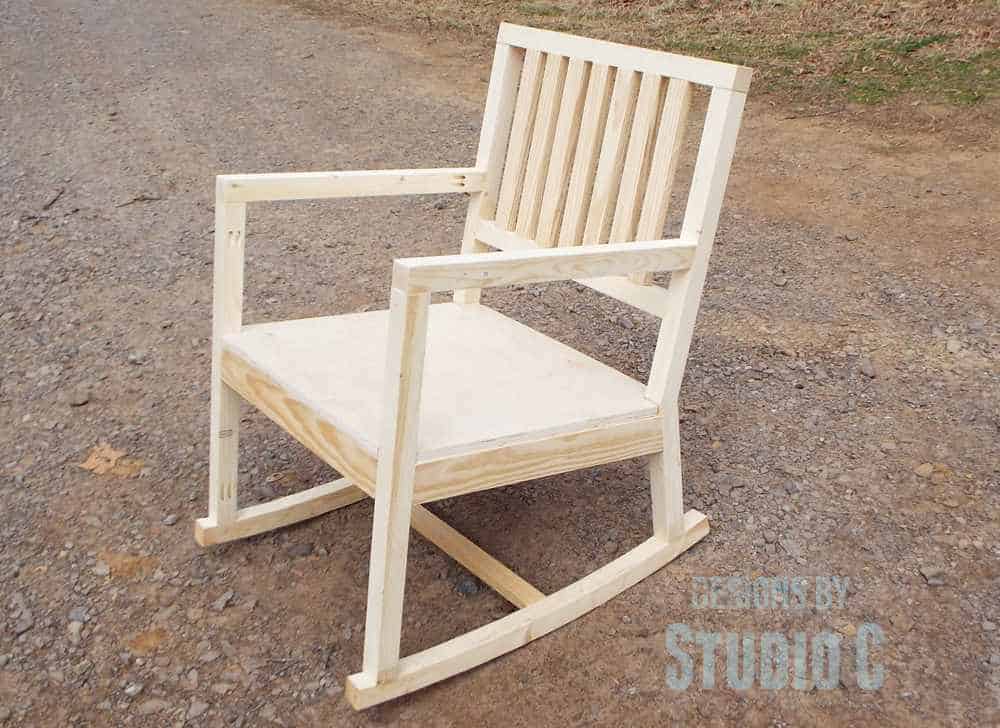
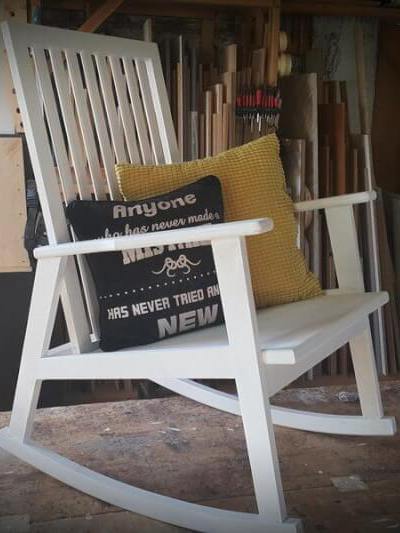
15.DIY Homemade Rocking Chair
For furniture that's extra rustic, yet fanciful, this DIY rocking chair would be your best bet. You mostly need some scrap lumber, wood glue and screws to get this job done. It is sturdy, easy to build and maintain.
The written tutorial contains a list of materials, dimensions, and a plan to help you build your rocking chair. It doesn't require much skill to build, only take note of the instructions and follow carefully.
Conclusion
The chairs in this tutorial are classy and unique in their way. They are also all suited to fit different needs, from relaxation to homework or just another brilliant piece of décor to add to your collection. For results that are as close as possible to the original designs, all you need to do is follow these tutorials carefully. You may also tweak the designs to suit your needs.




Ask Me Anything