

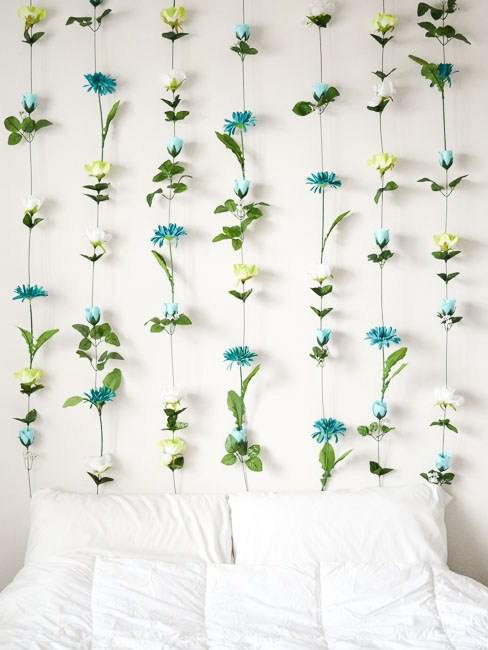
There's a sure way to put a smile on the face of a loved one on birthdays, and that's to create a homemade flower bouquet. Nothing else says "I love and celebrate you" quite as much as gifts with your stamp on them.
If you've never tackled a DIY bouquet, why not try it? It's incredibly relaxing and fun. When you look at your handy work afterward, the flowers will bring you as much joy as the person you made it for. You might love it so much that you keep it and make another one, or pick the one from Bouqs you’ve been thinking about putting together.
If you have enough time, you could even consider taking your DIY project of love a step further and create a concrete holder for the bouquet. That way, a part of the gift can last forever and bring happiness countless times.
Let's dive in and look at a few pro tips for making a flower bouquet.
Table of Contents
Plan Your Bouquet
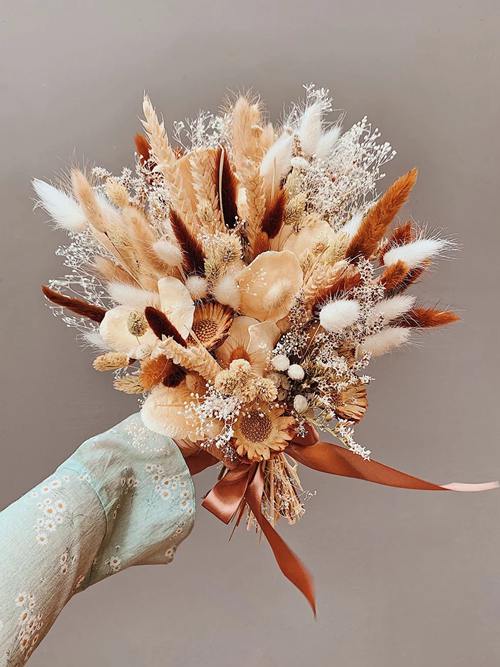
Get inspiration online and decide on your color scheme for the bouquet. It'll also help to find out beforehand which flowers are in season. It could narrow down the color scheme for you and help you get started. If you want to play it safe, choose flowers that are in the same shades and complimenting colors.
Remember to use plenty of greenery in-between as it accentuates the blooms and serves as a great filler at a low cost. You'll save money by using flowers that are in-season as opposed to exotic ones.
Buy Your Accessories Before You Begin
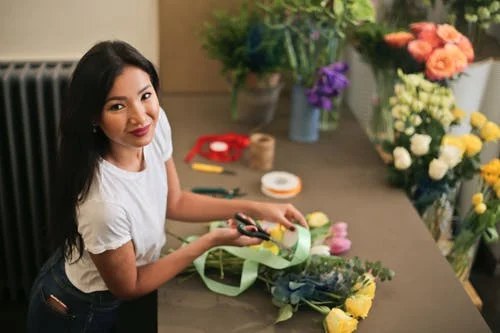
Get everything that you'll need together before you begin. Quick trips to the store midway through will cost you unnecessary time and expenses. You'll need the following items:
- Sharp kitchen scissors
- Rubber bands
- Wrapping tape
- Floral wire
- Cellophane wrapping paper
- A birthday gift card to attach to your bouquet
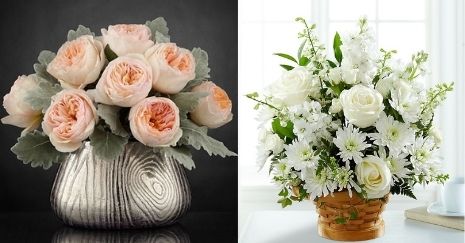
Select the Best Flowers
Make sure to use young flowers and ones that are yet to bud. This way, the bouquet will last longer. Also, examine each flower and make sure not to use ones that are yellow at the bottom of the stem or on the petals. Roses are an excellent choice as they are beautiful as petals and as they bloom. The rose is also the floral emblem of the United States.
You can inspect each flower's stems by putting it upright and see if it can remain standing on its own. If the branch is bending, it's a good indication that the flower won't last long and is already wilting.
Prepare Your Flowers

Always cut your stems at an angle as it'll allow more water to reach the flowers. Although you might be tempted to cut your flowers at different lengths, it's better for your overall arrangement if all flower tops are the same.
Now you can clean up each stem and remove all bottom leaves and thorns. If removing thorns from stems with a knife, slide it against the branch away from your hand to prevent cuts. Leave a few leaves closer to the flowers to create fullness in your bouquet.
Create the Final Masterpiece
Be creative when you arrange your bouquet. A simple tip is to start by placing a centerpiece and start inserting flowers all around it as you work around in a circle. Remember to treat your greenery as flowers while following this simple method, and before you know it, you'll have a gorgeous birthday bouquet.
You can round off the blooms by wrapping them in pretty paper and attaching a personalized birthday card to it all. There you have it, a wonderful gift, handmade with love. It’s sure to make your loved ones feel over the moon to receive such a beautiful present.


Ask Me Anything