
Tired of always having to manually mix your paint? You would agree with me that purchasing a paint shaker is quite expensive. Instead of spending a lot of money on buying a paint shaker, you can make one yourself.
After in-depth research, I have found a couple of DIY paint shaker projects that you can DIY. Some of the projects I have listed are easy to follow, others might require a specific skill to accomplish, however, I’m sure you would find a suitable DIY paint shaker project.
Table of Contents
1. DIY Spray Paint Shaker
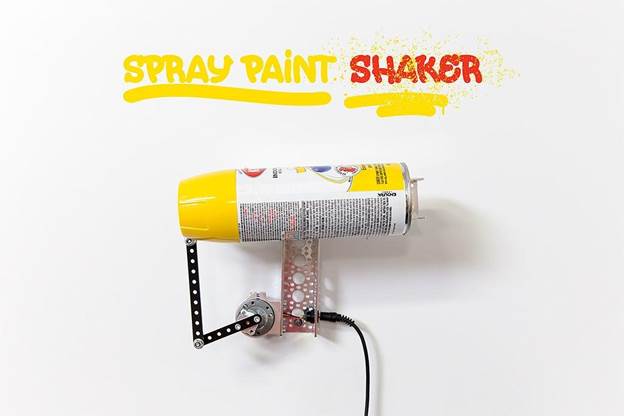
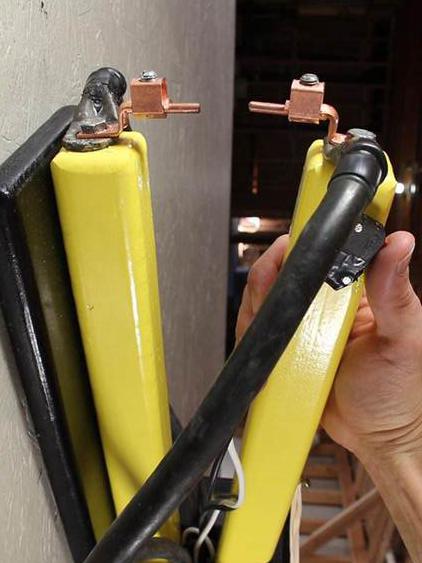
The first on our list of amazing DIY paint shakers is this unique spray paint shaker. As the name implies, it is specially crafted for shaking spray paint. The making process is quite fun to follow. To make this, you will need a whole lot of parts, the creator did a good job listing all the specific parts in a spreadsheet.
After getting all the required parts, you’ll need to build the motor, this step would involve a lot of soldering, sliding, and mounting. The next step would be to set the magnets in place, the magnets are what would hold the spray paint can.
For the final step, you would need to link the motor with the magnet section and this can be done by connecting an arm that would shake the paint while the motor is in motion. The making process is easy if you are a handyman.
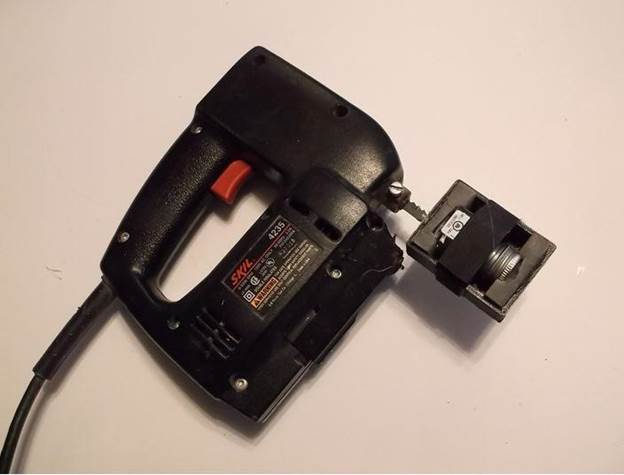
2. DIY Hobby Paint Shaker
Manually mixing paint can be very tedious, imagine having a lot of paints to mix, after doing all of them manually, you would probably be left with pain. I found another amazing DIY paint shaker that you can DIY easily, the instructions are very easy to follow.
You will need to purchase some materials for the making process. Don’t worry, it doesn’t cost much, the creator only spent about $15 on this DIY paint shaker. Firstly, you will need to buy a cheap jigsaw, and then a couple of mini hand-vice clamps.
The next thing would be making all the parts become one, you can do this by smashing the plastic that prevents you from handling the vice that holds the saw blade. After this is done, insert the clamp and tighten the vice.
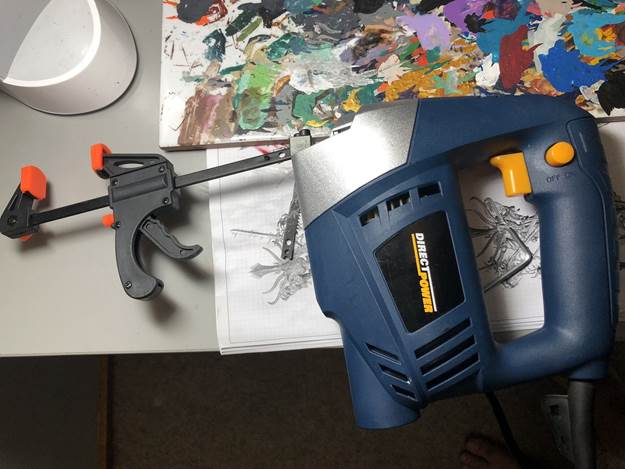
3. Testors Paint Bottle Shaker
This DIY paint shaker is ideal for people who use the small ¼ ounce Testors paint. Testors paint is great to use but one of the disadvantages would be having to shake the bottle so many times to make sure the pigment and solvent are mixed evenly. The process of shaking these small bottles can leave your hand numb after a couple of shakes.
And thus came this unique DIY paint shaker, it is perfect for Testors paint bottles, you will need, Hot melt gun, Old saber saw blade, 5-minute epoxy, Flat head screws, mix cup and stick, and a couple of other materials that can easily be gotten.
After getting the tools, you need to draw the cutout for the Old saber saw blade and then cut it out. Next up, you need to glue three pieces of ply together with the blade in epoxy inside. The next step would be building the compartment for the paint bottle. The complete guide explains in detail how to do everything.
4. Homemade Paint Shaker
While doing research I stumbled upon this creative idea, the creator sure did a good job making this homemade paint shaker. The best part, he used things that can be found in almost every home. Instead of purchasing things for your DIY paint shaker, you can use things that are already in your home, that way you do not have to spend much.
Here are the materials used for this DIY paint shaker project; An old CD drive, a PC fan, foam, an adapter, and a few other tools.
He starts off using the CD drive as the base, he then glued the foam to the base and attached the fan to the foam, and then finally put a plastic container on top of the fan. The fan is basically what helps to shake the paint. The making process is very easy to follow, feel free to make adjustments that will soothe you.
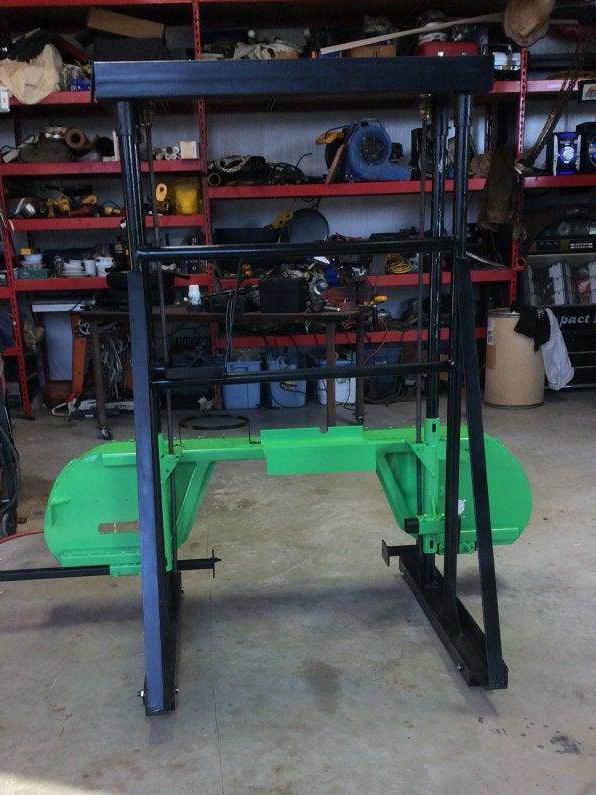
5. Hand Crank Paint Shaker
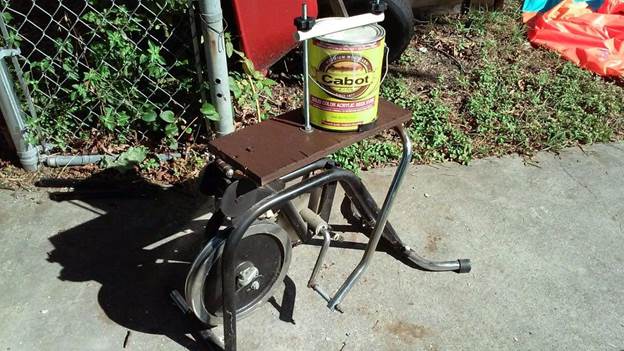
Are you looking for a DIY paint shaker that can be used to shake larger paints? Here’s one I found, you would totally love the idea, it is also cheap if you already have the major tool, if you do not have the major tool, you might need to purchase it and it might cost you.
So let’s say you have a stationary bicycle, you will need to get PVC pipe, various nuts, and screws, some plywood, and a few other tools.
The making process starts with stripping the bike and taking off any unnecessary parts. (Don’t throw them away). Afterward, you will need to deal with pivot points and connecting rods. The final step is building the paint holder so it does not fall off while mixing. The full tutorial gives a well-detailed guide on how to build this DIY paint shaker.
6. How To Make A Cheap Paint Stirrer
Another way to mix your paint is to stir it, now, instead of using the manual stirring method, this creator was able to make a cheap paint stirrer using a tool he got off Amazon. The tool he used is quite cheap and affordable.
While this is a great idea, it isn’t ideal for large paint cans, but it would be perfect for small paint bottles. For this project, you will need to purchase an IKEA milk frother, you will also need to get a pair of pliers. The pliers are used to bend the tip of the milk frother so it can stir the paint properly.
7. Easy Paint Shaker DIY
Here’s another cool hack to check out. This DIY paint shaker was made by repurposing an old electric toothbrush. While this is an amazing hack, it is only ideal for small paint bottles.
The tools are pretty much basic, you will need an old electric toothbrush, you will also need super glue, a plastic stick, and a rubber band. Here’s how it was made; the creator started off by trimming out the bristles on the tip of the toothbrush, the next thing he did was to super glue the plastic stick onto the brush.
After reinforcing with a piece of office clip, the rubber band was used to hold the paint bottle in place. I think this is a great idea that can be done by anyone.
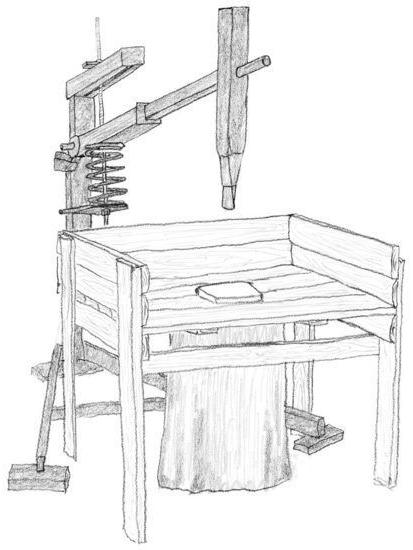
8. DIY Spray Paint Shaker
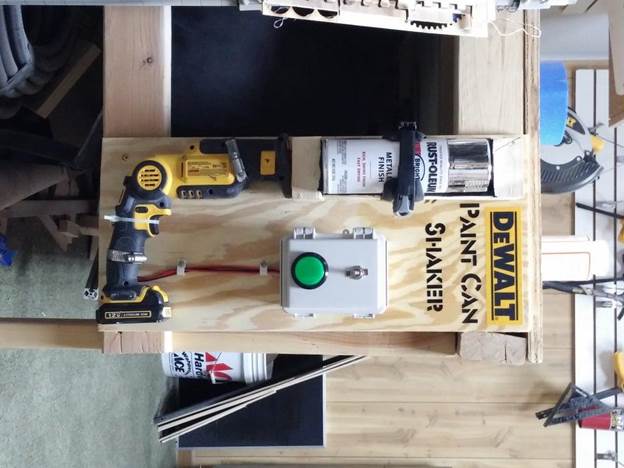
Due to the creativity of this project, it most definitely deserves a spot on our list of best DIY paint shaker projects. My favorite part about this project is that it is attached to a platform, all you need to do is place your spray paint in the compartment and click the start button.
A total number of 14 parts, 7 tools, and 5 materials were used to make this DIY paint shaker, all of which can be found in the complete tutorial. As simple as this paint shaker looks, it will take a lot of work to get it done.
The making process starts with setting up the relay that would be triggered for a set amount of time every time the switch is pressed. You will also need to set up a voltage converter and a momentary switch.
This project also uses some code, don’t worry, the creator included the source code for free. You will also need to modify the saw and then build the frame for everything. After building the frame, the next step would be to install the electronics in the right places. This is one project that would take a long time and effort to build, but it would be worth it in the end.
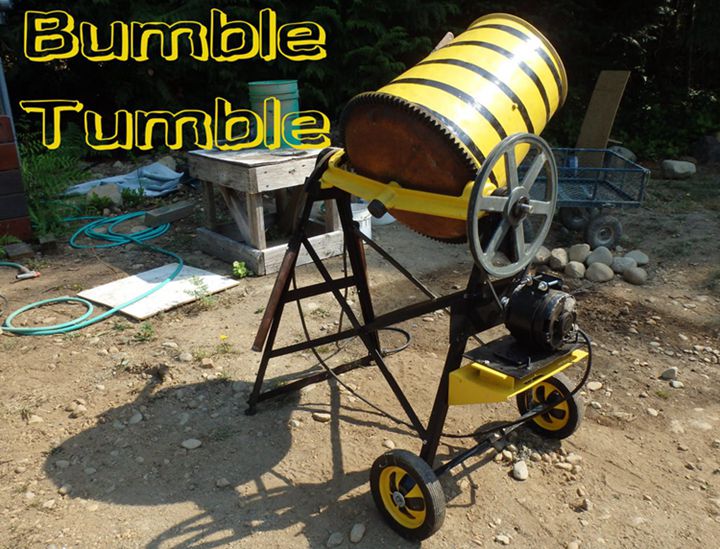
9. DIY Paint Shaker From Brass Tumbler
Here’s another fun project that you can DIY. In this tutorial, you will learn how to make a DIY paint shaker from a brass tumbler. You will need to do a couple of modifications to the brass tumbler to convert it to a DIY paint shaker.
The most important thing to get would be a brass tumbler, if you have an old one, that would be perfect. You will need a drill or screwdriver to take apart the brass tumbler. In order for the brass tumbler to shake and not vibrate, you would need a speed changer, it would make the brass tumbler shake rather than vibrate.
After this is done, the next step would be to take off the top compartment of the brass tumbler and attach a circular wood bar that would fit the bottom unit compartment of the tumbler. Also, a coffee can is attached to the wood, and material is placed inside the coffee can to help hold whatever paint you would be mixing. Screw the wood to the bottom unit for a firm grip and viola, your DIY paint shaker is good to go.

Ask Me Anything