There are diverse ways a chalkboard could be useful to you. Whether it’s to occupy the little ones in a little distractive artwork involving colored chalk to keep them busy, or as a traditional setup for a vision board for you and/or your family, or even as a teaching aid tool for homeschooling the kids or running tutorials.
Chalkboards are also a creative addition to businesses, acting as display boards for any purpose; menus, working hours, special services, etc. Whatever the case may be, DIY chalkboards are a creative and budget-friendly way to meet the need.
It doesn’t matter what your preferences are, you are going to find on this list a DIY chalkboard tutorial that will not only meet your specifications but will equip you on how to actually build one. Big or small, framed or naked, outdoor or indoor, this list contains something for every need.
Table of Contents
1. How To Build A Large Chalkboard
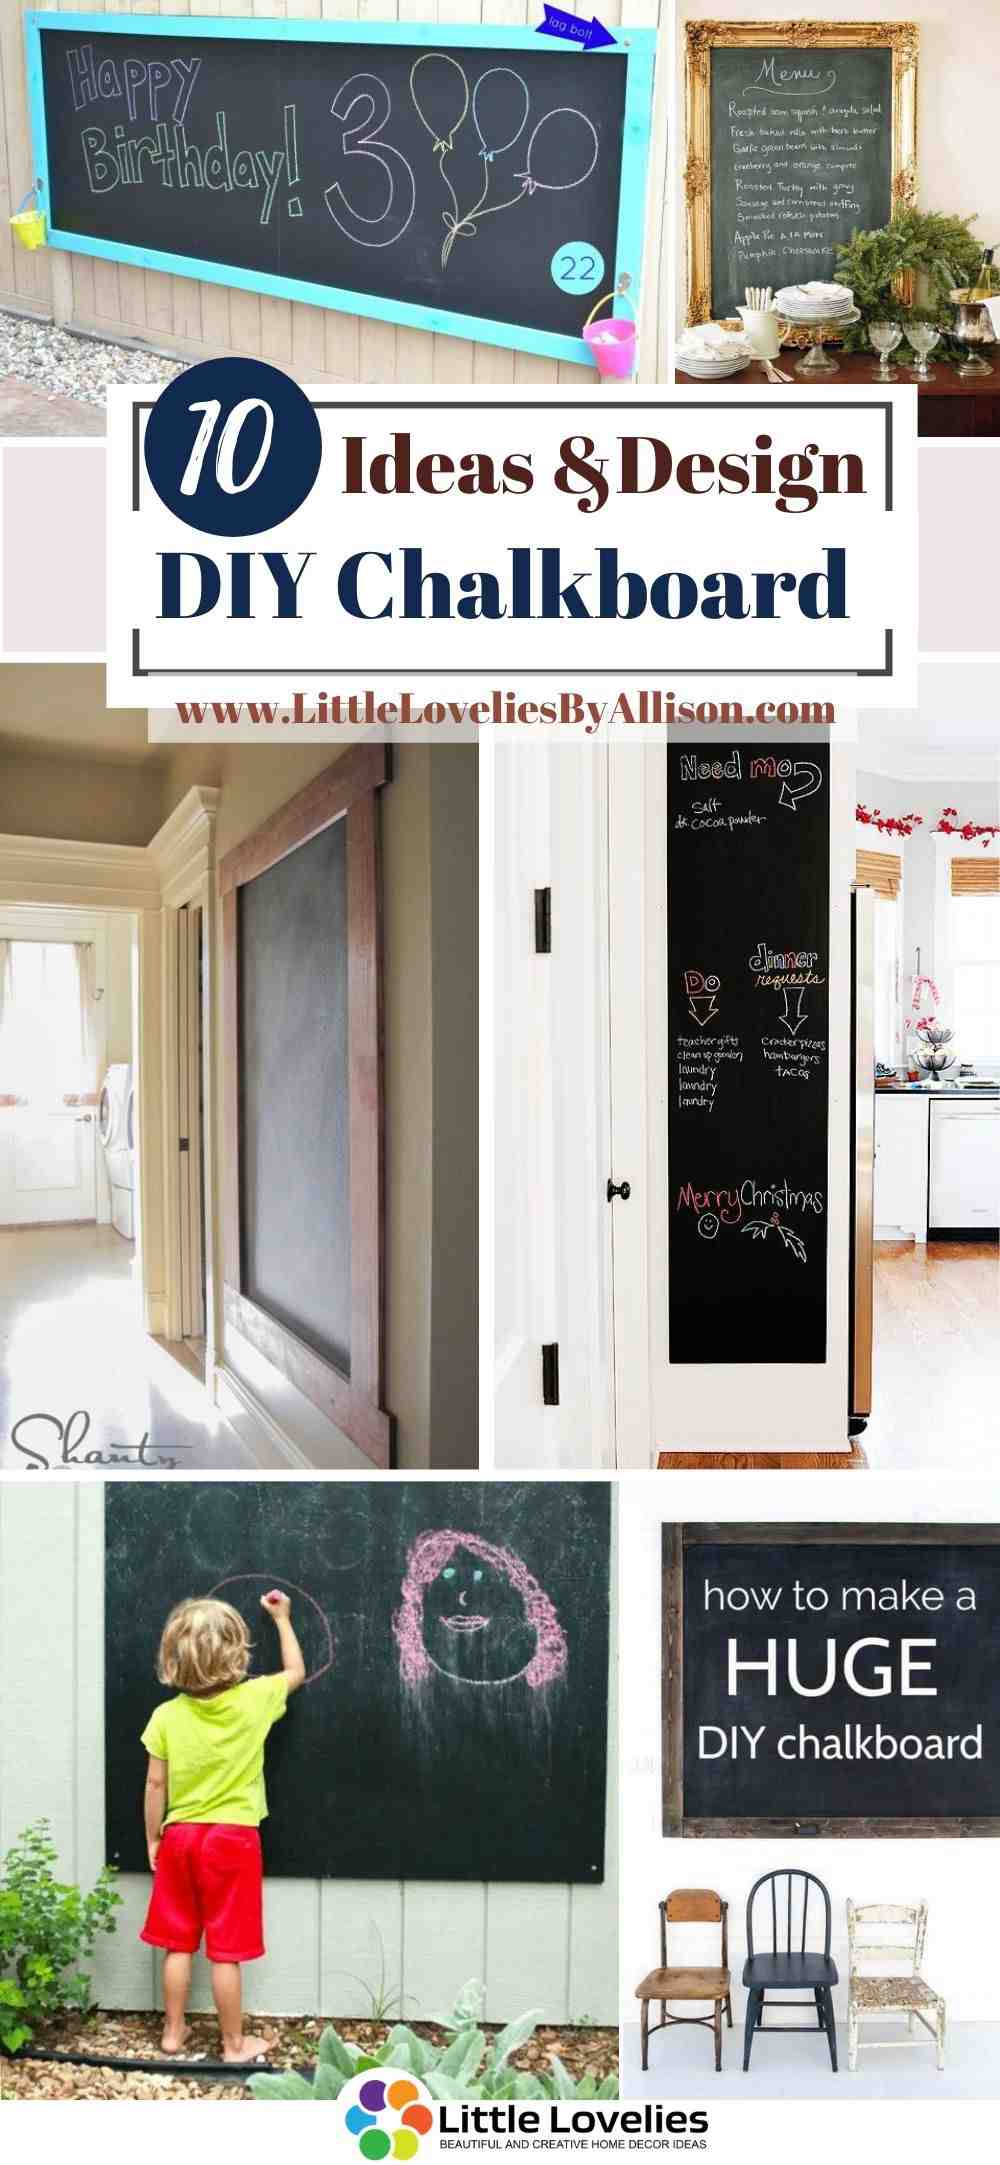
Starting off with how to build a large chalkboard, this is a really cheap tutorial (costs about $25 to set up everything) that is also beginner level friendly and can be set up by anyone. The two basic things you’ll need to do involve cutting up a couple of wooden boards and some drilling. For the wood, inexpensive furring strips (1” x 4” x 8”) are used alongside a 4” x 8” sheet of ¼” plywood.
2. How To Make A DIY Chalkboard
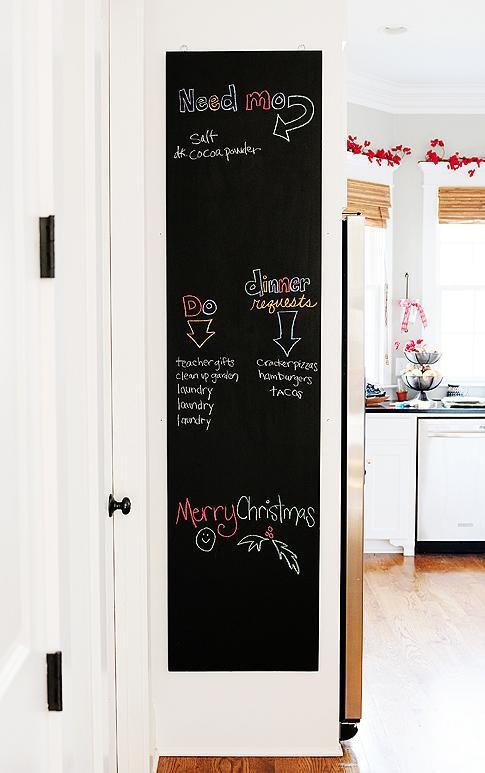
A small DIY chalkboard without a frame whose dimensions can be cut to suit whatever finished size you have in mind. Follow the procedures on how to make a DIY chalkboard, customizing steps along the way to really personalize your chalkboard the way you want it to be. For this small portable chalkboard, you’ll need wall hooks if you’re going to hang it up, so be sure to get some.
3. DIY Chalkboard
The first step, buy your wood. It’s advisable that you precut your wood to the necessary dimensions during purchase. The DIY chalkboard making process is captured in a simple equation of adding chalkboard paint to wood to create a chalkboard. Super easy right? Just don’t forget to sand your wood before applying primer and painting it over.
4. DIY Giant Chalkboard
A DIY giant chalkboard that features a 6ft long chalkboard made to cover an empty wall. The hardest part of this DIY giant chalkboard tutorial is resisting the urge to write on it during the 3 days drying period after applying the paint! All you have to do is buy your wood (in this case, a 6ft long and about a 4th of an inch wide plywood board), paint it over with any color of chalkboard paint of your choice, leave it to dry based on paint instructions, chalk it over, wipe off and start to use.
5. DIY Hanging Chalkboard
To create this $20 DIY hanging chalkboard, you’ll need a readymade chalkboard or follow any of the other tutorials to make one, a few pieces of lumber, nail gun, drill and miter saw or hand saw. This tutorial is perfect if you already have a chalkboard or are thinking of making one but want to know how to hang it up. It requires basic woodwork skills and is easy to get around. First, you make a wooden frame, stain it with your stain of choice, attach your chalkboard to the frame and hang it up from a pulley or nail it to the wall.
6. How To Make A Magnetic Chalkboard
Galvanised metal sheets are the bulk of what is used in this tutorial on how to make a magnetic chalkboard. Other supplies needed include magnetic cups, magnets, hobby boards for a frame, and of course, chalkboard paint. Remember that pre cutting your materials during a purchase or buying pre cut materials reduces your job by close to 50%. To make a non-magnetic board, just replace the galvanized metal sheet with any thin sheet of wood of your choice.
7. DIY Framed Chalkboard
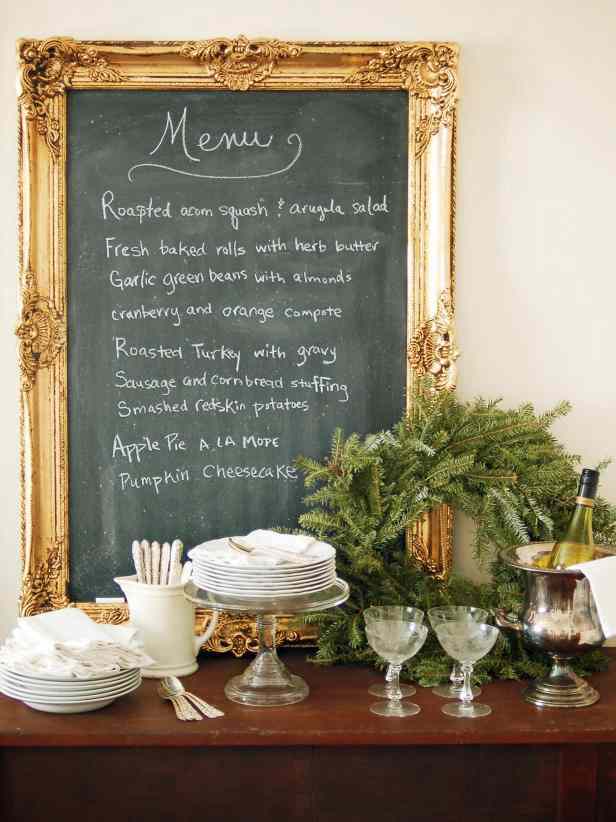
Perfect for a restaurant menu board amongst others, this DIY framed chalkboard is a beauty to behold. The elegance of the frame is an eye-catching contrast against the simplicity of a chalkboard and makes for interesting décor asides from its functionality. Your choice of frame is up to you and you can spice up your DIY framed chalkboard even more by cutting it into unconventional shapes (think trapeziums and circles) to fit spectacular frames.
8. DIY Chalkboard Outdoor
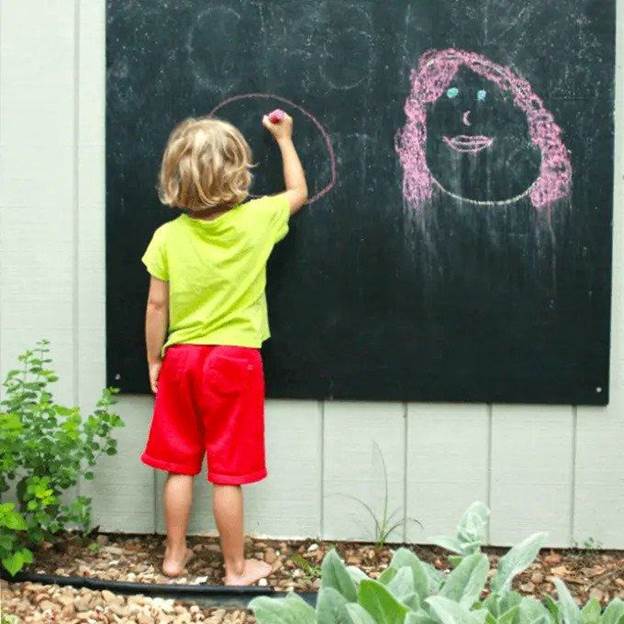
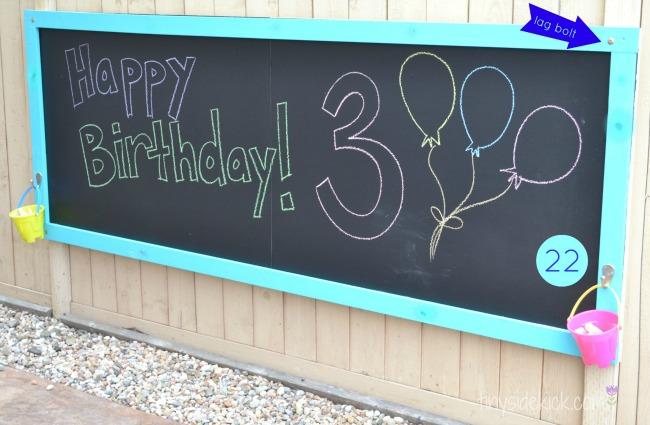
DIY chalkboard for outdoors is a lifesaver for those with kids who are fascinated with chalk. It gives them an outlet while sparing your walls and floors from their scribbles. It’s also a fun way to incorporate outdoor playtime into a child’s regimen. It’s important in making your DIY outdoor chalkboard that you consider the height of the children involved, such that the board isn’t far out of their reach but suited perfectly to them.
9. DIY Framed Chalkboard Wall
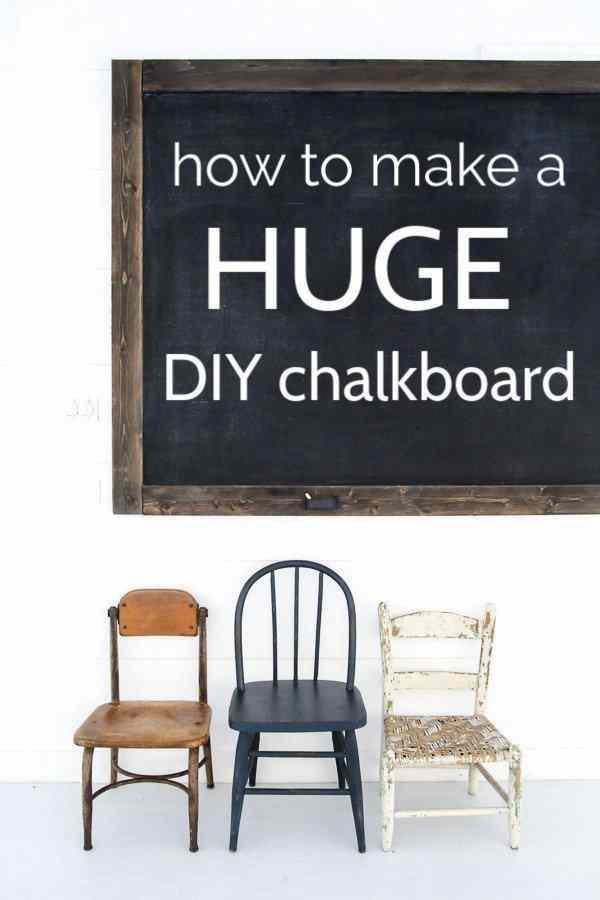
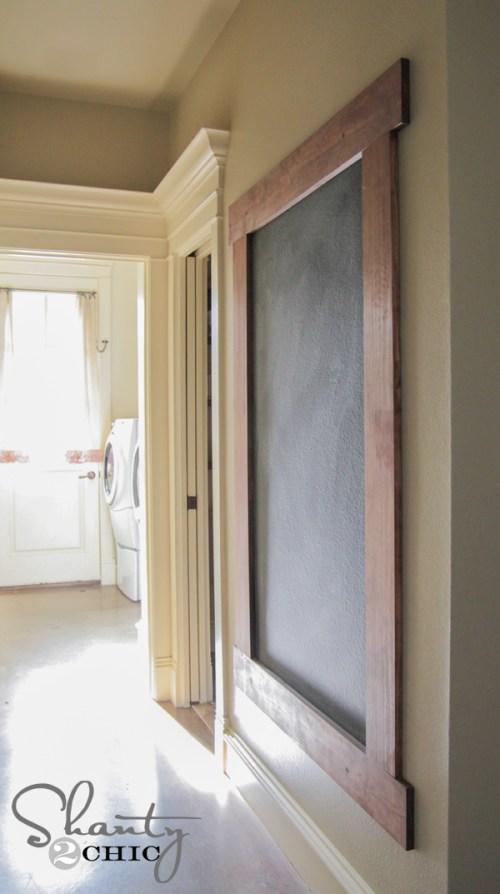
Another great DIY framed chalkboard to take up empty wall spaces, this chalkboard is framed with wood for a traditional look, but you can frame it up with anything of your choice no matter how exquisite. The DIY framed wall chalkboard in this tutorial costs only about $30 to set up, however, expect to spend more if you go for more expensive framing.
10. DIY Magnetic Chalkboard
Materials used for this DIY magnetic chalkboard include 4x4 plywood, galvanized metal sheet, tin snips, stain or paint of your choice, primer, sawtooth hangers, sandpaper, nail gun, residue cleaning agent or degreaser of any kind, wood glue or E6000, chalk for seasoning the board, vinegar, chalkboard paint, multipurpose adhesive, etc. In pre cutting your materials while buying, be sure to take accurate dimensions based on where you want to put it up to prevent having them cut too little or too large.
Conclusion
A chalkboard can serve many useful purposes in a home. In this article, we have put together a couple of DIY chalkboard projects that you can make from the comfort of your home. The making process of most of the projects in this article is easy to follow.




Willie Schwart says
The perfect answer
Major Ehleiter says
Thank you so much, just something with comments on the blog, I managed to write the third time (
Sonny Mcloone says
And what should be done in this case?