
Every mother wants to be close to their child, and this can be hard during busy days. Most mothers end up hiring nannies to look after their kids when they have other things to do.
The good news is that there are ways you can spend more time with your kid, and one way is by using a baby sling. Baby slings are one of the common ways to carry your baby. The advantage of using the slings is that your baby is more comfortable.
In some way, using the baby slings makes you close, increasing your bond with your kid.
Here are 12 ways you can improvise and make your sling.
Table of Contents
1. Stretchy And Woven DIY Baby Sling
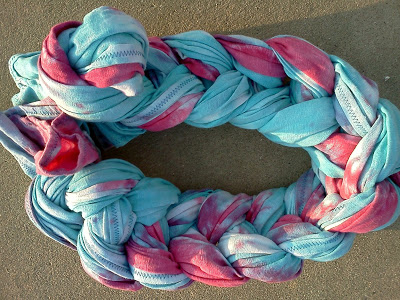
This baby wrap is comfortable while carrying your baby around. It is also easy to make as you need a jersey interlock fabric, rubber bands, and scissors.
It is a straightforward process; cut the fabric into two halves. Wash the material, and don't let it dry. Place it on a garbage bag, cut the sides, and then open it up to make it long. Pull your fabric, then wrap a rubber band around it.
Wrap the rubber bands on both sides. Make decorations, such as using child-friendly dies to make patterns, and remove the bands after.
Next, make zigzag stitches round to complete your sling.
2. Moby Style DIY Baby Sling

These baby slings are affordable, and you can make multiple of them in different designs. Use a Muslim fabric, a patch from an additional material, thread, and sewing machine to make yourself extra support to hold your baby when multitasking.
To make this Moby wrap sling, cut the Muslim fabric into two pieces, 20" wide and length to be 5 yards.
Iron the fabric, pin and then hem its edges. Next is to position the additional patch in the middle. This is to help you identify it by feeling it.
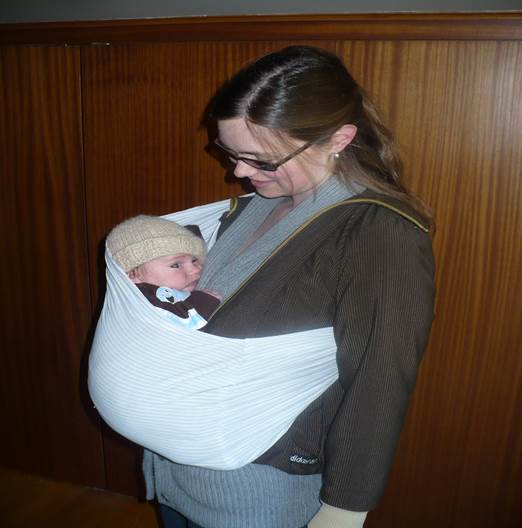
3. Un-Padded Tube-Style DIY Baby Sling
One pro tip when making this sling is to ensure that the upper part is shorter. To make it, you need a fabric, thread, and sewing machine. This is an easy process, and it takes less than an hour to finish.
The advantage of making your sling is you can improvise and add leg holes for extra comfort. For expectant mothers, learn how to readjust the sling to prevent exerting any pressure on your pregnancy.
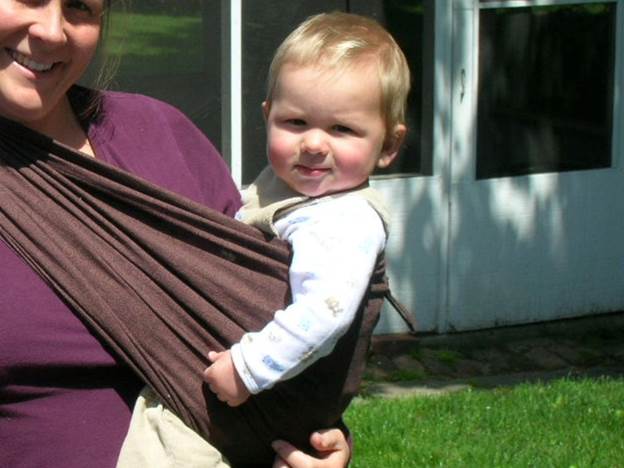
4. Ring DIY Baby Sling
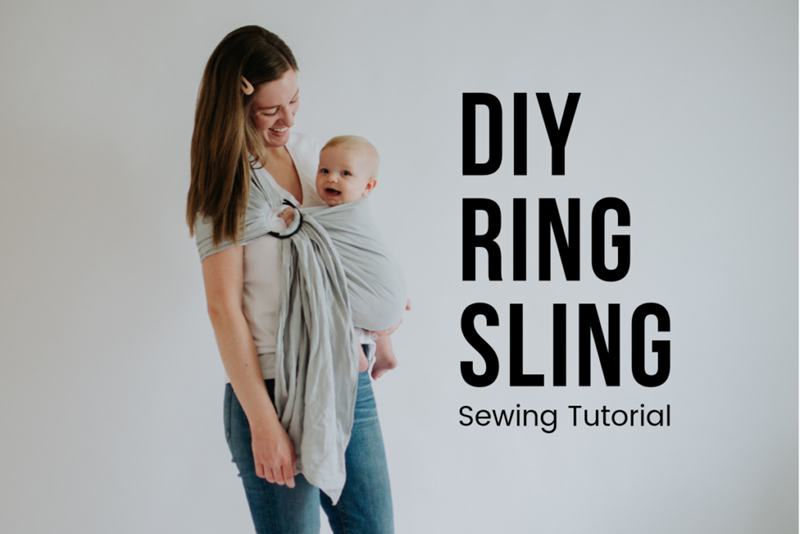
The upside of using this type of baby sling is you can easily adjust your child's position at any time. Mothers who want to come up with their own need a sling, rings, thread, wonder tape, scissors, iron, and a pen.
First, cut your fabric into two. Fold the longer side, then iron, and then fold it again. Don't forget to pin it.
Repeat the same procedure for another piece. Make stitches over the three sides and leave one end untouched.
Draw both rings on this end and pin the fabric to keep it in position. The last step is to wash the material and it is ready for use.
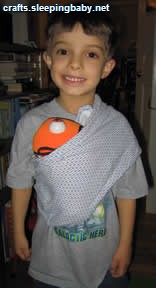
5. T-Shirt DIY Baby Sling
If you have an extra t-shirt lying around, let's improvise by cutting and tieing and turn it into a baby sling. You will need a t-shirt in good condition and scissors.
Pick a t-shirt that can support your baby's weight. Use the scissors to cut it from one armpit to the other. Use the bottom part as the sling.
Make a knot in the middle of the sling and stretch it out to make it tight. Place the sling over the shoulders, and the baby can now hop on.
6. Sheet DIY Baby Sling
This is a creative way to carry your baby around by using sheets. For the procedure, but the sheet on your waist and stretch it out. Make a pouch by adjusting the sides and make a knot around the chest area.
There are different ways to place the baby in the sling, depending on the age. For newborns, use the cradle hold position because they have no good neck control.
For those between 3 to 6 months, Buddha carry is the best, and hip carry is for those between 6 months and two years.
7. No Hands DIY Baby Sling
First of all, collect all the supplies that include a sewing machine, thread, scissors, pins, and iron. Now that you have the materials ready, determine the perfect size of your sling. This mainly depends on your height.
Flip the fabric and iron it. Fold the fabric, cut the curves, make a French seam then sew the hem. Your sling is ready for use, and ensure you place the baby in the right position.
8. The Fox Hole DIY Baby Sling
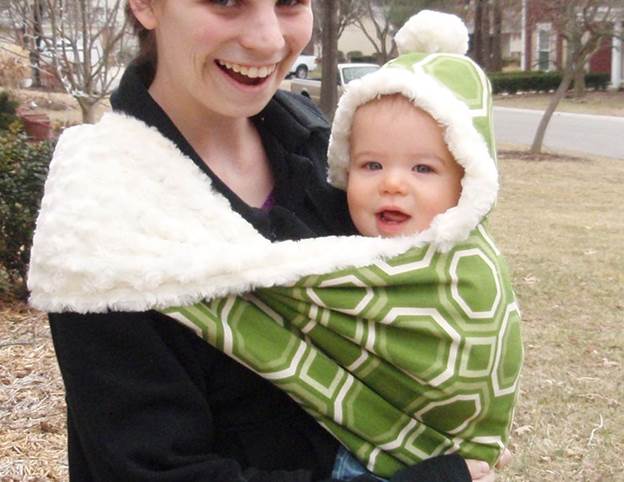
You can position this sling-type can in 3 different positions; front carry, back carry, and hip carry. Gather the following; cotton fabric, a zipper, and a thread.
Basically, you are to measure yourself from shoulder to hip, then cut the fabric according to your measurements. The next step is to sew the bottom rail and the curved seam.
After that, sew the top rail and zipper, then sew the hood. Don't forget to sew the hood zipper and add other embellishments. This sling is the best during cold weather as it keeps the baby warm and comfortable.
9. Muslin Blanket DIY Baby Sling
You do not need complex materials; you only need a muslin blanket.
To make this baby carrier, fold the blanket in half to form a triangle. Then wrap it around your body. Put one side over your arm and the other side under the other arm. Make sure the tip of the triangle is on the side.
Make a knot that is easily adjustable up and down. Fold the tip of the triangle inside to create a pouch. Put your baby in the best position, depending on the age.
Adjust the size by pulling and tightening the knot. To remove the carrier, pull the other side of the triangle all the way down.
10. Hug Position DIY Baby Sling
For this instant baby wrap tutorial, you only need two pieces of fabric.
Sew the fabric on both ends to make a circular structure. Fold it into two and place it on your neck. Next, stretch them out and pass both arms in the adjacent spaces to create an X-shape around the chest.
Stretch one side out and place it around the hip. Open up the upper part and position your baby. Use the lower fabric to cover the baby.
Run the other piece of fabric across the baby, then between the legs, and make a knot. Tie the remaining part to your back for extra support.
11. Easy To Make DIY Baby Wrap.
Making this baby wrap takes less than five minutes, and all you need is a light fabric, scissors, a sewing machine, and another fabric piece. As you pick the two fabric, ensure their colors match to create a harmonious sling.
First, prepare the fabric and iron it. Along the folded end, you are to run through your scissors to cut it into two. Please match up the ends and gradually curve them down to remove the corners. Fold the fabric over and do the same thing to the other side. Use a sewing machine and go round the edge of the wrap to give it an excellent finish.
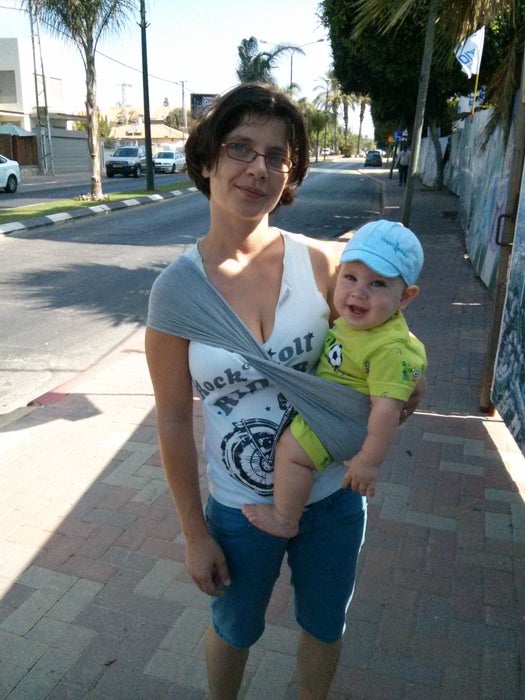
12. No-Sew DIY Baby Sling
The last tutorial today is the no-sew DIY baby sling. For this process, you'll need 2 meters of woven fabric.
First, spread the fabric over your back with one side on top of one arm and the other below the other arm. Then pinch and gather one end at your shoulder. Do the same for the other tail.
Make a slip knot around your chest area. Make sure the knot slides up and down. Create room for the baby by loosening the fabric. Position the baby in a manner that he or she is in a sitting position.
Pull the top rail up to the baby's neck region and adjust the knot.
Conclusion
It matters in what way you are positioning your baby when you use the baby slings. These slings are easy to make, but they may not be effective when used in the wrong manner. Here are some tips to help you position your kid well.
- Your baby should be close enough in a manner that it is easy to kiss.
- The baby's chin should never rest on the chest.
- The knees should higher than the baby's butt.
- You should never cover the baby's face.
- Always support your baby's head.
If you follow the above tips, then you are qualified to make your baby sling and use it effectively.


Ask Me Anything