
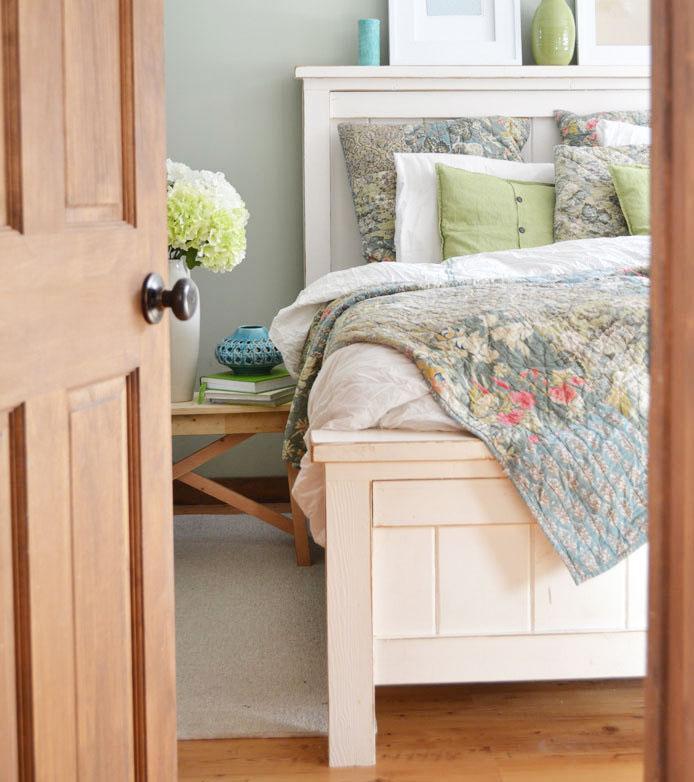
Just before you purchase an expensive queen bed frame for your home, check out our list of compiled DIY queen bed frame projects. We took our time to select the very best ones that you can DIY yourself.
Making a queen bed frame isn’t as hard as it may seem. It is cost-saving and a cool experience you would not want to miss. Go through our list below and make your pick, I’m sure you will have a great time building it.
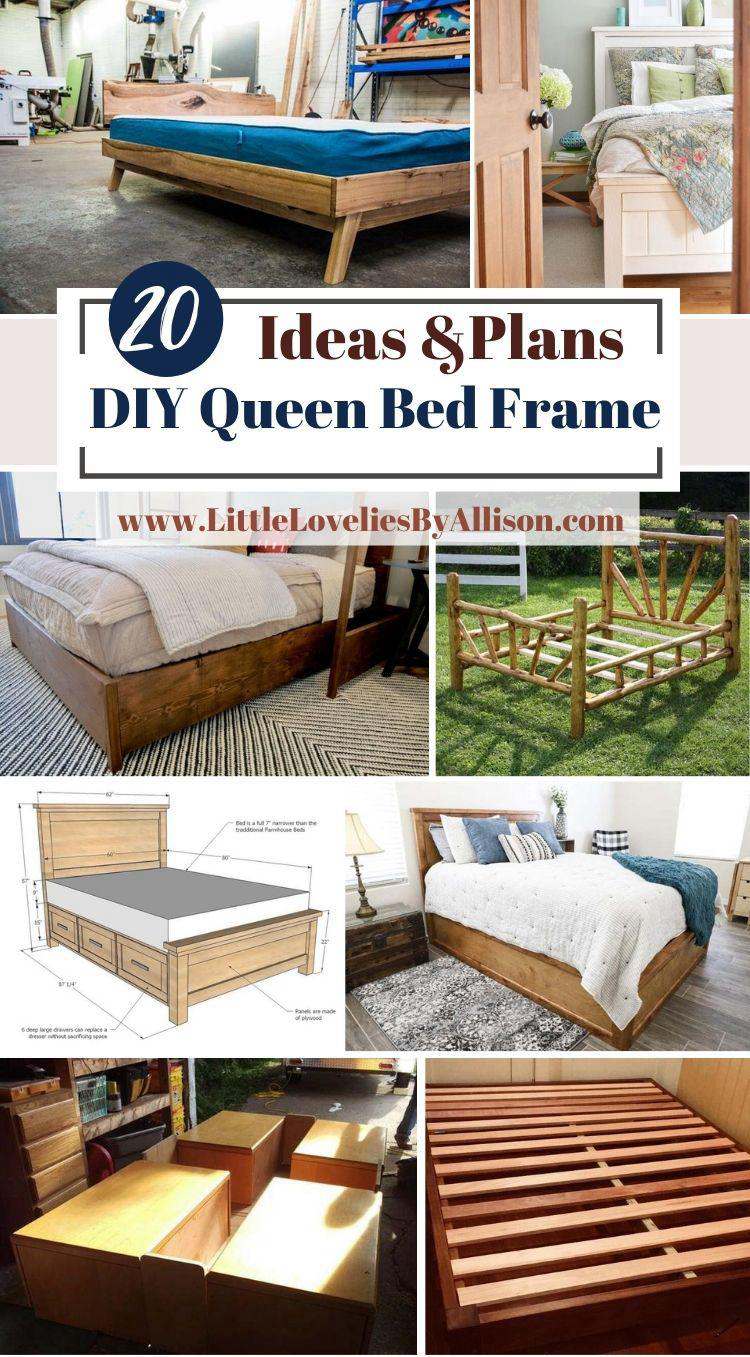
Table of Contents
1. DIY Queen Bed Frame
You don't want your Queen bed to be lying lowly on the floor, do you? Therefore you need to watch this video tutorial on how to build a queen bed frame from scratch. The instructor started by creating the headboard, he cut down all the pieces, and since he was using construction lumber, he ripped the lumber with a miter saw to give it a fine square edge. Then, he cut the pieces for the base and sand them down before he assembled them. To check out the step-by-step process, he provided the link to his instructable where you can find the steps and the free plan.
2. Queen Size Bed Frame DIY
Here is an amazing queen-size bed frame built for only $110. The legs were made from 9 8" × 1" pipe nipples and 18 1" floor flanges. Two types of screws were used: 1 pack of 2½ " screws and 3" screws. The wood needed to include 7 2×6 boards and 12(maximum) 2×4 boards. It is a very simple DIY project, once you follow the instructions given in the video.
3. How To Make A Queen Size Bed Frame
This is made from cheap 2×4 and 2×6, drill, hammer, and miter saw. The first step according to this video tutorial is to make the side rails. This was made by gluing a 2×4 to a 2×6. Then, the legs of the frame were made from cheap 2×4, 2 2×4 glued together to give a 4×4 piece, this was a repeat for all the legs and the pieces were sand down to give a nice and fine surface since it will be visible once the frame is done.
See also: 20 DIY Floating Bed Frames
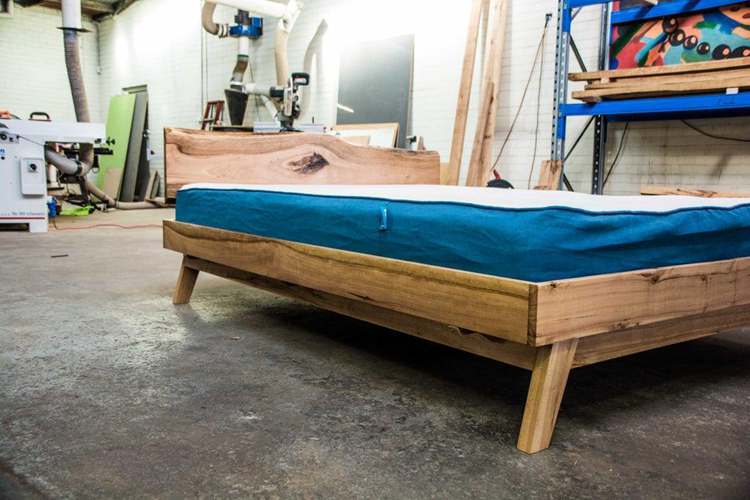
4. DIY Rustic Modern Queen Bed
With just $100 you can be the luckiest owner of this modern queen bed frame. The materials used include pieces of 2×6 and 2×2" pieces of birch plywood, miter saw, drill, table saw, and wood glue. The video started by making the legs, 3 pieces of 2×2. 3 pieces of wood are equal to one leg.
5. DIY Queen Bed With Storage

To build this amazing DIY queen-size bed frame, you will need a sheet of plywood, 4 four filling cabinets, a queen-size mattress, and a lot of screws. The bed frame comes with an amazing storage drawer. The first step is to cut the plywood into pieces, then assemble the box and the drawer.
6. DIY Sturdy Queen Bed
The materials needed for this queen-size bed frame include drop saw, drill, hammer, clamps, chisel, screws, nails, wood glue, bed brackets, beam brackets, and pine. The guide started by listing the materials above, then making the legs. After this, the guide talked about making the end piece and assembling it.
7. How To Build A Queen Size Storage Bed
Prepping your wood before anything is an amazing way to start a great project. Your queen-size bed frame is not an exception. After prepping the wood, the next step is to make the footboards and add trims to them. Once this is done, secure the holes and gaps in the wood with wood filler and assemble all the parts.
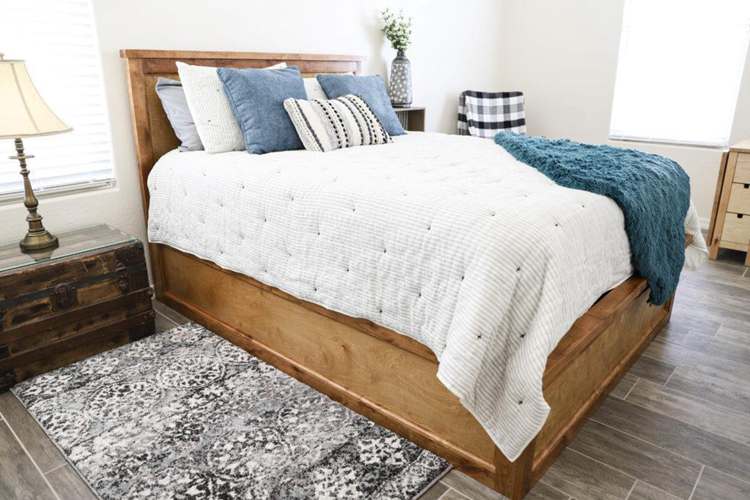
8. DIY Farmhouse Storage Bed
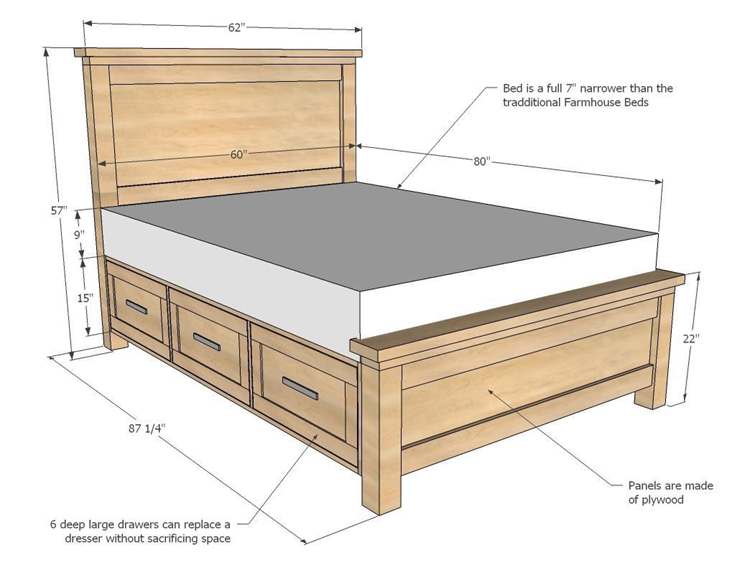
This farmhouse storage bed with a drawer is a very unique bed frame. The guide started by listing the list of materials and tools needed for the frame, then a cutting list that will make the cutting of the wood easier.
See also: 25 DIY Bed Frame Projects
9. DIY Tufted Bed Frame
In this time-lapse video, the creator started by making the side rail after getting all the materials and tools needed. She made the side rail by using a 2×9 piece of wood as a template to cut the foam, after this, spray the 2×9 and attach them to it, then, cut batting and fabric to the foam with a staple gun. This process was repeated for the second side rail. Once the rails are ready, the next part uses the headboard. Pre-drill the holes for bottoms on the cloth and cut foam to size the headboard
10. DIY Queen Storage Bed
Why would you let this bunch of awesomeness leave you by? Let's watch this video together and learn how to make this detachable queen size bed frame.
The frame is made up of 6 boxes that are assembled and can be easily disassembled when there is a need to move and 4 drawer boxes on one side of the frame. The end part, which is the 6th box was left open to make the frame look more elegant. Each box was assembled with Kreg holes and screws And all the edges were fixed with mahogany edge banding. It's a nice and beautiful DIY project.
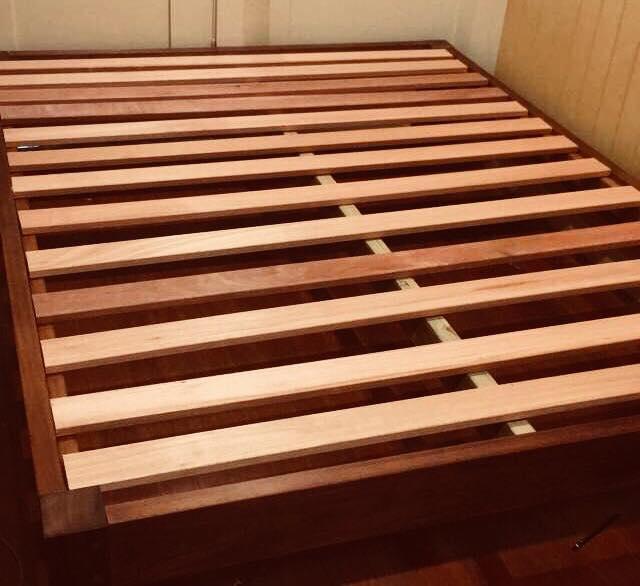
11. DIY Queen Bed Frame
This is made from the wood tape measure, miter saw speed square, and pencil. In this video, the creator started by cutting the 2×6 pieces down to size then he started to assemble them one after the other. The whole bed frame is made up of 2 side rails and 1 in the middle to support the bed, four legs, the headboard, and footboards. The frame was built in such a way that the underside fit in well for storage space.
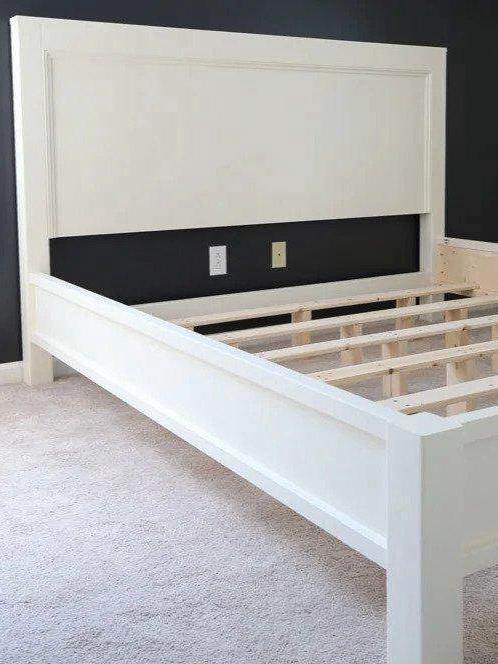
12. DIY Queen Size Bed With Wooden Legs
The first step in making this Queen size bed frame is to visit the home depot, lumber yard, or any hardware stores and gather the materials needed. The next step is to cut the wood into pieces and this can be done with a miter saw, but if you don't have one you can have them cut for you at home depot.
13. DIY Farmhouse Bed Queen Size
When you look at the cost of buying a bed frame, you will be convinced that the best option is to create a bed frame by yourself. This queen size bed frame guide will help you to understand the process of making a frame with ease.
14. DIY Queen Platform Bed

Making a cutting list is not a bad idea. It is a great idea to make the work easier and straightforward. In this guide, the first steps are to cut all the wood pieces required, then assemble each piece.
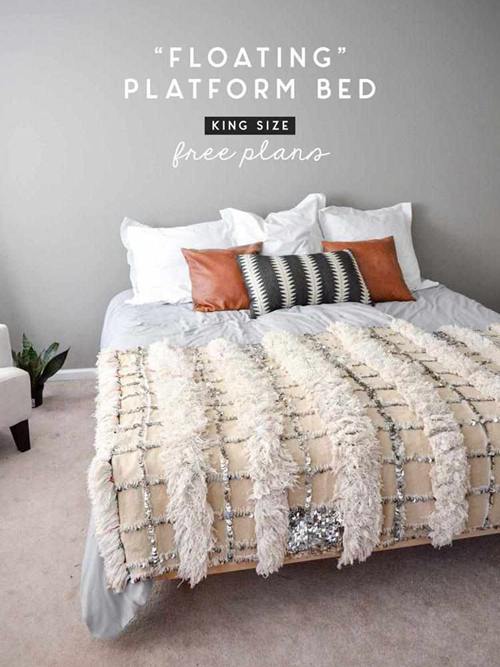
15. DIY Queen Size Platform Bed
The first step in making this Queen size bed frame according to this instructable guide is to build the base assembly, then building the top and bottom platform. The frame is very unique and cheap.
16. DIY Rustic Bed Frame - Queen Size
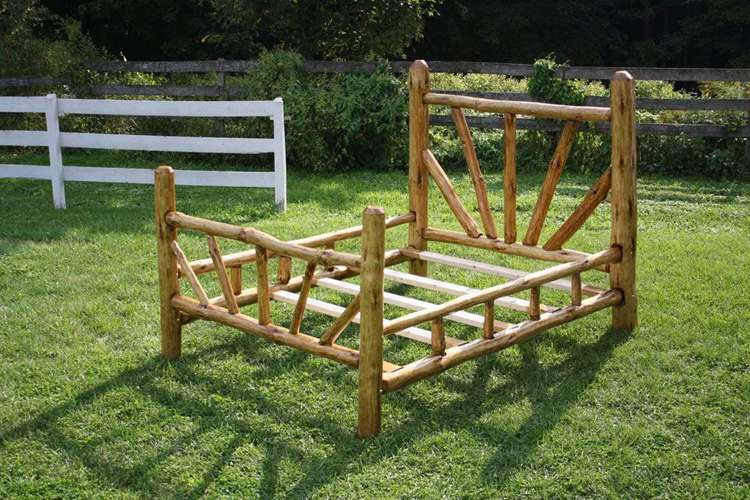
The first step to build this awesome rustic DIY bed is to gather all the tools and materials required for the project including the wood. The wood used is raw pine. The second step is ripping down the wood into pieces and removing the back. After this let the wood dry up and start building the frame.
17. How To Build A Modern Queen Size Bed
This modern queen-size bed frame is made from 2×4 pieces, glue, miter saw, and tape measure. The nightstand and bedpost were made from 3 2×4 pieces laminated together with glue. Once the glue dried upon, then, each piece was passed through the planer to make the piece look like a single piece and smooth.
18. DIY Pallet Queen Size Bed
Here is a beautiful queen size bed made from pallets. In this video, the first step is to get some pallets from the store and sand them down thoroughly. After this, the next step is to paint the pallets in your desired color. It was painted in white in this video.
19. DIY Queen Size Bed
To begin this DIY project, the instructor gathers the material and tools needed for the frame then, pre-drill pocket holes on the side rails where the legs will be attached to. It is a very simple and beautiful project.
20. Queen Size Bed Frame DIY
The materials required to make this queen size bread include wood pieces, miter saw, track saw, tape measure, drill, and screws. The video started by cutting all the wood pieces to size and assemble the legs first. The side rails and the headboards and footboards.
Conclusion
We have come to the end of this article on DIY queen bed frames, were you able to find a preferred queen bed frame? If yes, we would love to know your pick and why, to share your choice with us you can use the comments section below. Just before you leave, kindly share this content with your friends and family members that might be interested in building a DIY queen bed frame.

Ask Me Anything