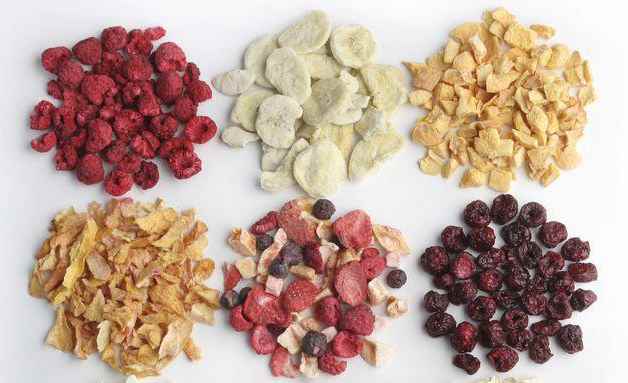
A freeze dryer is a piece of good equipment for squeezing water from your food item without them melting back to the original state. Freeze drying gives the food item a weirder and crunchy taste in the mouth and can be kept for so long.
In this article, we have listed 8 DIY freeze dryer projects for your viewing pleasure. Check out these 8 freeze dryer ideas that are fully functional and inexpensive and choose your preferred project.
Table of Contents
1. How To Make A Freeze Dryer
You must know there is a difference between freezing and freeze-drying. When you freeze something, you're only changing the state of the item and it can easily melt to its original state. But when you freeze-dry, you're removing all the water from the item and there won't be any cause to go back to its original state.
With about $200 and some hours with the necessary equipment, you will be able to Do this yourself.
However, you need to know the implications of using dry ice. Be careful while handling it to avoid frostbite.
2. How To Build A Freeze Dryer
The freeze dryer has only two pieces; the drying chamber and the water trap. All the drying occurs at the drying chamber. As the water leaves the drying chamber, the water trap condenses it for it not to enter the vacuum pump that operates the system.
Though this is not a very simple project, the creator tried as much as possible to build the simplest way using minimal tools. He gave a detailed explanation of the process and equipment used.
3. DIY Freeze Dryer
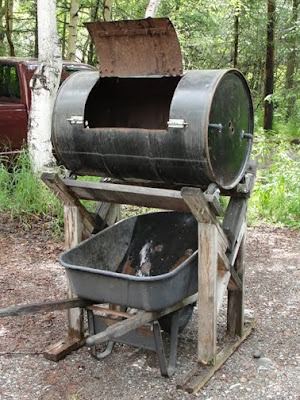
Would you like to know how to build a freeze dryer from scratch? If yes, this is one of the best guides to follow. The first step in making this freeze dryer is to weld the steel structure. Then assemble the heated shelves. Coupled with the drying procedure, this freeze dryer has an automatic oil filter.
4. DIY Freeze Dryer At Home
One thing that interests me the most in a freeze dryer is the ability to retain the shape and constituent of the food item after drying. This freeze driver can be made at home with no complex power tools. It doesn't require building a machine.
Here are the materials needed for the freeze dryer: vacuum chamber, vacuum source, calcium chloride powder, separation dish, and a sample of food items.
The first step in making this is to freeze the food item a little before the freezer drying to conserve the cell wall and prevent nucleation. Get a bowl and put desiccant at the bottom, then put the food items in a separate bowl. Place the separation bowl on the desiccant. Make sure there is enough space between the desiccant and the separation bowl to allow the absorption of water.
5. How To Freeze-Dry Food At Home
Have you tasted astronaut yogurt before? Or a freeze-dried grape or apple? If not, you've missed a very important taste.
All these freeze-dried food tasted different from the original state. The taste becomes crunchy and sweet. It allowed these food items to be kept longer than usual.
Therefore, if you're embarking on a vacation that will take a while and you can't carry your freezer along, all you need is a freeze dryer to freeze-dried all your food items and preserve them.
There are numerous ways to freeze dry your food items, the simplest mentioned in this guide is using dry ice.
Since dry ice sublime, it does this by taking along moisture content with it. Therefore all you need to do is to pack your food items in a Ziploc bag. Then, place the Ziploc bag and the dry ice into a cooler. Make sure the weight is balanced, don't seal the cooler tightly because the gas evolving from the dry ice can cause an explosion
6. Homemade Freeze Dryer
Though there are no detailed processes or instructions on how this homemade freeze dryer is made. The guide gives out important information like the equipment used, the level and rate of the freeze dryer.
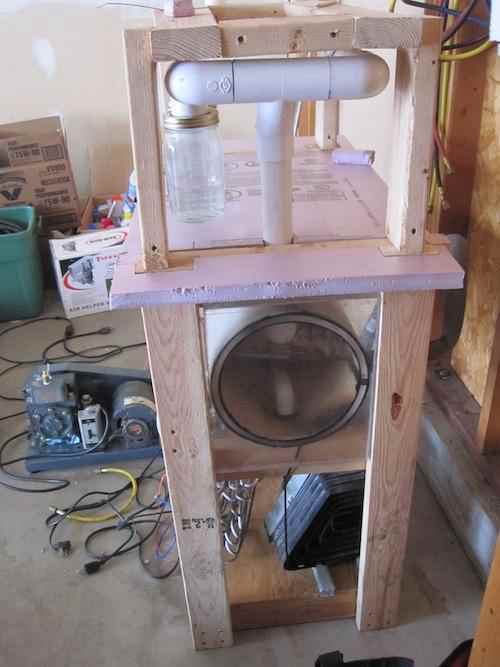
Among the equipment listed in the guide are vacuum pumps, PVC pipes, lumber, mason jars, surplus evaporator, compressor, and condensers.
7. DIY Freeze Drying Canister
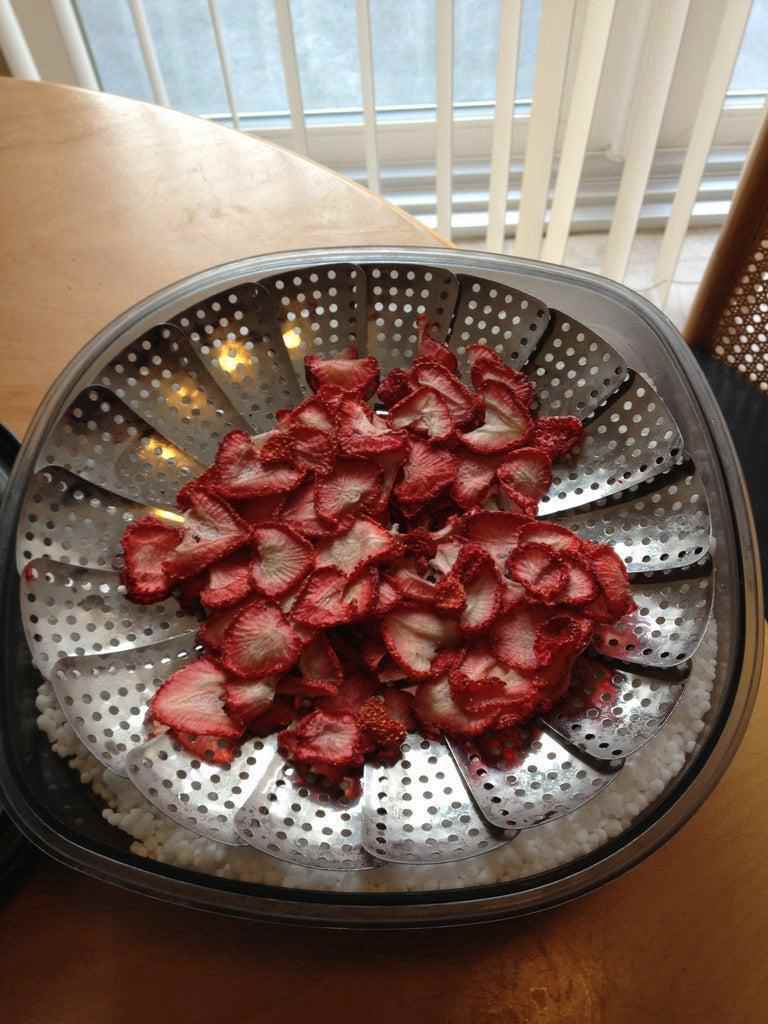
To make this freeze dryer DIY, you will have a container with a lid( acrylic container will work best), silica gel ( to absorb the vapor coming out of the dried items), stainless drying racks, and a valve.
The first thing is to make a hole on the lid of the acrylic container and install cork in the hole. Then, go ahead and place a bag of silica gel at the bottom of the container and start placing the stainless drying rack on top.
Gently slice the food items and place them on the rack one after another. The next step is to assemble the system and start drying.
It is really easy compared to other DIY freeze dryers mentioned above. It doesn't require complex power tools and can be done in your house.
8. How To Freeze Dry At Home
If you don't have a vacuum at home you can use your freezer as a means of freeze-drying but it will take a longer time before you get the result. A week should not be too much!
The materials needed include a mason jar, silica gel, freezer, tray, and a container.
The first thing you need to do is to prepare the food items you want to freeze dry, then prepare the mason jar. Place the silica gel narrow container inside the mason jar and gently arrange the sliced items around the silica gel. Cover the mason jar with its lid and place a vacuum on it. Press the on button and you're good to go.
Conclusion
One thing I like about all these freeze dryers is that they maintain the shape and constituent of the food items even after drying. Thanks for stopping by, just before you leave, do us a favor by sharing this article with your friends and family who might be interested in building a DIY freeze dryer.

