
A dust collector can lessen the stress of your shop vacuum cleaner. This helps filter the unwanted particles that clog on your vacuum cleaner. Making one of these is super easy and less expensive.
This article has put together 10 different ways of making a DIY dust collector and also refurbishing your dust collector. Follow the steps on how to perform this magic and see the necessary ingredients in making these. You will be delighted you stopped here.
Table of Contents
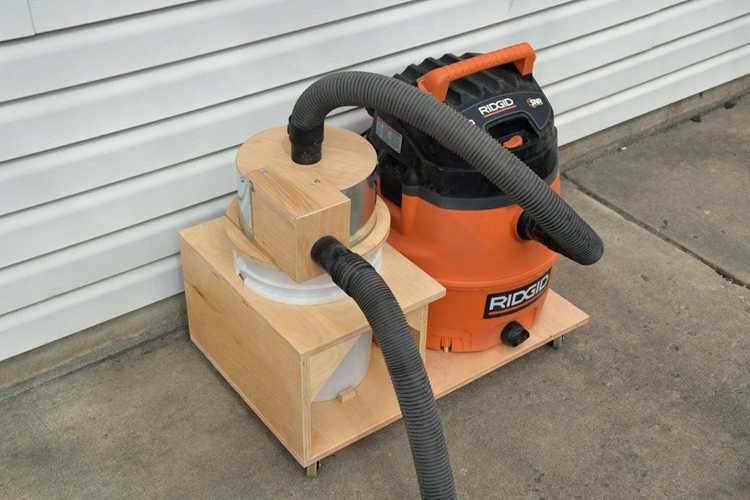
1. DIY Simple Cyclone Dust Collector
This is super cheap to make. It helps prevent your filter from clogging prematurely in your vacuum cleaner. This project is very practical. Your investment in this won't exceed 10 dollars. The materials you need include PVC pipe F200, large board 40x60 I'm, acrylic silicone, Plexiglas, four pieces of wood 22x24cm. This project is recommended for every workshop.
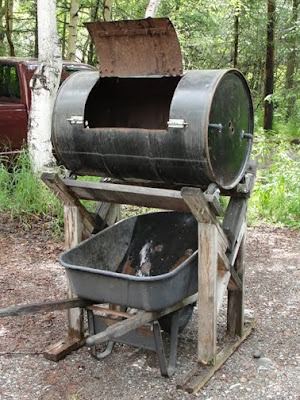
2. DIY Dust Collector With Pressure Release Valve
Here the creator created a dust collector with a pressure release valve. The creator used a bucket to create a dust collector to remove the sawdust from the vacuum cleaner. In creating these, the creator made her design on paper for easy understanding.
Firstly, she created a hole on the top of her bucket, thereafter drilled a hole on the sides of the bucket, getting some attachment from her old vacuum cleaner to create this magic. I recommend this for a simple dust collector
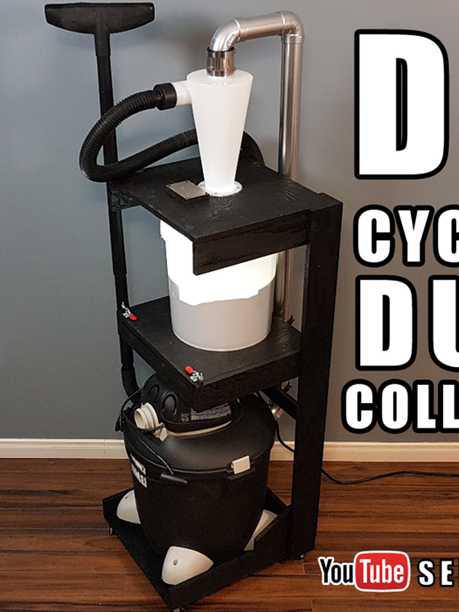
3. How To Make A Cyclone Dust Collector Under $2
Making this will cost you less than 2dollars, what you need is a bucket, 45-degree angle PVC which costs 75cent for each, glue gun or glue or silicone, drill or bandsaw. The first step is flipping your bucket on the side and stretch with the PVC the desired spot for the hole after getting this you create your hole using your drill, using a drill makes it faster and a lot easier, make sure you use your curve filler to create the hole better for good passage of your PVC. The next thing to do is the gluing process.
4. DIY Compact Dust Collector
If you want to make your dust collector, here is a simple compact dust collector. The tools and materials you will need to create this include sheet metal(16 in 35 in galvanized panning), a 5-gallon bucket, plywood, dowels, silicone, glue, caster wheels, etc. The trick here is that in performing this magic the tip is that lots and lots of circles will be created so get your driller or bandsaw. The link below explains each step in making this baby.
5. DIY Dust Collector
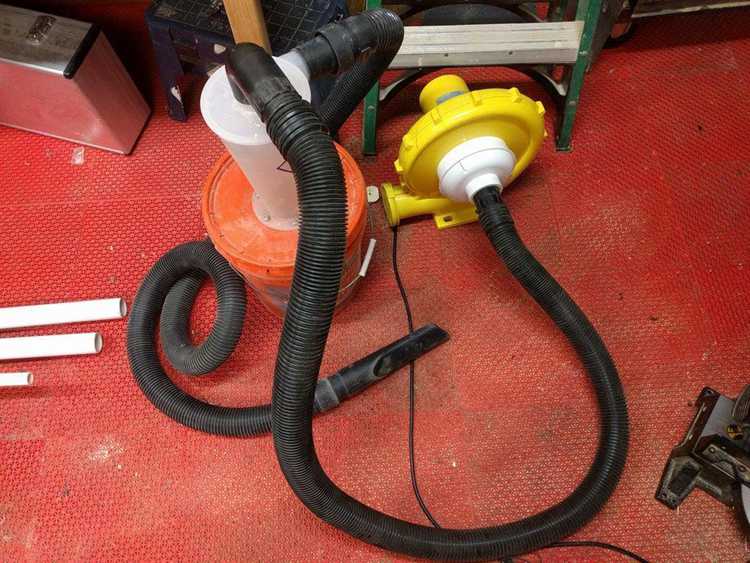
This DIY dust collector is made by the creator using different household equipment. He used a dust deputy, fan, etc. The first step was removing all the screws from the blower, thereafter he used the grate gotten from the floor drain, lined it up to the intake side of the blower, and marked the three mounting holes.
The next step is putting everything together and your dust collector is ready for use. This type is different from the other dust collector you've come across. Simple and less expensive.
6. DIY Dust Collector Rebuild
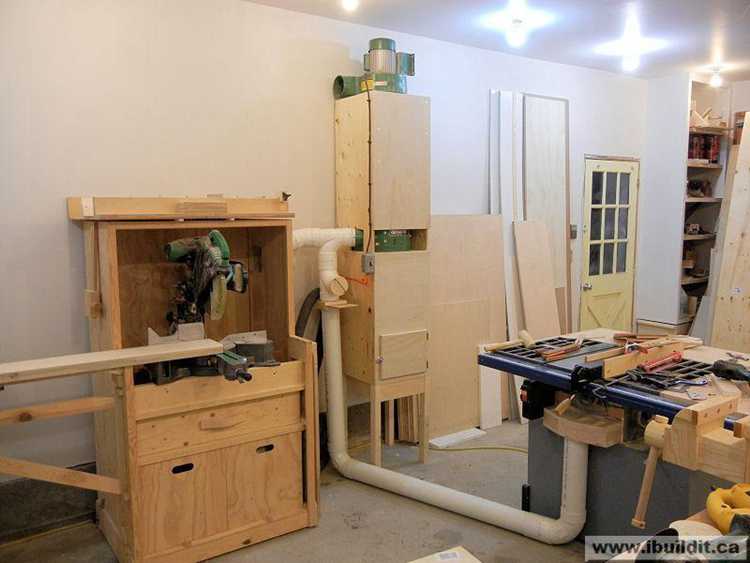
Rebuilding a dust collector like this is not difficult. What you do is adapt the metal center section of the collector so that a cabinet can be built around it. Firstly you cut the pieces of ¾ plywood in two equal parts, then put them together to draw a circle that is equal to the outside diameter of the center section. The link above gives a more descriptive analysis of the process. Rebuilding makes it look better and lasts longer.
7. DIY Dust Collector
Firstly, make a hole on the top of your bucket and also on the sides to insect the pipes on it. The angle cut is to push dust down the bucket. This process is very simple and super easy, the next thing is to connect it with your vacuum cleaner, and voila your dust collector is ready for use.
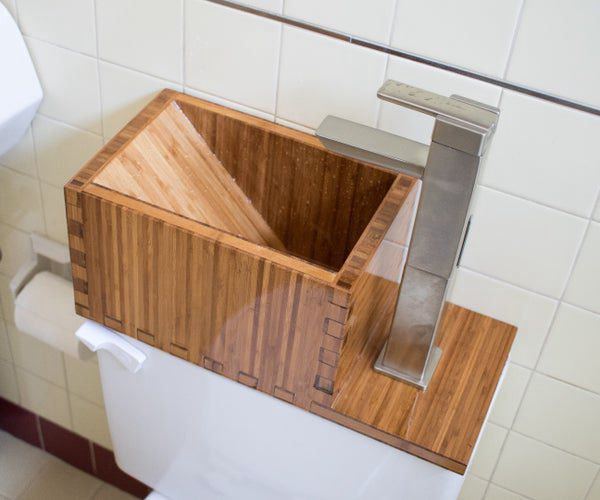
8. How To Make A Dust Collector
Making this dust collector the creator used a 20 inches bucket and shop vacuum, the creator also used a scrap pixie glass, ½ inches of PVC, PVC glue, sink, a very optional strainer, etc. In making this baby the creator used a simple method to perform this magic. I recommend the link above for proper work done.
9. Cheap DIY Dust Collector
In setting up this dust collector you need to connect it to your vacuum cleaner. Making the dust collector is to avoid dust from clogging into your vacuum. You need a tall bucket and one with a cover if you can't get one with a cover you could make on. You create holes for the PVC to pass freely on top of the covers. Also on the sides of the bucket so that the dust could remain in the bucket.
10. DIY Dust Collector
This system saves your filter and motor on your shop vacuum. This is a highly effective dust collector super good for your shop. You need 2-5 gallon buckets, 24 of ⅜ clear rubber tubing, 24 of two PVC pipe, four bolts, 20-3 small clamps, 1 PVC neck down from 2 to ½. The estimate to conduct this is 20 dollars or less. The link above embellishes more on this process.
Conclusion
That’s a wrap! 10 different ways to build a DIY dust collector and I must say, most of the tutorials are easy to follow and satisfying to build. If you have any questions or contributions regarding this article, feel free to reach out to us and we would be more than glad to help.


Ask Me Anything