
Personalized sports or recreation time requires a subtle establishment for the family. And there’s no better option than zipline to put the backyard to good use. From the kids to the adults, the facility seems to possess unavoidable attraction.
But a commercial zipline assembly will cost you a tremendous amount from the wallet. There are many DIY methods available online to save your precious bucks. Check the enlisted DIY zipline hacks to enjoy a pleasant time in the backyard.
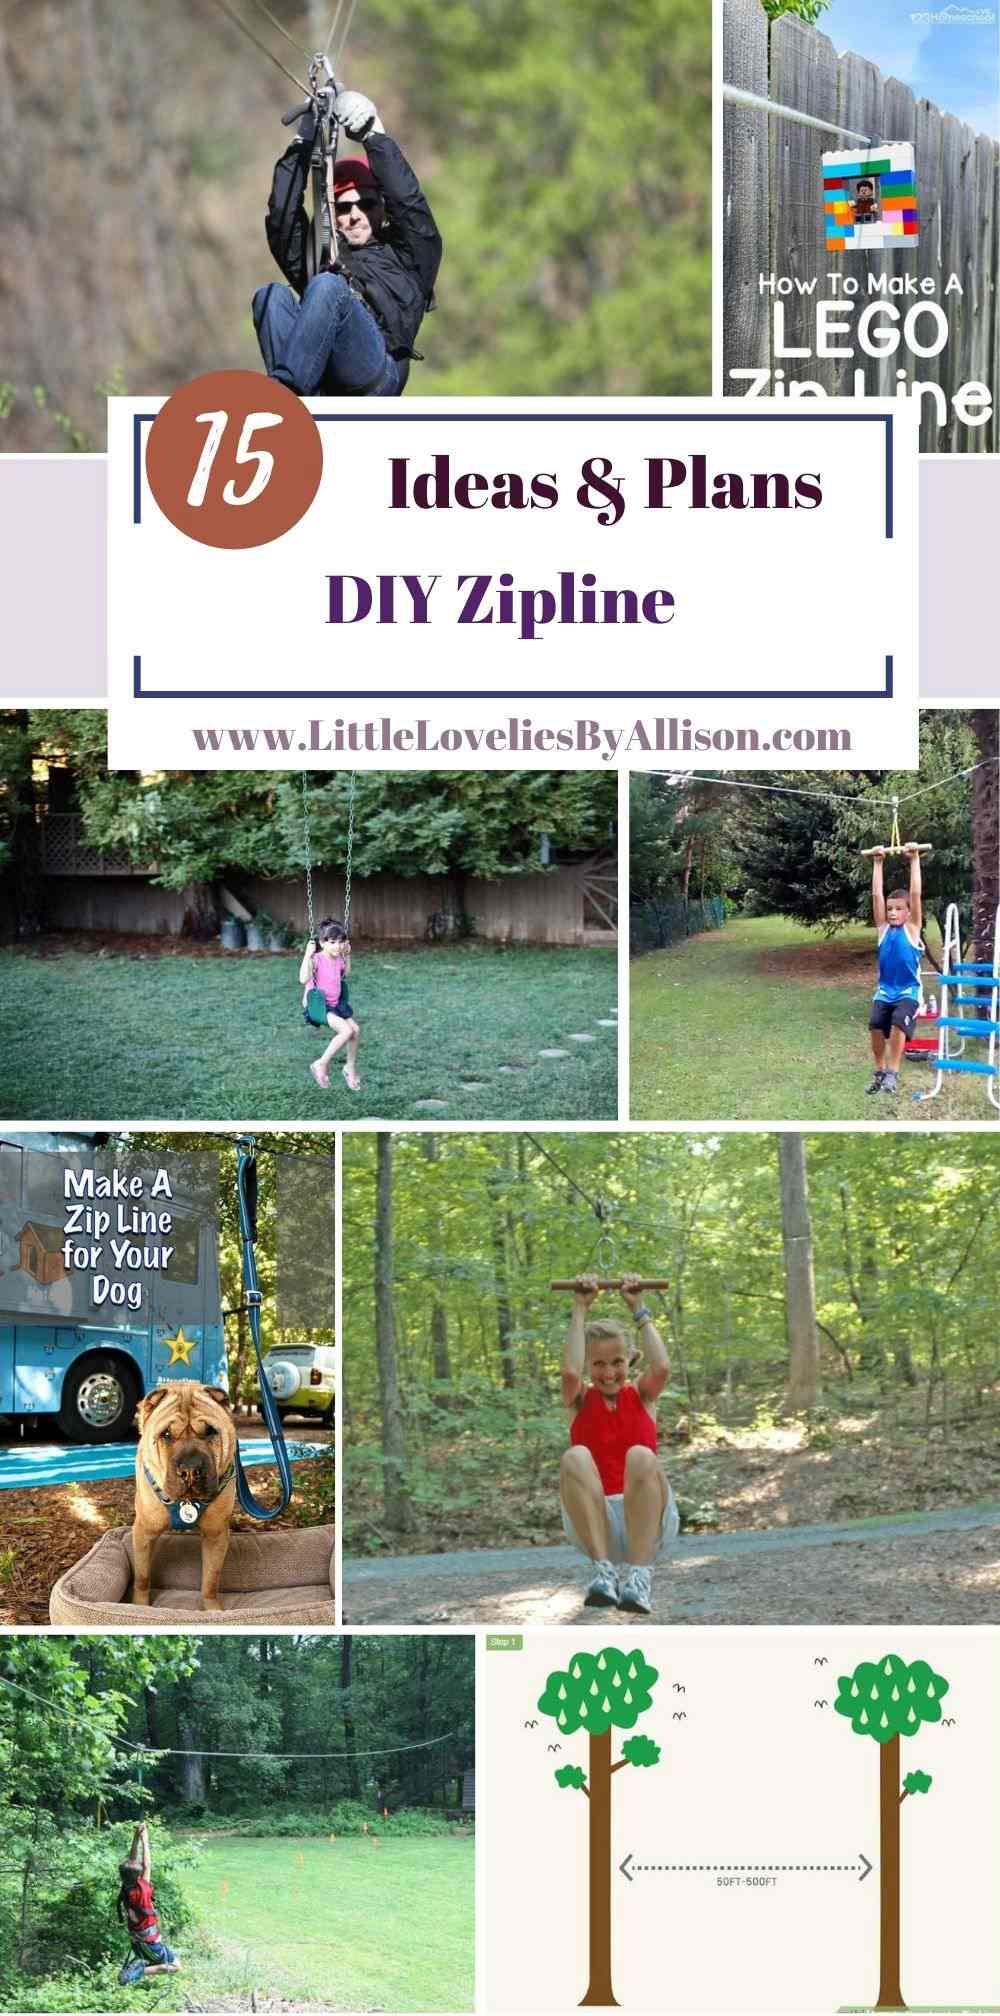
Table of Contents
1. Simple Zipline Facility
Even a dinky zipline for kids will cost you a considerable amount at once. You should think of assembling individual parts to construct the facility by yourself.
You’re to start surveying the property, measuring the distances to decide the parts. Permanent zipline requires some additional processing with slight expertise. However, five explained points are sure to cover the implementation with maximum precision.
It’s likely to take 1 – 3 hours of work against a mere $151 - $300 initial investment. But everything tends to get higher with an extended plan for backyard zipline.
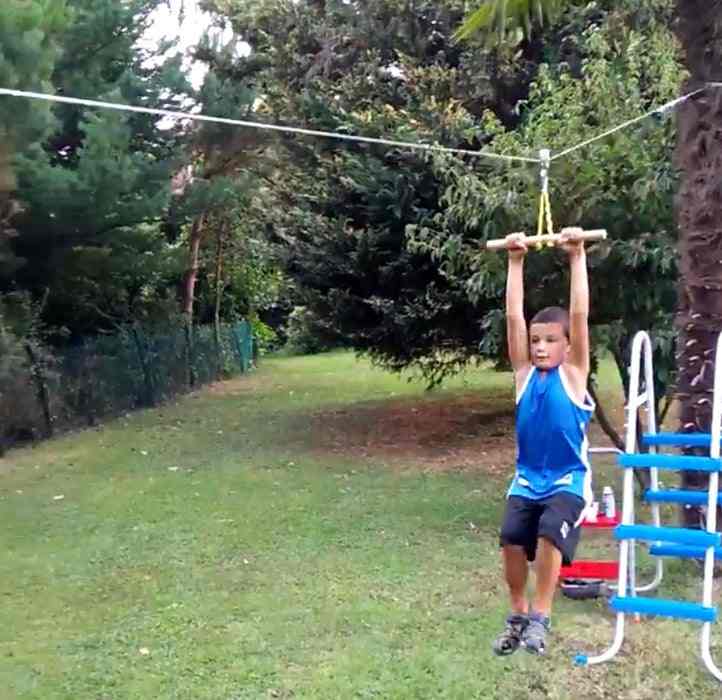
2. Fun Zipline for Kids
Constructing a fun zipline for your growing kids requires almost nothing. The video tutorial lets you catch the absolute tricks of making a project a complete success.
The tutorial starts with necessary items, explained through background speeches. And the total price appears to stand within $10, making it one cheap DIY implementation. Not to mention, the simple design comes pretty unorthodox for any grownups, suiting kids only.
It’s a detailed video on the connection, not exactly depicting the practical use. Assembled lining establishes a zipline between two steady trees in your backyard.
3. Homestead Zipline
Start enjoying some outdoor fun along with the kids with your homemade zipline. Grabbing some mechanical supplies to initiate an assembly can save you considerable bucks.
Everything necessary for the project comes in a long list right after the introduction. Then you’re to start implementing seven steps to accomplish the objectives by a weekend or holiday.
Handles, cables, pulleys, tress are the main concerns to ensure precise detailing with safety. And the integrated YouTube video is sure to make you understand with onscreen depiction.
4. Indoor Zipline Facility
Lack of tress or sufficient backyard space shouldn’t keep you out of zipline fun. DIY enthusiasts stand for installing an invigorating indoor facility to make the horizontal ride.
Attaching the line to walls or ceiling can appear distorting or even dangerous to some extent. But you’re to maintain the decorative integrity of your space with a matching facility. Therefore, the assembly requires simple crafting of a zip-pole to hold the line over the top.
Everything you need to make a stand comes in the video with a slight introductory description. It takes minimal effort to stand the 1.0” iron poles to support the overhead cable.
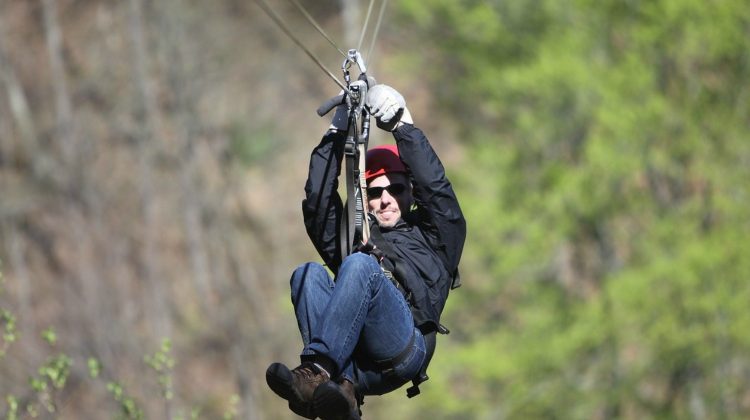
5. Backyard DIY Zipline
Completely professional zipline establishment requires further effort, even for your backyard. But the article is sure to remain determined on keeping the project somewhat simple.
Following the start, you’ll get to learn some fun facts about some commercial zipline establishments. And the facility seems to feature a noticeable difference, concerning the movable platform. As it happens, the distinction is sure to occupy your kids with absolute backyard fun.
There are thirteen different steps with several mechanical processing & design implementations. Associated pictures should give you catchy insight into the entire task right away.
6. Dependable Zipline
Keep yourself busy in constructing a new addition to the backyard facility. And the zip line requires a mere $50 initial investment to gather necessary supplies.
Eight materials will establish the assembled zipline, requiring the use of six different tools. Actually, it’s the first step of your project, featuring eleven consecutive steps. There are several standstill pictures of the process, making the task catchy enough for anyone.
You better conduct a testing move after completing the backyard zip line establishment. And one video integration should help you to understand the outcome.
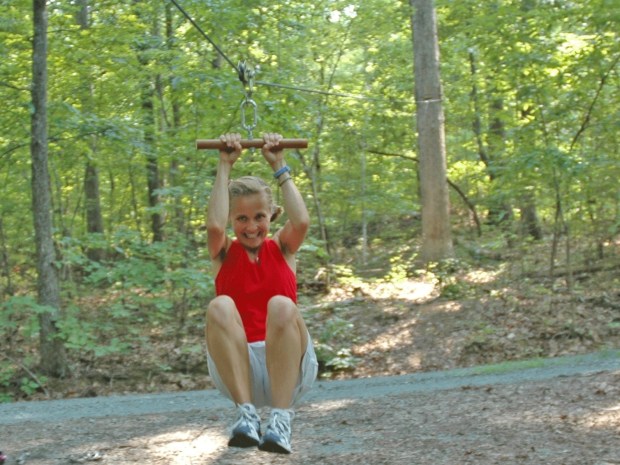
7. Functional Zipline Platform
Low-height zipline often fails to accommodate certain challenges towards the rider. Even the kids are likely to get bored with the almost ground-touching moves over time.
You better set a raised or heightened platform to skip the mere-fun details. The project explicitly requires wooden pieces assembled by certain nails, nuts & screws.
Crafting the platform before installing the line can help you to decide on a suitable height. The time-lapse video represents a subtle depiction of simple yet useful modifications.
8. Secure Zipline Facility
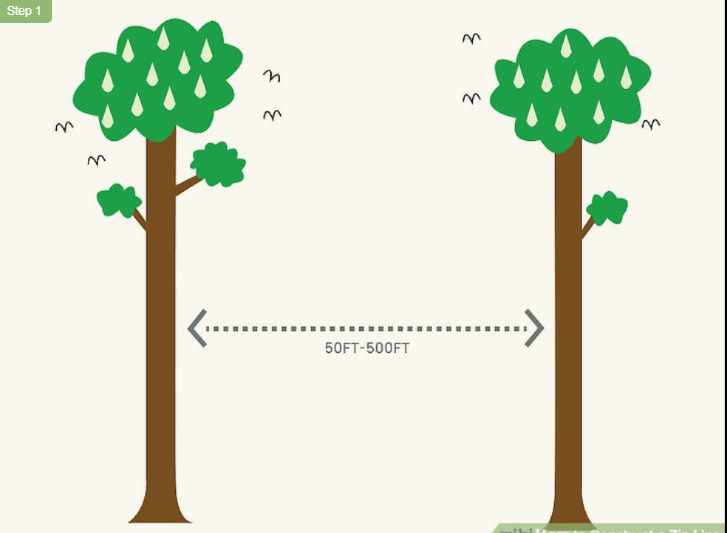
Safety remains one major concern with every backyard or personalized zipline system. And the article explicitly stands to promote the design, skipping the chances of disaster.
There are only five steps, starting with the distance measurement between the holding trees. The following steps require a steady cable attachment with a supportive cable clamp. And you’re to decide the first person to try the facility, conducting a confirmation test.
The steps feature sufficiently explaining words to let you catch the implementation clearly. Included computerized images for every step should help you with understanding.
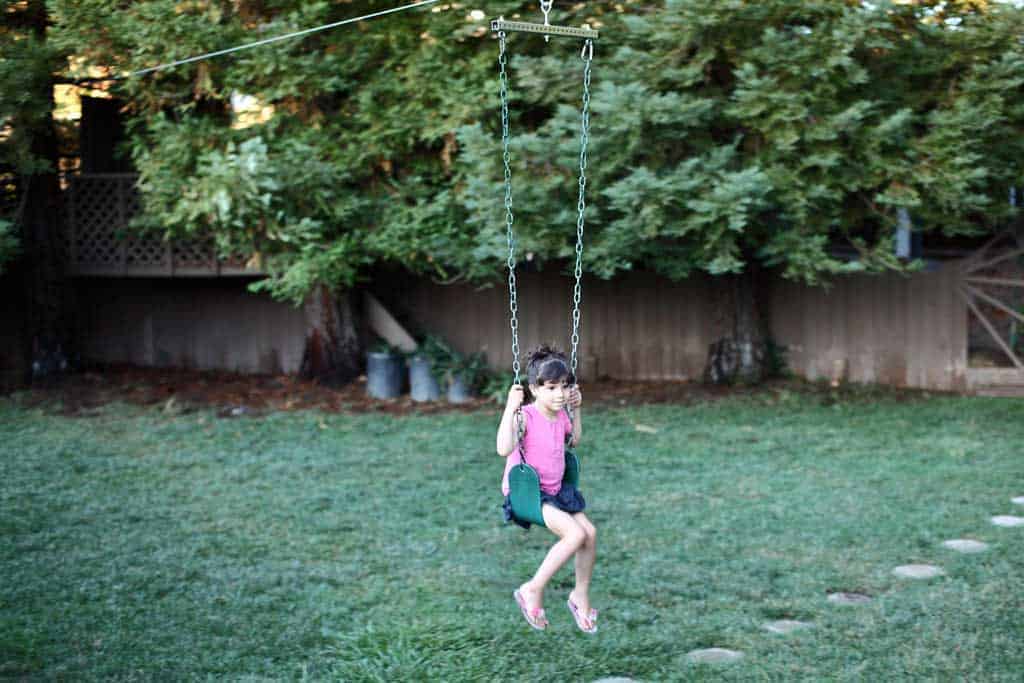
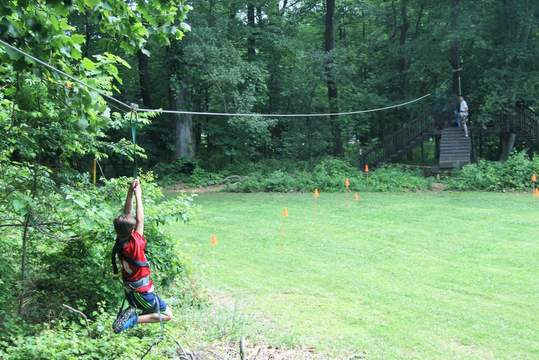
9. Backyard Zipline Upgrade
Upgrade the empty backyard with a playful zip line featuring a raised platform. In fact, it takes minimal effort to construct a completely basic yet functional facility by yourself.
It should start with the ladder, letting you stand reasonably high from the ground. Right then, you better start creating the tree base to attach the connecting cable. Everything appears in a plausible order, letting you skip certain issues with the understanding or arrangement.
The video also features background commentary on definite parts, emphasizing the action. You may check the necessary materials from affiliate links mentioned on the screen page.
10. Zipline for Pet Dog
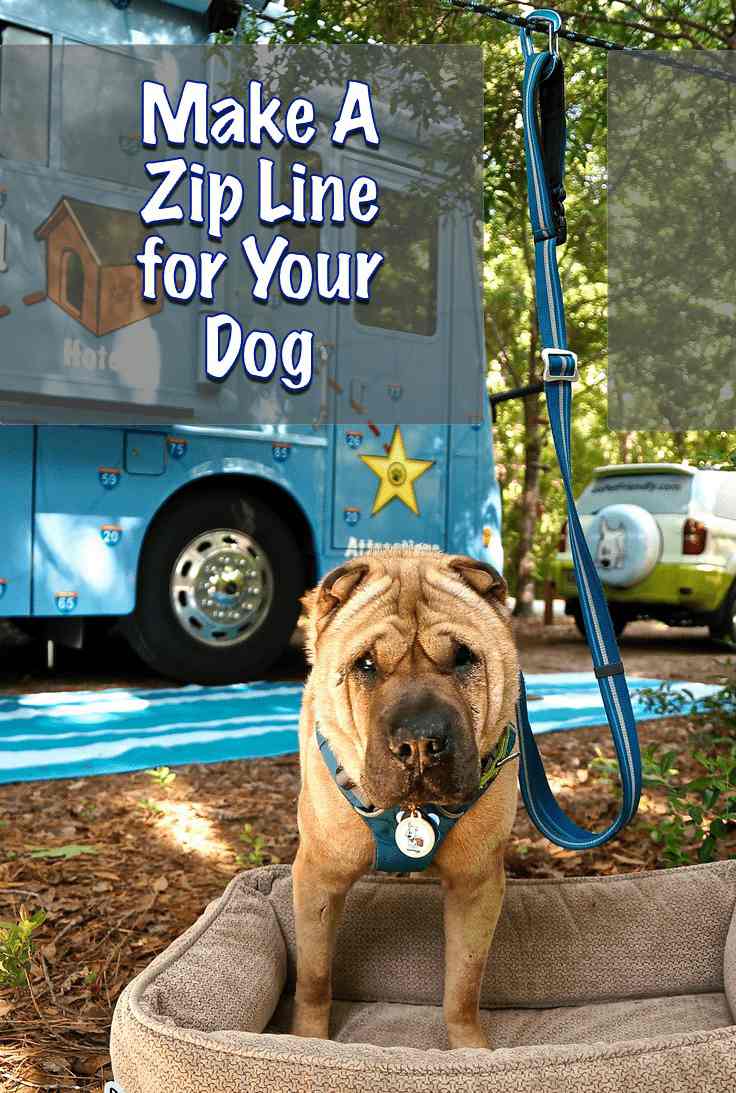
Enjoy the absolute best of your outing sessions with your pet dogs remain closed. The idea explicitly matches a temporary requirement of pet dog care.
Instead of tie-outs, commanding zipline gives your dog extra space to sniff around. The article even features a section to explain the potential advantages. Following the comparison, you ought to learn the necessary items to make the assembly.
Deciding on the length will take no time to establish the part-time connection. And attaching the belt to the hanging cable will keep you relaxed for sure.
11. Zipline-Trolly Combo
Whether it’s your backyard or indoor facility, you better try something different. And it can’t get any better with a smooth zipline-trolly combination.
The descriptive video reveals the method of connecting the items with the cable. Of course, you’ll get to learn the necessary items from the startup section.
Overall cost remains pretty cheap with mere hardware purchase, initiating durability. But no practical use of the assembly may raise questions.
12. Lego DIY Zipline

Apart from the usable zipline, you ought to try learning ones for little kids. It’s indeed a direct fun method to explain simple kindergarten science to the fellows.
The project requires a good number of Lego STEM to shape the moving platform. And a simple rope to replace the actual cable requirement should suffice the design.
Friendly words to present the task should occupy your thought on its implementation. And don’t forget to involve the kid to structure the ultimate ‘Lego Cage’.
13. Extended Open Zipline
A zipline with a slightly distorted design or facility can become reasonably dangerous. And the video’s introductory part has to reveal the chances of getting hurt.
However, the following segment immediately starts to explain things with a safety harness. But the tutorial only lets you catch the connecting parts upon attachment.
You’re free to establish an extension in open fields or spots to feature trees. Despite the lack of complementary details, the whole video remains complete fun.
14. Zipline Robot Project
Impress almost everyone with a ziplining robot to catch the attention of robot enthusiasts. The job stands a luxury but worth your effort towards a successful project.
Necessary items appear in a long list of hardware, software & hand tools with interlinks. And the story starts to continue with assembling items, certain pictures & supporting details.
Arduino code remains available in a scroll-down screen right at the end portion. Again, there are two additional videos to help with the complete projection at once.
15. Complete Zipline Guide
Know every essential thing to establish a dependable zipline facility in your backyard. It’s a complete tutorial to let you obtain maximum precision in the field.
Setting the zipline location, you’re to start figuring out the designing measurements. The consideration goes with anchoring & cabling parameters. Built-in calculator table allows you to determine the necessary slope & sag for the cable on certain assumptions.
It continues with the zip line parts, featuring turnbuckle, sling, thimble & clamps. The remaining section concerns secure installation involving the essential equipment.
Conclusion
As you can understand, there are different ways to keep yourself occupied with the moves. All you need is to determine the facilitation & intended use. And you can start setting an establishment to stand for a good time.

Ask Me Anything