This laser engraver can be made in a day or a couple of hours when the right skill set is in place. This won’t be one of those projects that would be easy to make, get ready for a serious challenge. Don’t be scared, if the creators could do it, you can too.
We have compiled a list of 13 DIY Laser Engraver Kit Projects that you can DIY. Instead of spending so much on buying a laser engraver kit, you can spend less and build one. Trust me, the process would be fun. Are you ready? Let’s begin!
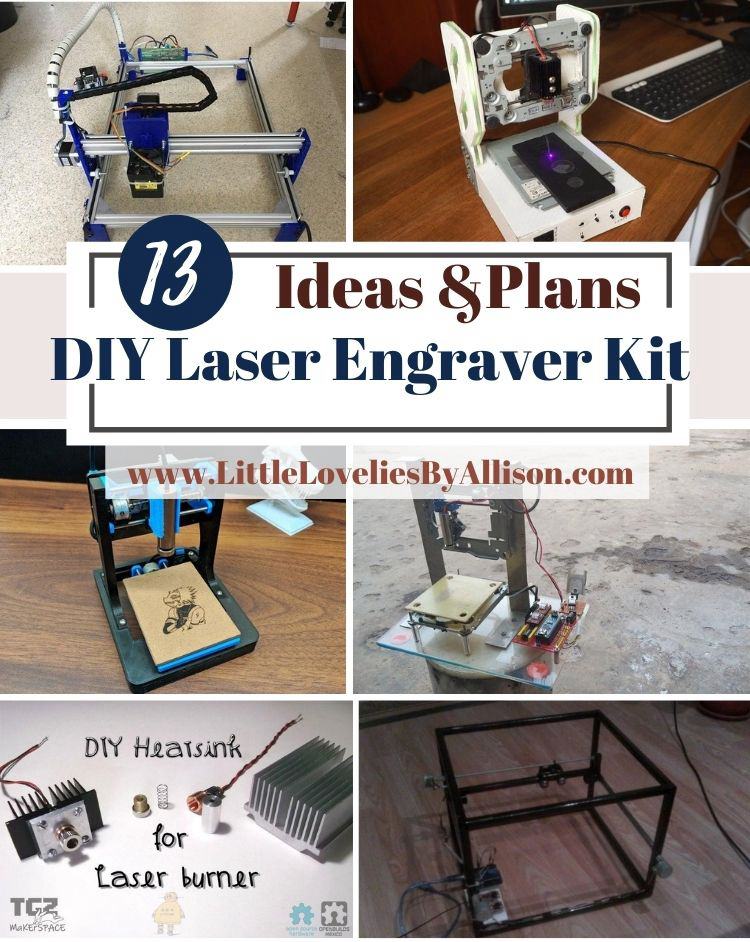
Table of Contents
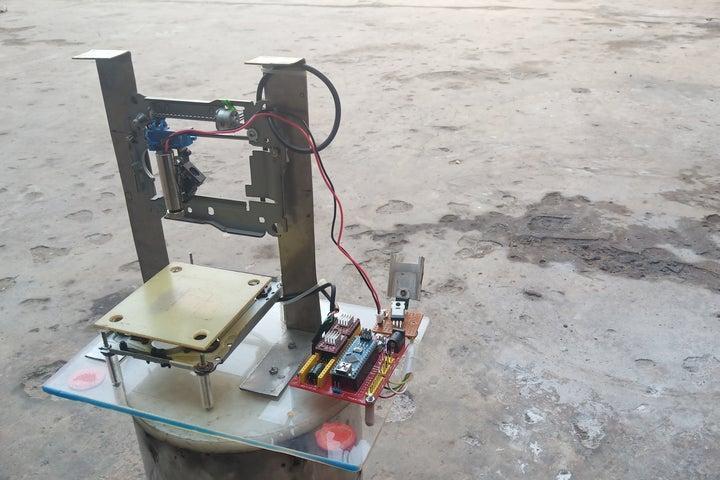
1. How To Make CNC Laser Engraver
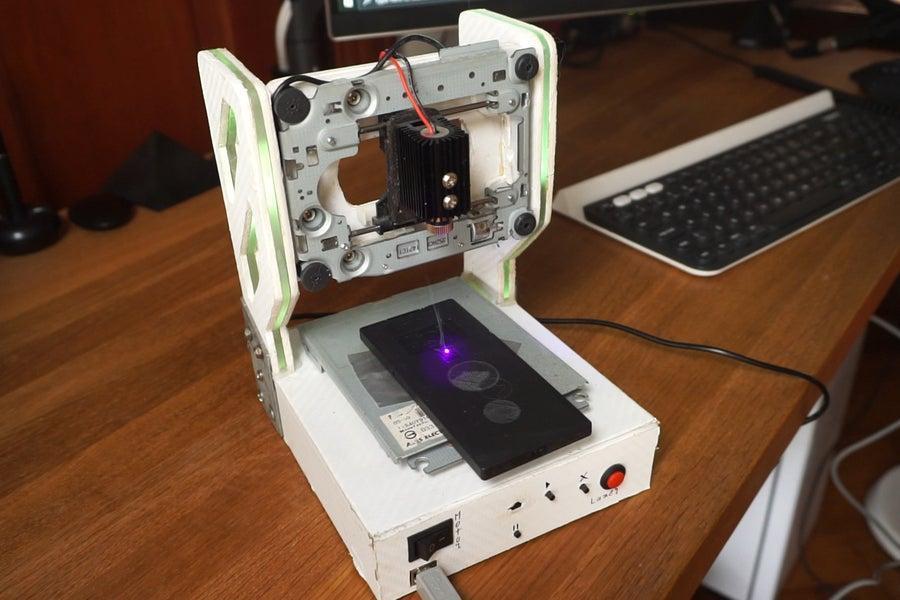
The first laser engraver on my list is made from a CNC router and DVD drives. Get two DVD drives and disassemble the parts, remove only the motor from it and also remove the transistor. Remove a diode from the transistor and attach it to the tip of a cable. Attach the cable to the motor and place it on a piece of wood. Trace the dimension of the motor on the wood and drill holes in the marked area, screw the motor to the dimension using a small rod that elevates the motor a little bit from the wood.
2. DIY Laser Engraver WIth RGB
In making this DIY laser engraver you will need laser safety glasses, Arduino, CNC shield v3, RGB controller, MDF, screws, and hot glue. Layout the structure of the laser engraver on a drawing board to make the work easier. The structure requires two axes; the x-axis and the Y-axis. The X-axis is made from two layers of MDF while the Y-axis plate is made from an old floppy drive cover. The process of setting this up is quite long but the result is worth it.
3. DIY Laser Engraver
This is not the cheapest but you can try your best to make it as cheap as possible by buying materials that are a little bit cheaper. The overall cost of making this is $400. The materials needed for this are laser engraver, Cutting tools, Dremel, and cables. On the mainframe of the laser engraved in place and start to add all the peripherals to make it stand as one.
4. How To Make A CNC Laser Engraver
The materials needed for this project are a plastic laser frame, a motor from old DVD drives, rods, screws, and cables. Disassemble the old DVD drives and remove the motors and rods. Make the mainframe of the laser engraver and attach the motor to the rail frame with a screw.
Place a roller on it and put it in the middle of the base for the laser engraver. Pass the two rods each on one side to hold the motto and the base in place then attach the arms of the laser engraver with screws. Attach the second motor in between the two arms and hold it in place with two rods. Attach cables to each of the motors and add a laser holder to the motor in between the arms.
5. How To Make A Laser Engraver
This is made from wood, motor, screw, screwdriver, and pulley. Place a small piece of wood on a larger piece of wood, grace the motor on this wood, and drill holes on it. Screw the motor to the board with a screw, put hot glue on every corner of the motor and place two pulleys over it.
Attach two small pieces of wood to each of the pulleys and pour hot glue on the small pieces of wood, attach another wood that will serve as the surface where everything that needs to be engraved will sit on. Attach the back support piece to the bigger board and hang the laser holder on it. The process is very simple.
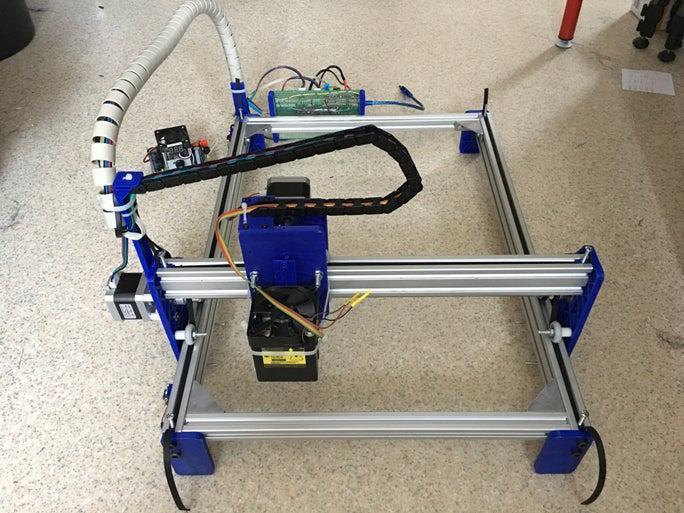
6. DIY Arduino Laser Engraver
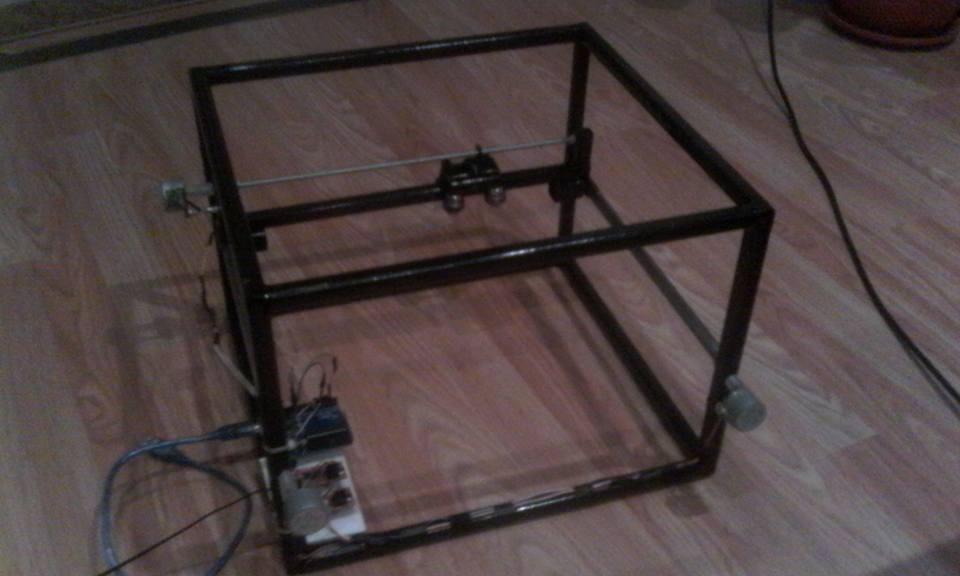
The materials needed for this project are round pipe, threaded rod, Arduino, and motor. Start by making the frame for the laser engraver then move on to make the Y-axis and X-axis. For the motor to the frame and insert the laser diode and drivers. The process is not too complicated and it requires less amount of time to set up.
7. DIY Laser Engraver
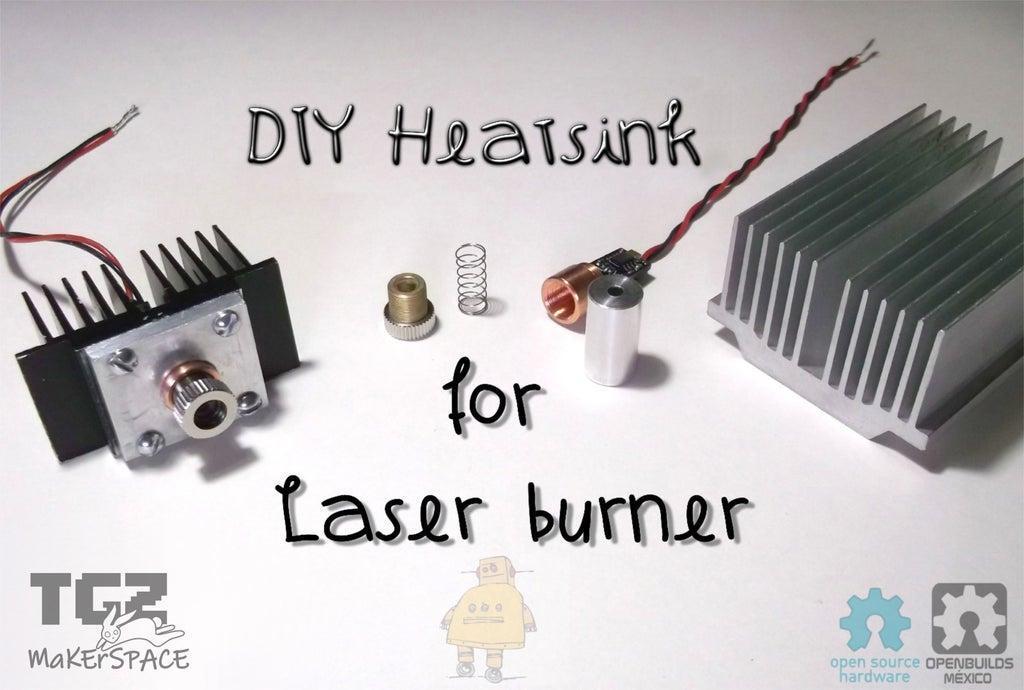
Get an aluminum heatsink, miter saw drill, needle file, two-color wire, drill bits, 1.5w copper, and many more. Choose the aluminum heatsink wisely then reshape to increase its surface contact, but if younger than a big heatsink you can overrule this step. Then make some space for the diode housing.
8. DIY Mini CNC Laser Engraver
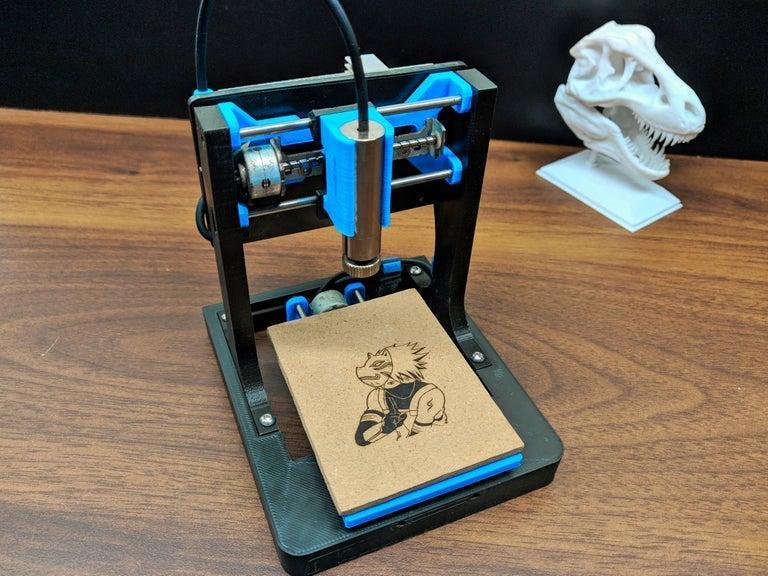
The materials needle for this laser engraver includes old DVD drives, sliders, Arduino nano, GRBL shield, male connector, voltage regulator, capacitor jumper cable, resistors, super glue, screws, and male and female headers.
Print the pieces for the mainframe and disassemble the DVD drives and remove the motor using a stepper mechanism. Prepare the slider and put together the slider tail for the Y-axis, put together the slider rail for the X-axis as we move on to the wiring and attach the stepper motor.
Assemble both Y-axis and X-axis then attach them to the frame, connect all the electronics, and assemble them in the frame.
9. DIY Homemade Laser Cutter
The materials needed to make this homemade laser engraver include metal rods, pulleys, screws, and cutting tools. Start by making the mainframe of the laser engraver. It is made from rods, put them together and attach the pulley to one of the upper rods.
The process is a little bit complicated and longer time is spent In setting up the mainframe for the laser engraver. After the frame is in place, make the base for the laser engraver and move In to add the motor, and other materials into the frame.
10. Laser Engraver DIY
The materials needed to build this laser engraver include metal rods, screws and bolts, cable, and pulleys. Start the project by gathering the materials needed and create the mainframe for the laser engraver. Put the metal rods together with screws and bolts, and attach the pulley to one of them. Make the base for the laser engraver and start to add the motor, diode, cables, and other materials to the frame. Make the laser holder and attach it to the back support piece. The project is easy and requires less time to set up. It also cost less than some other laser engraver.
11. How To Make a DIY CNC Laser Engraver At Home
Disassemble two old DVD writers and remove the motors. Trace the dimension of one of the motors on a metal plate and drill holes on the traced part of the metal plate. Screw the motor on the metal plate with a screw and slightly elevate it with some small plastic rods. Attach the second motor over the first and screw down the back support piece with a screw. Attach the laser holder and your laser engraver is ready to use. The project is very simple and straightforward yet it doesn't require much time to set up.
12. DIY CNC Laser Engraver
The materials used in making this last engraver are rather cheap or salvaged from the garage. This is why it is a very cheap project. The materials are an old DVD Drive, GRBL shield V4, stepper motor driver, power supply, resistors, drill machine, hot glue gun, table vice, soldering iron, file, and screwdriver. Start by making the base for the laser engraver then single out the stepper coil and wiring. Create the main engraving platform then proceed to the X-axis and Y-axis.
13. DIY 3D Printed Laser Engraver
Proper care must be taken when making this 3D printed laser engraver because it is made from a great amount of radiated power which can be harmful to the skin and other parts of the body like the eyes. The materials used are aluminum profile, pulley, ball bearing, nylon wheel, flexible axis coupler, breadboard, and resistor.
The project can be costly because of the large number of materials needed and the number of things to be printed before the project can be done. Start making the mainframe, but the printed materials together, input the axel and motor. This is a very complex project and it requires patience so that the result will be worth all the money and time.
Conclusion
Creating a laser engrave requires time, energy, and money because of the materials that are needed to set it up. These 13 DIY laser engravers listed in this guide will give you all you need to build a laser engraver on your own. Try one out and see the magic!