
As you know kids like water and especially during summer when the weather is hot, your kids need a cool environment to stay happy and active. We have listed a couple of DIY splash pad ideas that you can DIY from home.
Splash pads are fun and fast to set up. At the same time, you can put them away easily when summer is gone. Are you ready to make a cool project? Let’s begin!
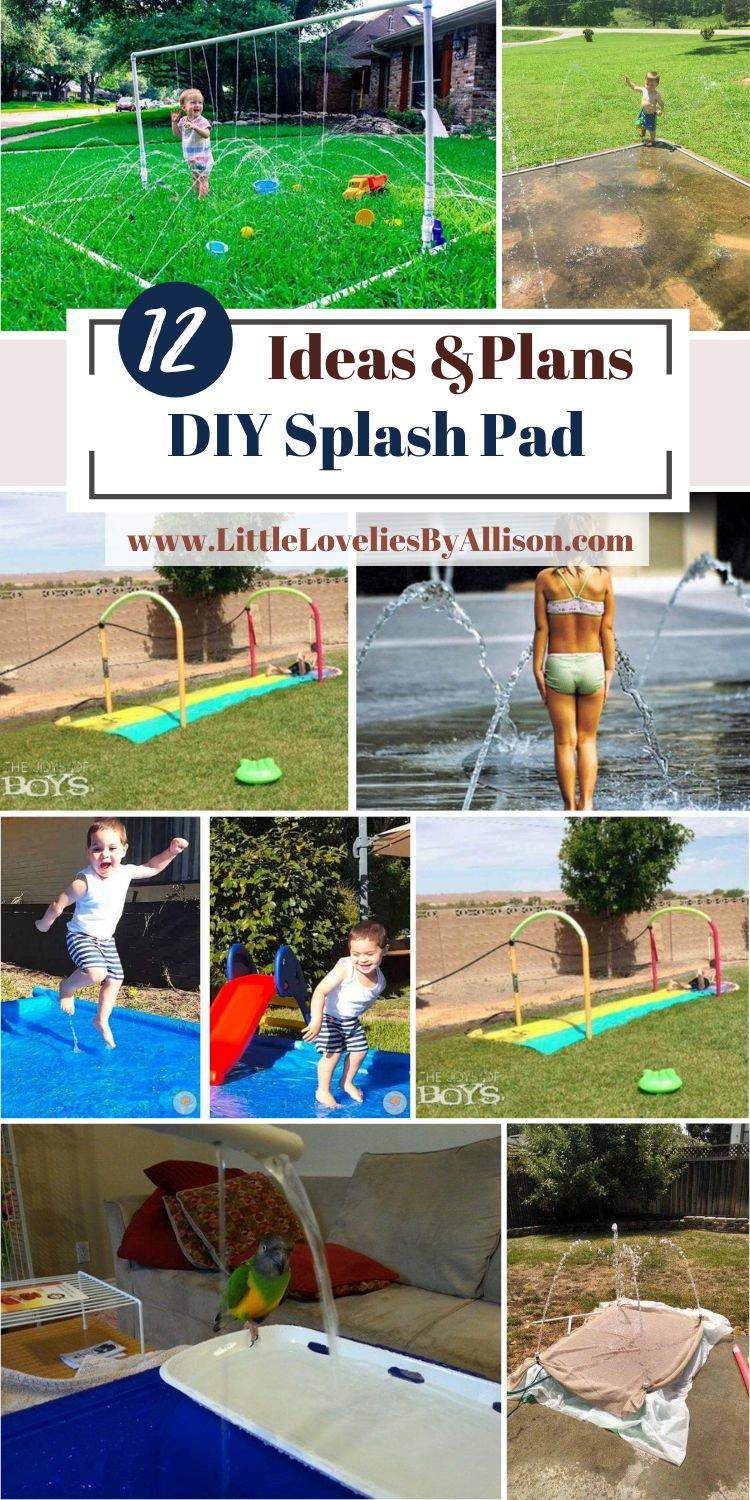
Table of Contents
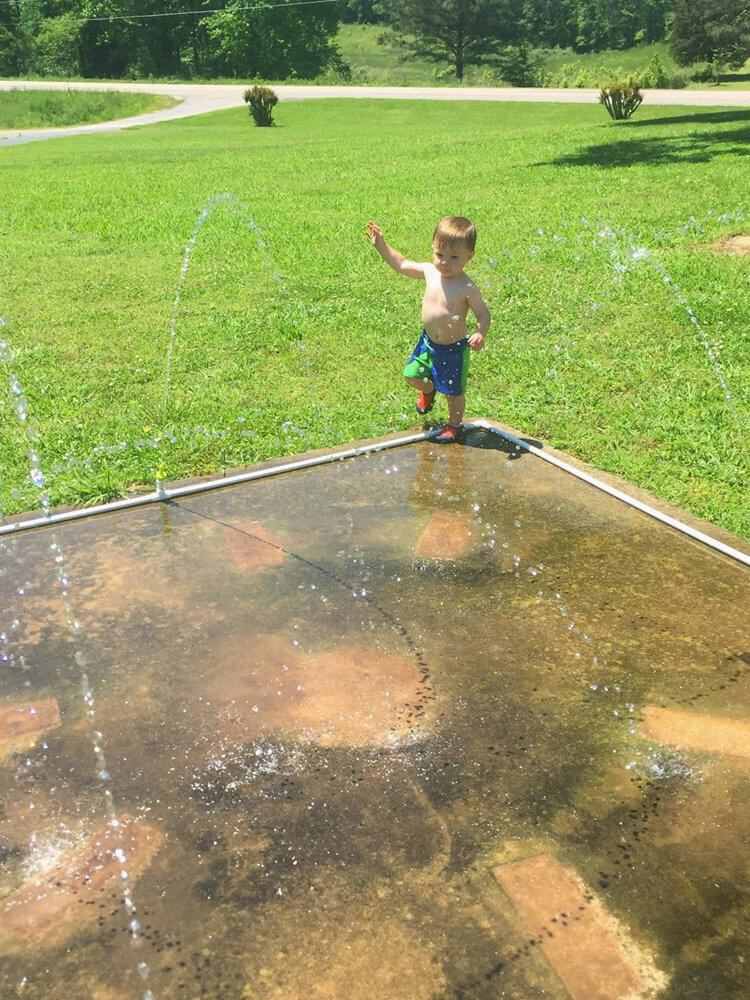
1. How To Install A Splash Pad In Your Backyard
This is made from PVC pipe, PVC elbow, tee section, nozzle, PVC pipe cement, and pump.
There is one large PVC pipe that collects water from the river to the small PVC pipe connected to the splash pad. There are 4 1" PVC that run through the border, the splash pad area, and the nozzle. This Splash pad was divided into three-zone. The first zone is 2 ft from the nozzle, zone two is 5½" feet away from the nozzle and zone three is the last part that forms a circle around zone one and two.
Lay the ground and make appropriate measurement mark out the three zones and install the pipes. After this, covet the pipe and cement the ground. This is a bit complicated because the arrangement of the pipes and proper measurement is not taken, you might not get your desired outcome.
2. DIY Splash Pad
To build this splash PSD you need a 100ft clothesline, 16'×20' tarp, 4 fat pool noodles, and 15 tent stakes.
Make a large square with the pool noodles joining them together with a clothesline. Screw the stakes between the knots of the clothesline. Repeat this for all the joints. Cover the square with the tarp and pin it down on every edge with stakes. After everything is done put a water pipe and it and your splash pad are ready.
3. How To Build A Splash Pad In Your Backyard
Do you want an amazing splash pad for your kids right in your backyard? Then, try making this splash pad. It is made from solenoid nozzles, control boxes, filters, and water pumps.
You want to make this unique. So first select the design of the splash pad you desire. Then, gather everything you need for the project. Make plans for the design and prepare the space. Fit the pieces together, then, fit them into the design space. After this, start filling, cover the materials to prevent dirt from entering. Add the finishing touch to it and you kids are lucky to have you.
4. DIY Splash Pad
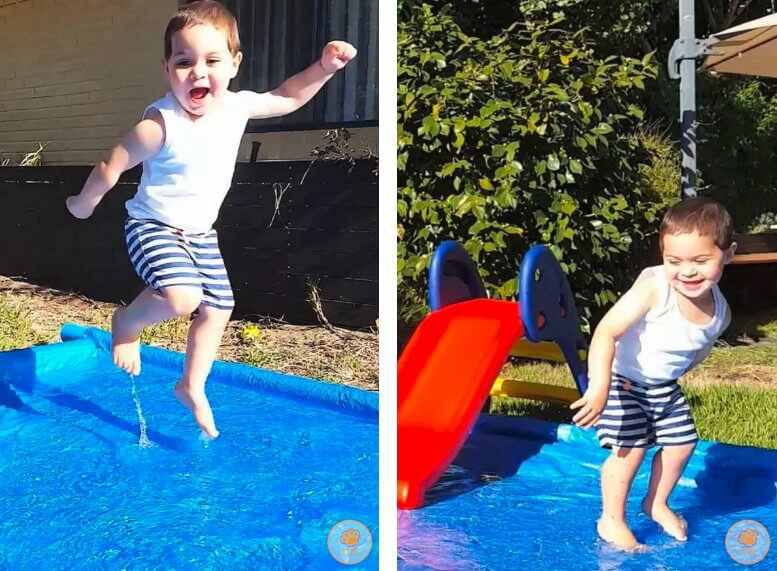
This beautiful splash pad is made from a tarp, pool noodles, and a sewing machine. This requires a few sewing skills but if you don't want to sew, it's fine. Use the pool noodles to build the edges of the water area so your kids won't fall out of the splash pad and it is soft, it won't harm your kids.
The sewing machine was used to sew the tarp wrong the pool noodles. The whole project is fun and fast to put together. This DIY splash pad is colorful and looks attractive from afar. It is so simple to put together and at the same time so simple to disassemble anytime.
5. How To Make A Splash Pad
The materials needle are a bucket, water pump, foam pad, and drill. Start by cutting a hole on the deck then assemble the deck (removed portion)and the pump to a bucket. Run some tubing into the bucket and pass the nozzle out through the hole. Fit this back into the hole and cover it all a nylon. Then cover it all with a foam pad. Turn on the pump and let your kids enjoy themselves. This project is simple and affordable.
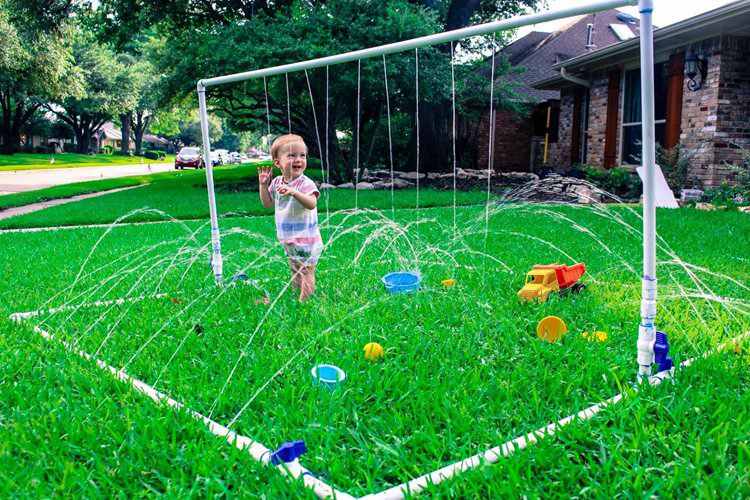
6. DIY PVC Pipe Kids Splash Pad
This kids splash pad is made from ¾" PVC pipe, connectors, 3 T sections, and a PVC pipe cutter.
To make this project simple and fast, first sketch what you want to build on a sheet of paper.
Start by fitting one of the ¾" PVC pipes to a pipe carrying water, then connect everything to give something like a two-leg hanger. Drill holes on all the pipes and pump water into it. You can decorate the surroundings for your kids if you want. Let your kids stand under the pipes and enjoy their moment with the splash pad.
7. DIY Backyard Recirculating Splash Pad

This is made from reservoir deck, plastic crate or panel, 2ft 2" PVC pipe, lumber, reservoir padding, duct tape, 8 deck screw, zip ties, PVC fittings, PVC pipe (¾"), working for the pump, sprinkler, and pump.
Create a reservoir from the plastic crate, attach 2" PVC pipe to the crate using a zip tie.
Put the four crates together and measure, cut the lumber to size and assemble the frame. Make the PVC nozzle frame. Use a PVC coupler to attach the PVC to the frame.
Cut the ¾" pipe to enclosed the reservoir deck with an elbow (it serves as an outlet) at each corner of the sprinkler. Attach the pump to the frame, put everything together, and cover it with the plastic drop cloth. Turn on the pump and let your kids enjoy the coolness of the water on a hot summer afternoon.
8. DIY Bird Splash Pad
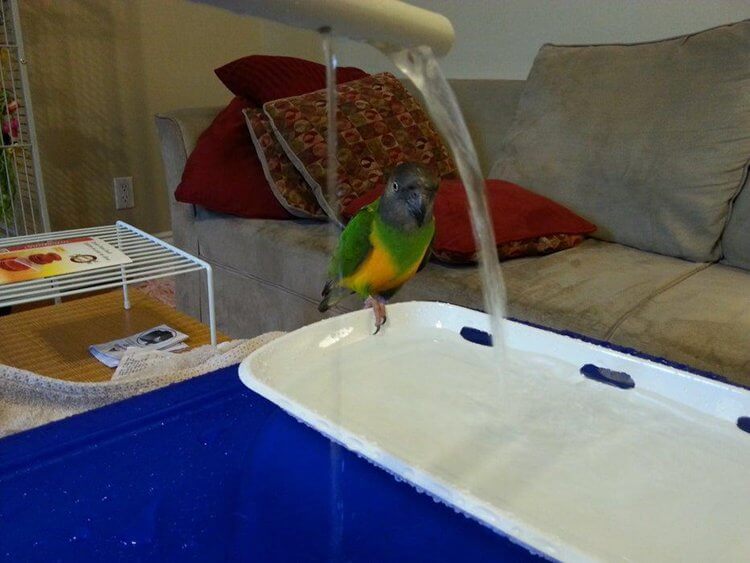
The material needed for this DIY splash pad is a plastic tote, fountain pump, apex coupling, clear tubing, drill, hacksaw, scissors, measuring tape, sharpie, glue gun, and CPVC pipes.
Attach insulation to one end of the plastic tote with hot glue. Using a hacksaw, cut one side of the tote and use a drill to make a hole at the end of the cut.
Use a piece of clear tubing to attach the pump to the pex coupling. Attach the pump to one side of the plastic tote. Measure and make a hole on the lid of the plastic tote big enough to allow the passage of the pipe. Use scotch tape to prevent breaking. Drill another hole at the other side of the plastic tote life to all water pass back into the plastic tote.
It is very simple and fast to make. It is created in a way that allows easy disassembling when summer is gone.
9. DIY Splash Pad
Here’s another project for people that have space outside their homes, the making process is quite easy to follow. It is not as detailed as other projects but the creator did a great job trying to break down how he was able to build this DIY splash pad from home.
You will need a couple of PVC pipes and other materials and tools for the build process. I would highly recommend this DIY project for people who have enough space outdoors.
10. DIY Splash Pad Tutorial
The materials needed for this DIY are Tee connectors, a 90degree elbow connector, a 45-degree elbow connector, an end cap, a hose adapter, and a 10ft PVC pipe.
Assemble the materials. Cut the 10 ft PVC into 5 2", repeat this for 4 more 10 ft PVC to give 16 2". All the PVC results are 20 2". Connect everything with the connectors. Drill tiny holes at every angle of the connection to allow water sprinkling.
You can mark or colour the pipes to recognise them size by size. Assemble all the pipes and connect them to form a tent, turn on the pump, and let water start flowing from the holes.
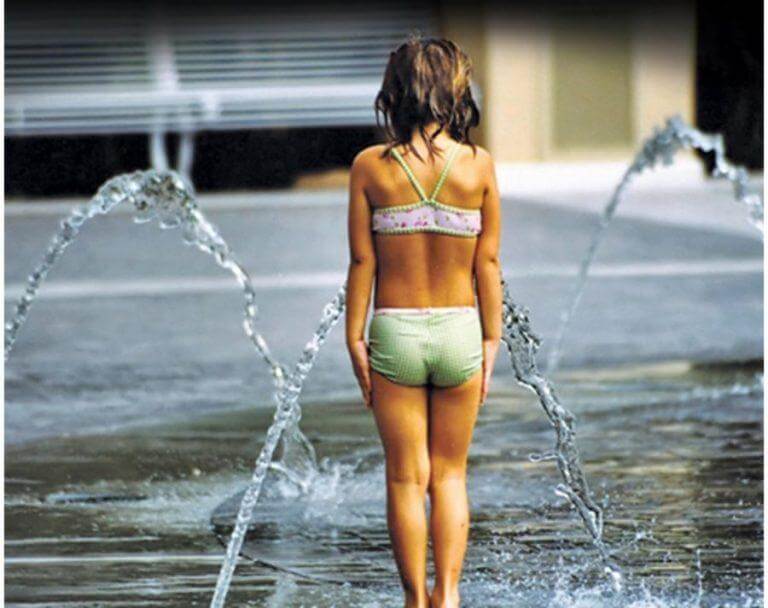
11. DIY Splash Pad
In making this, you need irrigation tubing, 9 pool noodles, hole punch for drill tubing, poly hose-end clamp, sprinkler, and duct tape.
Cut dowels into the ground and pull pool noodles over each of the dowels and hold it firmly with don't tape. Insert a PVC pipe at the end of the pool noodles. Repeat this process for the two sides to build something like an arch. Attach a sprinkler to each arch and hold it with duct tape to provide a sprinkling outlet for water into the splash pad.
This splash pad is very unique and colourful. It will attract your kids and make them smile under the summer sun. It is very simple to create as well, do try it out today.
12. DIY PVC Splash Pad
The materials needed for this DIY splash pad are Pipe Cutter or hand saw, PVC Pipe Glue, tape measure, pencil, drill, ¾" PVC pipe, PVC pipe cement, valves, elbows, Tee connectors, and PVC male and female adapters.
Fit the ¾" PVC pipe together to form a large square on the ground. Connect the PVC pipe, connectors, and tee section and fit it perpendicularly on top of the square drill small holes all around the pipes, and pump water into it.
The project is so simple. You just have to create one for your kid.
Conclusion
That’s a wrap! 12 amazing DIY splash pad projects that you can make for your kids. All the projects listed in this article are easy to build and won’t require specific skills. If you have space, tools, and time, then you should be able to make a DIY splash pad from home.
Thanks for stopping by, you have heard from us, now we want to hear from you, which project are you planning on making? Use the comments section below to get back to us.
Ask Me Anything