Why bother buying a light table when you can make an amazing one from the comfort of your home? Making one isn’t a hard task, with the right guide, materials, and tools you should be done in no time.
I have compiled a list of 24 DIY Light table projects, each having different designs and making processes. Trust me, you would have fun with this DIY project.

Table of Contents
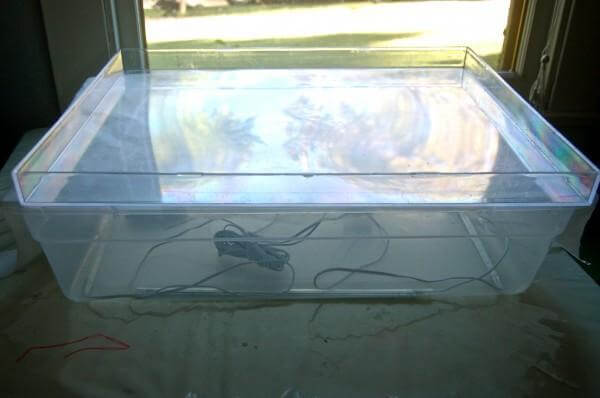
1. Homemade Light Table Low Cost

The first great DIY we are talking about is this low-cost light table. It is made from a storage box, white tissue paper, clear tape, and a string of holiday lights. Line the inside of the bid with tissue papers, use the clear tape to hold it down then spread the string of holiday lights inside the box.
2. How To Build An Easy DIY Light Table
This is made from an acrylic box frame, string of lights, was paper, clear tape, and plastic storage container. Flip the first container upside down then place the second on top of it and spread the string of lights inside the bottom container. Cover the bottom container with wax paper to diffuse the light then hold the whole frame together with clear tape.
3. DIY Light
The materials needed for this beautiful DIY light table are white tissue paper, aluminum foil, LED lights, plastic under-bed storage, and a container with a clear lid. Line the inside of the storage box with aluminum foil, tape it down, and spread the LED lights in it. Place 2or 3 pieces of tissue paper in the box to diffuse the light.
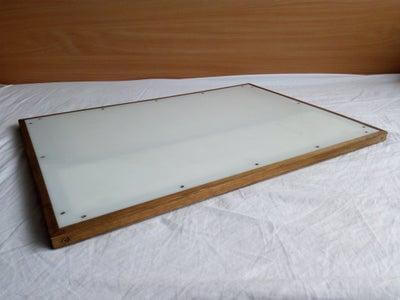
4. DIY Easy Light Table
The materials needed for this project are glass, board, cardboard, glue, LED lights, and sandpaper. Cut a notch at one side of the board then line the board with cardboard. Wrap the lights around the board and cover the board with glasses.
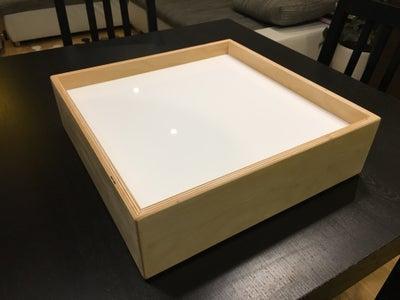
5. How To Make A Light Table
Gather all the materials needed for the project; an acrylic sheet, a board, glass spray, velcro, and sandpaper. Start by cleaning the board then cut the strip of velcro into small pieces and attach them to every edge of the board for the glass lid to be removable at any time. Join the string of lights together round the board and drill a hole at one side of the board to hold the light out.
6. How To Build A Light Box
Start setting up the board for the light table, cut pieces of wood, and join them together. Drill a hole in it for the power connection. Then, place the bulb inside it and cover it with frosted plexiglass.
7. DIY Portable Light Box
This is made from a shadow box picture frame, LED light strip, red and black wire, foam, and female connector. Get the Shadowbox and cover the interior with LED lights. You can use a normal picture frame as well but you have to roll apart the frame and another part to get only the board. At one side of the board, drill a small hole where the power connection will pass through.
8. DIY Folding Light Table
The materials needed for this DIY light table include a folding table, lamp socket, sheet of frosted plexiglass, box cutter, wire hanger, and wood glue. Start by setting up the table then attach wooden support to the back of the table. Then, prepare the plexiglass and attach it to the table surface, flip the table upside down and attach the lamp.
9. DIY Compact Light Table
Get a foldable frame and readjust it where it is needed. Then, prepare the plexiglass and attach it to the frame. Fit the LED light strips in the frame and connect all the power components outside. The materials needed include plexiglass, adapter, plug transformer, LED lights strip, and frame. Click this link to download the 3D model for this DIY project.
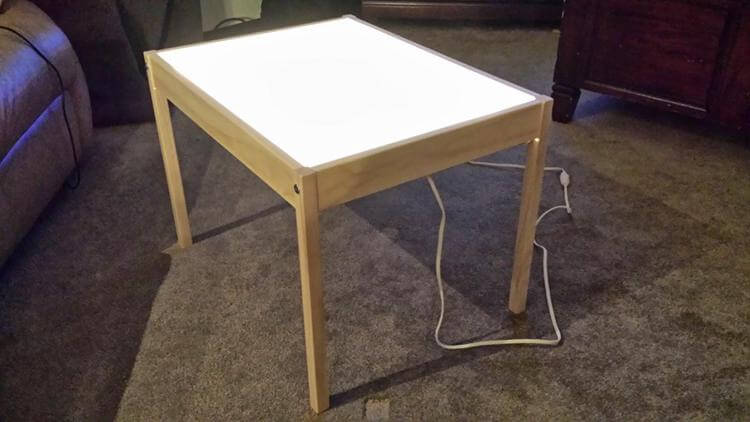
10. How To Make A DIY Light Table
The materials needed for this DIY project include plexiglass, frosted glass paint, saw, kids table, and LED lighting kits. Start by setting up the table then spray the plexiglass with frosted glass paint and leave the glass in a cool environment. Once the glass is cool and dry, remove the table too and replace it with the glass then connect the LED light and your light table is ready.
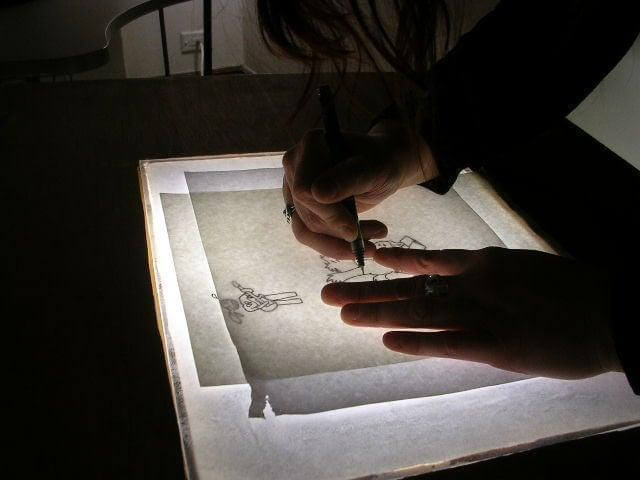
11. How To Make A Light Table For Drawing
This is made from frosted glass spray paint, plexiglass, drill, screw, plywood, table, and miter saw. The table serves as the base of the light table then makes a frame for the tabletop. Fit the frame snugly to the tabletop and screw two supports on the inside of the frame for the frame not to slip down the table. Cover the frame with plywood and measure the space where the glass fits into. Cut out the space for the glass and your good to go.
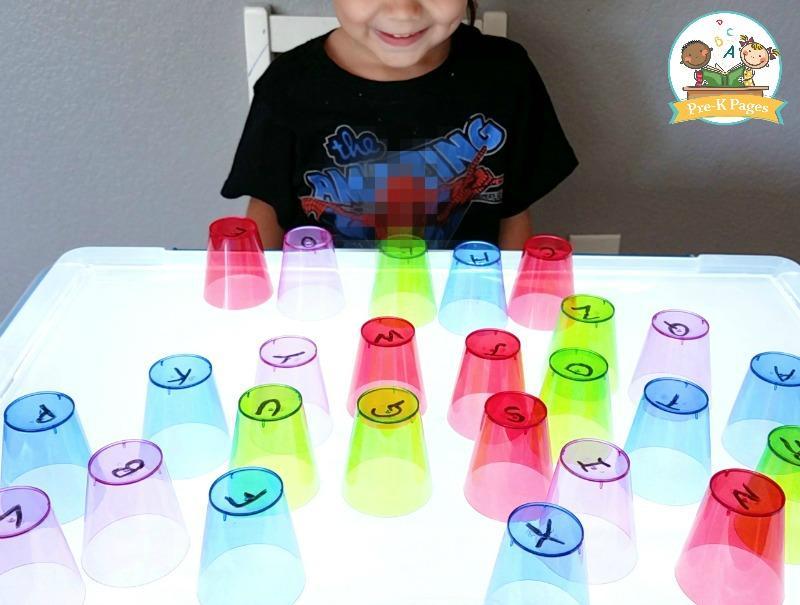
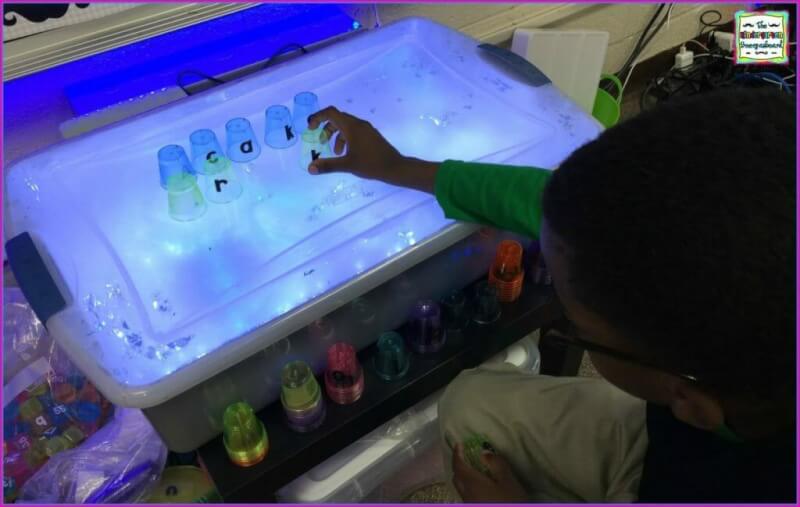
12. DIY Light Table For Preschool
The materials needed for this preschool light table are tin foil, tissue paper, a storage box, and a puck light. Line the inside of the box with tin foil and tape it to the side of the box to hold it in place then arrange the pick lights inside the box. Cover the lid with 2-3 pieces of tissue paper. The puck light has a remote as the switch. Switch it on or off and it is left to you.
13. Homemade LIght Box Under $10
This is made from an opaque storage box and LED camping lights. It is very easy to set up and requires less cost. Get the opaque container and place the LED camping lights inside it then cover it with the lid and your light take is ready.
14. DIY Light Table
The materials needed for this project include a kid table, diode LED light, acrylic sheet, knife blade, screwdriver, and frosted glass spray paint. Set up the table then stay the acrylic sheet with the frosted glass spray paint. Replace the tabletop with the acrylic sheet and connect the LED light.
15. Under $30 Light Table
The materials needed for this light table include clear plastic, reusable table, circular saw, router, and adhesive. Measure the table too and cut out the small square in the tabletop for the acrylic sheet. Then, prep the acrylic sheet by spraying it with adhesive then line it with a sheet of white paper. Attach it to the tabletop and you're good to go.
16. DIY Light Table
The materials needed for this DIY project are a scrap of plywood, tinfoil, a sheet of white paper, adhesive, and glue. Start by making the box then line a sheet of paper with tinfoil. Attach the LED light to the tin foil and place it inside the box.
17. DIY Light Box
This lightbox is mainly for the photographer. Build the frame for the box and attach diffusion fabrics to both sides of the box staple it down and trim the excess fabric. Then do the same for the top then place studio light at each side of the box and on top of it and you're ready to shoot that product beautifully.
18. DIY Light Table
This light table is simple and easy to set up. Get a box then trace the bottom of the box in a sheet of tissue paper, cut the tissue paper and place it inside the box. Then, place the charisma light inside the box and line the sides of the box with aluminum foil. On the Christmas light and you have your light table.
19. Homemade Light Table
This is made from plywood, LED stripe, and organic glass sheet. Set up the box frame and cut the organic glass to size it. Then, glue and solder the LED stripe to the box. Give the box a finishing touch and you have your light table.
20. Light Table DIY
Start by spray painting the inside of the box with metallic spray paint then the lid with frosted spray paint. Then, drill holes at the bottom of the box to fit the rope light. The materials used are role light, metallic spray paint, frosted spray paint, box, and drill.
21. DIY Light Table
Get an opaque box then glue the LED light to the lid with double-sided tape. And just like that, the light table is ready for use. When you want to use this light table flip the lid with the LED light facing up then fill the box over it.
22. DIY Light Tracing Table
Glue the light stick to the table where you want to draw then flip a container lid over it. Then, place the picture of what you want to draw in between the acrylic tray. Hold the acrylic tray to the table using double-sided tape from the side. After this, place a clean sheet of paper you want to draw on in the tray.
23. DIY Light Box
Get a small wooden box then line it with a sheet of white cardboard. Take out the cardboard then attach the tin foil to it. Place the cardboard and the tinfoil back unto the box and add the LED light.
24. DIY Light Table
Start by making the frame for the box. Cut pieces of scrap wood and join them together with a screw. Get four fluorescent bulbs and two battery plugs. Attach the battery plug to the base of the box then connect two bulbs to each id the battery. Paint the frame and the base with white paint for better illumination.
Conclusion
We have come to the end of this article. Have you found a project you would like to make? Feel free to share it with us via the comment section. Also, if you have questions or contributions regarding this article, you can use the comment section.