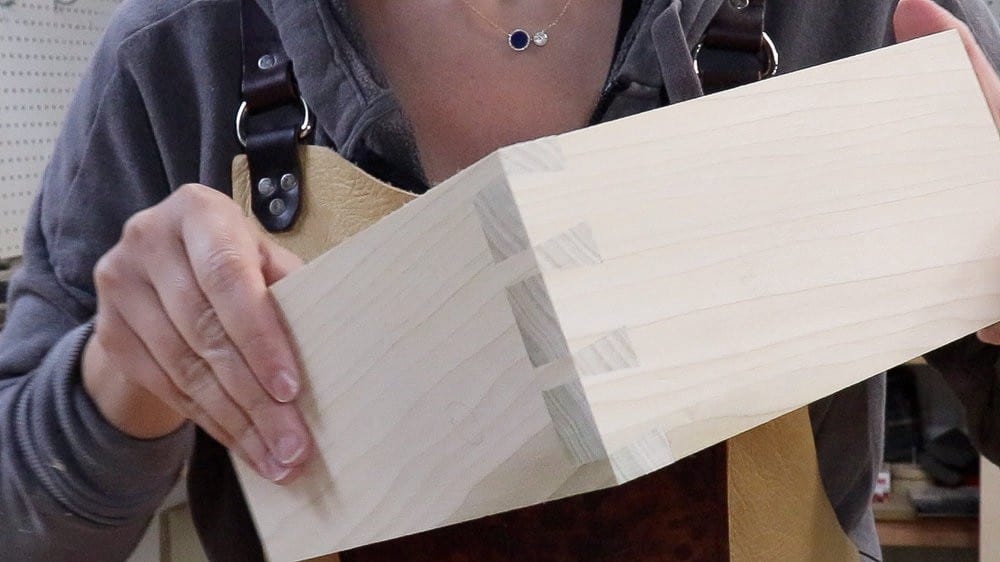
Dovetail jigs are great woodworking tools that help with creating accurate joints. You can make perfect dovetail joints with just the right jig. A dovetail joint is usually used for holding drawers in place. If you do a lot of construction work, you will find that a dovetail jig can come in quite handy for these kinds of builds.
Perhaps you even need a jig urgently, and you’re looking to get one right away. Dovetail jigs are pretty easy to find, especially at hardware stores. But the thing is, these jigs are just too simple to build and making it yourself would save you some spare bucks.
Instead of buying a new, factory-made one, why not do it yourself?
Table of Contents
1.Simple Homemade Dovetail Jig
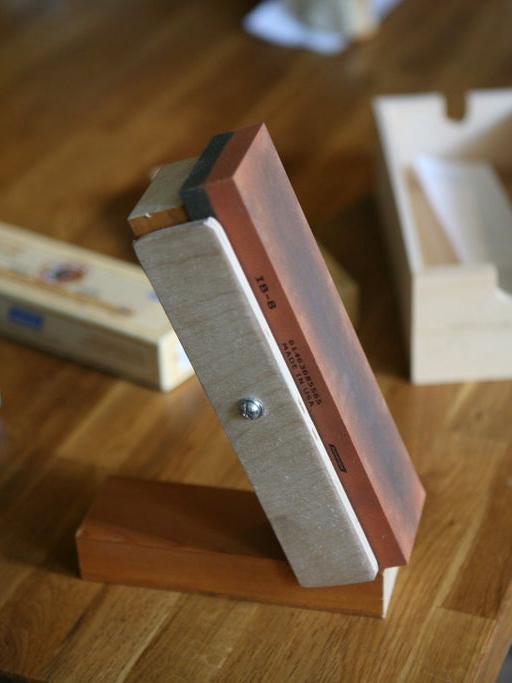
Before he begins the tutorial, the designer gives a very detailed insight into dovetail joints and everything you need to know about them. Here are some of the materials he used to create this homemade dovetail joint: a clamping device, a pressure rod, a comb (template) to cut the dovetail.
Within the written tutorial, you can find a list of jigs that are compatible with this dovetail jig. You will also find the link to the original tutorial on how to create this simple homemade jig.
The designer also added an extra lesson for a homemade table saw dovetail jig within this tutorial. This design was based on a sled clamp where you clamp your pin or tailboard vertically and pass them through the saw blade using your jig.
2.$19.99 DIY Dovetail Jig
This designer wanted a professional working dovetail jig, and so he made one for only $19. According to him, it’s fast enough to use in a professional furniture shop, and still space the tails anyway you wish. With this build, he has made over 500 drawers.
In this written tutorial, there are many steps. It is not listed in a step by step format; it is only found within the article, so you must read and follow thoroughly. The tutorial starts by showing you how to cut your pins. Next, you can find all available dimensions inside the tutorial.
The first step involves making the template, then you turn it around and do the same for the other side. Next, cut the pins by following the instructions, and finally cut the tails. The first two steps were the tricky part. The cutting of the tails is very easy.
3.DIY Dovetail Jig for a Table Saw
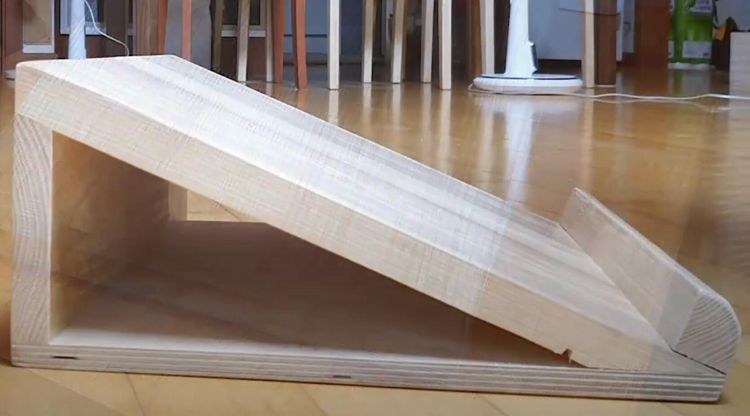
This design was created because the builder couldn’t find any tutorials on how to make this kind of jig to use with her table saw, so she made one herself. For this project, she used ½” MDF for the most part and adjusted everything to size.
This written tutorial also has a video version embedded within, if you would prefer to watch. The tutorial is lengthy but full of dimensions, plans and pictures and quite easy to understand. It’s written in a step by step procedure, so you can easily follow.
4.Homemade Dovetail Jig for a Router Table
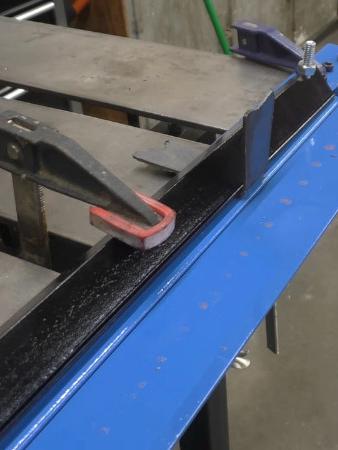
This jig is excellent for significantly reducing the amount of effort you need to create tight-fitting joints. For this jig, you would need a metal base, a clamping system, pressure bars, a comb or a template for cutting.
The tutorial is not listed in a step by step manner, but you would find instructions on how to go about building yours. Read through the tutorial to make your list as you go along. Also, prepare all the materials you would need before you begin.
Take note of all the tips and considerations while you work, so you can have a great jig when you’re done.
5.DIY Dovetail Jig
This is a lengthy video tutorial of about 18-minutes. It is not very instructional, but it is clear and easy to follow. You would need some plywood or MDF, clamps, ruling measures, table saws, among other necessary materials and tools.
As you watch, you may wish to note down the critical steps within the tutorial, as it doesn’t come with plans, dimensions or measurements. It also doesn’t have a written version, so this is all you have to work with.
Making this dovetail jig is not too difficult; it only involves some measurements, cutting, and assembling.
6.Scott’s DIY Homemade Dovetail Jig
This would come in handy for making boxes, or corners or joints in the workshop. It’s not a big jig, but it would do the job. It’s an instructional video, and as he works, he shares how he’s going about each step.
He also shares dimensions and measurements while he makes cuts, so if you need to write those down, you should because this tutorial doesn’t have a plan. He begins by cutting up some plywood; then, he gives tips on how to make some more cuts for the project.
The video tutorial is not so lengthy, but since it has no written plans, you might need to make one for yourself.
7.DIY Blind Dovetail Jig
This designer needed to make many benches in a hurry, and so he created this very helpful dovetail jig to beat the time. Using a table saw and a trim router, he cut his joint, making time to about 10 minutes instead of 1 hour by hand.
In this fully instructional video, he takes you through a non-conventional style of building dovetail jigs. This means that if you’re one who’s very old-fashioned, you would need an open mind to build your dovetail jig using this method.
The video is 13 minutes long but quite interesting and simple.
Conclusion
Making a dovetail jig has never been this easy! Sure, you could get yourself a new, factory-made one, but it would be much more helpful to try out any of these tutorials that catch your fancy. They’re simple, easy to understand, and do not cost as much as a factory-made one. Once you’re successfully able to build any of these dovetail jigs, watch your joints and corners become perfect and more accurate as you do other constructions.




Ask Me Anything