Have you done refrigerator window shopping lately? They are expensive, right? Why spend a lot of money to purchase a new refrigerator while you can use cheap materials to make one?
Worry no more in this article you will learn of different tutorials to DIY a refrigerator at the comfort of your home.
The merit of using these DIY’s you get to utilize the old materials at home.
Table of Contents
1. Portable Mini Refrigerator DIY
In this tutorial, you require a jigsaw, acrylic sheets, thermoelectric cooler module, Adriano Nano, Relay module, 1k resistor, DC jack, super glue, hinges, door handle, Dremel working station, and soldering iron.
First, start by understanding how the thermoelectric cooler works. Cut the acrylic sheets and paint them and make holes for airflow.
Glue the cooling unit. Mount a separator for the cold and hot sides then join the two sides of the wall.
Prepare the back panel and sliding tray arrangement, make the compartment for electronic circuits, insulate the fridge, attach the door and attach rubber feet.
2. DIY Solar Fridge
This DIY is very easy, you need a large clay flower pot, a small clay pot, sand, towel, and water.
Begin by placing the small pot inside the big pot, fill the space on the sides with sand. Pour water into the sand until saturation.
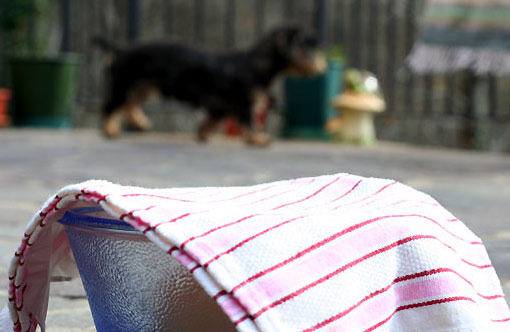
Place what you need to be cooled inside the small pot and cover it with a towel soaked in water.
3. Advanced Zeer Pot Refrigerator DIY
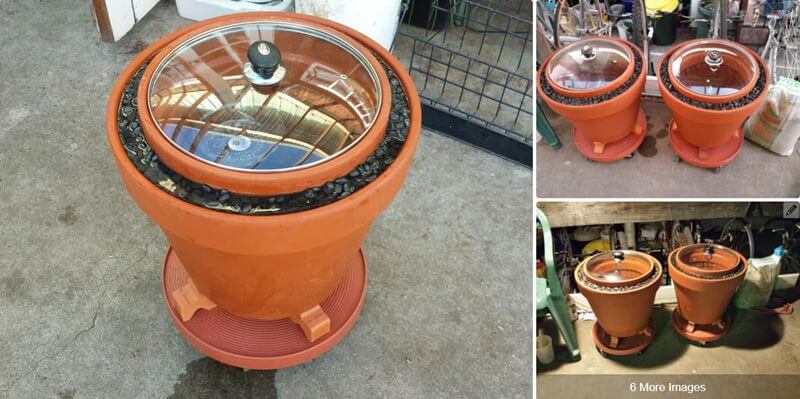
Zeer pot is an advancement of the solar fridge. You require; 2 pots a small one and a big one, sand and sandpaper, ½ bolt with washers, fridge thermometer, and pot lid made from glass.
Use a bolt to seal the hole on the pot, then fit in the two pots and pour sand on the sides, scrub the upper part of the pot for the lid to fit in.
Set the thermometer on the lid and lastly add a handle on the inner basket.
4. DIY Refrigerator Using a Wet Towel and Sun
This is the easiest hack of all times you require; a metal bucket, a towel, and water.
Put vegetables you want to cool in the bucket then cover the top with a towel soaked in cold water.
Make sure that the other end of the towel is inside a bowl with water.
5. DIY Peltier Cooler Mini Fridge
You require this equipment; a Peltier module, thermostat, 2 computer fans 12v and 24v, Styrofoam box, electric wire, and a hot glue gun.
Firstly, cut a hole on the lid of the foam box, assemble the Peltier module, fix the fans, and wire the thermostat on the Peltier break outboard.
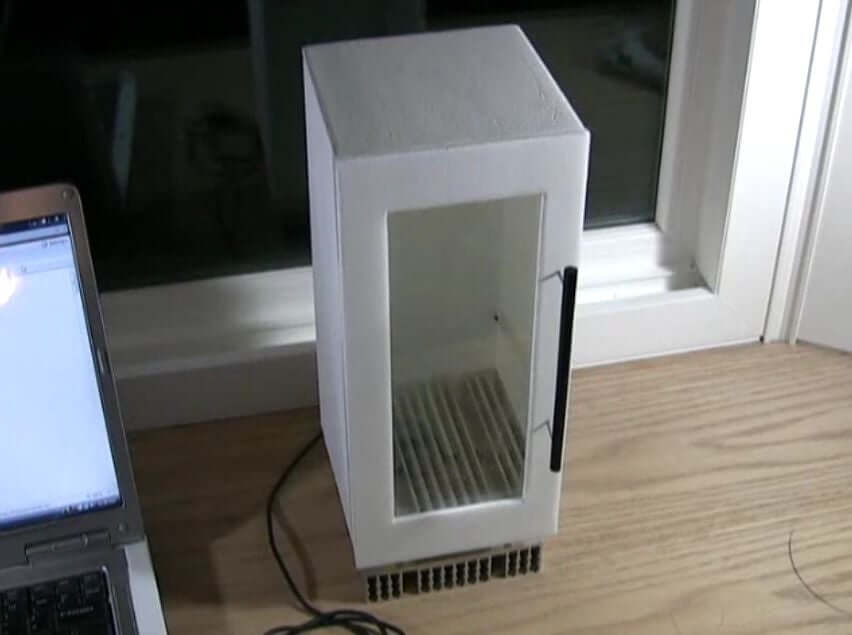
6. Converting Peltier Mini Fridge To USB Fridge DIY
You need a screwdriver, a USB port, a thin socket, needle nose pliers to take off the heat sink and fan.
Begin by taking out the heat sink unit/Peltier and clean it up. Proceed to attach the USB cable (gives 5volts). Assemble back the mini-fridge.
7. Constructing Beefy Peltier Fridge DIY
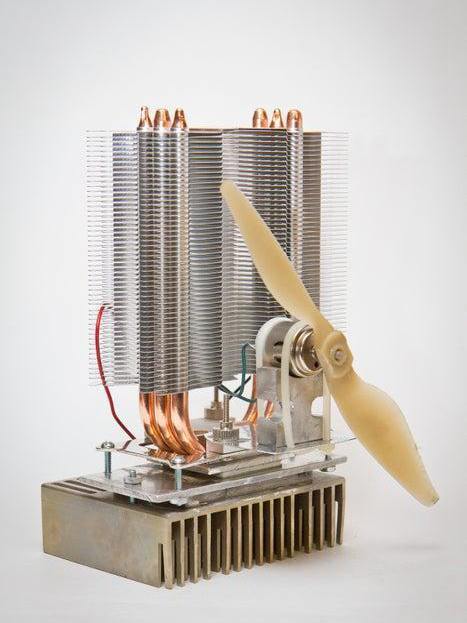
Making this fridge requires the following equipment; heat pipe heat sinks, 40 mm Peltier chips, icebox, electronic thermometer, screws, cutter, and nuts.
Begin by placing the heat sink and Peltier together using a thermal paste and bolts. Cut the opening of the icebox.
Attach the heat exchanger to the lid, then solder the wires in place Use a windscreen sun shield to act as a thermal insulator.
Fix a handle on the fridge (a strap).
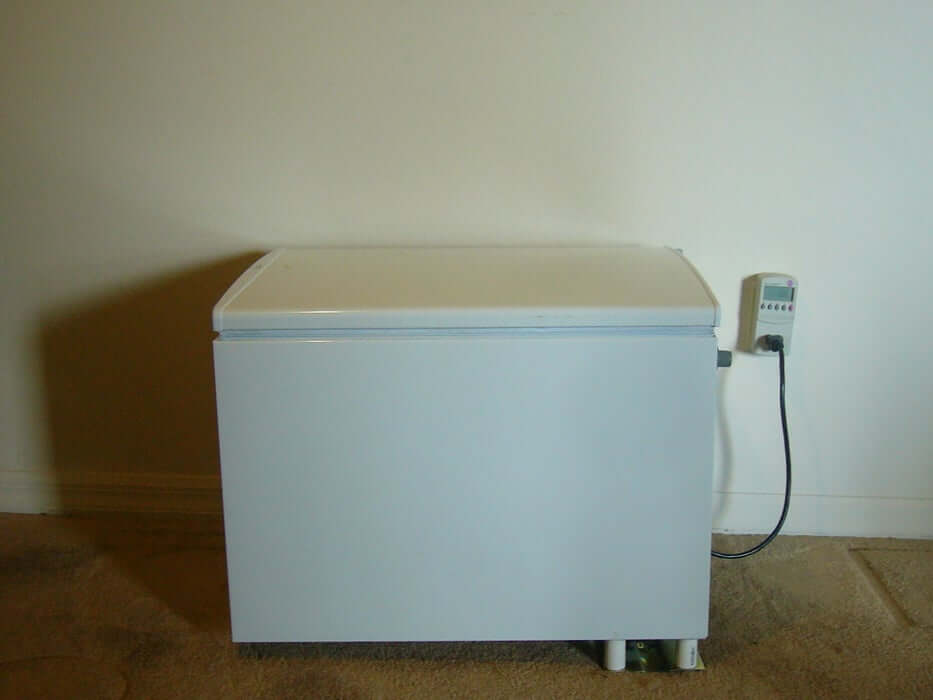
8. DIY Energy Saving Fridge
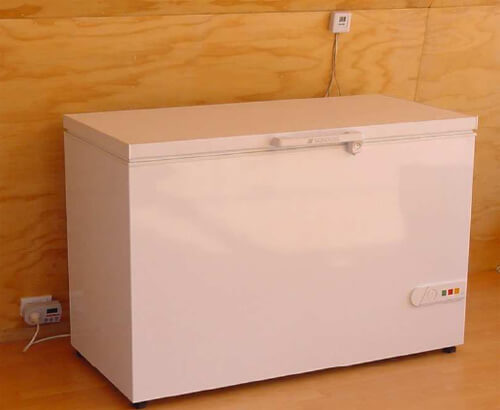
Constructing this energy-saving fridge requires an old freezer converted to a fridge.
Remember every time you open your fridge hot air and cold air comes out but a fridge that has a door on top doesn’t.
This is because when you open the door the cold hair goes to the bottom part of the fridge. Gravity too helps keep the heavy cold air down. Therefore, you will require less electricity to operate.
9. Dry Aging Fridge DIY
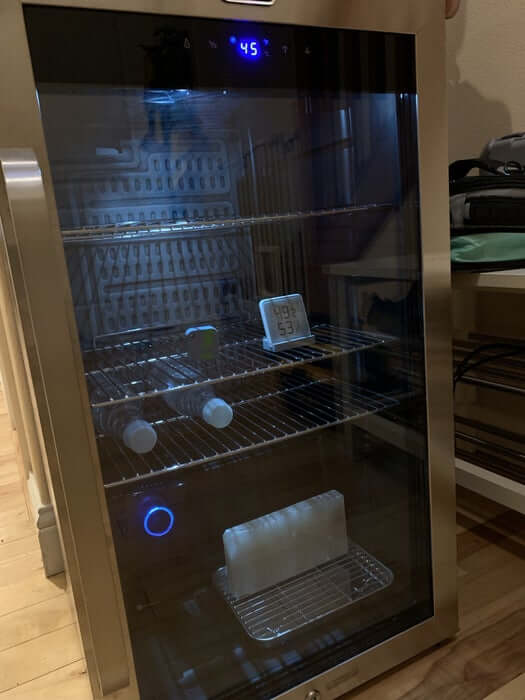
In this DIY you will require an old/new fridge, GFCI Receptacle that is weather-resistant, an old work box to be used as an outlet, USB hub and fan, Whynter BRQ1211DS, screwdriver, pliers, wire, and saw.
Begin by installing the GFCI outlet.
Hook up accessories (USB fan and hub) and lastly dry age your meat.
10. Solar Powered Refrigerator DIY
Using your fridge without paying an electricity bill can be very sweet right?
You will require a preexisting functional fridge, solar panel with batteries, inverter, and charge controller.
Begin by placing the solar panels on the roof and connect them to the charge controller. Then connect the controller to the batteries.
Proceed to set up the DC distribution, connect it to the inverter from which AC distribution is assembled. Then power on the fridge.
11. DIY Fridge from Freezer Box
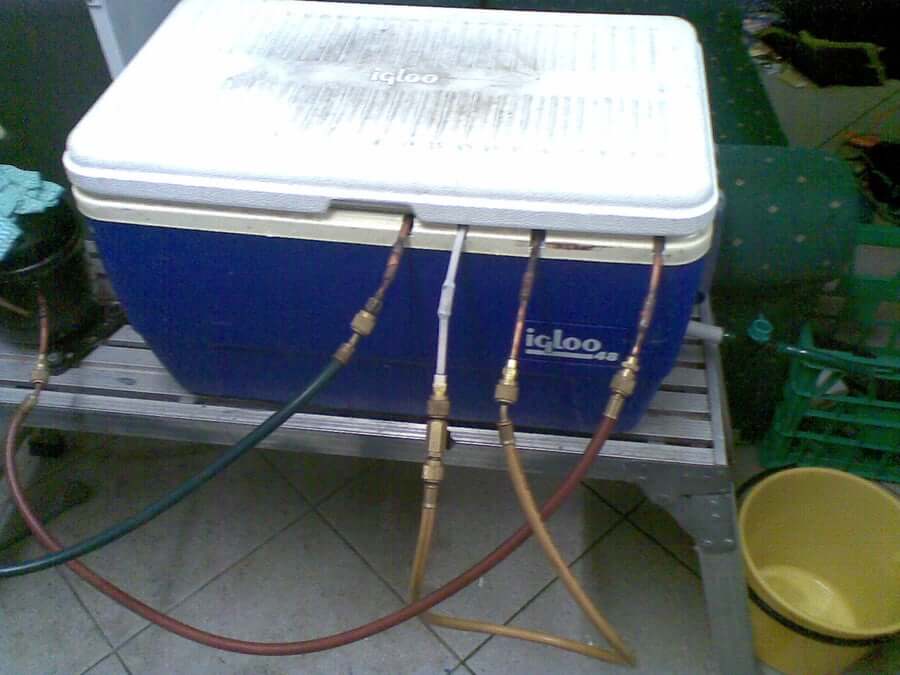
Coming up with this DIY you require the following tools and materials; copper tube cutter, pipe benders, hack saw, ¼ copper pipe, cooler box, Styrofoam divider, fridge compressor, PVC glue, and a hand valve.
Firstly, pipe up the system using the copper pipe and then vacuum it before running gas through.
Lastly, add the air conditioner using an old fan.
12. Building an Ultra-Efficient Winter Time Fridge DIY
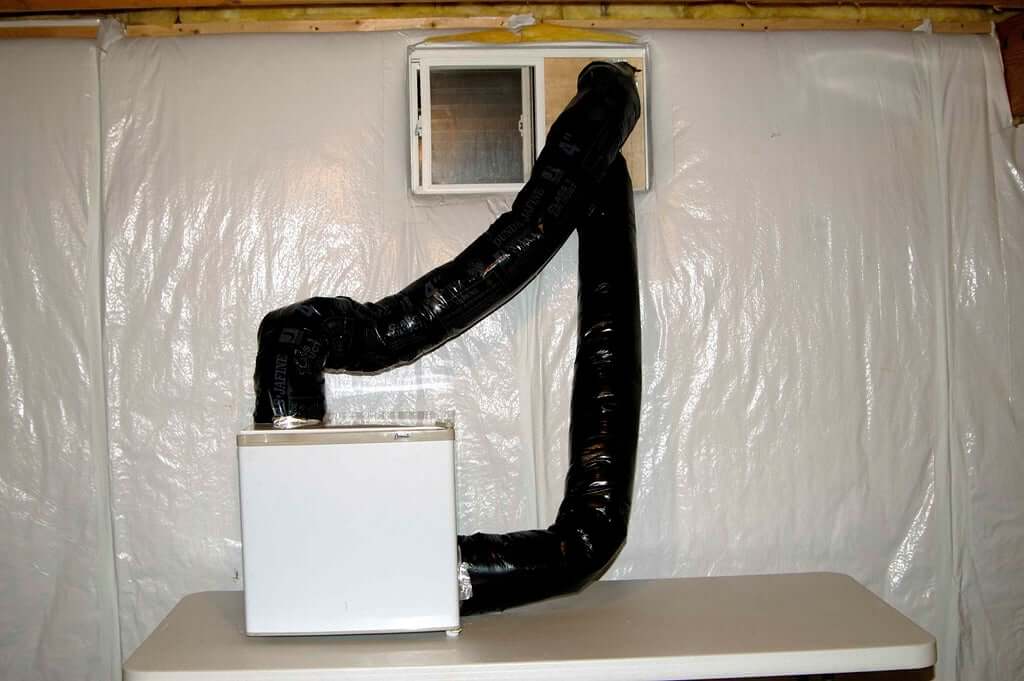
Get the following supplies for fridge modification; insulated duct tubing, fans, dual-outlet box, one 3 way switch, dual wire, foam seal, saw, and screwdriver.
Begin by mounting the outlet box at the back and wire the switch to it. Proceed and cut holes on the right side and run a tube from the condenser.
Lastly, move the fan unit and place the fans one on top of the other.
13. Custom Paneled Refrigerator DIY
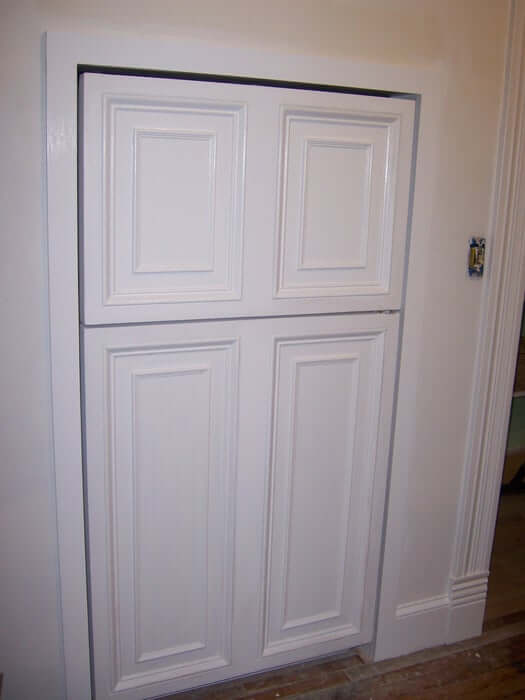
Do you love it when your fridge is hidden? You will require the following materials to hide it; plywood saw screws and screwdriver, and wood glue.
First measure the frames for the top and sides, finish the frames then picture them. Lastly, paint and attach the frames.
14. DIY conversion of Refrigerator to Chest Refrigerator
Begin by acquiring all materials and tools; a normal fridge, screwdriver, PVC pipe, and glue.
Begin by unscrewing the compressor compartment then rotate the compressor. Proceed to add PVC spacers to lift the fridge from the ground.
Turn the fridge upright and begin use.
15. DIY Fridge in an End Table
Do you love to access your fridge from your bedside? This tutorial will help you learn how to install a fridge on your end table.
You will require the following; table saw, planer, Drum sander, nails, nail gun, jointer, clamps, wood, and a beverage fridge.
Begin by cutting wood to a rough length and get one flat face to place on a planer. Cut 30 spacer pieces for top and side surfaces.
Proceed to the arrangement of the cut pieces and cut them to the final length, make slatted panels and sand them.
Attach the sides to the top panel, plug the holes and finally finish and place ur fridge.
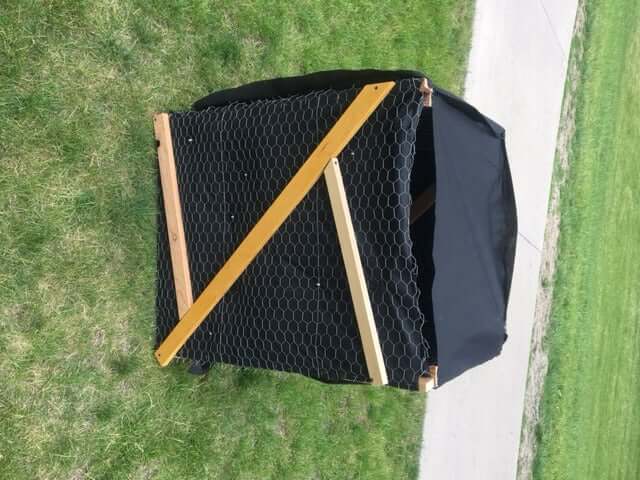
16. Charcoal Fridge DIY
This refrigerator adapts evaporative cooling you require the following material and tools; scrap wood, plywood, chicken wire, zip ties, hinges, buckets with a valve, hammer, drill, and saw.
Begin by cutting the outer frame and attach it to other outer frames. Add mesh to the outer structure followed by chicken wire.
Put the frame together using nails/screws then add hinges to the door. Add charcoal inside the walls and attach the water apparatus.
Add floor and ceiling.
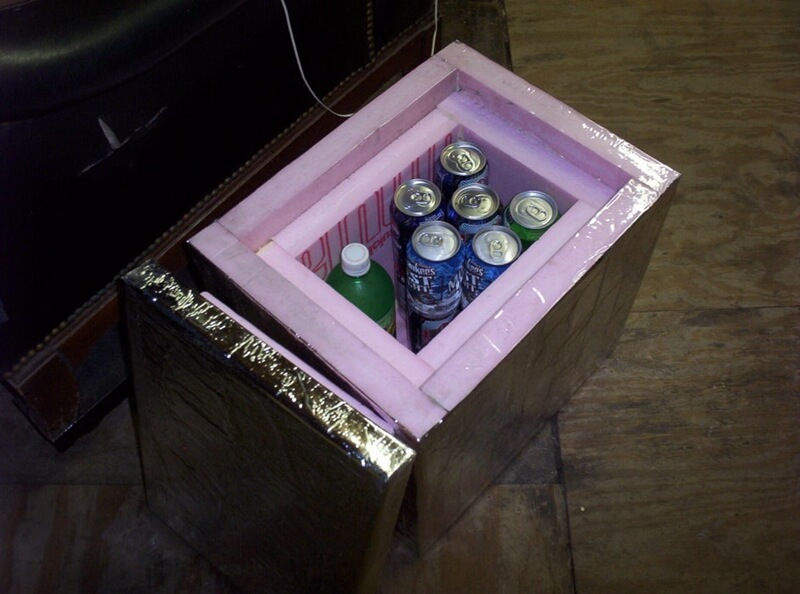
17. DIY Travelling fridge
Do you place your beverages in your car while traveling and by the time you are taking them they are warm? The good news is you can DIY your fridge.
You will require the following an icebox, insulation, saw, gorilla glue, and foil.
First, have the idea of what you want to construct then proceed to cut the box using a saw. Assemble different parts with gorilla glue.
Lastly, do a foil facing on the whole fridge to avoid irritation by the sun.
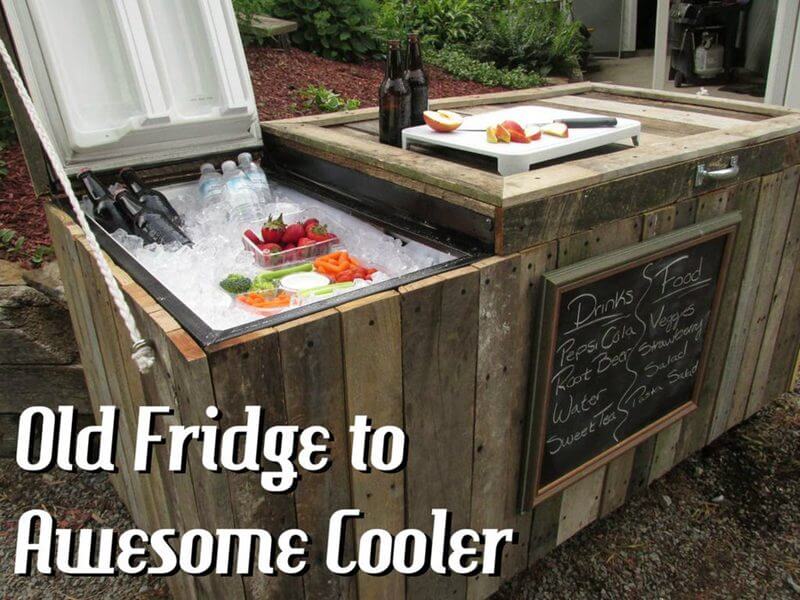
18. Rustic chest Fridge from an Old Fridge
To make this DIY you will require these tools and equipment like; drill, saw, screwdriver, old fridge, casters, wood, and hammer.
Break down and process pallet wood, take apart the fridge, and paint it. Add pallet wood on the side using screws.
Cover the door with wood, build a base, and perform waterproofing. End by attaching door handles.
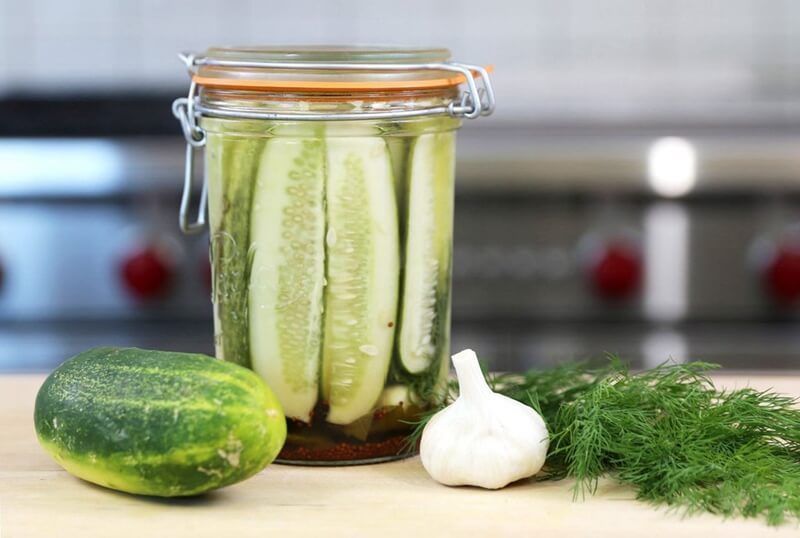
19. DIY Refrigerator pickles
This is one of the most common kitchen fridge hacks. You will need a scale, a jar, grape leaves, cucumbers, garlic, and vinegar.
Begin to ake brine by mixing water, vinegar, salt, and honey then heat them. Cut the pickles/cucumber.
Place cucumber in the jar then adds the brine then seal.
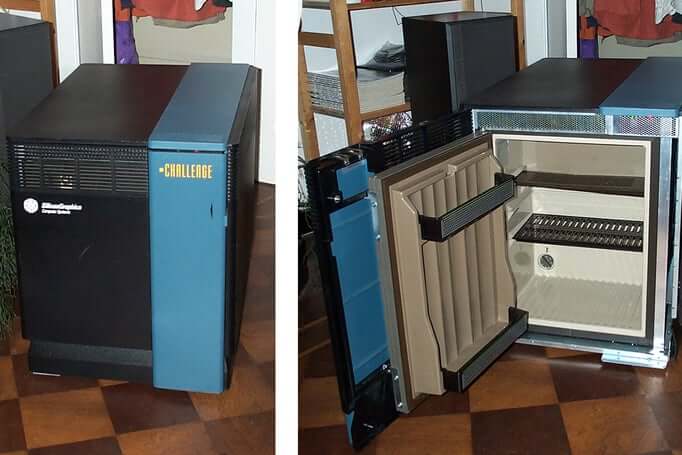
20. DIY Conversion of a Faulty Server to a Fridge.
First, acquire a dead server and remove all of its components, then get components of an old refrigerator and fit them in. If they don't do some modifications.
Connect all electrical components and test.
Conclusion
You do not need to buy a new fridge. Instead, buy some cheap equipment from eBay/Amazon and make a custom one following the above tutorials.
The advantage of DIY is they will save you money and you will have a fridge that suits your specifications like size and the intended use.



Ask Me Anything