Did you get yourself a wax warmer to make your living room smell heavenly? To get the most out of your wax heater, you need to know how it works. For that reason, we are here to tell you how to use a wax warmer!
Table of Contents
What Is A Wax Warmer?
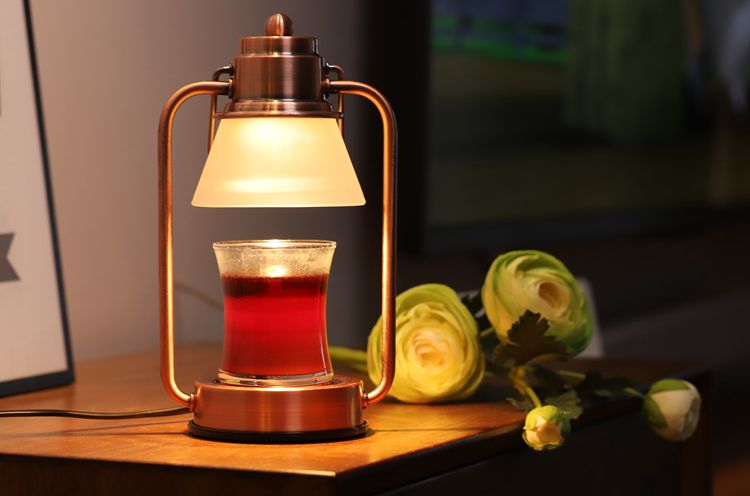
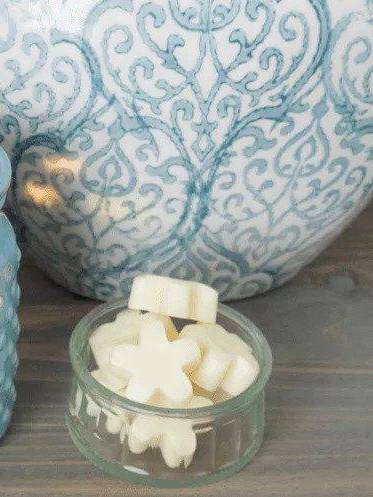
Wax warmers are safer alternatives to scented candles. They make use of wax melts to make your room smell pleasant. Wax melts are small pieces of wax that release scent when heated. They don't have a wick or a flame, so there's less risk of a fire hazard.
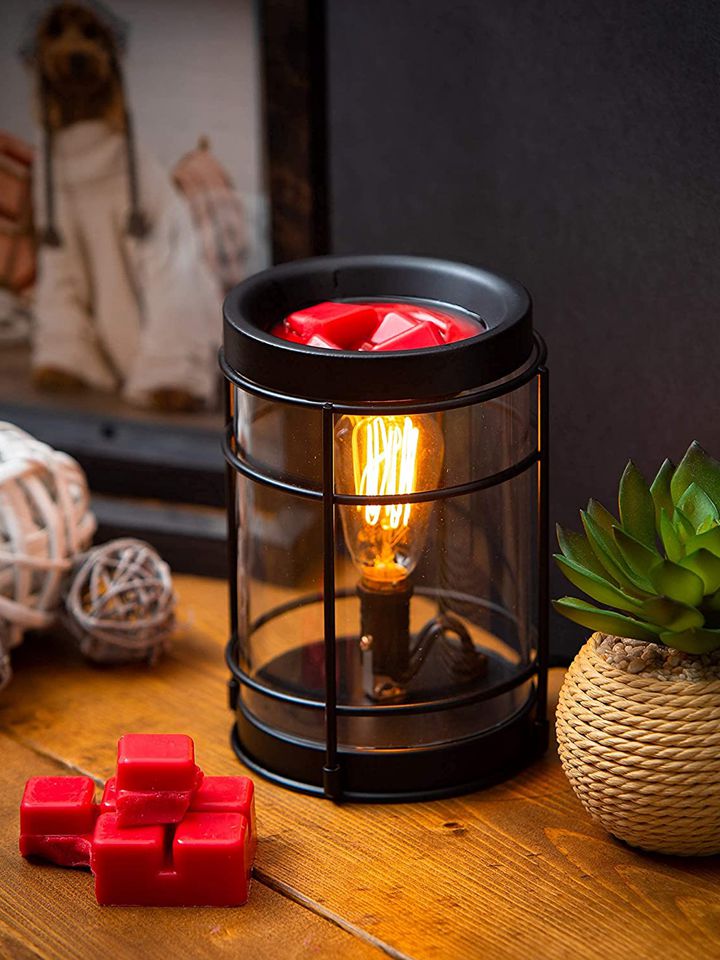
There are tealight and electric wax warmers. As you may have figured, the former uses tealights as a heat source to melt the wax cubes. Electric wax warmers either have a lightbulb or a built-in heater that melts the wax.
Tealight wax warmers get hotter than electric wax heaters, but they have a shorter burn time.
Using A Wax Warmer
#1. Prepare your warmer
It doesn't matter if you have an electric or a tealight wax warmer. You will have to set up both the warmers before turning them on.
For electric warmer: Set the bowl or melting dish on top and put in a liner or silicone dish if your warmer came with one. Carefully put in your light bulb as well. Make sure the bulb is tightened in place and won't fall off.
For tealight warmer: Place the tealight in its specified area and put the heating tray on top of the warmer.
Before you start using your warmer, you should go through the instructions to better understand the requirements and avoid damaging the product.
#2. Put your wax melt in the dish
Place your scented wax melts in the melting dish or put them in a wax liner if you are using one. You should start with a single wax tart to get an idea of how many more you might need to get the desired level of fragrance.
You shouldn't add a lot of these cubes at once, as the warmer may overflow when the wax melts.
We recommend using a silicone liner on your warmer. With it, it will be easier for you to replace the scent with a different one. You'll be able to skip the messy cleaning process every time you change the wax.
#3. Turn on the warmer!
Light your tealight tart warmer and place it under the heating tray. A 4-hour tealight will burn off the scent at a much slower rate, and your wax melts will last longer than when using an 8-hour one.
For an electric wax warmer, all you got to do is plug the warmer's cord into the outlet and turn it on using the switch.
If your warmer works differently or if you can't figure out how to turn it on, refer back to the instructions and use them as a guide.
Before you get on with your day's work and leave the warmer to do its work, take some safety precautions to avoid any damage.
- Place your warmer on a wide surface, away from flammable objects.
- Keep it away from the reach of pets or children.
- Also, make sure that your electric warmer is not near water or any other liquid. If the liquid gets spilled over your wax heater, it'll end up getting damaged.
#4. Turn off your wax warmer
If your warmer has a built-in timer, set it to your liking but be sure to prevent it from overheating. If it does not have a timer, keep an eye on your wax tarts as they may overflow.
You can also set a separate timer or an alarm clock as a reminder to turn off the wax melt warmer.
The general idea is that tealight warmers will burn for either 4 or 8 hours. It depends on the size of your tealight. Once it burns itself out, there will be no more heat supplied to the wax melts, and they'll solidify after a while.
Electric wax warmers can be left on for up to 10 hours. You can keep them on throughout the night without worrying, but keep checking up on them to stay on the safe side.
Although you can leave tart warmers on for the time mentioned above, you won't get a reason to do so. Once the scent fades away, you will have to turn them off to replace the wax.
To give you a rough idea, 2-4 wax tarts at a time will last for about 6-8 hours. You can adjust the number of wax tarts depending on how long you plan to leave your warmer on.
Blow out your tealight wax melt warmer to turn it off, and unplug your electric warmer from the wall outlet to cut off the power supply.
#5. Remove Your Wax
Let the wax cool down
Leave your hot wax to cool down for a few minutes before you remove it from the dish.
If you use paraffin wax, you can pry off the used wax with your hands. If the wax doesn't come out, a better idea is to use the end of a spatula or a popsicle stick to pop it off.
Soy wax won't come off this way, so you will either have to heat the wax dish or freeze it!
Warm The Wax
If the wax is already in a liquid form, pour the wax on a piece of kitchen roll and throw it in the garbage.
If you need to soften it, turn on the wax warmer for a few minutes until the wax melts completely, then follow the previous step.
After you've discarded the wax, use a paper towel to wipe away any crumbs or liquid residue from the melting dish.
You can also use 2-3 cotton balls instead of a kitchen roll. While the wax is still liquid, place your cotton balls on the dish and wait for the wax to get absorbed.
Once the cotton is cool enough for you to pick up, drop the balls in the bin.
According to devonwick, this method works best for wax warmers without removable lids.
In the end, don’t forget to wipe the leftover residue with a paper towel.
Freeze the Wax
Alternatively, you can just wait for the wax to cool down and place the dish in the freezer for a while or until the wax turns rock hard.
If your warmer doesn't have a detachable lid, you can place a few ice cubes on top of the wax to lower its temperature. Wait until your wax hardens up at room temperature before putting it on the ice.
Don't do this with hot wax because the cubes will melt and get dissolved.
Then, you can remove the solid piece of wax by hand. If that doesn't work, use a popsicle stick to take it off. Remember not to use sharp, pointy objects in your dish as they may leave scratch marks.
Watch this video to understand it better.
Discarding Wax Liners
If you placed your wax tarts on a wax warmer liner, you can throw the liner in the trash and put a fresh one on the dish.
You can also opt for reusable wax liners like this silicone wax liner as they are environmentally safe and cheaper than disposable ones.
If your wax still has fragrance, you can store the melted wax in wax liners or ice trays to use later on.
Things to Keep in Mind
- If the light bulb of your warmer stops working, you should check your brand's website to get another one. Don't buy a light bulb without knowing the requirements as it won't work correctly.
- Turn the wax warmer off before leaving your house, and avoid leaving it unattended while it's plugged in.
- Don't add water to your wax melts.
- Don't melt your wax tarts on stovetops or any non-approved appliances.
Final Words
To conclude, you can either have an electric or tealight wax warmer to melt your wax tarts.
- Before you do anything, you need to read the instructions that come with the box.
- Set up your warmer by putting its parts in the correct places.
- Then place your wax tarts in the melting dish or put them on wax liners before you get to the melting part.
- You can leave your warmer on for 10 hours if you have an electric wax melter or 4-8 hours if you have a tealight wax warmer.
- When you can no longer smell the scent, remove the melted wax by melting, freezing or prying it off.
- Reuse wax that has fragrance.
- Turn off the warmer when you leave your house.
- Whole home scenting suggests that your warmer should meet the voltage specifications on your power outlet.
We hope this guide was helpful to you! Leave a comment and tell us if you have a question!



Ask Me Anything