
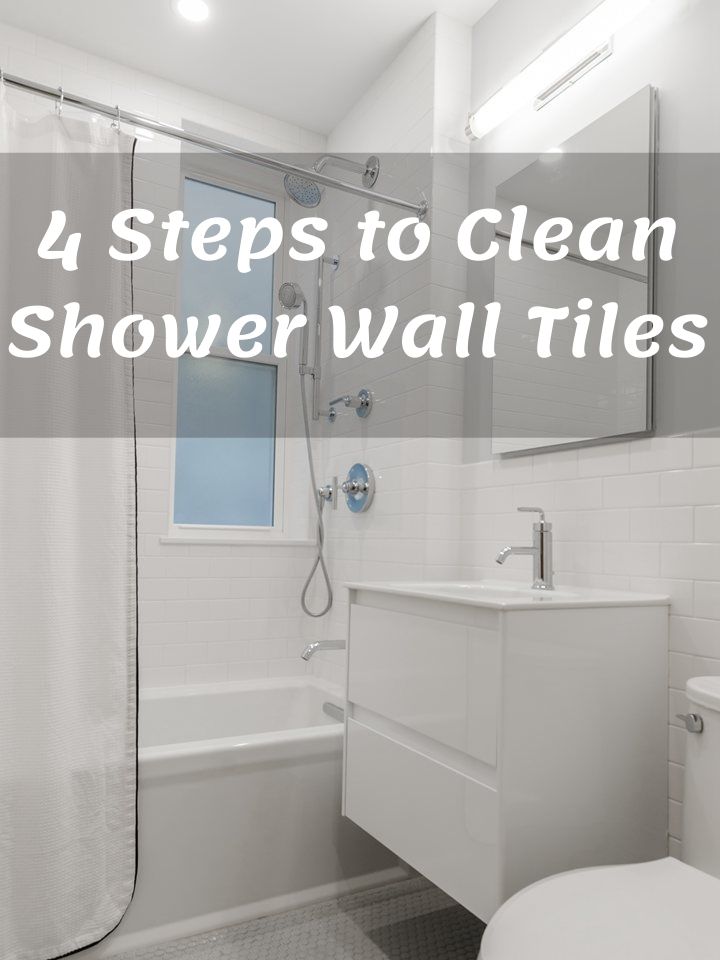
Do you happen to have a hole in your shower wall? Is water spilling from the wall tiles and creating a mess? I can imagine! It probably doesn’t look good. Well, here I’ve put together an easy solution to this problem.
I’ve been in your shoes before, and all I needed to fix a hole in the shower wall was a little guidance and some tools. Let me be your genie in the bottle and guide you through this process.
Table of Contents
Required Materials and Tools
Here are the supplies and materials you will need to fix that shower wall hole
Needed Supplies
- The same set of tiles
- Sand
- Cement
- Tile adhesive
Needed Tools
- A Tile Cutter
- Drilling
- Videotape
- Goggles for Safety
- A large, broad knife
- Grouting
- Waterproof membrane
- Silicone
- Tile wedges
- Masking tape
- Hammer
- Adhesive spreader
- Scrapers
- Refinishing toolkit
How to Fix a Shower Wall Hole
In this section of the article, we'll look at how to fix a hole in three of the most popular types of walls used in the shower; tiles, wall panels, and acrylic.
Although we'll dabble a little into installing shower wall coverings, our previous post on how to install shower tiles, wall panels, and acrylic is more detailed.
If you are dealing with holes in your shower tile? Do not worry, just follow these steps
Step 1: Cover the Bath, Sink, And Spindles
Since you’ll be dealing with plenty of dust particles and broken tiles that could damage the sink, taps, or even scratch up the bath, it’s crucial that you cover the bathroom fittings if they are in the same space where you intend to work.
In addition to preventing them from damage, covering these fittings will save you plenty of time that you would have otherwise spent cleaning after the job is complete.
Step 2: Get Appropriate Protective Gear
Safety glasses and gloves are also very important. So, since it would make no sense to protect the bath and sink and not protect yourself, ensure you wear adequate protective gear like goggles and gloves when working.
Step 3: Break off Tiles in the Affected Area
Picking up your hammer and chisel, chisel away all of the affected tiles. Then, slowly remove any excess tiles so that you can replace them with new ones.
While breaking off the tiles, be careful not to crack any unbroken tiles, or you will have to remove them as well. All that is left to do is remove all the remnant adhesive and make sure the wall is completely clean.
Step 4: Create the Cement Mix
Considering the size of the hole you have to cover, mix adequate proportions of sand and cement with water.
Make sure the mortar has a sticky and wet consistency. Once ready, apply the cement mix to the hole with either a scrapper or masons’ knife. After this, you'll need to allow the mix sit on the wall for 30 minutes until it is dry.
Next, using a broad knife, plane the cement mix until it matches the wall level. Scrape and chafe off any extra until they are perfectly leveled. Then, let the mix dry for 24 hours, and move on to the next step.
Step 5: Apply the Waterproof Membrane
The primary cause of holes in the shower wall is due to water damaging the walls. Bathrooms see plenty of water action, so applying a waterproof membrane is crucial in preventing you from going back to square one.
After 24 hours is up and your base is dry and primed, add the waterproof membrane.
Step 6: Cut the Tiles to Fit
Once you've applied the waterproof membrane, it's time to cover up that hole with a tile. Using a tile cutter, cut the tiles to the appropriate proportions. You may need to split the tiles in two to fit them in some tight spaces.
However, make sure you do not split the tiles into multiple pieces, as this will cause the finished work to look messy, and we don't want that.
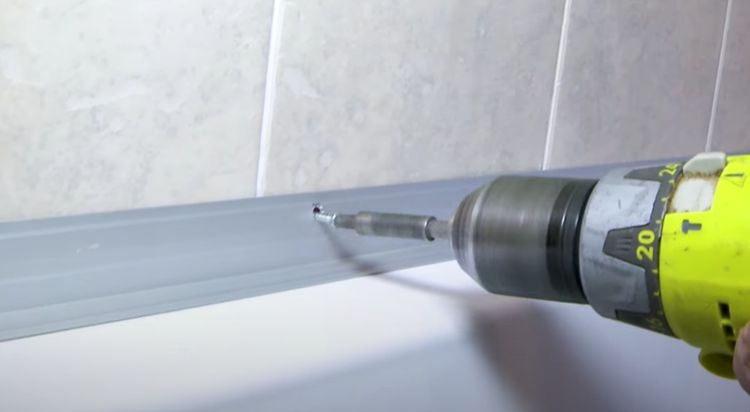
If you have to install the tile over tapware, drilling holes that fit might be the only option. Mark the location on the tile and drill with an adequately sized drill.
Step 7: Prepare and Apply Tile Adhesive
It is now time to mix your tile adhesive. When shopping for adhesives, make sure the adhesive you get is compatible with your waterproof membrane or risk the adhesive not being functional.
Apply the tile adhesive on the tile like you would butter bread. Make sure you spread it evenly so that it covers the back of the tile correctly.
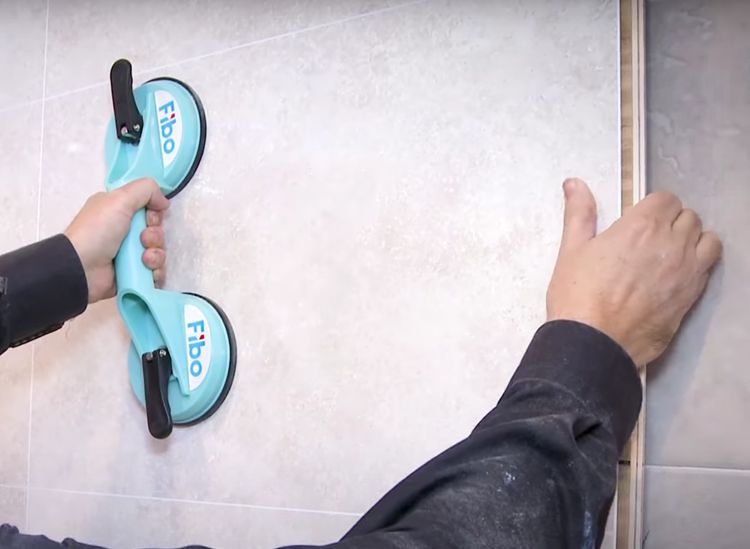
There is no need to apply it to the edges as it spreads when the tile is fixed. Press the tile into place and make sure it fits like a glove. Finally, use tile wedges to keep the tile in position until the adhesive sets.
Step 8: Apply Grout
Grout acts as cement between tiles only, so don't expect it to work as an adhesive between the tiles and the bath. Apply grout to the tile and wipe down excess with a clean sponge. Allow the area to dry, and then polish the area with a dry cloth.
Step 9: Apply Sealant
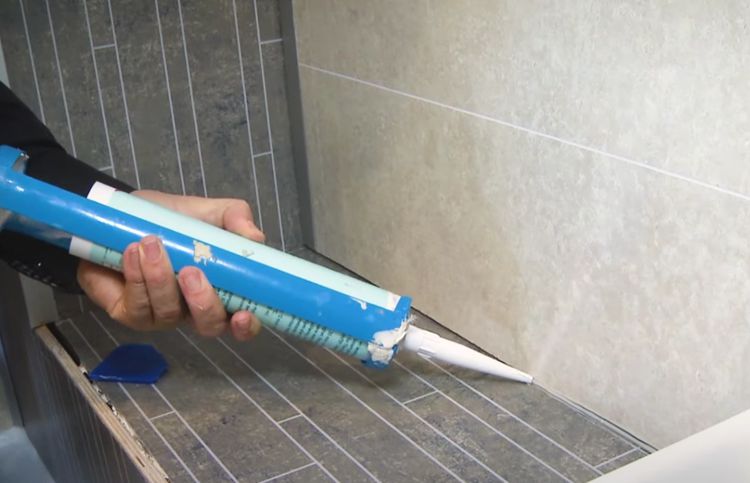
Since we are sure, you don't want any water damage in the future. After applying the grout, allow it to sit for 24 hours, then apply the sealant. Bathroom door panels, windows, and edges are all places water can sip in if left unprotected.
Apply tape on the edges of the wall until you have a tiny space between the walls; you are doing this not to mess up your tiles. Cut the nozzle off of your silicone sealant, and apply gently. The opening size on the nozzle should be a little bigger than the joint you want to seal.
Squeeze the tub while running your hand down the joint to create a straight line, and there you have it.
Once that is done, dip a finger in water and run it down the line, so it touches both edges of the line to make a perfect seal, thereby giving it a smooth surface and ensuring that the wall is sealed properly.
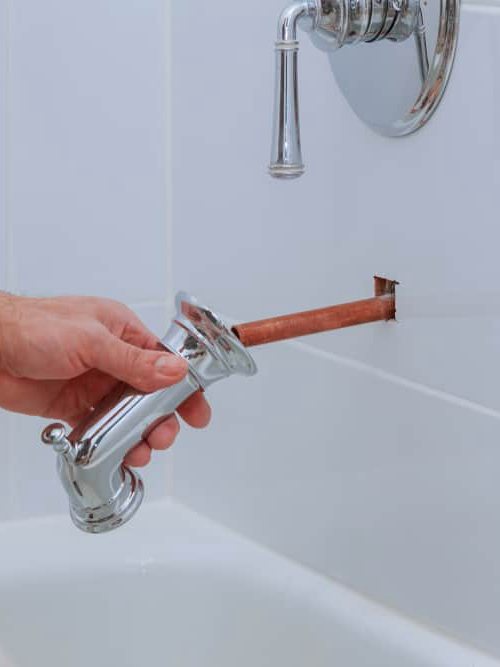
Remove the tape and then replace the tapware. Congratulations, you have done it!
Steps on How To Fix Hole in Wall Shower Panel
Let's now take a look at how to fix a wall shower panel
Step 1: Measure the Size of the Damage with a Tape
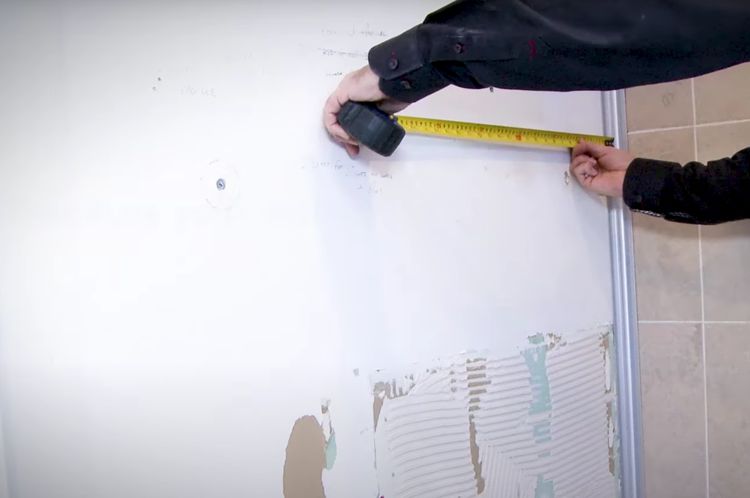
Using a tape, measure the size of the damaged panels to know how big of a replacement panel you will need to buy. Alternatively, you can use a piece of cloth or material to measure the hole in the wall and then cut with a utility knife.
Step 2: Fix the Hole
Head over to the home improvement store and get the tools for the paneling. Then, use a paneling adhesive to attach the furring strips to the holes in the wall. After doing this, leave it do dry.
Once the adhesive is completely dry, fasten the bathroom panels with nails to the furring strips.
Step 3: Applying the Finishing Touch
Now that everything is all set and done. You've measured, you've cut and glued, it is time for the final step; the unveiling. Hang the panels on the wall with a nail and use putty to cover the holes made by the nail in the panel.
If necessary, add a layer of paint to the panel, so everything is perfect. And there you have it; the panel wall is fixed.
Steps On How to Fix a Hole in Acrylic Shower Wall
Let's now take a look at how you can fix a hole in the acrylic shower wall
Step 1: Prep the Wall
As you may have noticed, this is a common step when dealing with holes in shower walls, You may have to use a sanding drum or a drill to cut it out if it's a big portion or if the acrylic has gotten old and hardened.
Clean the nearby surfaces and sand down until you get a rough texture around the area you need to repair. It might seem strange, but this is an important part of the hole fixing process; it will help the adhesive paste stick on easily later.
For the next couple of steps, put on your protective gear and ventilator mask.
Step 2: Apply the Paste
It's time to fix up that wall; clean the area one more time with a little bit of nail polish or acetate; any of them will do just fine.
Next, apply the paste from the repair kit you purchased at your home improvement store. This kit should have two toners, a lightening one and a darkening one; mix until the color matches your acrylic wall.
The paste should come with a recommended ratio from the manufacturer, so follow the instructions on the container, and you should have no problems. Mix the chemicals until it turns to paste, and then apply with the mixing stick until it overflows.
Step 3: Sand and Clean
You're almost there, just a little bit more, and you’ll have a repaired acrylic wall that looks as good as new.
Plug in your sanding drum, or doing it the old-fashioned, use different grit levels of sandpaper, going finer and finer until you get your acrylic to shines. After this, polish; and your acrylic shower wall would look as good as new.
Conclusion
Well, you did it! It might have been long, but I’m sure you’ll no problems following those steps. Here are some tips to remember
- Buy quality materials because substandard goods might give you a bad result.
- Make sure your waterproof membrane and tile adhesive are compatible
- Check out the tutorial video attached here to make sure you get the job done correctly
- Replace a tile when the need arises; you don't need to patch it up all the time.
Comment your questions below, you’ll definitely get a reply.

Ask Me Anything