In this guide, you will learn how to make 20 different kinds of DIY owl houses by yourself with little or no cost.
The nest boxes are very easy to make, require little cost and less time. The 20 DIY owl house plans are carefully selected to give you the best owl house you want. Check out each of the plans and start attracting owls to your neat box.
Table of Contents
1. How To Build An Owl House That Attracts Them
This video tutorial does not only focus on the steps of making an owl house but on how to build the house to actually attract the owls. The dimension used by the instructor is as follows; it's a box 30cm deep, 30cm wide and 60cm long. Then, after the box is complete, he hangs the box on a tree which is 5 cm high.
2. How To Build A Screech Owl Nesting Box
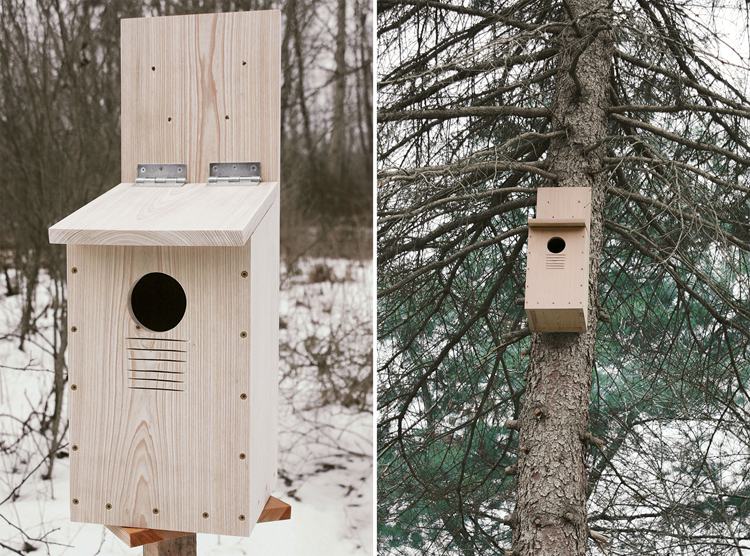
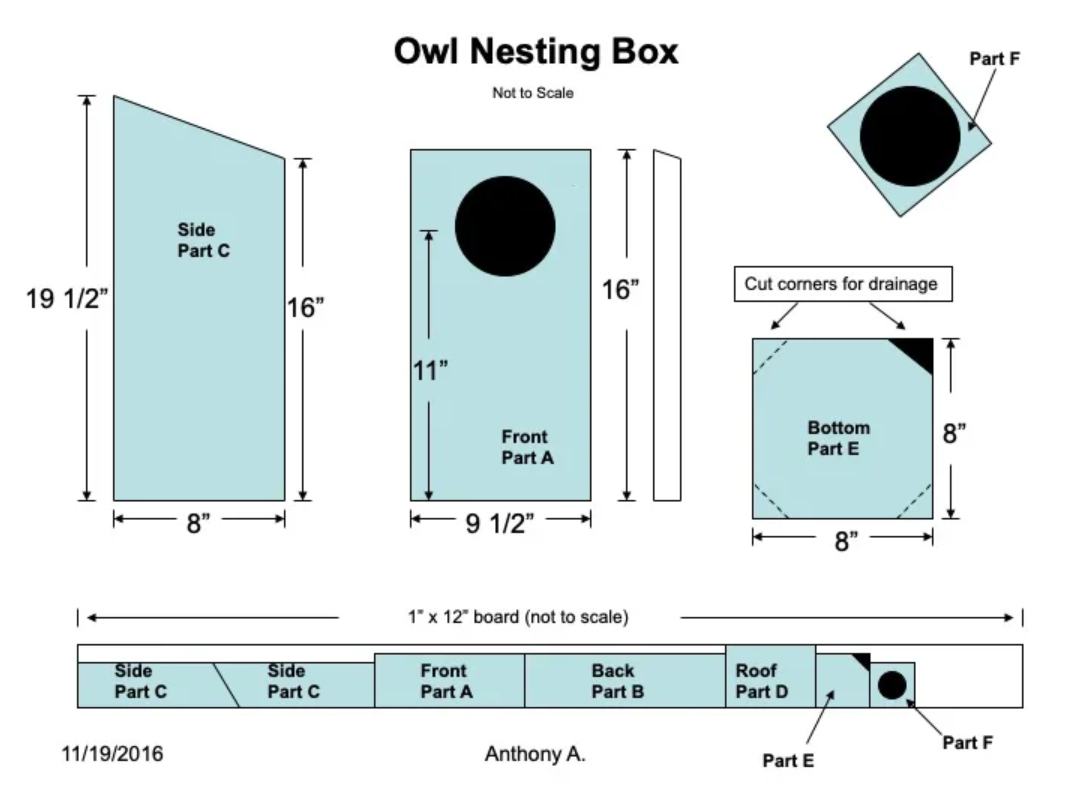
An owl nesting box is very simple and doesn't require so many tools. It indeed requires some power tools but if you don't have them you can make do with hand tools. To start with, cut the two opposing panels and the back panel. Then, cut the 16" front panel and the roof.
3. How To Build A Barn Owl Nestbox For A Tree
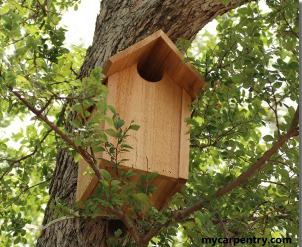
One thing that makes this barn owl nest box amazing is that the entering hoe is set back while the two sides and the roof are set forward. To keep the content of the box dry, the front piece has a drainage hole. Another important thing about the nest box is the depth between the bottom of the entering hole and the bottom of the box.
4. DIY Owl Box Design
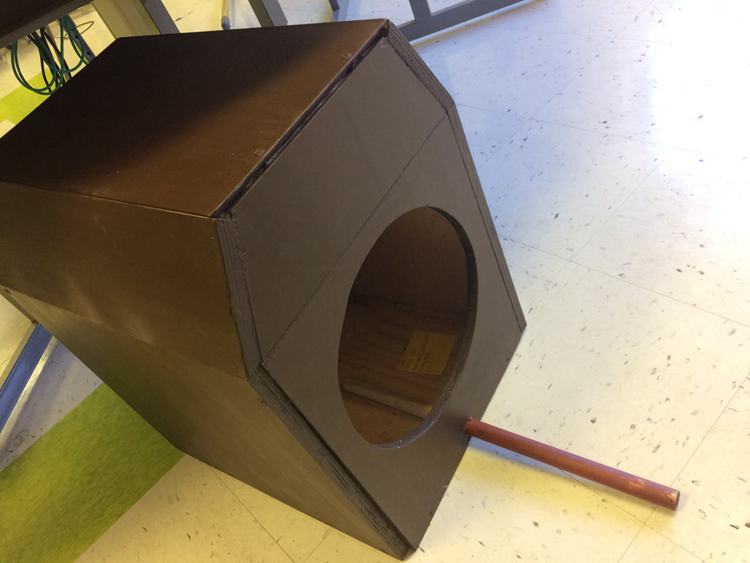
It is very important to have an owl box in an area where there are rats or snakes. The owl box was made from pieces of plywood, screws, and wood glue. It is very easy to make. Click the video above to learn more about the amazing owl box.
5. How To Make A Barn Owl House
For this barn owl house design, measurement is very paramount. A cutting list will make this easier. Here are the steps involved in the making; First, gather all materials, tools, and safety equipment necessary. Click the link below for the list of the materials and tools. After that, measure and cut the wood into pieces before you start to assemble them.
6. DIY Screeching Owl House
To make this DIY screening owl house you need the following materials: wood, miter saw, drill, nail gun, wood primer, wood glue, and tape measure. The first step is to cut the wood into 15 slabs, then make 4 pallets out of the slabs.
7. DIY Owl House
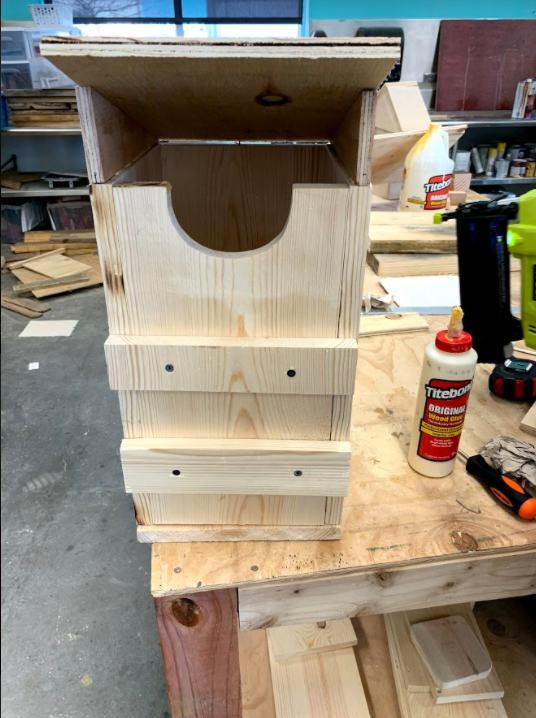
To make this, follow these steps. First, cut the wood into pieces. The next step is gluing and assembly, you will need a very strong glue for this; glue the sides on the top and bottom part of the box. After this, assemble every other part. Then, make a hole on the top of the box for a wooden cylinder.
8. DIY Recycled Owl House
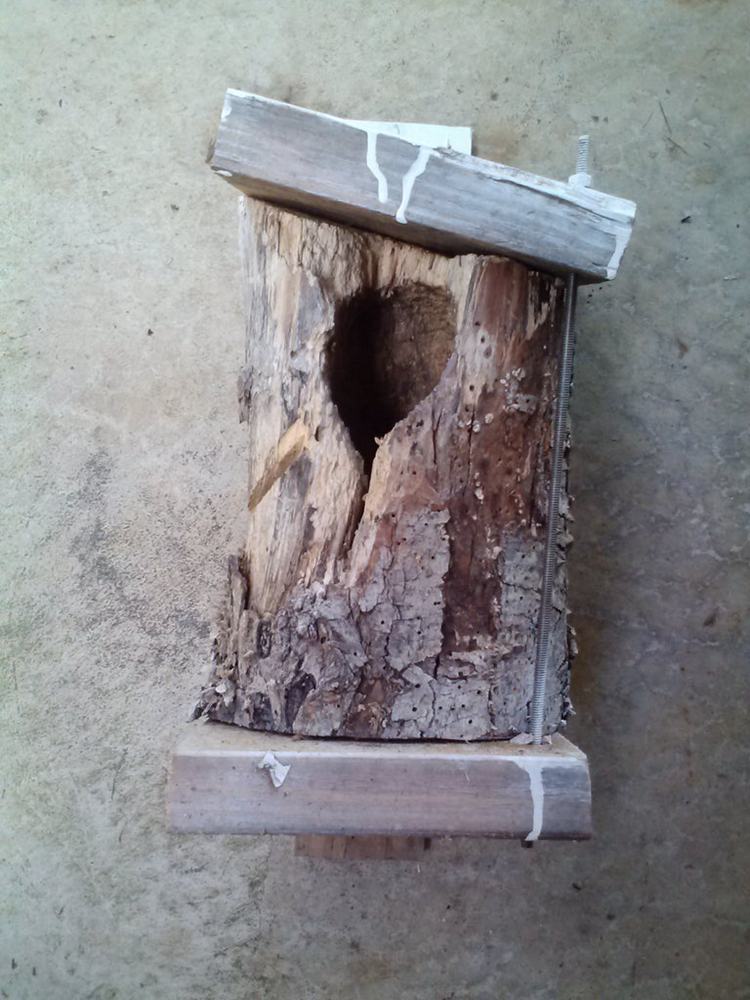
Some trees with hollows can perform the task of an owl house. Therefore, if you have or find a tree with this feature, you don't have to worry about an owl house again. Here is how to turn a hollow tree into an owl house; Cut the top of the tree at a slight angle to provide a runway for water dropping on the nesting box. They cut two 2×8" pieces of wood for the top and bottom of the box.
9. How To Build An Owl Box
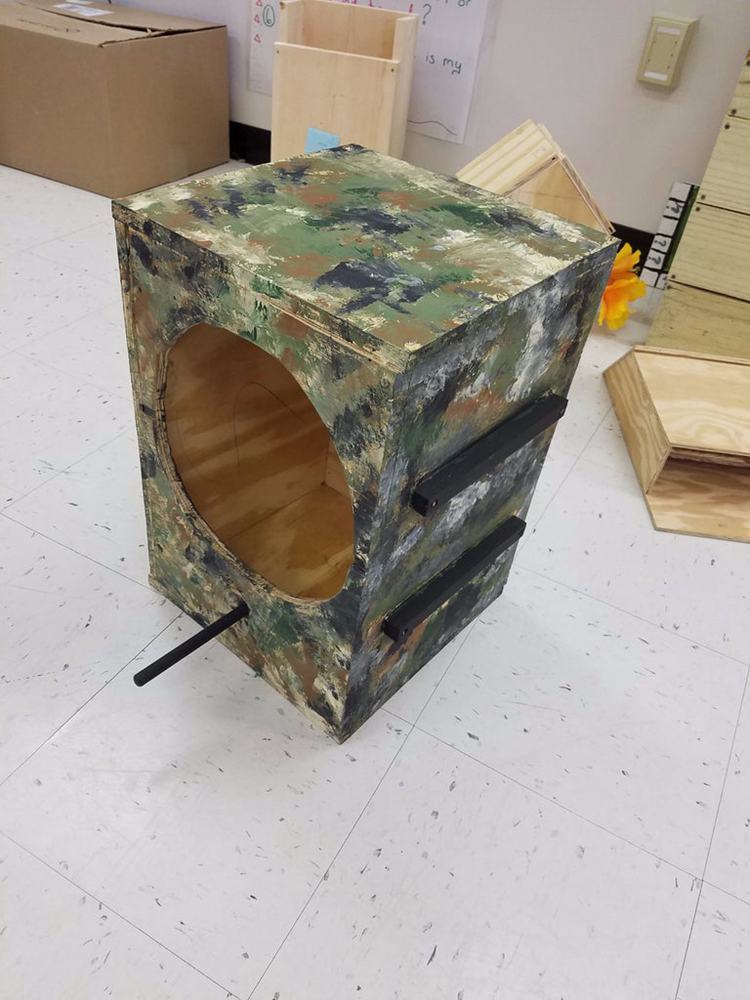
For this owl box, you need a cutting list to monitor the measurement of all the parts of the box that need to be cut. After cutting, start making the box assembly. Join each part together using screws and brackets. Among the tools are a drill, drill bits, table saw, and circular saw.
10. DIY Barn Owl Nesting Box
You're going to need ½" plywood, 2 2×2* lumber for framing and the hardware (which include deck screws, scrap hinges, buck hinges, screw eyes, carriage bolt, nuts and washers). The first thing to do is to collate these materials and start framing the box assembly.
11. How To Build And Install An Owl Nesting Box
In this video, you will learn how to install an owl nesting box. It is very easy once you watch till the end. The instructor started by analysing the dimension of the nest box and citing the lumber into wood pieces. Prepare the pieces( sand those that needed sending and drill necessary holes on the sides and the front piece). After this, start assembling the pieces.
12. DIY Barred Owl Nest Box With Plans
One thing I liked about this barred owl nest box is the shingles attached to every part of the box. The shingles were from parks of cedar shims. Fitting all the shingles is not very difficult but fixing it where the lock meets is very difficult to do.
13. DIY Owl House Plans
The plan for this DIY project given in the guide provides the accurate measurement for the owl house. Start by cutting the front angle. Then, measure from the center of the bag and make a square for the roof.
14. DIY Screech Owl Nest Box Build
In this guide, you will learn the basics of an owl nest, why it is necessary, and the uses of the house. Apart from the list mentioned above, it also gives information about different nesting details and directions for building.
15. DIY Owl House Build
This particular plan is for screech owls. First thing first, gather the materials and tools needed for the project. Cut the wood into pieces and start making the box assembly. The steps are very simple and common. Click the link below to learn more about the process of making the screech owl bottle.
16. DIY Owl House With Cedar Board
Here is another screech owl nest house made from cedar boards. Other materials and tools used for the screech hole aside from the crest tree include wood screws, ½" screws, straight edge, framing square, measuring tape, cordless drill, spiral bits set, driving bits set, sandpaper, and safety glass and gloves.
17. Barred Owl Nestbox Build DIY
In this video tutorial, you will learn how to make a barred owl nest box by yourself. Considering the size and weight of the nesting box, the instructor decided to use plywood instead of any other wood type. The simple steps involved cutting the plywood into pieces for each part of the box. Prepare each part and drill ventilation holes on the side pieces. Drill entrance holes on the front pieces.
18. How To Build A Screech Owl House
It is very important to have the safety equipment ready as well as the materials for this project. Though the little emphasis is made on the career, the safety of the creator is very crucial. The materials and tools required include a speed square, chisel, wood pieces, jig, drill, drill bits, and screws. It is much easier to assemble the parts with screws when you pre-drill the holes on each part.
19. DIY Owl House Plan
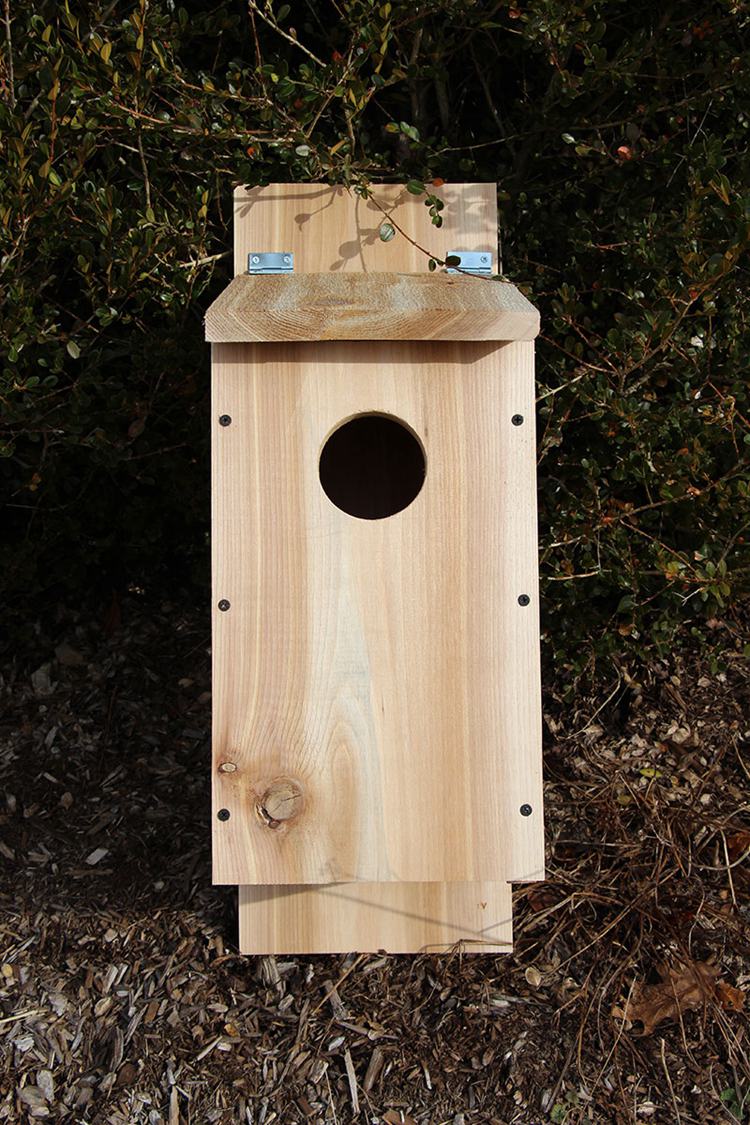
The materials needed for this owl house plan include wood pieces, galvanized screws, chisel, brass hinges, brass good screws, screwdriver, hole saw, and drill. Here is how you put the pieces together. Drill 2 ½" ventilation holes on the two sides and ½" drainage holes on the center and each corner of the bottom piece.
Then, drill a drainage hole on the front piece. The whole should be 4 '' away from the top of the box and centred between both sides.
20. DIY Owl House
To start with, the instructor in this video tutorial started by cutting the sides of the box. Then, the front and back pieces. After this, he started making the box assembly by putting the parts together with drills and screws. The process or steps is very simple, once you follow it and you will have your owl house. The procedure is very simple and fast.
Conclusion
Here are 20 amazing owl house plans that are super simple and cheap. Choose one of the plans and start building! Before you leave, do us a favor by sharing this article with your friends and family that might be interested in building a DIY owl house.


Ask Me Anything