Removal of moisture prevents bacteria from ruining your valuable fruits and vegetables. Drying is a form of preservation that's why you need this. Dehydration is a simple, effective method of preserving fruits, vegetables, nuts, and meats. Drying removes the majority of the water that is in food, making it less hospitable to bacteria and mold.
A DIY Solar dehydrator can be built fairly easily, with inexpensive materials, as a way to conveniently take advantage of the sunshine for food drying. A solar food dehydrator can be built as small or large as desired.
Table of Contents
1. DIY Solar Food Dehydrator
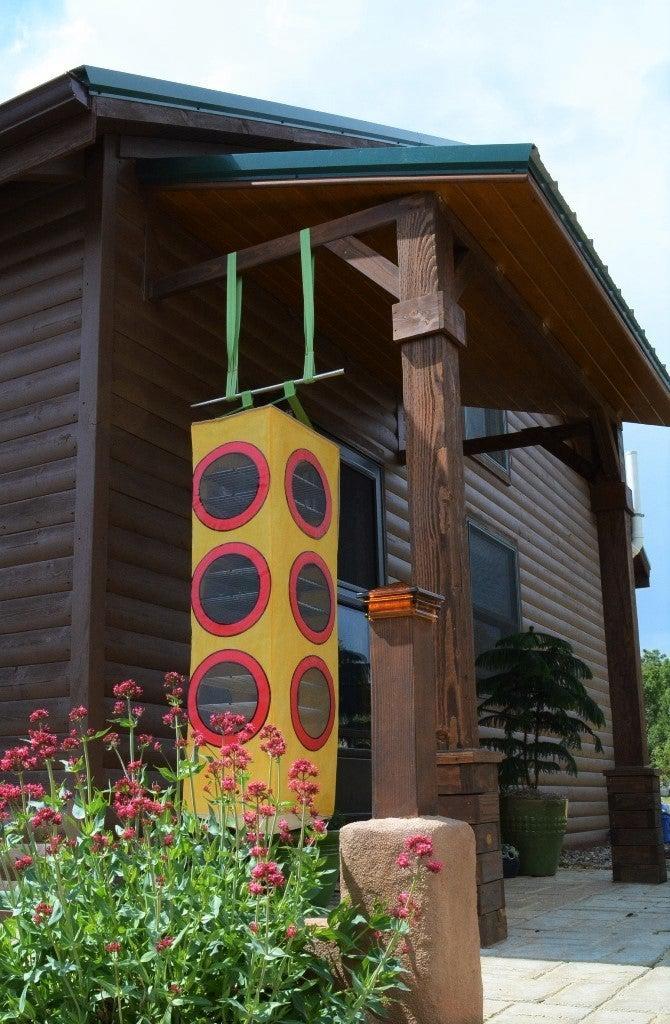
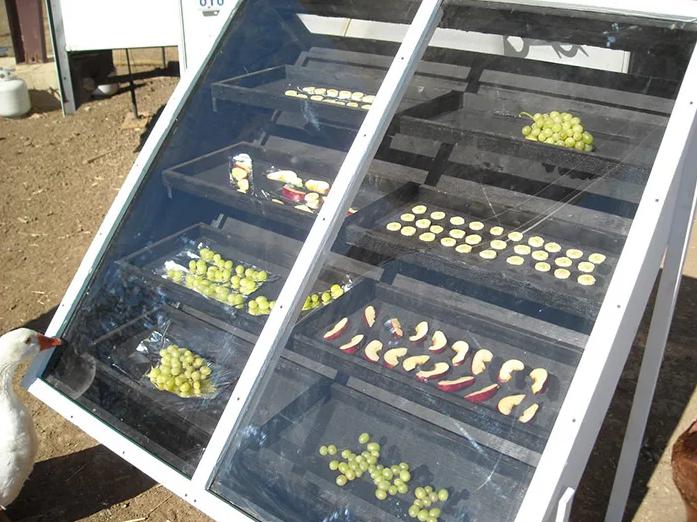
This Passive Solar Powered uses No Electricity, it is great for both hot & dry climates. It includes 10 Shelves which Provide 15 sq ft of Drying Space. It is Collapsible and Easy to Store and also designed for Easy Air Movement. It Serves Outdoors or Indoors purposes. It is Water resistant to the surprise rain shower and Keeps Bugs Out.
2. Solar Food Dehydrator DIY
Dry your fruit, vegetables, and other goods with your own sun-powered dehydrator. Electric Food Dehydrators can be expensive and consume unnecessary energy. This solar dehydrator was made entirely of recovered materials. It was constructed with scrap plywood, 2x4s from an old ladder, a house window, and other items which could be considered trash.
3. How To Build A Solar Food Dehydrator
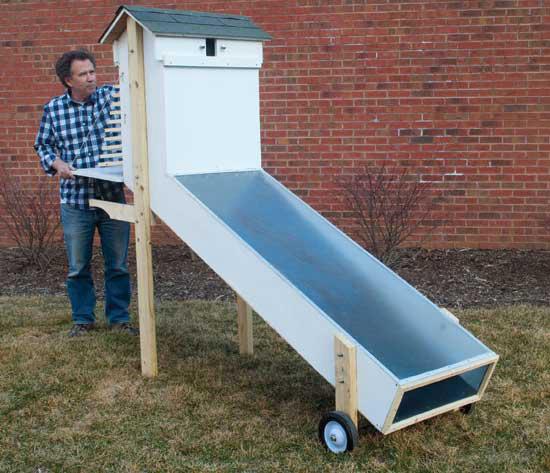
Learn more about building this sliding solar food dehydrator. First, start with making the base. The entire frame is made with 2 by 4 by 12-foot pieces of scrap. The final base size is 36” wide by 48” deep. Depending on the width of the glazing, you may want to make yours slightly more narrow because the finished plywood will make the body about 36.5” wide.
4. Simple Solar Food Dehydrator
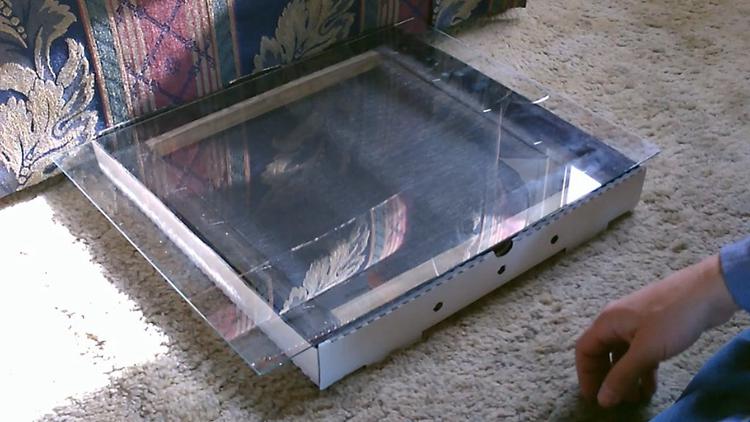
With easy to find supplies, anyone can make this dehydrator making use of the following; large pizza box (a 16-inch box), flat black spray paint, standard household screen, a small piece of wood cut down into 4 equal lengths (square wood dowels work well), 16" by 20" piece of glass (fits the 16-inch pizza box - with a little overhang on 2 edges).
5. Homemade Solar Food Dehydrator
This is a no electricity-required way of preserving your garden harvests. After sun-drying the best eco-friendly ways to preserve your items are vacuum-sealed bags and quart jars. You can use this solar food dehydrator anywhere all you need is just sunshine. Use it to dry not only fruits and vegetables but also mushrooms and herbs.
6. How To Build An Infrared Solar Dryer
An efficient way to preserve your garden harvests is by dehydrating foods. In a true survival scenario, the luxury of electricity may not be available so that still leads us back to this. If you long for something both snazzy and practical, then this is definitely for you! It is simple to construct and takes advantage of the free energy of the sun.
7. Solar Food Dryer DIY
Making your own solar food dehydrator is an inexpensive way to save your garden produce for year-round use. It is important to make as much food as possible in your home, therefore a food dryer is necessary. Using polycarbonate sheets, you can also make this food dryer that can last for ages.
8. Simple Solar Dehydrator
This video shows how to make a simple solar food dehydrator. It costs almost nothing to make and can be made using offcuts and scraps. In the heat of the sun, it dries and preserves many types of foods (meats, vegetables , fruits , herbs , nuts, and more) and dries food quickly. slice food thinly and lay on screen. place the screen in the dehydrator. place in the sun.
9. How To Build A Solar Dehydrator
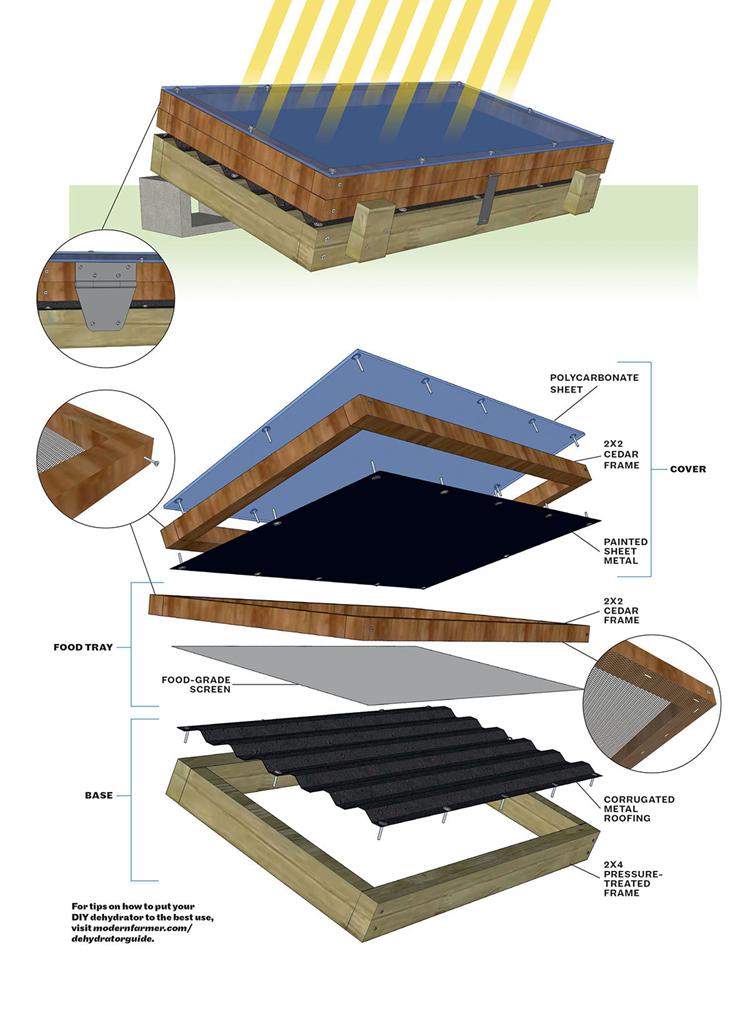
To make this Radiant Super Dryer, the design has been simplified to fit standard materials, so anyone with basic carpentry skills can construct this DIY dehydrator in a single weekend. Firstly after getting your materials, build frames for the cover, food tray, and base, make the cover, make the food tray, make the base, and then assemble the dehydrator.
10. How To Make A Solar Powered Food Dehydrator
Materials needed to make this dehydrator include plywood, screws, a screen to keep insects (and other critters) out of the box and to allow air to flow through, and a plexiglass cover. Handles and swivel wheels were added to this dehydrator to make the unit easier to move around. It's a great idea, as this looks like it could get pretty heavy.
Be sure to let the dehydrator sit empty in the sun for a few days before placing food inside it to give the paint fumes time to dissipate.
11. DIY Solar Dehydrator For Food
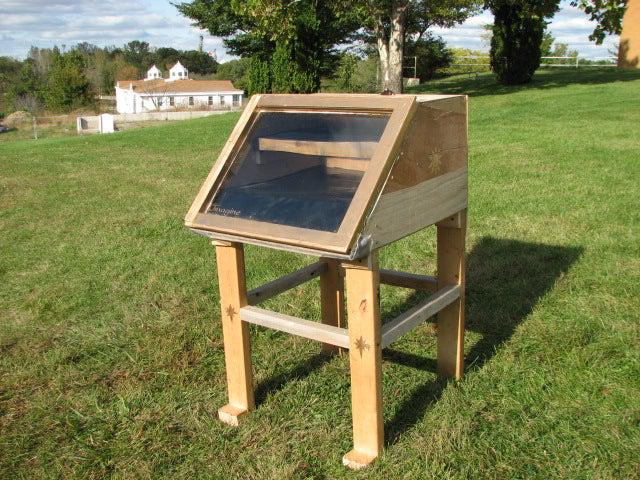
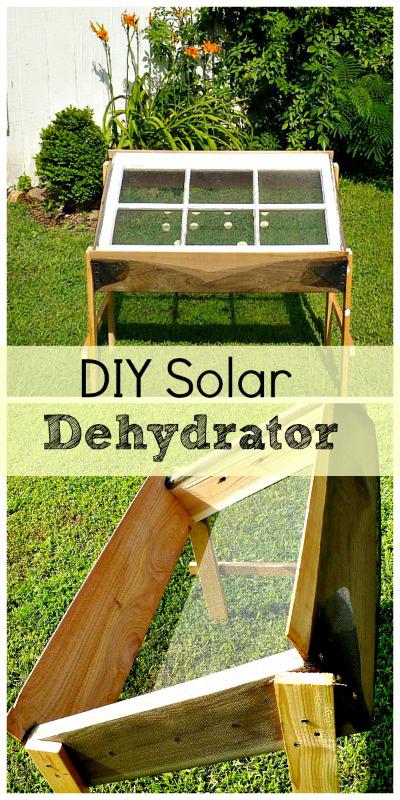
This is a very simple design using scrap lumber and upcycled objects. It’s basically a cedar box on a stand with insect mesh stapled on the bottom. There are 3 holes drilled into the sides for ventilation that have insect mesh stapled over them.
You can repurpose an old window and make use of that.
This dehydrator is very lightweight so it’s easy to move in and out of the sun. You can add a thermometer to the inside if you’d like to make sure that you have the recommended temps for dehydration which are between 95-145 F.
12. Solar Food Dehydrator DIY
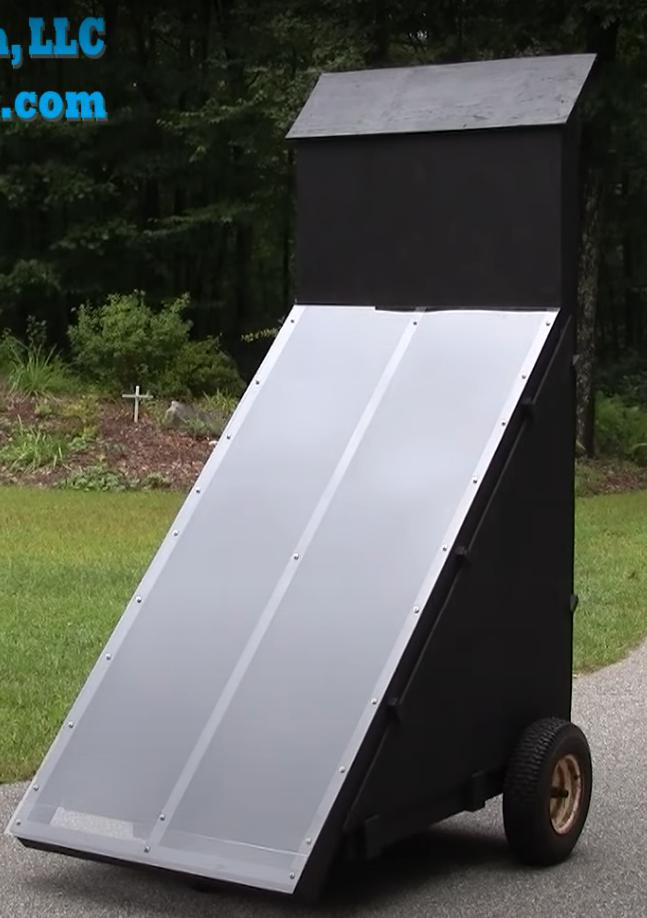
You can construct this solar dehydrator using locally available materials like exterior-grade plywood, FRP glazing, metal screening or lath, and miscellaneous parts.
The sun’s radiation passes through the plastic top of the collector box to the absorber screens, which retain heat.
Air entering through the intake is warmed as it passes over the absorber screens, and then flows into the drying chamber. There, the heated air draws out the food’s moisture before exiting through vents just below the roof.
The rising warm air creates negative pressure at the bottom of the collector box, which draws in more outside air to replace the air that left through the top vents. Air will continue to heat and rise, passing through the collector box and into the drying chamber, as long as the sun is shining or the dryer has access to another source of heat.
13. Solar Food Dehydrator DIY
Hot summers are the perfect time to try dehydrating foods outside. Solar food dehydrator makes it possible to air dry produce. This video shows you how to sun dry your tomato with ease. You have to begin by slicing your tomatoes and carefully place them on the screen.
Take the screen to your wooden insulated solar dehydrator and place it inside. Close the dehydrator and allow the vegetable to dry.
14. Portable Solar Food Dehydrator
Allow this video to walk you through how to make this portable solar food dehydrator. This design is made to enable easy carrying when in use and when not in use. It is made so because this has to be placed on a rooftop and can't possibly maintain the rooftop location.
15. DIY Solar Dehydrator
Drying is an excellent way to preserve produce, but exposing fruits and vegetables to direct light can cause vitamin loss. This design relies on indirect solar power, meaning the drying food is not exposed to the sun but instead to solar-heated air.
Our dryer takes advantage of the natural process of rising hot air to operate efficiently without any electric fans.
16. Building A Solar Food Dehydrator
If you have a keen interest in developing or building your own solar food dehydrator, I advise you to be patient with this video and carefully adhere to the steps. This video describes and demonstrates the process of constructing a food dryer.
17. DIY Solar Oven
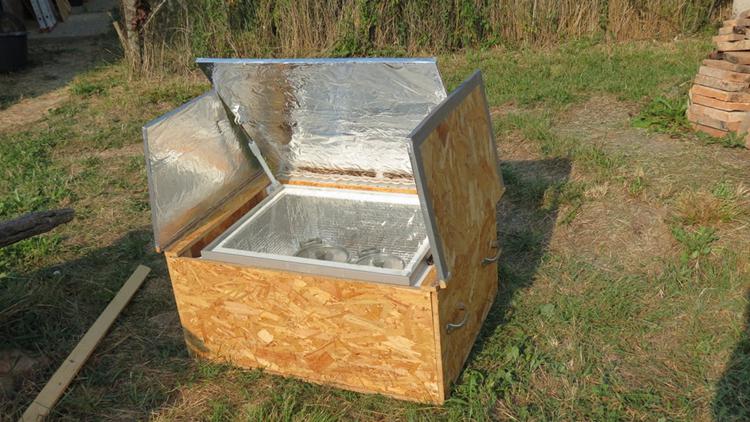
This solar oven is made out of materials that are very easily available and not very expensive either. Most materials used to build this one were scrap materials. Temperatures are usually 30-35 degrees Celsius, but for some food, it will also work with lower temperatures.
As long as it is sunny outside! This oven can be used to cook many things, such as pasta, rice, pasta sauce, soup, sausages, chicken, vegetables, mince, muffins, and more. It is convenient because it doesn't take much of an effort to cook your food this way. More important, of course, is that it is super cool to cook your food using only direct solar energy!
Conclusion
Dried foods are, by far, the easiest foods to keep on hand for emergencies and hiking or camping trips, and at a fraction of the bulk and weight of canned foods. Depending on your choice and suitability, make out time and try one of these designs and see how best it works for you and your household.

Ask Me Anything