
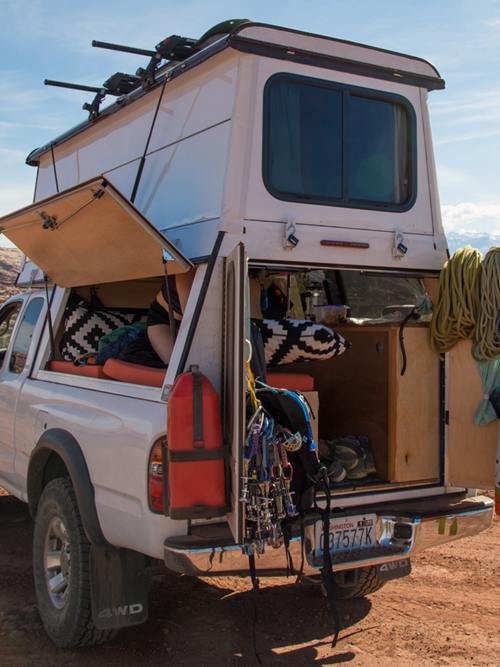
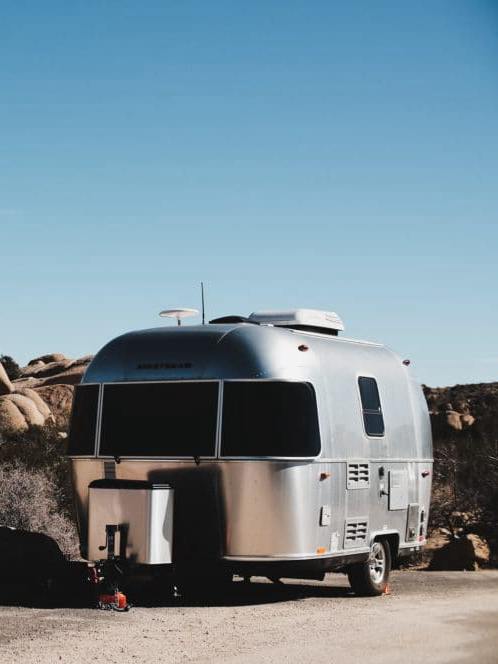
I love having my own camper trailer so that I can take it anywhere. It’s just such an awesome feeling to be able to set up my camper in the forest or mountains and just spend time enjoying the outdoors. However, during the winter, you’d have to protect your camper or RV while it is being stored.
If you are reading this, then like many people, you own an RV. But unlike most, you are probably looking for steps on how to winterize your camper. Winterizing can be a hassle, especially if you don't know where to start.
In this article, we will try to break down all the steps needed in winterizing your camper. Whether you are a beginner or an expert, this guide will help you.

Table of Contents
How Much Does It Cost To Winterize A Camper?
Tying down your camper or RV with the winter weather approaching? Wondering how much it costs to winterize a camper or RV? It is important to know what needs to be done for the safety and protection of your Camper. Winterizing a camper or RV may involve expenses but it shouldn't break the bank. The price might vary depending on your needs, preferences, and location.
Depending on the method and supplies you would be using, it might cost from $100-500 to winterize your camper. The cost might also vary depending on the size of your RV. I made a list containing some basic supplies needed and their cost.
| Supplies | Price($) |
| CRAFTSMAN Air Compressor | $129 |
| Minimprover Blow Out Adapter | $14.99 |
| RecPro RV Antifreeze (4 packs) | $53 |
| Phillips Hard-Handle Screwdriver | $5 |
| Flat Head Screwdriver | $13.32 |
| 2 Pack Collapsible Plastic Buckets | $23 |
| Towels | $30 |
| Siphon Line | $25.95 |
These are basically all the supplies you will need for winterizing your camper, the good thing is, you might already have most of the items in the supplies list, that way, you’d save some money.
13 Easy Steps To Winterize Your Camper
So, at this point, I am sure you have gathered all the tools, and you’re ready to winterize your camper, the steps below are concise steps you need to follow to get this done.
Removing Water From The Camper
Step 1: Drain Black And grey Waste Tanks
The first step is making sure that all the water is removed from your RV, a good way to start is by emptying your black and grey wastewater tanks. However, before doing this, be sure to take your RV to a good dump station.
Step 2: Drain Heater Water
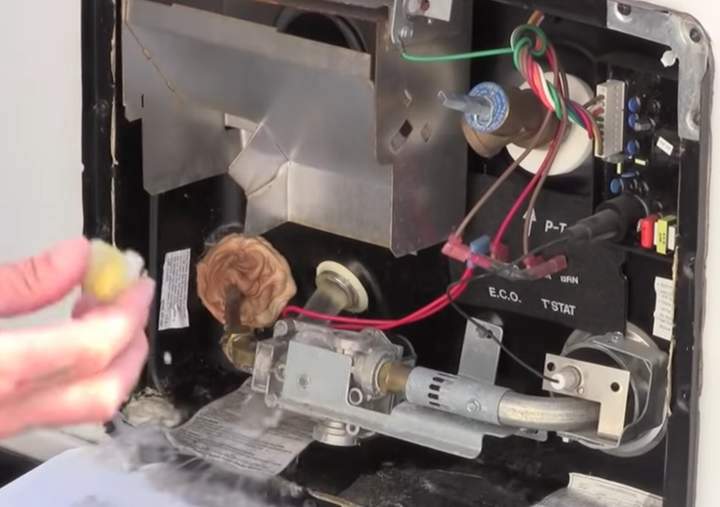
You’ll also have to empty water from the water heater, most people tend to forget about this part, the adverse effect isn’t something you would like, so, empty water from the heater. While draining your water heater, ensure that the water isn’t boiling hot, and if it is, give it some time to cool. After the draining process from the heater is complete, seal the heater and move on to the next phase.
Step 3: Drain Freshwater Tank
Most RVs have a freshwater tank drain located beneath the trailer, you’ll have to drain that too. This might take a while depending on how much freshwater you have in the tank. Simply turn the knob and allow the water to flow out.
Step 4: Turn On The Water Pump & Faucet
This process helps to drain any amount of leftover water in your RV. All you would have to do is turn on the water pump of your RV and then turn on the faucet. This should suck out the leftover water remaining in the freshwater tank and pump.
Before turning on the faucet, place a bucket on the sink to collect the leftover water. (We do not want the water going down the drain)
While draining the water via the faucet, you would notice the faucet begin to spit air, this is an indication that the draining process is almost completed.
Do not forget to turn off the water pump after the water has finished draining from the faucet.
Step 5: Open Low Point Drains
You would also need to open the low point drains of your camper to enable water to get out. Some campers make it quite difficult to reach the low point drain, but you would still have to get the water out. Use a jack if you must, it’ll help lift your camper or RV, providing enough room to drain water. Just ensure you turn open the knobs of the low point drains to get water out.
Step 6: Attach A Blow Out Plug To The City Water Connection
The reason for this step is to blow out any remnant of water. Simply attach the blowout plug to your RV’s city water connection, then, attach the other end to an air compressor. You will need to set the air compressor to about 20 PSI. Allow the air to get into your RV for a couple of seconds, if done rightly, this should get rid of the water in the system.
You’ll know you are on the right track if you notice droplets of water in the low point drains while applying air pressure. Close the city water inlet with the plug after the air pressure process is completed.
Step 7: Attach The Blow Out Plug To The Black Tank Inlet
Using the same technique above, apply low-pressure air of about 20 PSI for a few seconds to the black tank inlet. Due to the structure of the black tank, it might still retain some water, but you can get rid of the excess water by using the air pressure machine to force the remaining water out. Close the blank tank inlet after the air pressure process is completed.
Add RV Antifreeze To The System
This is yet another important part of your quest to winterize your camper. For this procedure, you might need the help of someone, their job will be to verify whether or not pink antifreeze is coming out of the low point drains. Without the help of someone, you might end up wasting a good amount of RV antifreeze.
Step 8: Bypass The Hot Water Tank
You won’t need to add the pink antifreeze to your hot water tank, so, you will need to turn off the knob that allows water to get into the water tank. Based on your RV build, you’ll have to locate the knob. The main idea here is to make sure that the pink solution doesn’t get into the hot water tank. If you have sorted this out, check the next step.
Step 9: Locate Your RV’s Water Pump & Connect the Siphon line
One trick I use to know the location of my water pump is by turning it on and using my ears to figure out where it is working from.
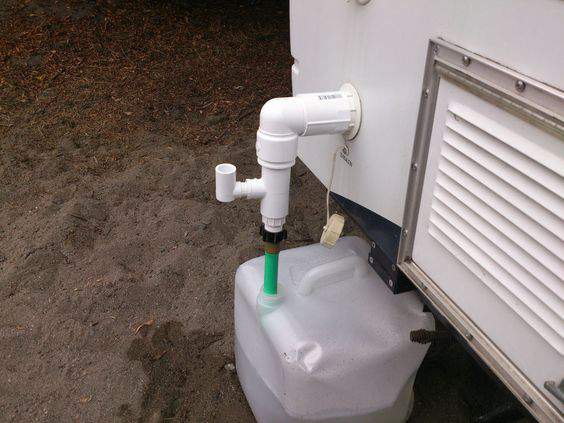
After locating the water pump, you will have to locate the freshwater intake line. This is where you might need the towels, place the towel underneath the water pump to pick up droplets. Loosen the freshwater intake line and replace it with a siphon line.
The other end of the siphon line should be inserted inside your RV antifreeze solution. The pump would suck from the antifreeze and pump to different areas in your camper.
Step 9: Turn On The Water Pump
Turn on the water pump on your system and ensure that the pink antifreeze is coming out of the low point drains outside the camper. Close the low point drains after ensuring that it is coming out from the low point drains.
Step 10: Open Points
With the pump on, ensure that the antifreeze solution is coming out of various points in your RV. Here is a list of points to open;
- The kitchen sink
- The bathroom sink
- The tub faucet
- The bathroom shower
- The outdoor shower
You will also need to flush the toilet with the antifreeze solution until the toilet is pink and filled with antifreeze. Feel free to flush again just to be sure. In summary, you will basically need to run the antifreeze solution through all the outdoor and indoor water outlets you have. Be sure not to miss out on any.
Note: Turn off the pump and replace the RV antifreeze solution if it becomes dry.
Step 11: Draining The Hose
With the pump machine still running, open the kitchen sink, head back to the pump machine area, remove the hose from the RV antifreeze gallon and hold it out until the solution is completely sucked out of the hose.
Step 12: Turn Off The Pump & Replace The Siphon Line With Freshwater Line
Turn off the pump and remember to take off the siphon line and plug back the freshwater line into the pump machine. Also, seal the area where your pump machine is located.
Step 13: Pour Antifreeze Into P-Traps
After the whole process, you should have some antifreeze left, pour a fair amount of antifreeze down all the P-traps in your RV, you should do this in;
- The bathroom sink p-trap
- The kitchen p-trap
- The tub p-trap
Final Words
And that’s a wrap! 13 easy-to-follow steps on how to winterize your camper.It is also very important to know how to Keep Mice Out Of A Camper I hope this article has been helpful to you. The steps in this article are what I use to winterize my camper and it would most definitely work for you too.
Feel free to make adjustments where necessary, but while doing so, be sure to follow the primary guide. Your pump or outdoor outlets might be different. The major thing is draining all the water off your camper and then replacing it with an RV antifreeze solution. Do this and you are good to go! Thanks for stopping by.


Ask Me Anything