

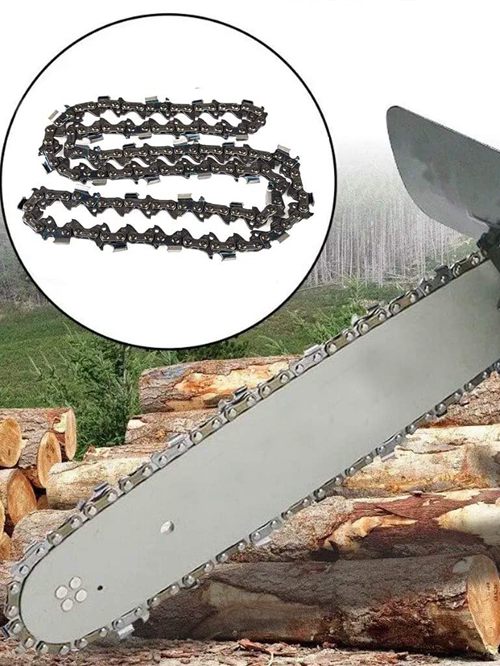
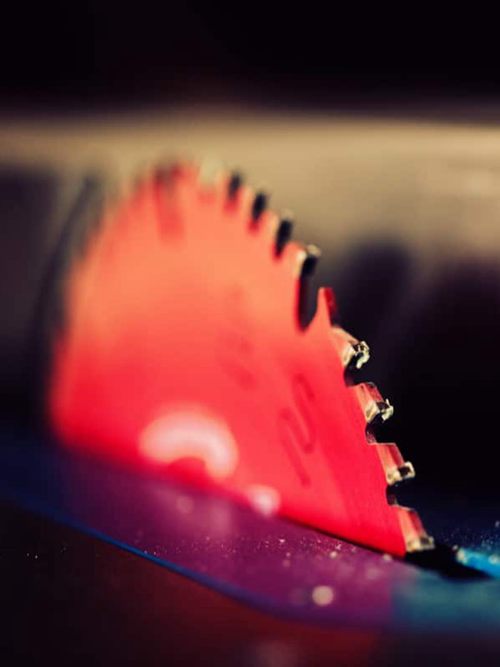
One of the worst things that can happen to your band saw is the blade breaking. When this happens, you have to think of how much money you will need to get it up and running. But, without a budget for that, you will probably leave it broken.
The good thing, however, is that you can weld your broken band saw blade and restore its full functionality. If you are dealing with a broken band saw blade, keep reading to learn how you can weld it and how important it is.
Table of Contents
Why Would You Need To Weld a Band Saw Blade?
Breaking and bending of a band saw blade comes with the job. It is bound to happen anytime, especially if you use the band saw regularly. Welding is much cheaper than buying a new blade and allows you to utilize the blades for a long time.
The most common reason why blades bend or break is general wear and tear. If you forget to take care of the blade, it is bound to break, and this can be inevitable. This, however, does not mean you need to make a quick stop at the hardware store for a new one.
With the right tools, you can repair the damage, restore it to full functionality, and save some money. It is important to note that there are situations where the blade is beyond repair.
For instance, if it is chipped and corroded out of rusting, you may not get it back to functionality with welding. In such a case, you will have to count your losses and buy a new one.
What You Need To Weld a Band Saw Blade
You will need to gather a few items for the process. There are many different ways of doing it, but this is one of the simplest.
- The broken band saw blade
- One vise
- One Tig welder
- One grinder
It is essential to include personal protective equipment in this process. Welding, like most metal repair works, produces small chips and debris. Wear protective gloves and safety glasses to prevent any accidents.
Step By Step Process of Welding A Band Saw Blade
With the above tools, you can start on the project. Here are simple steps that you can follow to restore your blade’s glory.
Preparing the Blade
Before setting the blade up for welding, make sure you inspect its condition. The blade should be strong enough to last after welding. Blades usually break because of getting brittle once rust starts to build up. If your blade is rusty, then it is not suitable for welding.
Use a degreasing agent to clean the blade as you evaluate its condition. While at it, spray the agent on both ends of the broken area and leave it for approximately 10 minutes. Use a damp cloth to wipe clean.
You can also soak the blade in soapy water to dissolve any grease. Ensure the soap is not corrosive; otherwise, it will damage the blade. The solution can help remove resin that has collected over time.
Grinding the Blade
The main aim of this step is to ensure the broken ends adhere to each other tightly after welding. Grind lightly and gradually on the broken ends. Also, grind at an angle using your vise so that both ends will overlap when welding.
This stage is particularly important because it contributes to the strength of the blade after welding. Once you finish grinding, place the two pieces in the vise again to ensure the ends are almost overlapping.
Welding the Blade
Welding the quickest stage since you will have covered most of the work on the other steps. In this step, it is important to touch the ends of the blade tightly together. This is because the blade will be weak without touching after welding. Be careful when doing this as it can quickly damage the blade.
Weld the other side of the blade like the first one. You should note that welding on both sides adds on to the strength of the blade. Lastly, counter check if both ends are correctly welded and retouch if necessary.
Video tutorial Learn How to Weld Band Saw Blades
What You Should Do After Welding Your Band Saw Blade
After welding both sides, it is essential to give the blade quick annealing using a blow torch. Most people tend to overlook this and often forget its importance. But, it enhances the strength of the blade by improving the bond.
Once the blade has cooled down, you may find a few irregular spots that would need polishing. The welding process brings about imperfections with the molten metal, but it is something you can correct.
Use the grinder lightly on the blade to smooth out such spots. At this stage, you can also clean the blade again by wiping it down with a damp cloth. It is now ready to re-install into the band saw.
Generally, the blade will still be prone to damage with consistent use. Therefore, it is important to maintain it regularly and enhance its functionality. Eventually, you will need to replace the blade, but it will give you several uses.
Regular maintenance includes lubricating the blades after every use. Also, you need to clean grease and any other buildup that could compromise its quality.
Conclusion
Welding your bandsaw is a cheap alternative to buying a new one. When your band saw blade breaks unexpectedly, you can follow the above steps and restore its functionality. Using the tools mentioned above, you can repair the blade quickly.
This process can get you more use out of your blade and save you some money for a new one. Here is a quick run-down of the steps.
- Prepare and clean the blade off grease and dirt.
- Grind the edges smoothly to overlap when welding.
- Weld one side first and follow with the other side.
- Use a grinder to smooth out imperfections from the process.
- Clean the blade up, re-install, and maintain it regularly.
If you have questions on this topic, feel free to drop me a message. I will be glad to answer and interact with you.

Ask Me Anything