If you have a passion for kayaking, but don’t have the luxury of a beach or a river right next-door, the chances are that you’ll need some form of transportation whenever you feel like kayaking. This can be a frustrating endeavour – especially if you’re a beginner – and you may run into issues that you didn’t know existed.
With a few key tips, you’ll be able to tie down and transport your kayak in no time, and you can focus on enjoying your sport.
Table of Contents
1. Modify Your Vehicle Correctly
The method that you choose to transport your kayak will depend on the kind of vehicle available to you. If this vehicle happens to be a car, or anything without the storage space necessary to hold a kayak, then your best option is a roof rack.
Much of the time when people fail in kayak transportation, the problem is in the materials purchased rather than the actual installation; this is why it’s essential to ensure that you’re buying a rack specifically designed for kayaks. You’ll need to make sure that your rack can:
- Accommodate the size of your kayak.
- Provide padding – if not, then you can also purchase padding separately, which may open up more options.
- Remain durable: the last thing you want for an expensive kayak is a cheap rack, which could break after the first few uses.
- Easily allow for the proper application of your straps.
While there’s no need to go spending all of your money on the best tools available, it’s advisable to search for new roof racks online rather than browsing through second-hand options. If you can’t find or afford a roof rack for your vehicle, then there are other options available. The most common method used to support kayaks in the absence of a rack is pool noodles – the foam tubes you’ll often see in swimming pools.
Take the size of your vehicle into consideration. Once you’ve trimmed your noodles to the perfect length for your vehicle, you should lay them down horizontally on the roof and secure them by inserting the straps through the hollow center. After you’ve done this, the process continues in the same way as it normally would, using noodles instead of a rack.
2. Use Suitable Straps
It’s a common mistake to think that just about anything will be well-suited to holding your kayak in-place. You’ll want to make sure for optimal security that you purchase straps made specifically for the task.
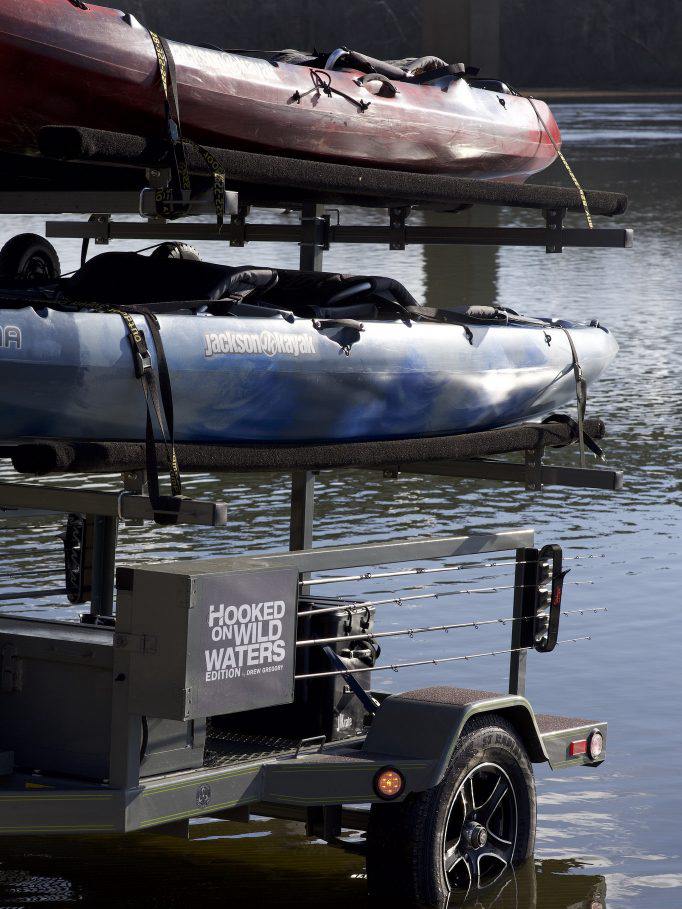
It isn’t rare to see kayaks tied down with bungee cord, wire, rope or any number of things you might find around the house. While the kayak may survive the journey, these shouldn’t be seen as appropriate. Getting kayak straps will not only ensure that you’ve done everything possible to properly transport your kayak, but also make the process of actually tying it down much easier.
When purchasing kayak straps, the preferable option is those with cam buckles; these offer a locking system to make the process that much easier, and take some of the pressure off of your knot-tying abilities.
Cam straps also allow for more accurate gauging of tension, which is important if your kayak is on the more sensitive side. A plastic boat can handle as much tension as you’re willing to give, but with fiberglass options, for instance, too much tension in the straps runs the risk of warping the boat. Make sure to inquire as to how much tension is the perfect amount when buying your straps.
3. Don’t Forget the Bow and Stern
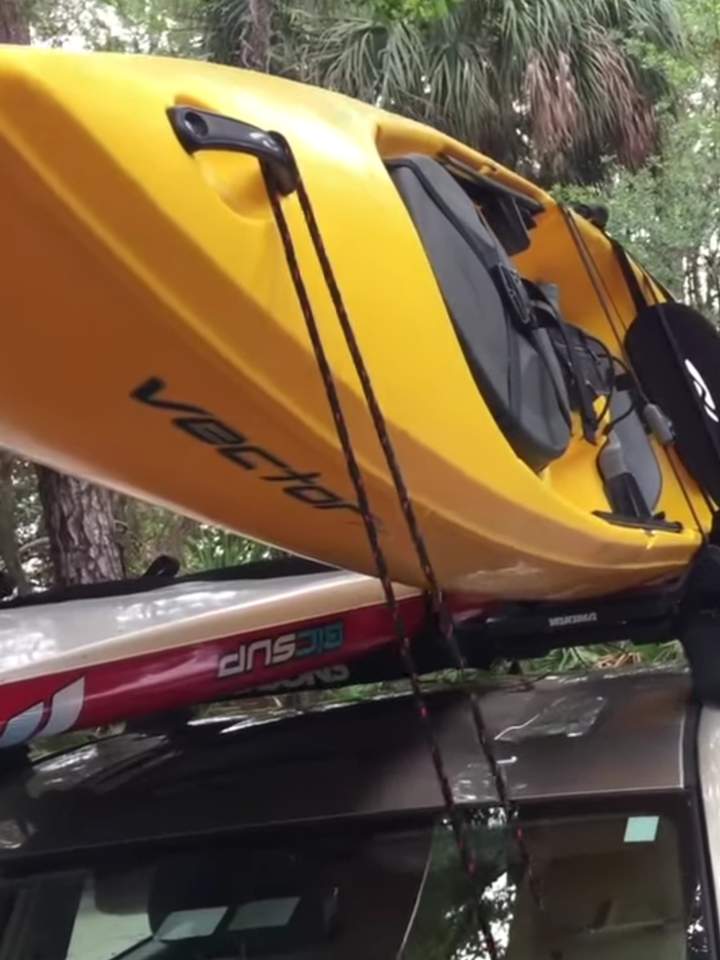
Once you’ve finished securing the kayak to your vehicle at the sides, it can be easy to forget about the bow and stern. To properly fasten your kayak and prevent it from slipping out the back or front, it’s necessary to tie these ends as well.
You can purchase bow and stern lines purpose-made to fully fasten your kayak in place. This is done by hooking one end of each line to each end of the kayak, and the other ends to the front and back of your vehicle. It is best to tie the ends underneath your vehicle, on the hitch or tow hook, rather than the plastic, to avoid any potential damage to the vehicle.
Be careful not to tighten these lines too much, and to inquire again as to how much tension is suitable for maximum security while still protecting your kayak.
4. Center your Kayak
Having your kayak closer to one side of your vehicle than the other, whether it be front/back or left/right, is not the best option for the longevity of your straps. A more centralized kayak will also be much easier for you to fasten down, given that the equipment to be used assumes the kayak’s position as the center.
You may be in a rush to get going and hit the water, but making sure that your kayak is secured well on your vehicle is more important than getting their quickly; if it isn’t central, then you run a higher risk of having attached it to the rack and fastened the straps incorrectly. It’s worth taking the extra time at the start to make sure that your kayak is positioned perfectly.
5. Don’t Attempt it Alone
No matter how adept you may have become in fastening your kayak for transportation, it’s always better to have someone with you when doing it. There are many tasks involved in the process which can be made significantly easier with a second pair of hands.
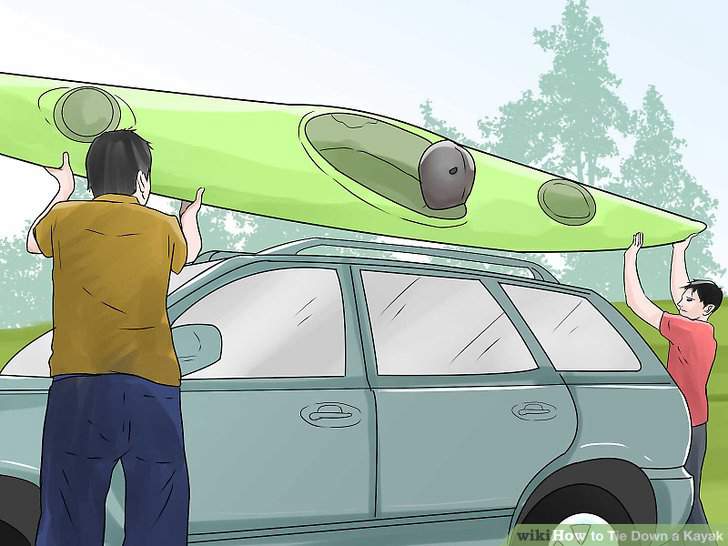
To start with, lifting your kayak onto the vehicle in the first place – to avoid damaging the vehicle or the kayak – is a two-person job. Kayaks, depending on the material, can be heavy pieces of equipment. And weight aside, the sheer size of the kayak can be difficult for a single person to deal with.
The ideal way to lift your kayak onto your vehicle is for two parties to grab either end, and work together to position it properly on the roof rack. Another person will also come in very handy when strapping the kayak down. Lastly, whether you think you need their help or not, a second pair of hands can cut the amount of time spent preparing for the trip in half – a nice incentive for anyone who just can’t wait to get going.
6. Follow the Process
You may think that it’s easier to stick with what you know, tie your favourite knot and hope for the best. However, there’s a trusted system for tying down kayaks, and it’s a much safer, more efficient option to go with than improvisation. Generally, after you’ve purchased all of your equipment and are ready to get tying, the following steps should be taken:
- Run one strap over the kayak, and loop it under one of the bars of your rack.
- Throw the end of the strap over the kayak to the other side. This is where another person’s help will be useful, and cut down on time.
- Pull the bare end of the strap through the cam buckle. Once done, your kayak will be partly secured to the roof rack; make sure that the strap is pulled tight enough to stop the kayak from moving, but not so tight as to damage it.
- Repeat the above steps with the second strap on the other bar of your roof rack.
- To finish this part of the process, wrap the ends of the straps around the roof rack bars, knotting them to make sure they don’t come undone.
- Finally, it’s time to tie down the bow and stern, as explained previously. If you have loose ends after securing the bow and stern lines to your vehicle, you can wrap them around the rest of the line and knot them for proper security; if you drive with the slack from the lines or straps dangling, it could catch in your tires and cause your roof rack to come off (along with your kayak).
Conclusion
When tying down and transporting your kayak, most of the work will go into ensuring that you have the right equipment on-hand. You’ll need a suitable roof rack, purpose-made straps with cam buckles, and bow and stern lines, all of which can be found online.
It is essential to center your kayak on the roof, both to make the process easier for yourself and to support the durability of your straps. This task and the process as a whole will be made easier with the help of another person.
Finally, make sure that you follow the proper steps in securing your kayak, to avoid any potential damage to it or to your vehicle. Once you’ve become familiar with these steps and how to use your equipment, this task will become an easy one, and you’ll be free to take your kayak wherever your heart desires.




Ask Me Anything