Do you feel secure when you have your tools at your disposal? To ensure your tools stay safe on your truck bed, you need to install a tool chest to protect them from harsh conditions.
Regardless, installing a tool chest on your truck bed is seemingly complicated when it’s a straightforward process—all you need are proper tools to do the task efficiently.
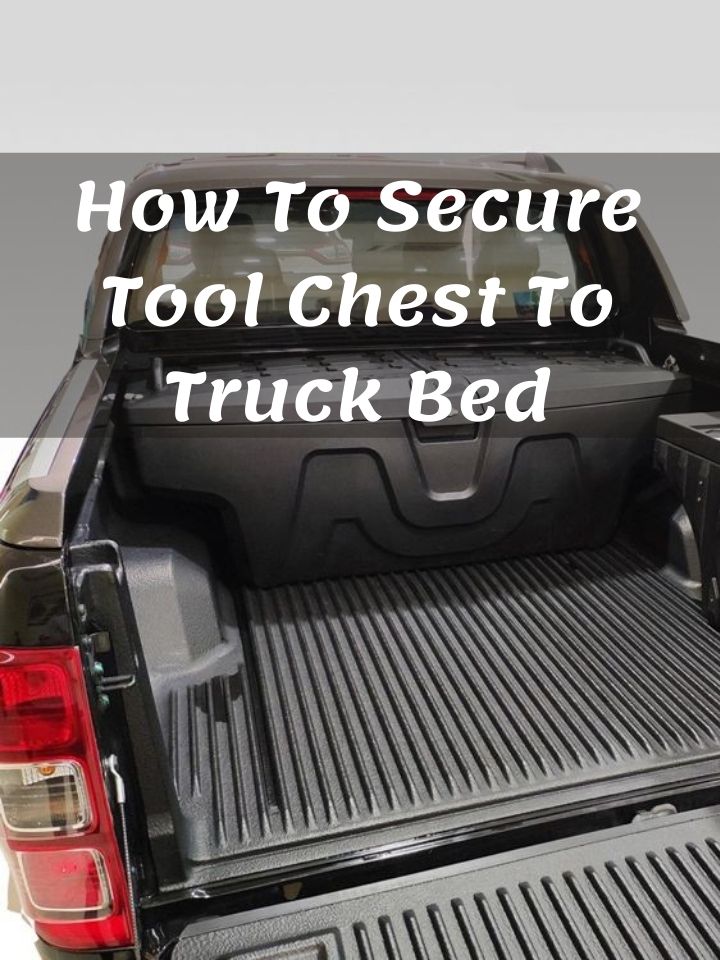
Since we understand the importance of a tool chest, we’ll comprehensively cover the steps you can take to secure your tool chest to your truck bed effectively.
Without further ado, let's dive in.
Table of Contents
How To Install A Toolbox On Your Truck Bed
In order to secure your Tool chest on a truck bed. You need multiple tools; these are:
- Pliers
- Screwdriver
- Nuts
- Spanner
- Bolts
- Measuring Tape
Note: To guarantee safety, it’s best to wear protective overalls and working gloves.
Follow these easy steps to install a tool chest on your truck bed:
1. Find a suitable place to secure the Tool chest
First, you need to find a perfect spot to place the toolbox. Consider the space that’s available in your truck before deciding on a spot to place the box. Then, proceed to measure the space using a measuring tape.
Once you know the size of the space available in your truck bed, measure the toolbox to figure out whether it will fit in the available space.
Here are a few things you can check before deciding whether the space is suitable or not:
- Choose a location that makes it easy for you to open the tool chest. Don’t pick an area that’s difficult to open.
- Choose a location that’s easily accessible. The side rails shouldn’t make it hard for you to open or close the toolbox.
- Choose a location that won’t be affected by harsh conditions.
2. Fit A Foam Padding Beneath The Tool Chest
As you protect your tools from damage, don’t forget to secure your truck bed as well by avoiding abrasion.
Before you place your tool chest, add foam padding to preserve your truck bed’s painting. Use a measuring tape to take correct measurements of the box to find accurate measurements of the foam padding.
On the other hand, if your truck bed has a bed liner, you don’t have to add foam padding under the tool chest to protect it.
3. Look For Holes In Your Truck’s Cargo Bay
To place your toolbox securely, look for holes in your truck bed. Most of the time, you can find these holes on the bottom surface, and they are primarily covered by rubber plugs.
To access the holes, just remove the rubber plugs. On the other hand, depending on your truck’s manufacturer, sometimes it doesn’t have a hole. If that’s the case, check whether your toolbox is made of plastic or metal.
If the tool chest is constructed from metal, locate the hardware that came with the box, or you can opt for drill bits made specifically for metal boxes. You can also buy pre-drilled holes to attach the toolbox to the truck bed.
If the toolbox is made of plastic, drill holes through it and secure the box to the truck bed utilizing nuts and bolts.
4. Place The Tool Chest On The Holes
Once you have found the holes on the bottom surface of the truck bed, you need to align the tool chest with the holes.
5. Attach the Tool Chest To The Truck Bed’s Surface
Once you have aligned the toolbox’s holes with the holes on the surface of the truck bed, add bolts and nuts to tighten the attachment, securing the tool chest.
6. Cross Check Your Work
Once you are done securing the tool chest to the truck bed, you have to check whether you have done a great job to ensure the safety of your tools and truck bed. Here’s what you can do:
- Open the tool chest lid to ensure you have no difficulty opening it, and the space you choose is perfect.
- Check for any vibrations by shaking the box. Once you have discovered vibrations, proceed to tighten the bolts and nuts.
- Check your bed to ensure no nuts or bolts are left behind once you have completed the task.
More Tips To Incorporate If You Want To Secure Your Tool Chest To The Truck Bed
- Choose bolts and nuts that make your work hassle-free and straightforward.
- Inspect your box regularly to ensure it passes the durability test, ensuring it serves you for a long period.
- While attaching the toolbox on the bed rail, don’t tighten the bolts and nuts too tightly.
Types of Truck Bed Tool Boxes To Choose From
There are various types of tool chests to meet your specific needs. Most toolboxes are differentiated depending on their mounting styles.
Here are a few to familiarize yourself with:
- Crossover Mounting Style: These toolboxes are primarily secured behind the cab and cover the width of the truck bed. They don’t reach the floor. Instead, they rest on the sides of the bed.
- Side Mounting Style: These are mainly attached to the side of the truck bed. Most of them come in pairs, allowing you to fix them from the side. These tool chests don’t touch the floor either, allowing you to save space.
- Hitch Mounting Style: These toolboxes are attached to the trailer post. They are so beneficial since they save space.
- Chest Mounting Style: These chests sit on the surface of the truck bed. You can add foam padding or a tonneau cover to protect your truck bed.
- Sliding Mounting style: Such Tool chests sit on the sliding rail structure, allowing you to easily move and access the box.
Final Words
Securing your tool chest on your truck bed is an essential step you need to take if you want to protect your tools. If you use them occasionally, it’s best to invest in a toolbox that will serve you well.


Ask Me Anything