
Are you having trouble with your keyboard switches? Is it time to finally clean those keycaps? Whatever the reason, you can’t sort either of the problems if you don’t know how to remove keycaps.
We are here with this comprehensive article to save you from the endless scrolling and make this seemingly tricky task much easier for you! Keep reading to understand the layout of each type of keyboard and know about everything you’ll need to pull through this chore!

You can come across three different types of keyboards:
- Mechanical Keyboard
- Membrane Keyboard
- Laptop Keyboard
We have listed different methods to remove keycaps for each type of keyboard. You can use the one you find easy.
Before you start doing anything at all, take a picture of your keyboard. This way, you'll know where the keys go when it's time to put them back.
Table of Contents
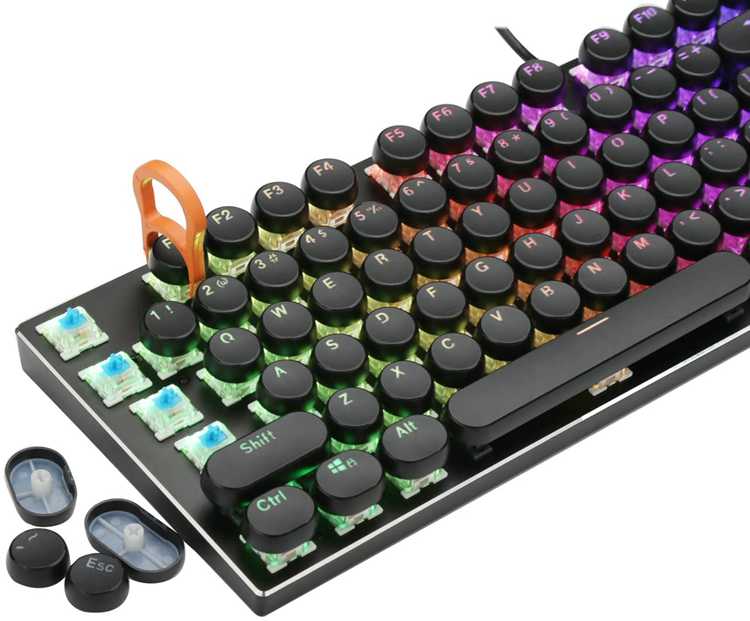
How to Remove Mechanical Keyboard Keys
Mechanical keyboards have switches under the keycaps. When the keys interact with the switch, the circuit sends the signal to the CPU, counting it as a keystroke.
Mechanical keyboards register the keys even when they are pressed gently. You will also be able to hear a clicking sound when you start typing.
Use Rounded Keycap Pullers
Some keyboards come with a key puller, but if you don't have one, you can get a rounded keycap puller here.
Steps to follow
-
- Hold your keycap puller from the hoop.
- Place it on top of the keycap in a way that both of its prongs touch the sides of the key.

- Now push the puller down, so the prongs go under the keycap and get locked in place.
- You can wiggle it around to ensure that it's secure.
- Pull the keycap upward, and it should come off quickly.

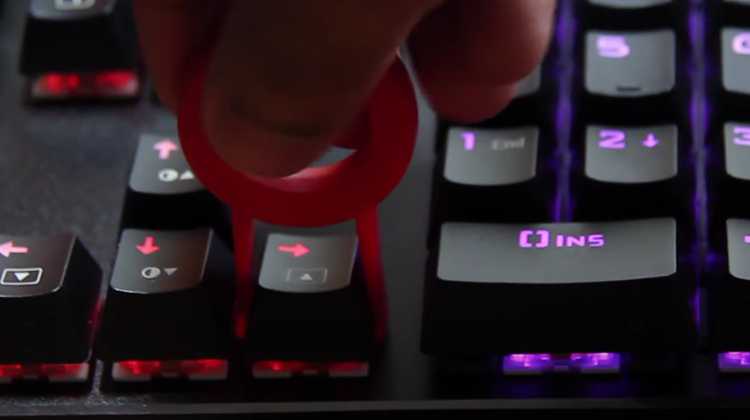
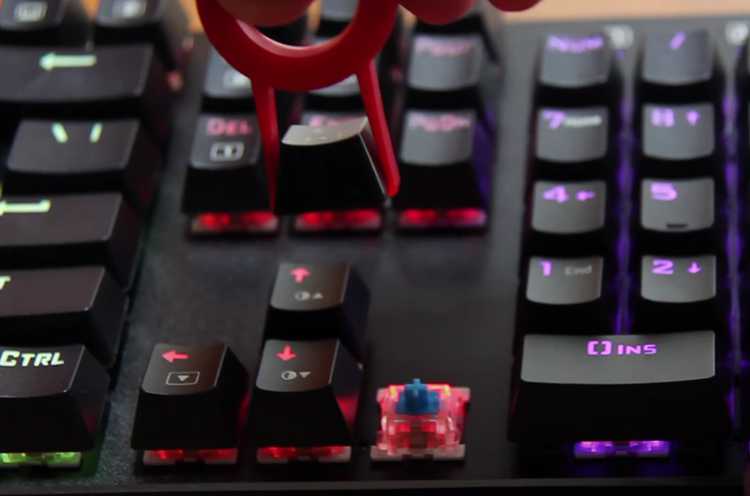
Downside: Keycap pullers like these will leave scratch marks on your keys.
Watch this video to understand this method:
Use Stainless-Steel Wire Keycap Puller
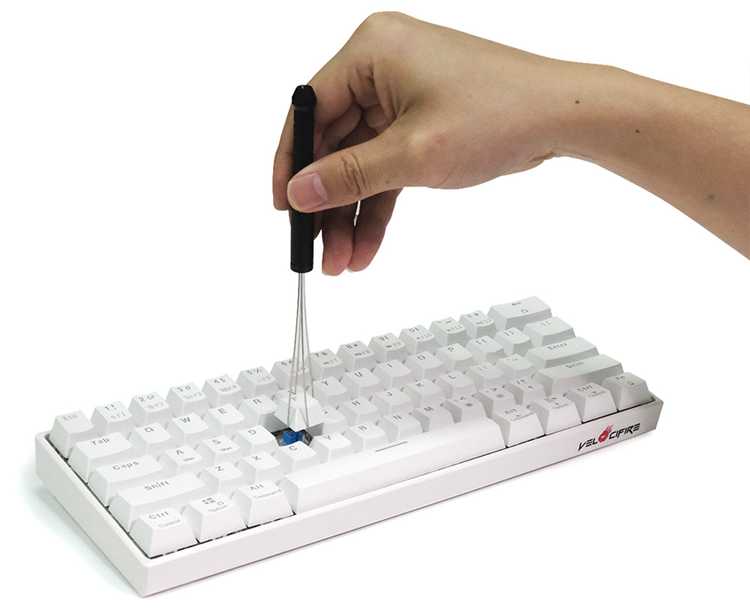
If you don’t prefer the rounded pullers, you can get a stainless-steel wire keycap puller. We have explained how to use them below.
Steps to follow
- Hold your keycap puller over your key so that both stainless-steel wires are on either side of the key.
- Push the keycap puller down until it’s below the key.
- To make sure that the wires are under the key, you should feel a tug when you slightly pull it up.
- When you know that it’s in the correct position, pull up the keycap, and it will come right off.
Use A D.I.Y. Paper Clip Keycap Puller
If you can't get a keycap puller, consider making one yourself.
Things you will need
- 2 paper clips
- A ruler
- A marker
- Pair of pliers
Steps to follow
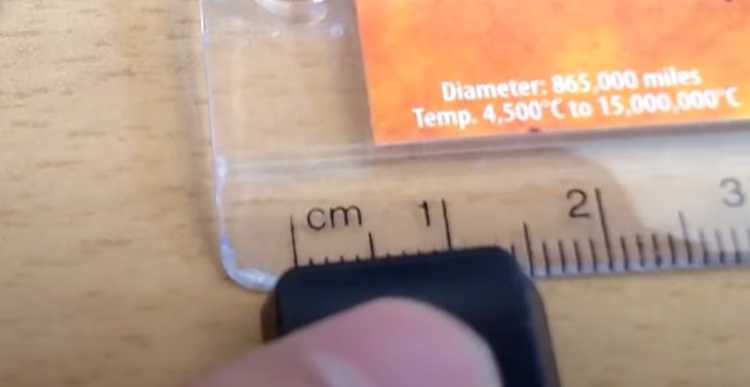
Step One: Take a ruler and measure the length of one of the keycaps.The length should be around 1.5 cm.
Step Two: Grab a wire-based paper clip and straighten it out.
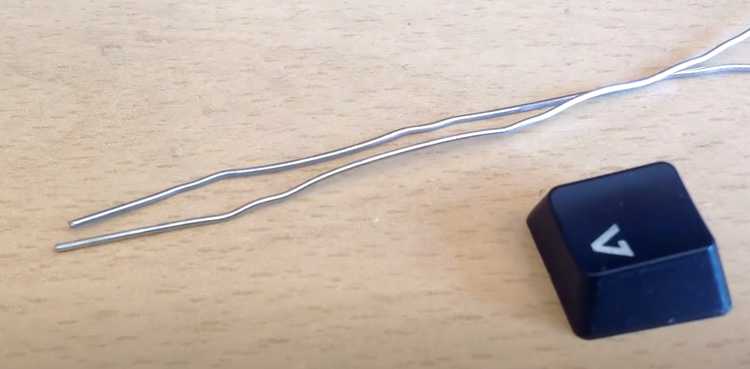
Step Three: Measure 1.5 cm in the center of the paper clip and use a marker to mark two points.
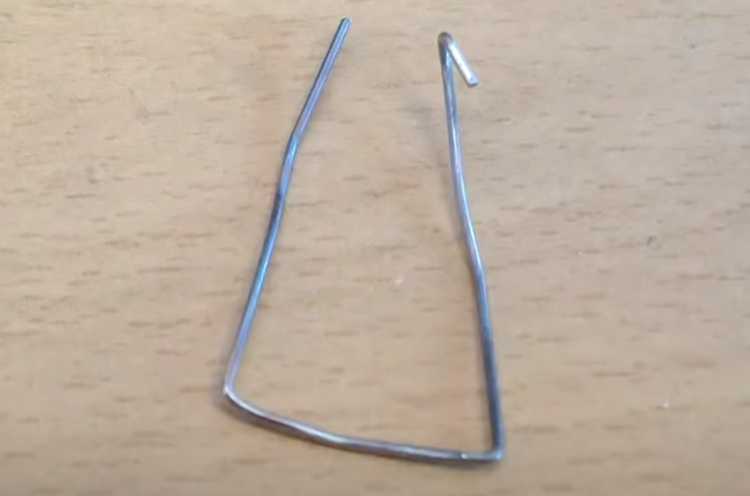
Step Four: Now, pick up a pair of pliers to turn the paper clip upwards on the points you marked earlier.
Step Five: Once they are bent, hold the edge of the clip and bend it into a hook. Do the same with the other edge.
Step Six: Repeat these steps with the other paper clip.
Step Seven: At this point, you should be able to hook both of the clips together. You can adjust them to your liking.
Step Eight: Use the pliers to close the hooked loops entirely so that the ends won't fall out.
Step Nine: Hold the keycap puller by the hooks and place it over the key so that the bottom wires line up on the sides of the key.
Step Ten: You'll have to use both of your hands to apply pressure and get the wires under the key.
Step Eleven: Pull the key upward, and it should come out of the switch without a problem.
Use Household Items
If you are unable to make a keycap puller yourself, you can use one of the five items below to pull those keys out.
- Ruler
- Old ATM card
- Guitar pick
- Butter knife
- Flat-head screwdriver
With all five of these items, all you have to do is slide them under the key and pry them upwards to dislodge the keycap.
Downside: It can potentially damage your keys.
How to Remove Membrane Keyboard Keys
Membrane keyboards, also known as Rubber Dome keyboards, have a three-layer membrane with pressure pads. The pads under the keys need to be pressed hard in order to get a response from your computer.
Membrane keyboards usually don't make a sound when you press the keycaps. They also have a mushy feel due to the rubber beneath the keys.
Use Screwdrivers
Things you will need
- A Phillips screwdriver
- A Slot screwdriver
- Two Bowls
Steps to follow
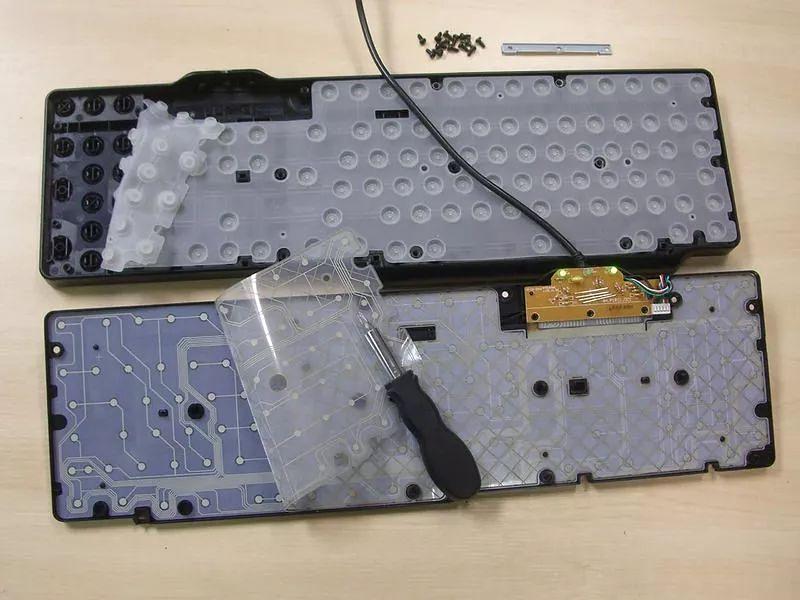
- Take your keyboard to a safe spot, preferably to a large table, as you don’t want to lose the keys.
- Carefully turn your keyboard over and use the Phillips screwdriver to unscrew the back.
- Place your screws safely into one of the bowls.
- Now pick up the slot screwdriver and position it between the top and the bottom half of the keyboard.
- Gently force the screwdriver downward to separate the two halves.
- Once the bottom half comes off, place it out of the way as you won't be needing it.
- Use the slot screwdriver to give a light push to each of the keycaps.
- Your keys will fall out of your keyboard.
- Once you have taken the keycaps out, place them in the second bowl, or arrange them on the table to keep them in sight.
Laptop Keyboard
Your laptop can have three types of keyboards:
- Traditional keyboards: They have sloping edges with very little distance between them. They are rarely used nowadays.
- Chiclet keyboards: They have flat, rectangular keys. They are widely popular today.
- Mechanical keyboards: Mechanical keys in laptops are the same as the ones mentioned above from mechanical keyboards. They have an older style and are more durable than Chiclet keyboards.
You can follow the steps mentioned above for a mechanical keyboard if your laptop has mechanical keys. In this section, we will be talking about removing keycaps from Chiclet keyboards.
Use a screwdriver
Things you'll need
- A flat-head screwdriver
Steps to follow
- Take a flat head screwdriver and insert its tip in the small space on the side of the key you want to detach.
- Apply gentle pressure upwards to pop the keycap off.
- Place the screwdriver below the keycap for smaller keys, namely the Function keys. It will prevent the switch underneath the keycap from getting damaged.
- Some keys come with stabilizer bars. These bars keep the keys from shaking and shifting. When you are working on larger keys, be careful not to break these bars accidentally.
Stabilizer bars are present in the following keys:
• Space bar
• Backspace
• Shift
How to Put The Keycaps Back
To put the keycaps back, place them over the corresponding switches and press them until you hear a click. If you are unable to push them down, try aligning the keycaps over the switches again.
Things to remember
- Don't remove and replace keycaps frequently. According to com, it will increase their chances of malfunctioning.
- If your keycaps show unusual resistance while removing them, stop! It might be due to a stabilizer bar, but it’s best not to take the risk.
- If a part of your keycap detaches with the other half still stuck to the switch, use your fingers to dislodge it gently.
- Before you start shooting off all your keycaps, learn the internal layout of your keyboard first. You should know what's inside and what damage could result from removing the keys.
- If any of your keys stop working when you put the keycaps back, take your keyboard to a professional.
Final Words
You should start removing the keycaps by figuring out what keyboard you will be working with. Once you know whether it's mechanical or membrane, you can pick one of the corresponding methods mentioned above.
- Gather your tools according to your keyboard. Don't forget to get a keycap puller to remove them safely.
- Put your keycaps in a safe spot to avoid losing them.
- Put them back by setting them on their switches and applying pressure until they lock into place.
- If your switch breaks or you have trouble with the keyboard, take it to a professional.
That's all there is to know! Comment below if you have a question, and we'll be more than happy to help!


Ask Me Anything