Do you want to learn how to make a rolling tray by yourself? Check out these 20 DIY rolling tray guides below. Rolling your joints with the help of a tray is a fantastic feeling; however, it doesn’t have to be a standard tray.
Why settle for a standard rolling tray when you can make an amazingly outstanding one with customizations of your choice. Here are 20 DIY rolling tray ideas that you would fancy!
Table of Contents
1. How To Make A Rolling Tray
Do you want to learn how to make your rolling tray? If yes, then the wait is over. This video tutorial will teach you all you need to know on a rolling tray. The instructor provides a starter pack that can get you started. The starter pack contains gloves and masks.
These two materials are essential if you want to have a pleasant and smooth-rolling tray as your outcome. The glove prevents your fingerprints from being all over the tray as you work on it: though there might still be some eventually which you can wipe off with alcohol. The nose mask prevents you from inhaling the toxic chemicals that evolve when mixing epoxy.
2. How To Make Rolling Trays
Making a rolling tray is pretty much more straightforward than you can imagine; it can be completed in a couple of hours if you have all the materials needed. For this rolling tray, what you need includes a mini tray, spray paint to spray the tray (you can use any color you like), a jar that will be on the tray, a lighter, and word stickers to label the lighter and jar.
Once you have all these at hand, spray paint the tray and allow it to dry. While the tray is drying, stick the wordy stickers to the lighter, jar, and trim plate to have them labeled. You will need a sticker for the tray as well.
3. DIY Full Coverage Rolling Tray
All you need for this rolling tray include a picture drawn on a regular typing paper of 11*13", mod podge, sponge brush, a container for lighter, shot glasses, ashtray, craft tools, resin, and hand gloves.
The first thing you need to do is to cover the rolling tray with a mod podge. Then put the picture on it, make sure it is even on it, and use your hand to smoothen it to the rolling tray. Work for your hands well on the corner so that they come out nice. Add excess mod podge if you have to.
4. Easy Rolling Tray Tutorial
Tunisia talked about the ideas she used when making her tobacco rolling tray. Here are some steps on putting the rolling tray together: spray your small tray with paint and allow it to dry. Then, prepare the picture or sticker you want to stick to and attach it to the tray's surface with epoxy. The subsequent steps are straightforward and fast.
5. How To Make A Resin Tray
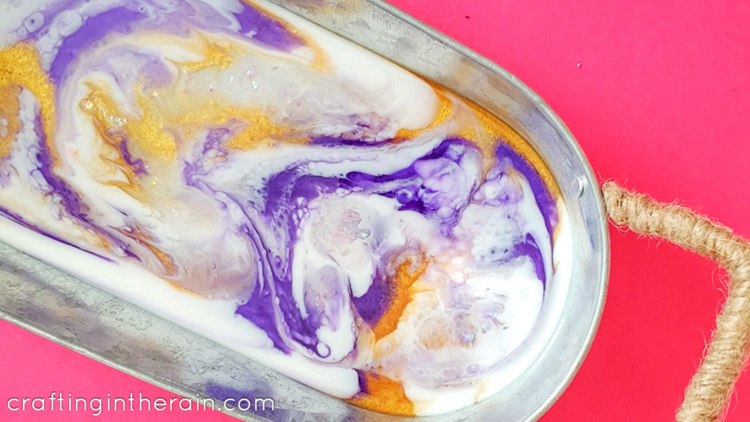
Making a resin tray is a good project a beginner can start with. You don't need a mold or anything to make the resin; mixing epoxy with color to give you the wax is all you need. You can have as many colors as you want.
Now, mix all the colors by pouring them in an enormous container, small by small. Once you have the resin ready, the next thing you need to do is to stream it strategically to the tray and let it go around the tray. Allow it to dry, and your rolling tray is done.
6. Gold Glitter Resin Rolling Tray DIY
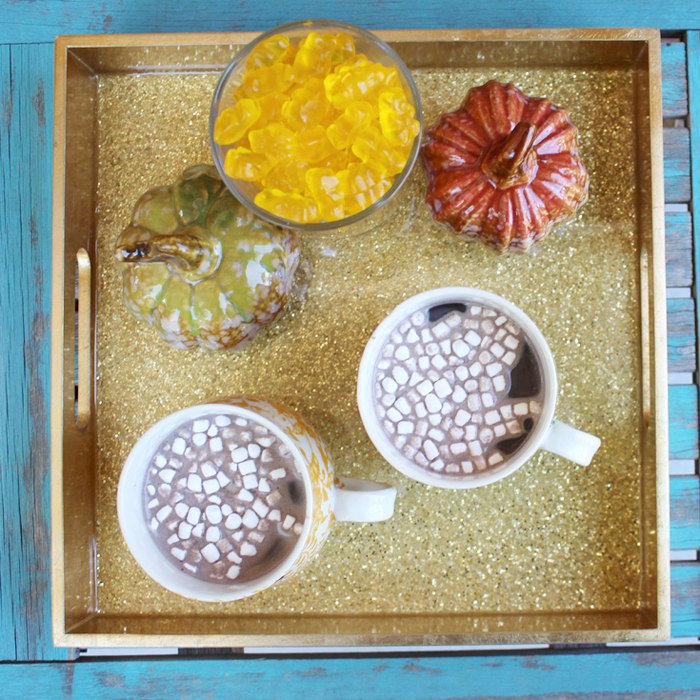
If you strive for elegance and uniqueness, try out this gold glitter resin tray, and you will like what you have at the end. It is made from mod podge, high gloss resin, gold glitters, and paper cups. Start by mixing some mod podge with the gold glitter.
After mixing, pour it over the old lacquered tray and let it cover the whole surface of the tray. Take it outside and allow it to dry very well. After that, take the high gloss resin, mix it accordingly, then pour it at the center of the shining gold glitter, lift the tray, and tilt it until the resin covers all edges of the tray. Allow it to dry, and your gold glitter resin tray is ready for use.
7. DIY Mod Podge Rolling Tray
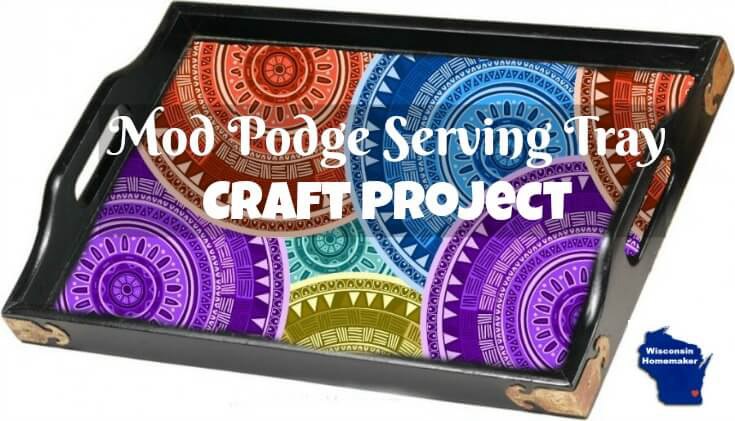
See how quickly you can make a rolling tray using mod podge. One beautiful thing about mod podge is that it is not toxic, and it dries quickly and clears. What you need to make this beautiful mod podge craft tray is an old wooden serving tray, mod podge (it can be an original matte, water-based, or finished gloss), brush (or something to apply the mod podge), fabric for the design, paint, and roller.
Lay the fabric on the tray, cut out the tray's size, then apply some mod podge on the tray's surface. Now place the fabric on the tray and smoothen it very well so that there won't be any bubbles under the material. Trim the edges, and you're good to go.
8. DIY Rolling Tray
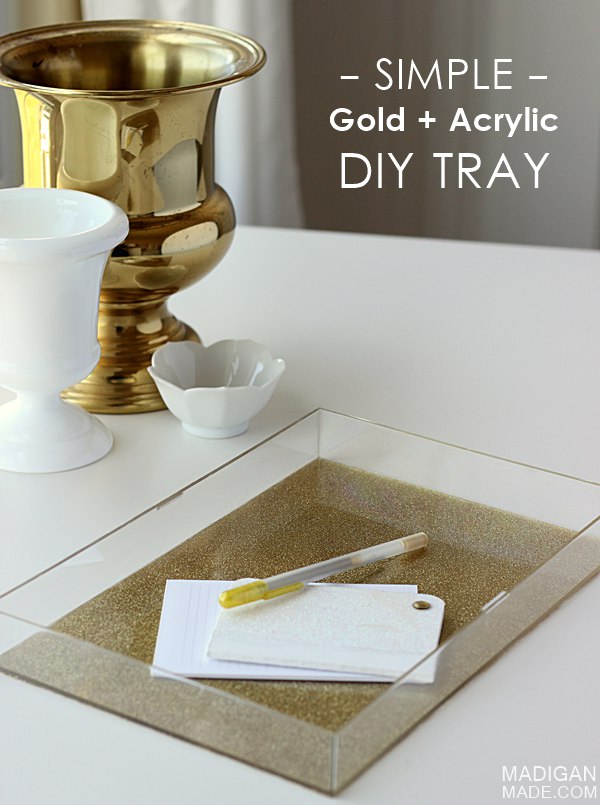
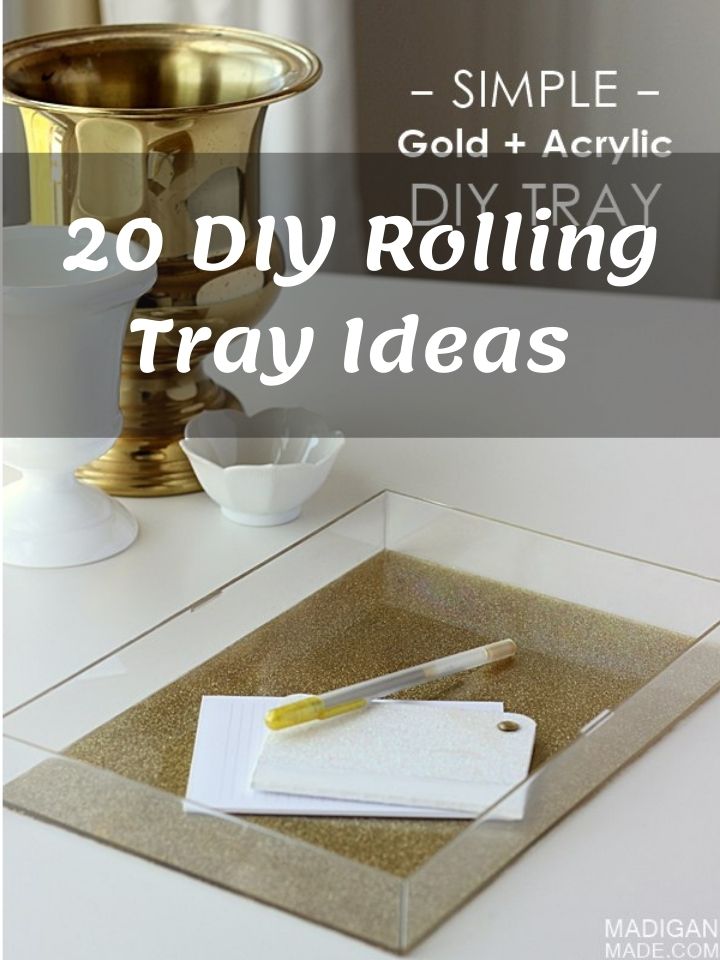
A rolling tray is fast becoming a trend as everybody wants to have one for themselves. If you're going to jump into this trend, you need to know how to make the tray. You don't necessarily need a whole tray. All you need is a clear plastic frame (clear and clean), decoupage, brush, painter's tape, glitters, clear sealant spray, and cabinet bumper.
Turn the plastic upside down and take off the edges of the bottom with painter's tape. Now mix some gold glitters with decoupage and use it to paint the bottom of the plastic. Sprinkle some more glitter on the layer of mixed decoupage. Allow it to dry, and attach a stick-on cabinet bumper to each bottom corner to protect the base.
9. How To Make A Rolling Tray With No Cricut
See here how to make a rolling tray with no Cricut machine or printer. All you need is a photo that looks well on your tray, scissors to cut the picture to size, a mod podge to attach the image to the tray and other materials, epoxy to make it shine and be preserved. If you have an ashtray mod, you can make it yourself with epoxy. But if you don't have one, you can easily find a small cup or bowl to serve the purpose.
10. DIY Rolling Tray
The most common features on a rolling tray include an ashtray, lighter, jar, and tray itself. To make all these features look nice, you need spray paint to paint them, epoxy to protect the spray paint from peeling off, and make the tray shine, electric tape, and a foam brush. It is straightforward to make.
11. How To Make A Rolling Tray
Spray paint usually peels off after some time, but it will last more and always look shining once you seal it with epoxy. To do this, you first need to spray paint the tray in your favorite color. So, while the paint is drying, get your epoxy and mix it until it becomes clear. When you're done mixing, pour it on one side of the tray and tilt the tray to allow the epoxy to slide down all the edges of the tray.
12. Rolling Tray Tutorial
A rolling tray is one of the most straightforward DIY you can try your hands on. To make this, you need a stainless steel tray, paint (2 colors preferably), brush, transfer tape, and vinyl. Mix the two colors to give you another color entirely. Then, paint the tray with the new paint. After the paint has dried, stick out the figure from the vinyl to the tray, and for the smaller letters, you will need a transfer tape to get them out.
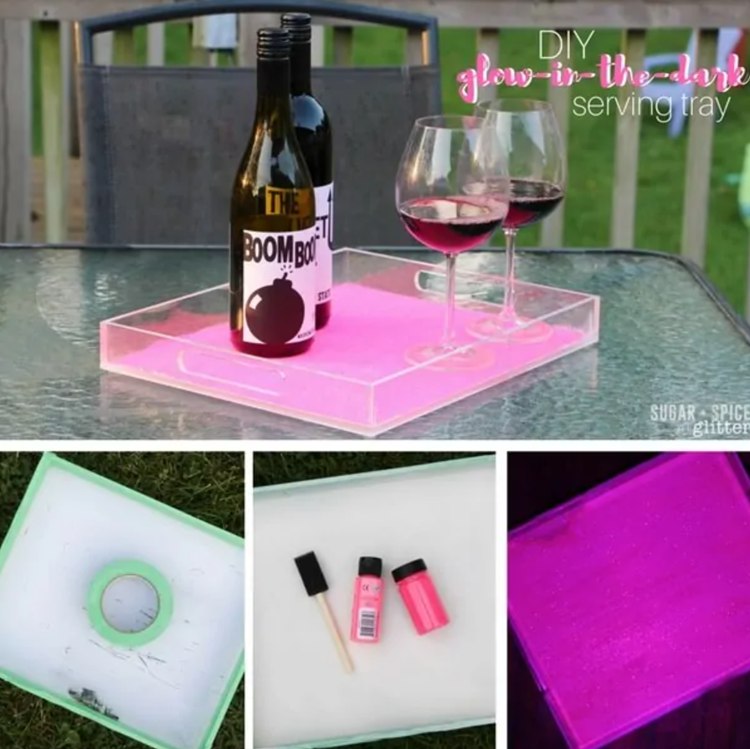
13. DIY Glitter Glow In The Dark Tray
Grab a cheap scratched acrylic tray from any available store around you. Get a piece of plexiglass, cut it into two and drill holes on each piece, at each side of the acrylic tray as the handle. Now, spray paint the acrylic tray with primer spray and allow it dry. After that, use a soft brush to apply some glow-in-the-dark stain on it, let it dry before adding another layer. Check the following step below.
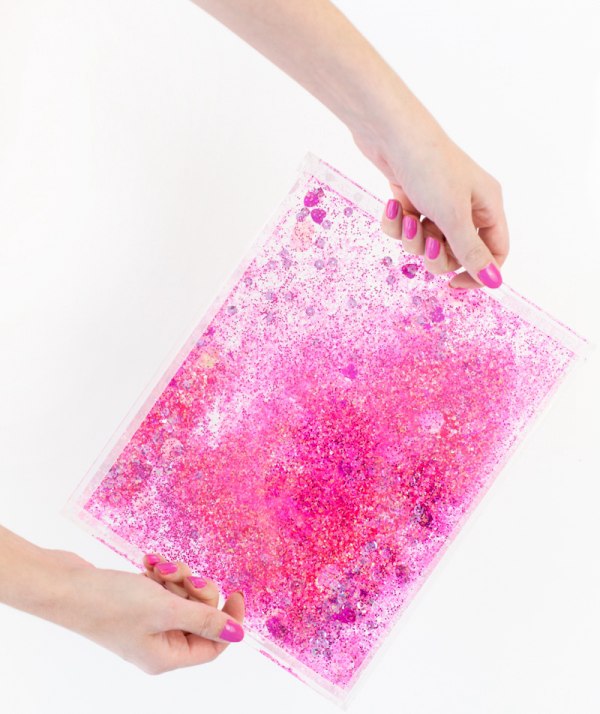
14. DIY Glitter Tray
Mix different glitter in a bowl. Mix them thoroughly and out onto a computer paper. Slip the edge of the computer paper into the opening of the gas tray and pour the mixed glitter. You can leave it like that if you don't want your glitters to move around. But if you want it to move, tilt the tray to ¼angle. Then seal the tray opening with hot glue.
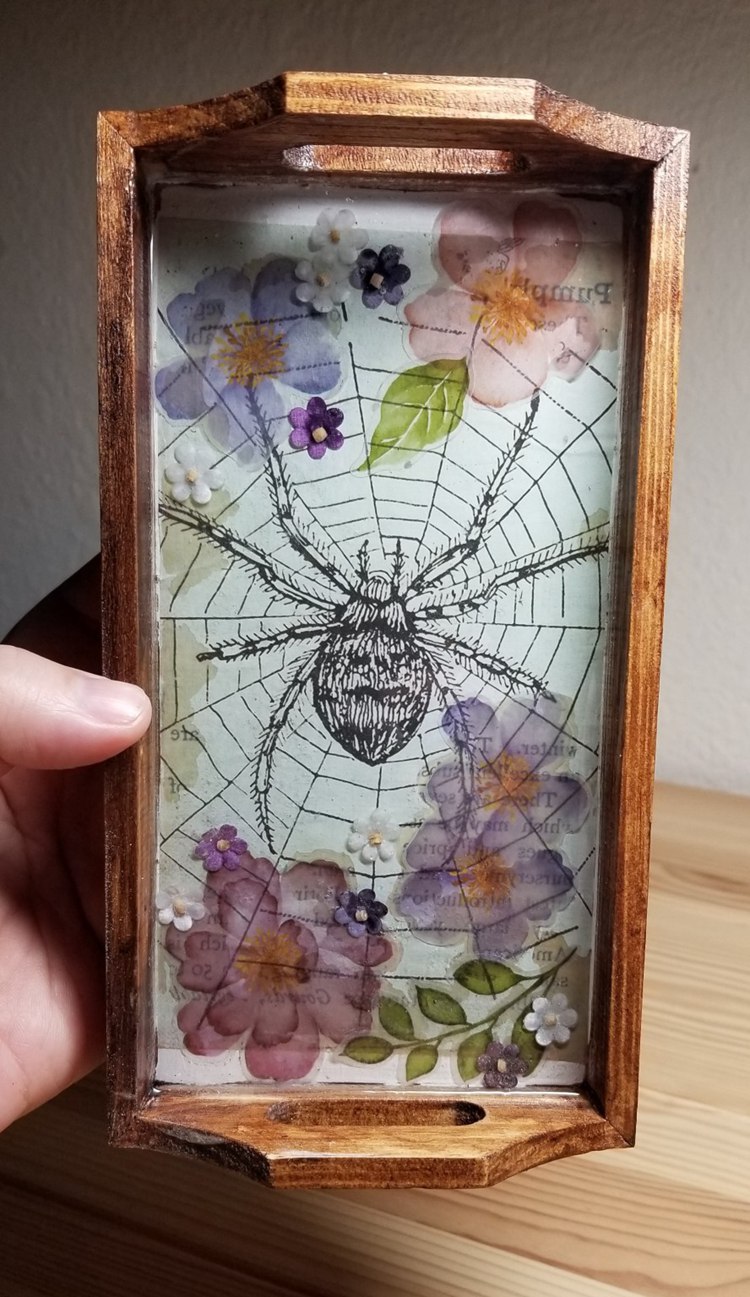
15. DIY Halloween Rolling Tray
This Halloween rolling tray was made from an unfinished wooden craft. Give it light sand to smoothen the edges, and apply wood stain to give it slightly rustic. After that, print the spider and stick it to the surface of the wooden tray using mod podge. Mix some epoxy and pour it on the spider image. Lift the tray and tilt it from side to side till the epoxy spreads to all corners of the tray.
16. How To Add Picture To Rolling Tray
See here how to add a picture to a rolling tray! A picture is one of the ways of decorating a rolling tray. To do this, make sure the image you want to use is ready and if it's not, download the one you like on the internet.
Then, log on to a design site or app to reshape the picture. After this, print them out on printable vinyl. Cut the printouts into pieces according to the shape and use epoxy to adhere them to the various parts of the rolling training. Small circle picture for the small ashtray, a rectangular shape for the tray, and a thin image for the lighter.
17. Custom Made Rolling Tray Using Real Leaves
This custom rolling tray is super cute and unique. It is made from epoxy, coloring, and real leaves. Get four disposable cups and pour some epoxy in them. Make sure to weigh the cups to have a uniform volume. After that, add coloring to all the cups, different colors in each cup. After painting, add more epoxy and empty the contents of the cups in another more giant cup, small by small. Have your mold ready and pour the mixed epoxy on it. Let it dry and remove your tray.
18. How To - Liquid Rolling Tray
Lady Esha did a great job with this liquid rolling tray! She used a metal tray, walnut, UV resin, UV lamp, glazed coat, image, and glitter. Cut the image down to the side of the tray. Allow it to dry, and go ahead and mix the resin. After mixing, apply on the tray in the presence of a UV lamp.
19. How To Make A Fabric Rolling Tray
Using fabric to cover a rolling tray looks adorable and easy. First, spray paint the tray you want to use, and once it is dry, apply mod podge on it and lay the fabric on it. Smoothen the material very well so that there won't be any bubbles underneath. Cut off the extra fabric, and you're good to go.
20. DIY Glitter Rolling Tray
To make this glitter rolling tray, all you need is to get a metal tray, apply some kid podge on it, including the edges and put some glitter in it. Lift the tray and tilt it until the glitter goes around the tray and the edges. Once that is done, mix the epoxy and pour it over the glitter, be careful not to use excess epoxy to dry on time.
Conclusion
There you have different ways of styling your rolling tray with little cost, stress, and time. If you love the idea of a rolling tray, you should be on one by now. Thanks for stopping by, if this article was helpful to you, kindly do us a favour by sharing it with your friends or family members who might be interested in making a DIY rolling tray.


Ask Me Anything