
While plumbing works can seem frustrating and even confusing a lot of the times, you can still have fun doing it yourself. But first, you have to know exactly what you are doing. Otherwise, one small mistake might end up costing you a lot! In this article, we show you how to install utility sink in the easiest of steps.
Table of Contents
No Need for a Plumber?
If you have a little bit of experience and know your pipes then you should find our steps easy to follow. That means, you will not need to spend extra money on getting a plumber. After all, our guide is mainly for the first timers, beginners, and DIY enthusiasts alike.
What You Will Need
Of course, you better keep some materials at an arm’s distance when you are beginning with the installation. You don’t wanna run around the home looking for a material which you need right away.
- Hacksaw/PVC saw.
- Slip couplings.
- PVC cement.
- PVC pipe.
- Wye fittings.
- Plumber’s putty.
- Lead free solder.
- Pliers
- Tee fittings.
- Tee fittings
- Tube cutter.
- Compression nuts.
- Propane torch.
10-Steps Guide to Installing a Utility Sink
Make sure you catch every step and follow these the right way. If you follow the steps correctly then you should make the installation without any trouble.
Step 1
Turning off the water is pretty much always the first step in plumbing whether you are replacing a utility sink faucet or any sink. Then your focus should turn to the existing drain pipe.
Step 2
Get ready to make some cutting! Pick up a hacksaw or PVC saw and cut the existing drain pipe so that you can make adjustments and connect it to the utility sink. Before that, do make sure you know which one actually is the drain pipe. Don’t want to cut the wrong pipe now, do we?
Tip 1: Measure how much is the existing drain pipe off the ground. Then cut it according to how much off the ground is the sink pipe.
Tip 2: If the piping is higher than your sink then no need to worry because you can also use several PVC pipes and connect them via slip couplings.
Step 3
Deburr the inside of the pipe with a knife. Then you have to use what’s called a wye pipe. Use a brush to add PVC cement to the inside of the wye pipe. And also, don’t forget to add some on the outside of the drain pipe. Then simply attach the wye to the cut pipe and you can hold them for 5 seconds so that the glue settles in.
Tip 1: Before you add PVC cement, dry fit the whole thing so that you are sure it all fits right and the angles are correct. Then you can make markings so that you can again recreate the exact fitting after adding PVC cement.
Tip 2: Use angle fittings with the wye pipe (if necessary) to allow the wye pipe to accept drain from both sides, the washer and the utility sink.
Step 4
Cut the vent pipe now similar to how you cut the drain pipe. Use a second wye fitting if you need to or simply add a longer PVC pipe. Whatever you do, the main purpose is to connect the vent pipe to the wye fitting you already have made earlier.
Tip: Follow the same procedure as with the drain pipe and add PVC cement or slip couplings to make the connection between the vent pipe and the wye fitting down below.
Step 5
Use tube cutters to cut both the hot and cold water supply pipe. You should make the cut where the tee fittings will go. Solder the copper pipes together and use a propane torch to keep them attached.
Tip: Keep a bucket underneath the area where you’ll cut the hot/cold pipelines because water will start dripping.
Step 6
Connect the hot and cold water lines to the wall by adding anchors first. Then you can use a copper attachment to hold it into the wall.
Step 7
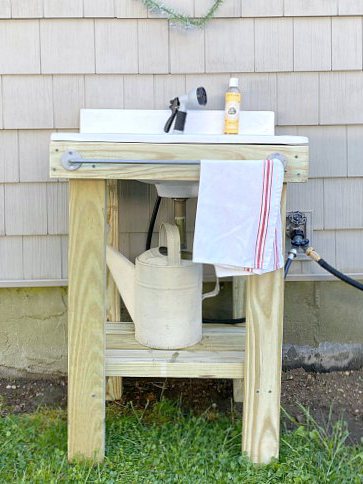
We are almost done! Bring in the utility sink. Position the sink and use plumber’s putty to secure the drain strainer. Wipe away excess putty so that it all looks neat and clean.
Step 8
Your utility should have something called a tailpiece underneath. This tailpiece is to connect to the PVC trap and you can connect the two with compression nut.
Step 9
Now, you can connect the open end of the PVC trap to the drain pipe you worked on earlier. Use any number of fittings you need to reach up to the drain pipe. You can of course use the slip couplings to keep all the fittings attached together.
Step 10
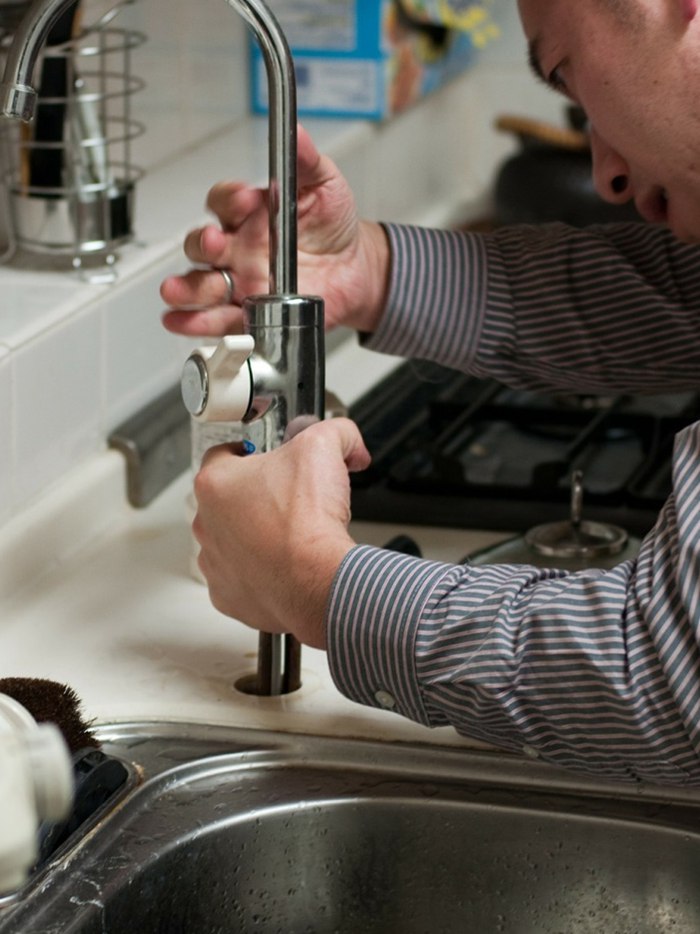
Secure the utility sink faucet with plumber’s putty if it didn’t come attached with the sink. Use flexible supply lines to connect the hot and cold water lines to the faucet. Simply use pliers to tighten up the screw.
Finally, turn on the water and voila! You now know how to install utility sink!
Good Luck!
Well, I hope that you can do the job yourself now. It might not sound easy first if you are not familiar with utility sink or plumbing work. But, it’ll get easier once you know your pipes and stuff.
Anyways, if you have any further questions about how to install utility sink then do comment below and let us know. We’ll be glad to help you out further.


Ask Me Anything