
Looking for ways to hang your shelf without brackets?
With so many different types of shelves to select from, it can be challenging to decide which one to use. However, if you're searching for a lightweight, easy-to-hang, but sturdy shelf, a floating kind is the obvious choice.
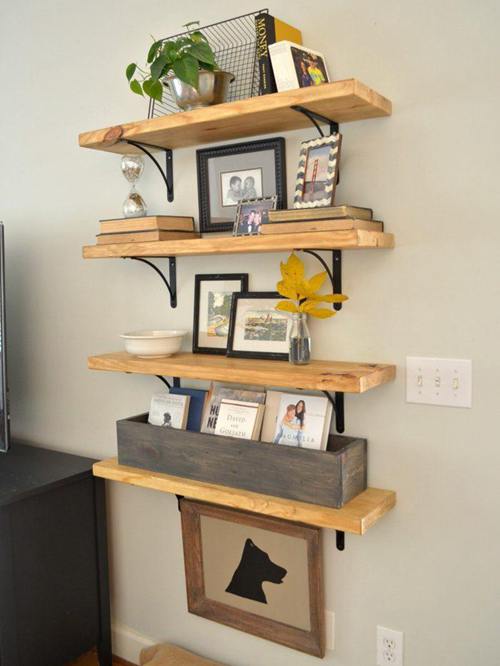
This specific shelf appears to float on the wall, as the name implies. This illusion is caused by the absence of apparent supporting mounts. Although these shelves come with brackets for stronger support, there are some circumstances where individuals prefer not to use them.
Continue reading as we'll be going over how to install a shelf safely without the use of brackets.
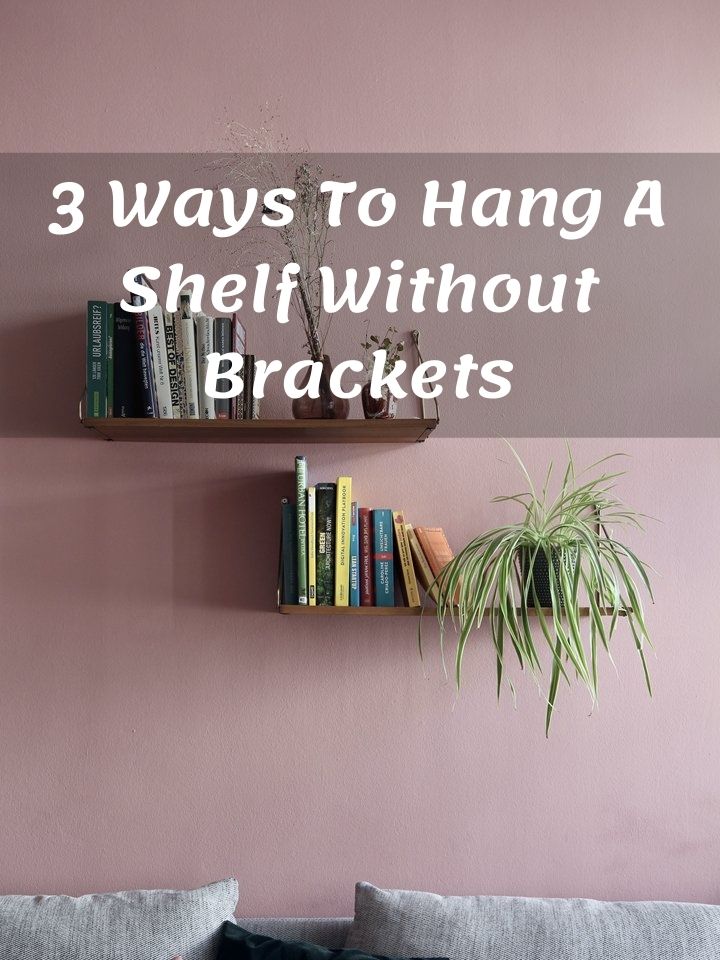
Table of Contents
What Is A Bracket
A shelf bracket is a type of attachment that is used to fix a shelf on the wall. It is available in several shapes, sizes, and styles. When installed correctly, as per the instructions, the brackets can support up to 500 lbs.
Start by drilling the holes in the wall where you want to mount the shelf. Now screw the bracket into the wall studs. If that doesn't work, try drilling a hole through the plaster and inserting a molly bolt through it.
Next, secure the molly bolt and pull out its center screw. Then, while holding the bracket in position, thread a screw through one of its holes and into the bolt. Tighten the screw to secure it in place. Lastly, put the shelf into the bracket, and you're done.
Since you’re not going to be using your shelf brackets in any of the following methods, learn how to creatively utilize them by clicking here.
How To Hang A Shelf Without Brackets
Not wanting to use brackets to hang a shelf on the wall is not unusual. There are ways to retain the beauty of your wall and still give enough support to the shelf to remain fixed. Let's go through each step in detail.
Step # 1: Gather Your Tools
This is the first and foremost step when installing a shelf on the wall. However, the items on the list vary based on the method you'll be adopting. When hanging a shelf without brackets, you'll need a drill machine, screwdriver, stud finder, levels, a measuring tape, and pencil.
You'll need dowels, ledges, pins, or hidden brackets as well to provide the necessary support. Also, use a screw that is 3 inches or longer to guarantee a perfect fit. All of these materials can be readily available in the nearest stores.
Step # 2: Pick A Location
When you've gathered all of the required tools, the next step is to decide where you want to mount the shelf. This step must be done before installing the anchors and plugs in place.
Bring your pencil into use by marking the location for the wall studs. Make guidelines so that you get a leveled placement of the shelves.
Step # 3: Install The Shelf
When installing the shelf in place, look for the most straightforward option available. This job can be excellently done using a shelf kit. The kit contains all the essential guidelines and hardware to make the procedure as simple as possible.
Generally, this kit comes with hidden brackets. All you need to do is attach the hidden bracket to the studs fixed on the wall. You'll notice that the protruding section from the wall fits perfectly into the shelf.
To ensure maximum safety, use a kit that supports more weight than you're planning to put on the shelf. Otherwise, the additional load may cause the kit to loosen or even break.
Another easy method to install a shelf on the wall is by using support pins and ledges. You can use a rod with flanged ends to fix the support pins behind the shelf. Finish off by fastening the flanged ends to the wall studs.
Step # 4: Secure Using Anchors
To accomplish a safer installation, you must install the wall anchors appropriately. They are available to support varying amounts of weight. To prevent accidents, assume they are capable of supporting a quarter of the labeled weight.
How To Hang A Shelf Using Adhesives
Step # 1: Buy The Required Supplies
An easy way to install lightweight shelves without any risk of them falling is using adhesives. There are a variety of such options available. However, it is advisable not to use these adhesives if your shelf weighs more than 10 lbs.
If you don't want to use brackets, a simple way is to use self-adhesive tapes. They can be used to fix lightweight and hollow wood planks. You can also use other kinds of tape for this purpose to feature more sturdy support, such as command hanging tapes, velcro tapes, and reclosable tape fasteners.
All of these can be easily bought from nearby office stationery or craft store. For thick and heavy shelves, using nail clippers would be the most suitable selection. In contrast, extremely light and small shelves can be fixed using cast glue.
Step # 2: Clean Using Alcoholic Wipes
It is advisable to wipe the wall and the supporting shelf side using alcoholic wipes to allow a comfortable and secure attachment of shelves using adhesives. In case you don't have them at hand, dip the piece of cloth in isopropyl alcohol.
Next, leave both the surfaces to dry for five minutes, after which you can apply the adhesive tapes. The alcohol is usually available in nearby pharmacies.
Step # 3: Attach The Adhesive Strips
No matter what kind of tape you're using, cut the strips and apply one of the adhesive sides onto the wall where you want the shelf to be. Then, press them in for at least 30 seconds so that they perfectly stick to the wall
Make sure you place the adhesive tape strips evenly so that your shelf doesn't tilt to one side. Now place the tape strips on the supporting side of the shelf and staple it. This way, you won't need screws for securing it on the wall.
Step # 4: Fix The Shelf On The Wall
In this step, you'll first need to remove the remaining linings from the tape strips on the shelf as well as the wall. Now, bring the shelf on top of the wall strip and hold it in the exact position for a minimum of 30 seconds. For additional support, use duct tape to hold the shelf in place.
Since we're not using any recommended fixtures that hold a significant amount of weight, you should only place the lightweight objects on the shelf. Also, try to avoid putting fragile items that may break if the shelf gets detached.
An essential tip to prevent the tapes from tearing is to place the objects on the rear end of the shelf, especially if the plank extends 5 inches from the wall.
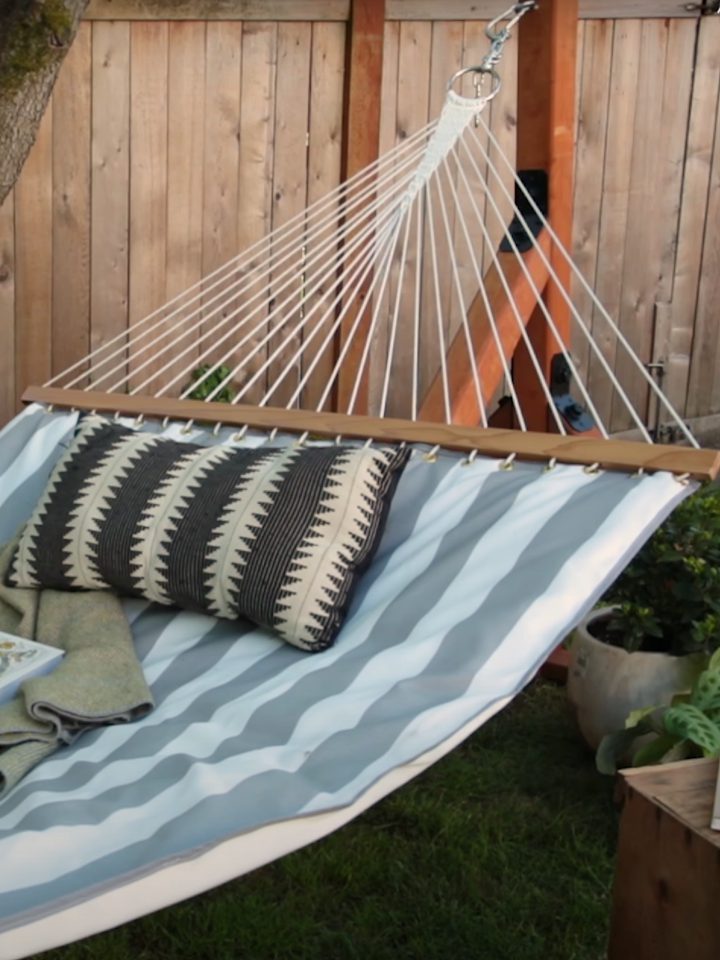
How To Hang A Shelf With Rope
Using a rope is a creative way to display your favorite vases, potted plants, and so much more. The best part about it is you can place even the heaviest objects on the shelves without the fear of losing support.
You're allowed to choose any kind of rope you like for this purpose, including nylon, sisal, and raffia. Also, it is up to you to hang a single or multiple shelves hanging from the wall or ceiling. Here's what you need to do:
For A Single Shelf
- In the first step, you'll have to measure the distance between the ceiling and the place where you want to hang the shelf. Multiply this distance by 2 since the rope needs to be doubled. Also, add an extra 18 inches to the distance since this length of rope will be used up in the knots.
- Now, you can either leave the shelf as is for an organic approach, or you can sand and paint it to fit your aesthetics.
- Next, drill a hole at the four corners of the shelf plank.
- After that, take the distance between the drilled holes of the shelf and insert two screw eye hooks on the ceiling at the same distance from one another. Also, use anchor bolts if you want the shelf to be attached to drywall or sheetrock.
- Finally, pull the rope through the ceiling hooks and adjust their length, so they hang down at an equal distance. Now, slide it through the drilled holes of the shelf and tie a knot underneath.
For Multiple Shelves
- Start by collecting similar-sized planks. If you like, sand and paint them but wait for them to dry before proceeding to the next step.
- Next, drill the holes at each corner of all the shelf boards. You'd want to precisely measure or use a utensil so that all the shelves have their holes drilled at precisely the same spots.
- Now, calculate the distance between the ceiling and where you want the shelves to end and double that number. Then add 18 inches for each know, depending on how many shelf planks you want to use.
- After that, pull the rope through the holes and tie a knot underneath each wooden shelf board. Also, make sure you're leaving the same length of rope between each shelf for symmetry.
- Finally, insert hooks on the ceiling with the same distance in between as in the holes of the planks. Hang the shelves on those hooks, and you're done.
Conclusion
Hanging shelves without using brackets can, at first, seem very daunting. But once you carefully follow the steps, it's nothing more than an hour's task. Eliminating brackets from the installation process also brings out your creativity from within and makes your decorative fixtures appear more appealing and alive.
Ask Me Anything