Want to make a DIY livestock box? Well, you are in the right place.
If you're a livestock breeder, at some point, you will need to transport some of your animals from one place to another. A quick and effective way to make this possible is to build a livestock trailer/cage or box. The boxes are straightforward to make, and most of them require materials you have around your garage before.
To make the building more effortless for you, here are 10 DIY livestock boxes that can serve as a guide for you. Check them out and build your livestock box.
Table of Contents
1. DIY Livestock Transport Cage
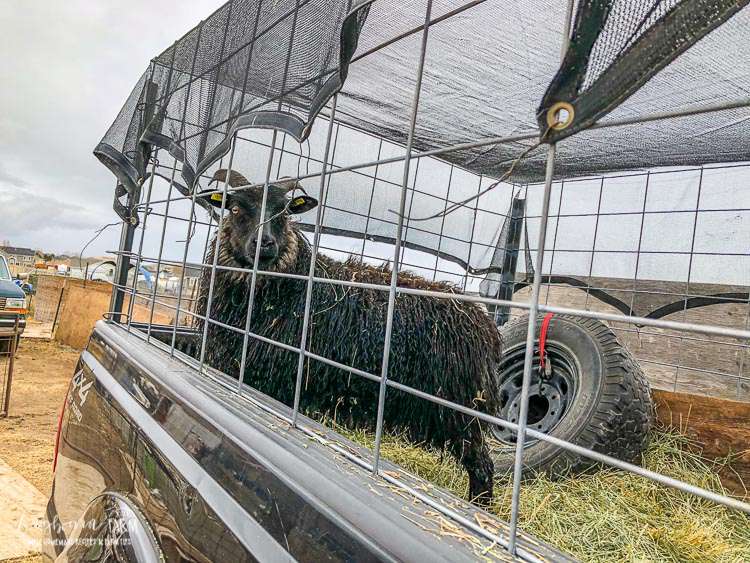
If you have some materials lying around in your house, why don't you upcycle the materials and make a transport cage for your livestock? What you need includes an enclosure, pipe hanger strap, some 2×4s to support the bottom, welded wire, and some power tools. This upcycled transport cage can be fixed to the back of a truck and used to transport small livestock animals.
2. DIY Livestock Trailer
One important thing about this livestock trailer is that you can slide the metal canopy on and off the truck at any time. The square shelter is built and attached to all sides of the car. There are strong metal ties down on all sides of the truck; all you need to do is assemble the canopy and use zip ties to tie it to the tie-down.
For extra support, you can tie the canopy to the strong metal around the truck. Other materials needed include a barbed wire and something to cut the wires and metal. See the video above for the full tutorial.
3. DIY Livestock Box
See here a dual-purpose livestock box that can be used to transport chickens and rabbits and at the same time used to keep blackbirds before the harvest of the chicken. The box has four compartments. The dimension is 18 inches deep and 28 inches long/wide. The boxes’ build is made so that the livestock animals are saved from any kind of danger. The lid has a padlock.
4. DIY Livestock Trailer
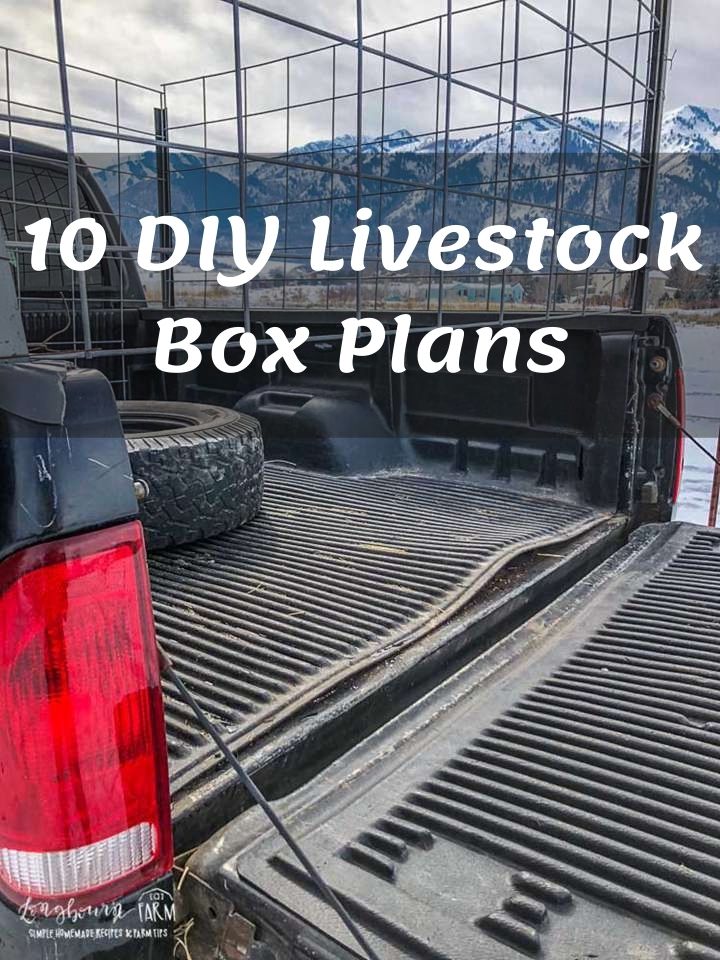
The first thing you need to do here is to find a way to bead a sheet of cattle panel to give you the two sides and the top. In this video, a truck is used to do this. After this, you cut two cattle panels to complete the other two from above to make it a complete box.
Once the box is done, attach it to the truck’s bed. You can use this sheep trailer and make a sliding door on one side. Watch the video for the complete list of materials used and the process of putting the trailer together.
5. DIY Sheep Trailer
Save your penny by building a sheep trailer by yourself. A sheep trailer is among the best DIY
projects you can try your hands on. Perhaps, this sheep trailer can be used for goats, even chickens, and calves as well.
The first step you need to take while building this sheep trailer is to buy some corner bars and insert them into the truck’s corners. Then, line up the cattle panel on the corner bars using wire to hold them temporarily. Further secure the panel with heavy-duty wire. Make sure the board covers all sides of the truck, and for the back, let the panel level with the top of the tailgate.
6. DIY Livestock Box
See how to build a livestock box for less than $80 using an existing standard utility trailer. The materials needed include two cattle panels (for $40), six primers, one connector ( for $20), and three pieces of 2×4's (for $12). It might not be the best livestock box, but it is affordable and quite sturdy too.
7. DIY Pallet Livestock Cage
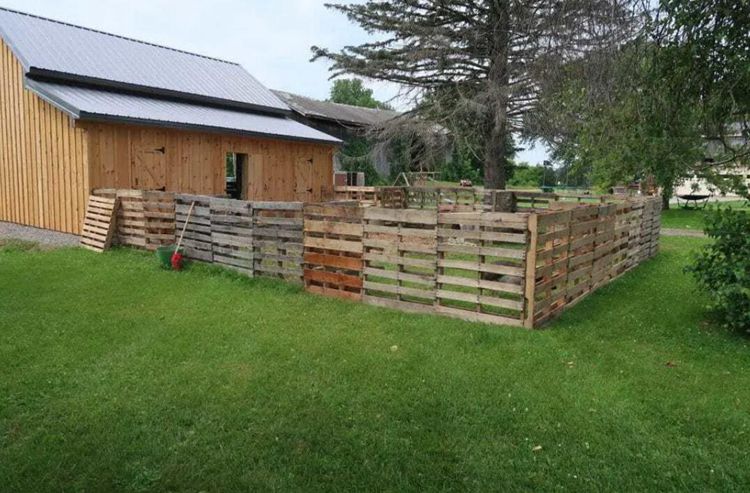
Here is a straightforward way of building a livestock cage using pallets. Pallets are known for fantastic woodwork projects. Other things you need to make the pallet livestock cage include wire cutter, wire, drill, screws, and some pieces of 2×4's.
8. Homemade Livestock Cage For Back Of Truck
Ever wanted to make a livestock cage for the back of your truck? Here’s a guide to check out. You can attach this livestock cage to the back of a pickup truck or any other trailer. The dimension is 4 feet tall, 4 feet wide, and 6 feet long. You will need some basic knowledge of welding to put the cage together.
9. How To Build A Livestock Box
Here is how to make a very low-cost livestock box using an IBC tote. A 330-gallon IBC tote cost $60 from the store. The first thing you need to do is to create a door on one side of the IBC tote. Then, add a vent to the front of the tote. Once all these are fine, the next thing is to attach the IBC tote to the Uhaul trailer.
10. Livestock Feed Storage Box
Learn how to make a large plywood feed bag that can contain several 50 pounds of feed bags. The lid must be able to close and fit tightly so that mice or any other animals will not be able to get to the feed bag.
It is built from 2 pieces of plywood sheets and some pieces of 2×4s. If you have a leftover pallet, you can use that for the base to lift the height from the ground. But if you don't have one, you can use a runner to lift the box a little.
Cut one sheet of plywood into two for the top and bottom of the box, then cut the other one into four pieces for the sides of the box.
Conclusion
Here you have ten livestock trailers/ boxes to transport your animal easily from one place to another. By now, you should have in mind the project you would like to make; feel free to jump on it. However, be careful while using power tools. Thanks for stopping by, and have a wonderful time building a DIY livestock box.



Ask Me Anything