
Cutting sheets of plywood does not have to be such a worrisome task. If you have a panel saw, this would not be a big deal. Unfortunately, many builders make the mistake of going to get one at the hardware store, when in a few simple steps, they can make theirs!
There isn’t anything wrong with getting a factory panel saw for yourself from the store, but why do that when you can save yourself some money? Building a panel saw helps you cut not only purchase cost but also many sheets of plywood accurately. It’s a win-win situation.
To build a panel saw, you can use materials you already have in your workshop, or get some from the store, and these still do not cost as much as a factory-made panel saw. You would need wood and some iron, and you can also construct your saw in a way that it can cut vertically or horizontally.
The tutorials below will show you how to create your panel saw in simple, easy steps.
Table of Contents
1.Foldable DIY Panel Saw
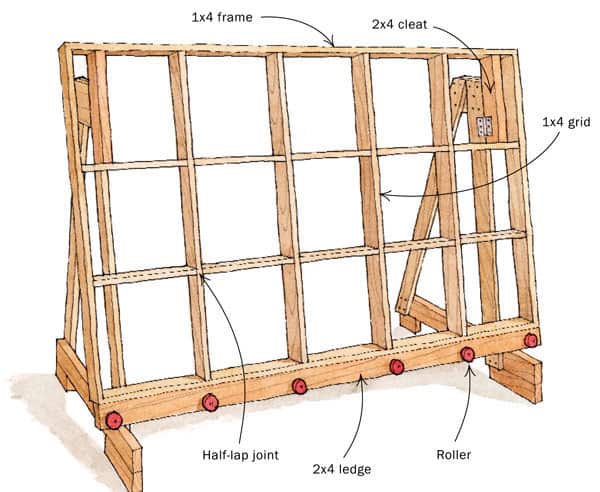
Here is a finely written panel saw tutorial that teaches you how to make a foldable panel saw. It’s not uncommon to find small workshops, but still, it’s also not impossible to get a panel saw that fits into your small space. This panel saw plan was built to help with storage space in small workshops.
The building instructions come with labelled diagrams and dimensions. You would need screws, plywood, drill, door hinge for the foldable frame, clamps, rollers, and other bits and things. The clear written tutorial is easy to follow, and the drawings make the process way easier.
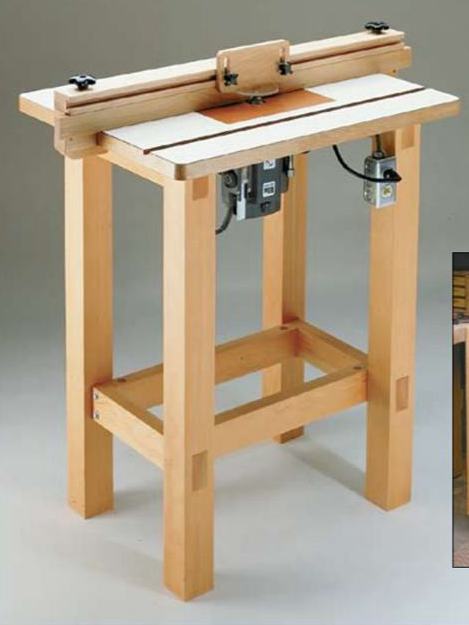
2.Simple Vertical Panel Saw with Storage
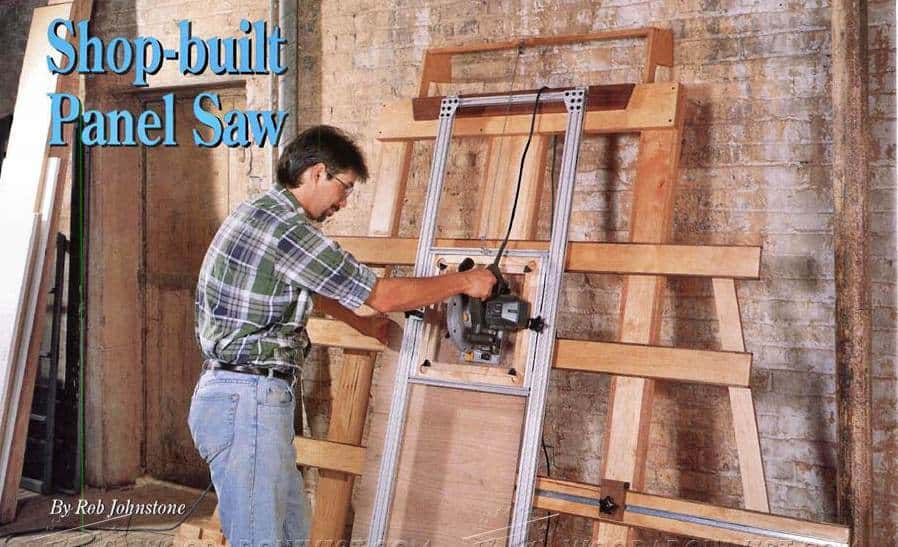
This is another panel saw that’s built to help with storage. It is simple to make and is structured as an open-frame design. You don’t need a professional woodworking skill level to build this saw.
This tutorial is written and comes with detailed building instructions and drawings. It also has a complete list of materials with each piece and tool used in building the panel saw listed inside.
It would be worthy to note that the panel saw does not stand on its own; you have to prop it up against the wall for rigidity. According to the designer with this saw, you’re sure to get professional cutting accuracy.
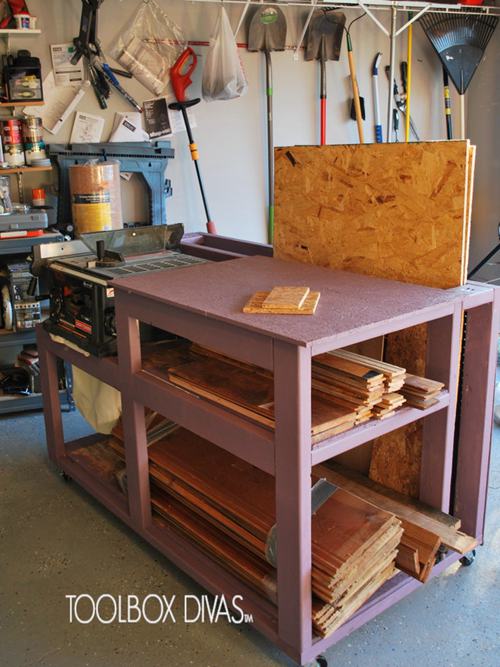
3.Horizontal Panel Saw plus Workbench Top
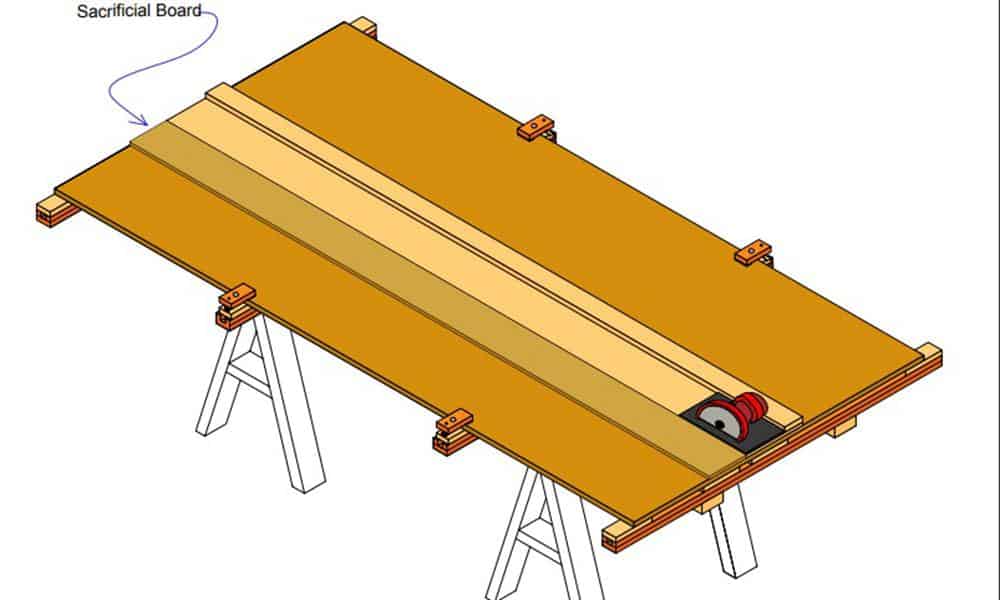
This plan comes in the form of a written PDF tutorial that is fully instructional and has a list of the materials you need, illustrated pictures, and cut lists.
This panel saw is built as a stand-alone horizontal panel saw. It comes with a large table-top that is wide enough for large sheet materials. It is constructed to have overhanging sides so that you can easily clamp your workpieces.
In total, it has four clamps for stronger support and twelve risers to keep the workpiece at an elevated angle.
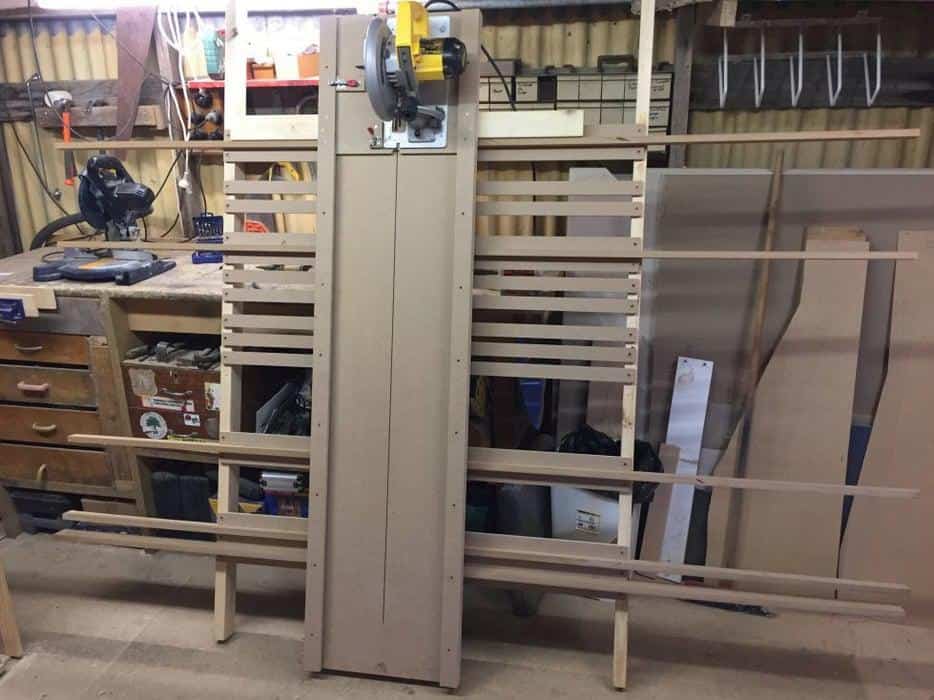
4.DIY Sliding Carriage Panel Saw
This panel saw is excellent for small workspace areas. It can fit into a small shop as it takes up only 10 feet of wall space. In this video tutorial, the instructor shows how to create a panel saw that slides vertically.
It is perfect for cutting large sheet materials such as plywood and aluminium. It is a short video tutorial and also has a written tutorial version embedded in the video description just below the video.
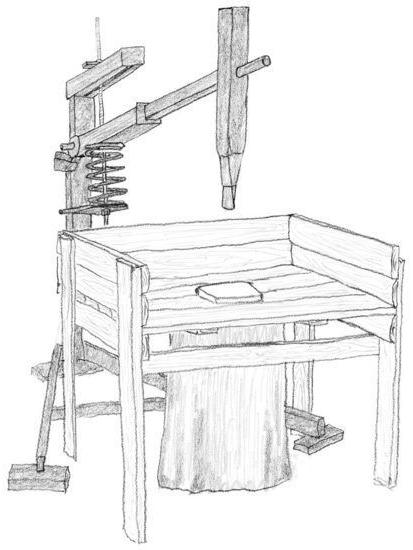
5.DIY Flip-Down Panel Saw Plan
This is a 6-stepped DIY tutorial that is simple, straight to the point and not expensive to make. According to the designer, this saw plan is unique because you don’t need to recalibrate your saw to cut a sheet. It uses the factory edge of the sheets you want to cut.
You need some pine studs, ½ sheets of plywood, screws and nails, wood glue, MDF sheets, toggle clamps, circular saw, drill, screwdriver, tape measure, pencil, clamps and a few others listed within the tutorial.
It is a written tutorial, but also has some pictures to help you understand better.
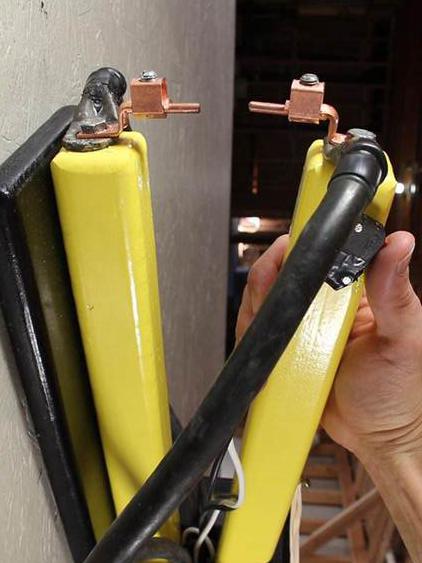
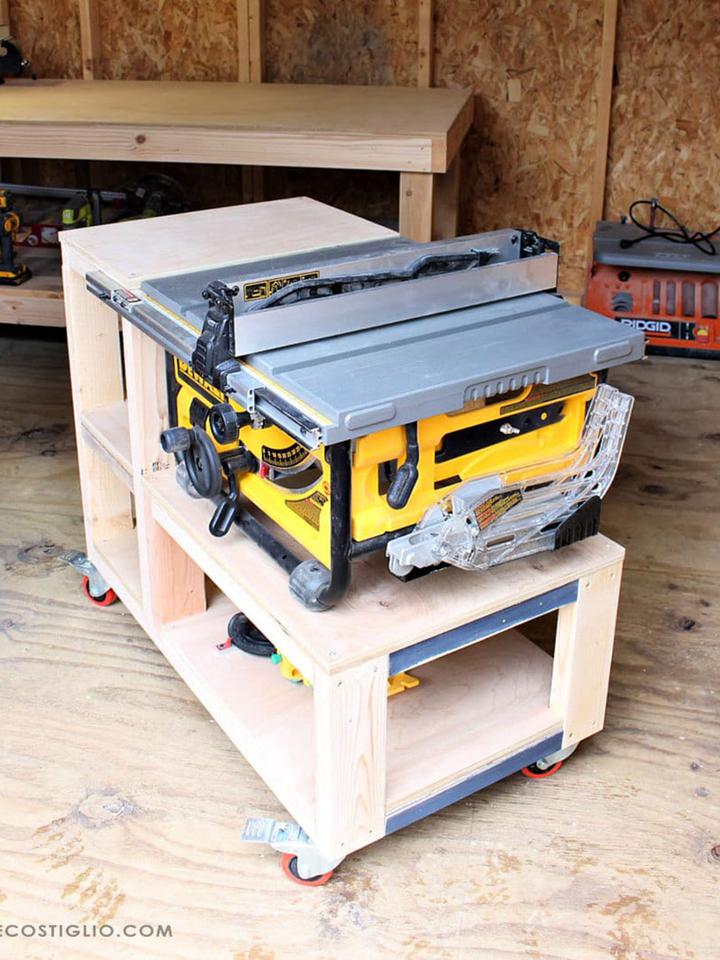
6. Homemade Panel Saw From Pipes and Castors
This short video tutorial was made with a few Euros and not nearly half as expensive as getting a new one. It was created mainly for a skil(circular) saw, and can be detached whenever the need arises. It is easy to understand and needs just a little woodworking skill to build.
This designer made his panel saw out of some pipes, castors, a few plywood sheets, an electric flex, and some other easy-to-get items.
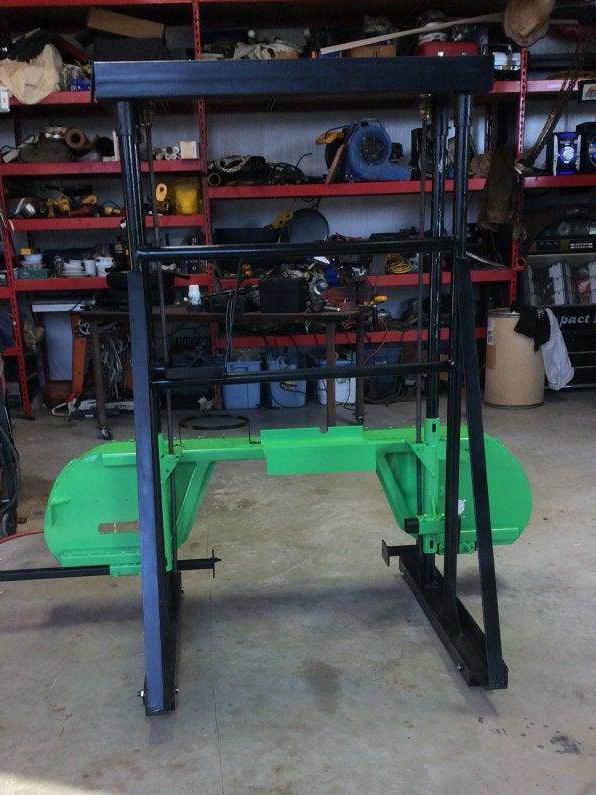
7. Simple DIY Panel Saw
This DIY panel saw tutorial has three simple steps. It’s a written tutorial, but also has a quick video tutorial embedded that shows you how to build a vertical panel saw. The structure of this panel saw is usually 2 x 4 or 2 x 2. This largely depends on how heavy you want you saw to be.
This 3-stepped tutorial begins by running your plywood vertically and horizontally using lap joints. This is done to give the panel saw enough strength and support. Next, you may mount the saw on its carriage to help it move both vertically and horizontally when you want to cut.
The mount helps it move horizontally. Lastly, the designer advises that you may install a counterbalance on the rear panel of the saw to assist with making vertical cuts. There’s more in the tutorial to help you. Don’t forget to check out the video.
Conclusion
Panel saws are your best bet when it comes to cutting up large sheets of building material. They make the work easier and faster than other types of saws. That makes them a must-have in any practical workshop.
With these DIY instructional tutorials listed above, you can create one for yourself without having to spend so much. Thankfully, you can use scrap materials you already have in the shop, or pick up a few of these low-cost items at the store. As soon as your items are in place, you can start building immediately.


Ask Me Anything