Are you a fan of wood wall art and you are looking for some amazing ideas that you can DIY for your home? You are in the right place. Wood wall arts have a unique way of transforming the look of your home interior.
The best part about this article is that you do not have to spend too much money trying to buy an expensive wood wall art. We have put together 24 DIY wood wall art that you can DIY without spending too much.
Table of Contents
1. DIY Wood Wall Art With No Tools
No tools! How amazing does that sound? This beautiful wall art is made without any complex tools except a pair of scissors and an Exacto knife. Other materials used are very soft wooden stakes. The base of the Board is set then the wooden stakes are layout on it in the desired pattern.
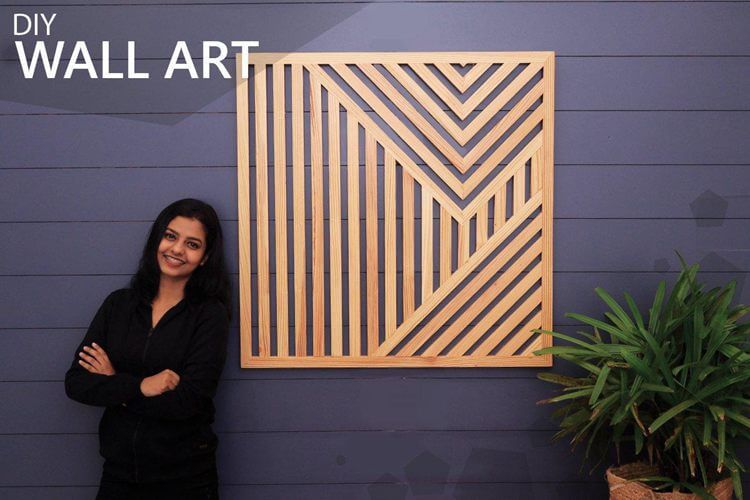
2. DIY Wood Wall Art
This amazing wood art is made by cutting several pieces of 2×6 into small hexagon-shaped pieces. Packed up all the hexagon shapes and put them in a dryer. Once they've dried, paint them and assemble them into a pattern of your desire.
3. DIY Wood Wall Art For Beginners
Get a piece of plywood sheet and prep it to give it a smooth surface. Then, cut strips from another sheet of plywood and lay the strips on the prepared plywood sheet in the pattern you want. Once you get the pattern right, start lifting the strips to stain them and glue them to the plywood sheet.
4. How To Make Wood Wall Art
Start by getting pieces of wood and cut them down into small pieces. Then, sand the pieces down with grit sandpaper and divide them into three. Stain each group with different tones of stain and assemble them to form a 3D wall decor.
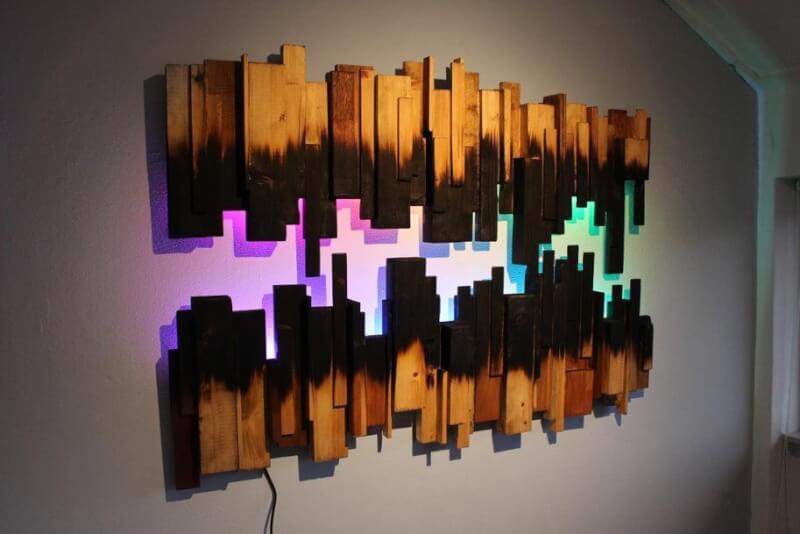
5. DIY Burned Wood Wall Art
This is made from scrap wood, wooden panel, nail, screws, solder, keyhole bracket, wood oil, and. Led strips. Rip the scrap wood and wooden panels to pieces at random length. Then, assemble them in groups and glue them together in two rows. After this burn, the tips of the panels and oil them.
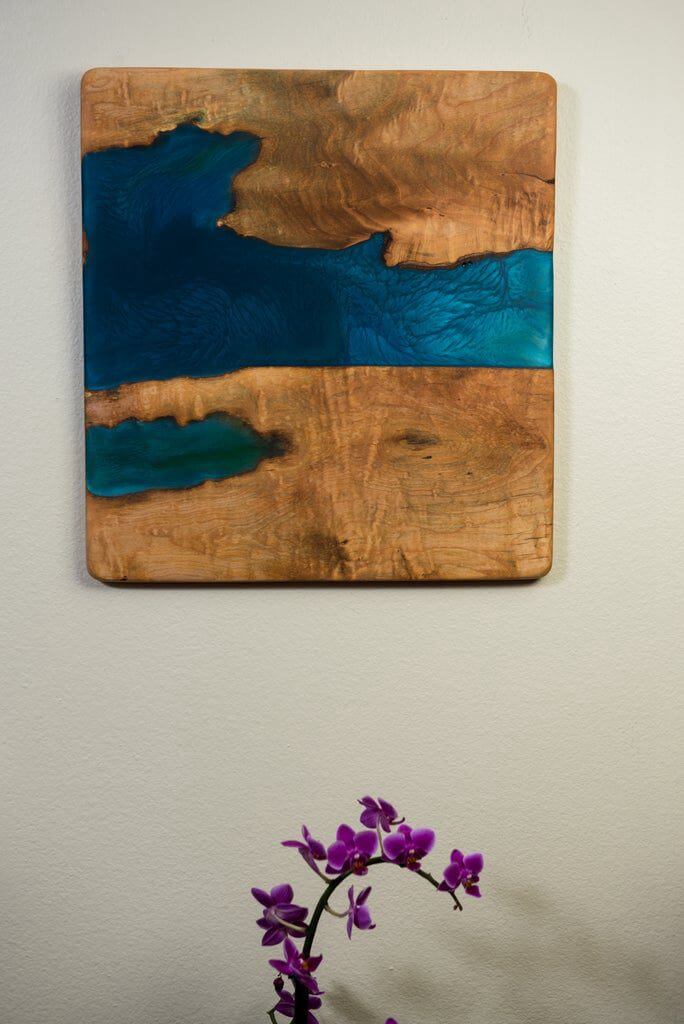
6. DIY Wood And Resin Wall Art
Start by building the mold for the resin wall art. Prepare the wooden mold and mix the resin. After this pour the mixed resin into the mold and allow it to dry. Once it is dried, de-mold and sand the resin.
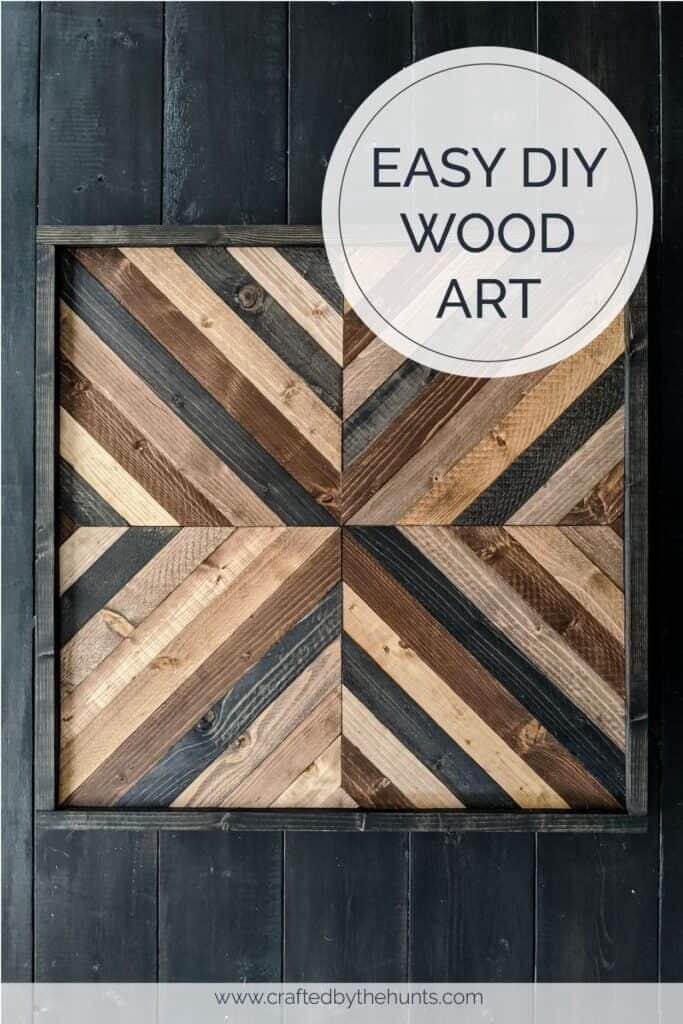
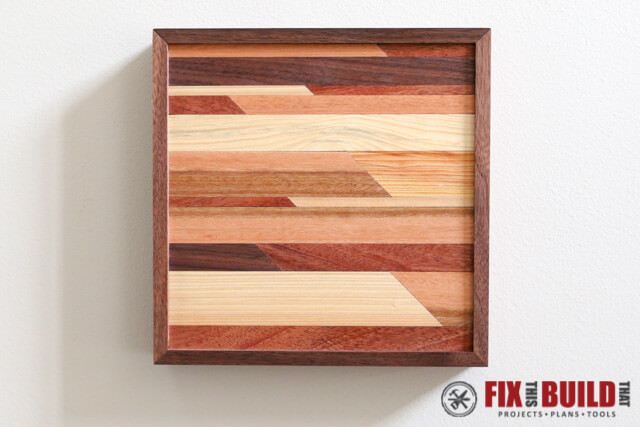
7. DIY Easy Wood Wall Art
The materials needed for this DIY project include pine boards, plywood, nail gun, miter saw, stain, and wood glue. Rip the line boards into pieces with the miter saw. After this, reset the miter saw and cut the edges of the pieces at an angle, then stain the pieces and assemble them on the plywood backing.
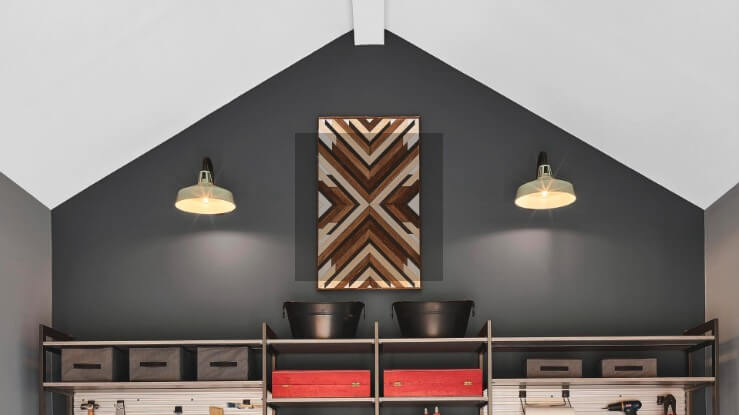
8. DIY Geometric Wood Wall Art
This is made from furring strips, wood glue, miter saw, nail gun, orbital sander, measuring tape, and planer. Rip down the strips into pieces and pass them through the planer, then set the miter saw to 45⁰ and cut the edges of the pieces. After this, stain each piece and assemble it to form the geometric pattern.
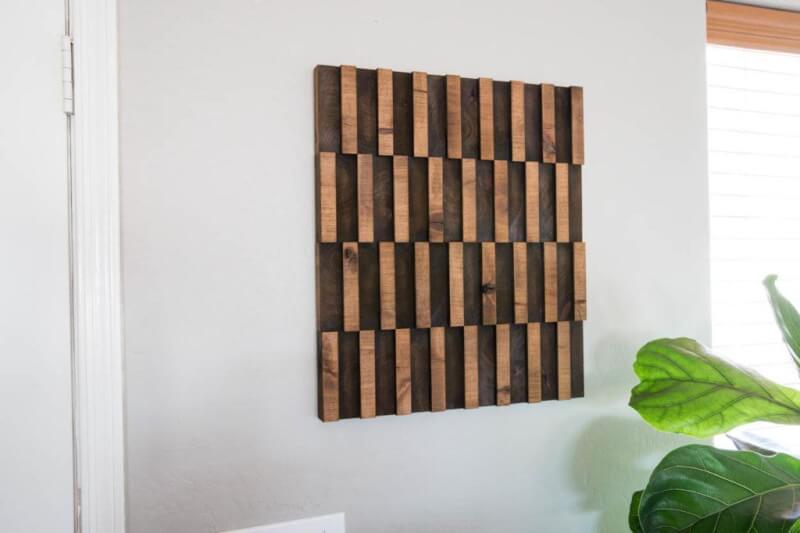
9. DIY Wooden Wall Art
The materials needed for this wooden wall art include a miter saw, 2×6 pieces, 24×24 project panel, table saw, tape measure and wood stain. Cut the 2×6 down to 7 9½ inches, and 13 7½ inches boards. After this, cut the boards into smaller rectangular Pieces and then stain and assemble them.
10. How To Make A Geometric Wood Wall Art
This is made from wooden dowels, 2×2 birch plywood, circular saw, stain, jigsaw, Brad nailer, and sander. Sand the plywood down to make sure the surface is smooth enough to hold the stain. Then stain it and start laying out the pattern on it. The first pattern
See also: 31 DIY Wall Art Ideas
11. DIY Geometric Wood Wall Art
The materials needed for this DIY geometric wall art include a miter saw, wood stain, straight edge, plywood, and plywood strips. Once you've gathered the materials, set your miter saw to 45⁰ and start cutting the strip of plywood. After this, sand the plywood and stain it as the backing board. Then, start laying the strips of plywood on it.
12. DIY Framed Wood Wall Art
This DIY frame is made from one square piece, small strips of wood, wooden letters, stain, brush, and glue. Stain the square piece in white and paint the letters in black to make it stand out on the white base. Then, stain the strips of wood in natural colour stain and frame the base with it.
13. DIY Geometric Wood Wall Art
Start by cutting down the wood into pieces using a miter saw, then lay out the pieces to test the pattern. Stain the pieces and attach them to the plywood backing.
14. DIY Abstract Wooden Wall Art
Start by cutting all rectangular pieces of wood and glue the pieces together in rows of 8 pieces. Make sure each row is alternating with the other. After glueing the rows, allow them to dry and go ahead to prepare the backing board.
15. How To Make Wooden Wall Art
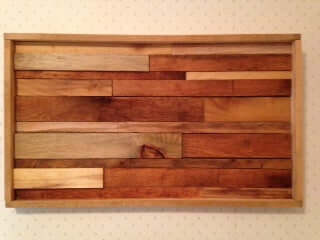
The materials needed for this include miter saw, router, scrap woods, super glue, sander, plywood, and web clamp. Prepare the scrap woods and pass them through the planer to make sure they are of the same size. After this, stain the woods in different tones and glue them together. Then, frame them and hang the wood frame on the wall.
See also: 21 DIY Wall Flower Ideas
16. DIY Mosaic Wood Wall Art
To make a mosaic wood wall art, you will need wood, speed square, marker, miter saw, and stain. With proper measurements, make a zigzag pattern on the surface of 2×2 pieces to be able to cut small triangles from it. Once the triangles are ready, sand and stain them and you're good to go.
17. DIY Wall Art From Scrap Wood
This is made from small wooden blocks, 50 strips of wood, wood glue, clamps, and a curve. Start by cutting the strips down to thinner pieces and then glue 4 wooden blocks to each of the thin strips at intervals. Then add other strips and clamp them together. Repeat this for all the pieces till you have a window-like frame.
18. How To Create Wood Dowel Wall Art
This is made from wood dowels. The wood dowels are cut into strips and these strips are assembled together in a pattern. The pattern is then sand down and stained to look like a one-piece frame.
19. DIY Wood Wall Decor
This amazing wood wall decor is made from wood, contour sander, turbo shaft, mini caver, drill bits and stain. Mark the pattern (contour) of the design you want on the pieces with a marker, then make notches on this marked contour. After this, sand the contour down and make a different pattern with the wood surrounding the contour.
20. DIY Abstract Wood Wall Art
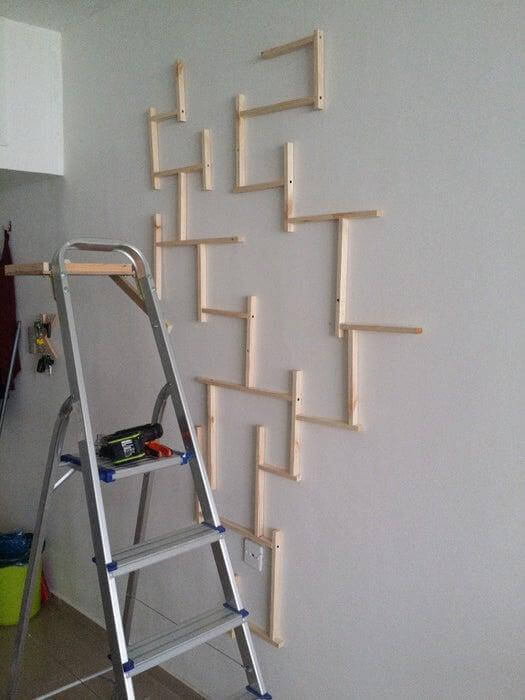
The materials required to make this wall art include 7 long wood planks, a leveller, an electric screwdriver, a drill, and wood screws. Cut the planks down into small pieces and start attaching them randomly with screws. Once the pattern is done, put it up and count it on the wall.
21. DIY Reclaimed Wood Wall Art
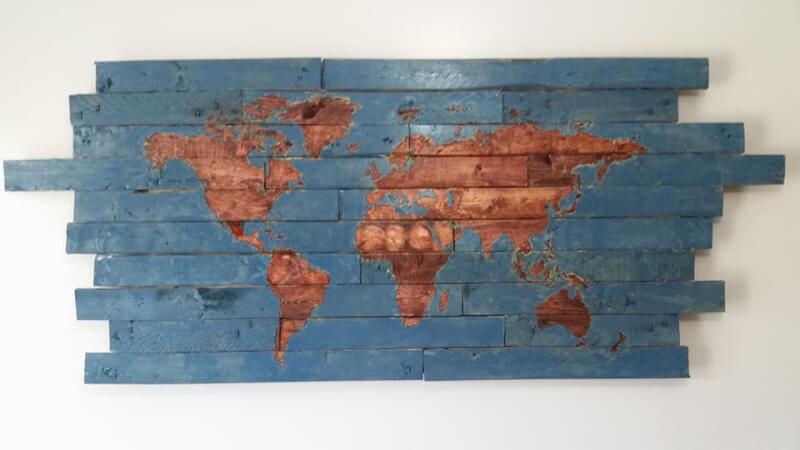
This is made from an old wood pallet, construction adhesive, plywood for the backing, jigsaw, plier, and wood burner kits. Start by disassembling the wooden pallet and take out all the pieces. Then, test the layout of the design and prepare the plywood for the backboard. After this, glue the pieces to the backing board.
22. DIY Wood Slat Wall Art
The materials needed include a table saw, wood glue, bar clamps, assorted stain, wood slats, and rasp. Prepare a sheet of plywood for the backing board then cut the slats into pieces of random length. Lay the pieces on the plywood sheets.
23. DIY Scrap Wood Wall Art
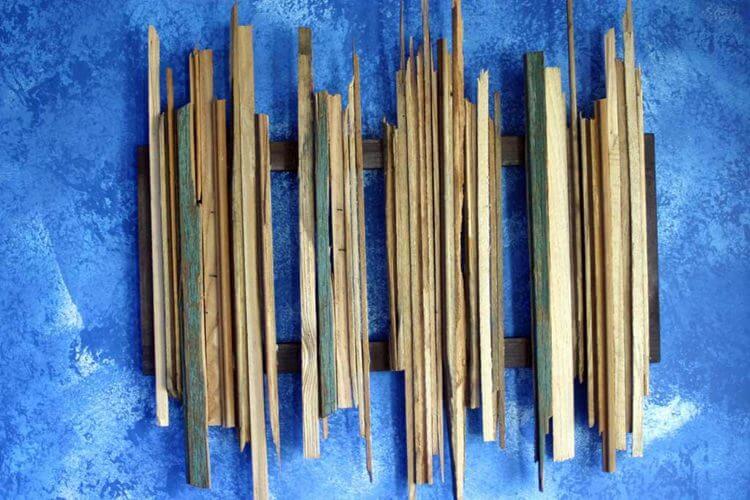
This is made out of scrap woods. Get different lengths of scrap woods (old or new, painted or plain), pack them in groups and glue each group together. But make sure each group has all types of wood that might be available. After this, make the wall mount and attach each group of woods to it.
24. Easy DIY Mountain Wood Wall Art
The materials needed for this include wood, table saw, miter saw, router, stain, and glue. Cut the wood into pieces and lay them down in the pattern you want to see if that pattern is actually something you will like after all. Then, stain the pieces before glueing them to the backboard to make everything easier.
Conclusion
Have you found your favorite pick? I know how hard it can be to choose from different amazing wood wall art ideas. Don’t rush it, take your time! I’m sure you will find the best DIY wood wall art idea for your home.



Ask Me Anything