Ottoman storage originated from the early Americans whose household was rather tight or was on a more tight budget. However, in recent years, there have been modifications. There’s now the use of cushions for sitting and storage for blankets and extra pillows.
We have put together a list containing 24 DIY storage ottoman projects that you can make from home. All the projects listed in this article are easy to build.
Table of Contents
1. How To Build A Storage Ottoman
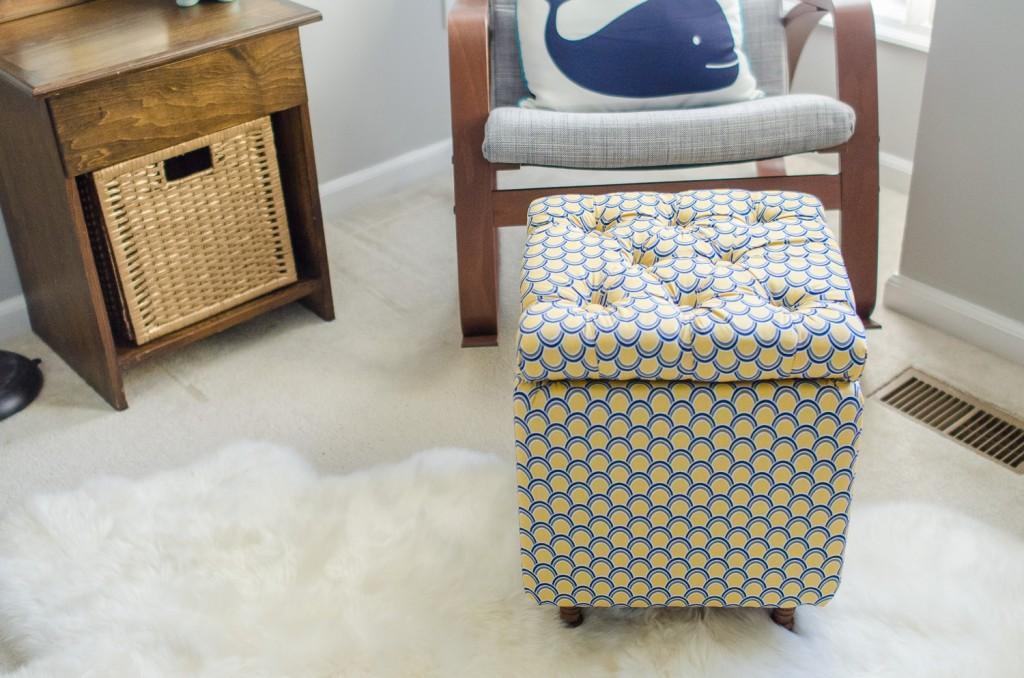
The first beautiful storage ottoman on my list is built with birch plywood, high-density foam, battling, fabric, and a staple gun. First, assemble the base of the storage. Cut four pieces of plywood and join them as the four sides of the base, then, attach a large rectangular piece to the bottom. Attach support and cleats to the inside of the base and move further to the lid and the upholstery.
2. DIY Storage Ottoman
Are you thinking of making an upholstered storage ottoman? Here is a beautifully made one for you. To make this storage Ottoman, you need the plan. However, you can modify the plan to suit your desire. Read through the link below for the link to download the free plan.
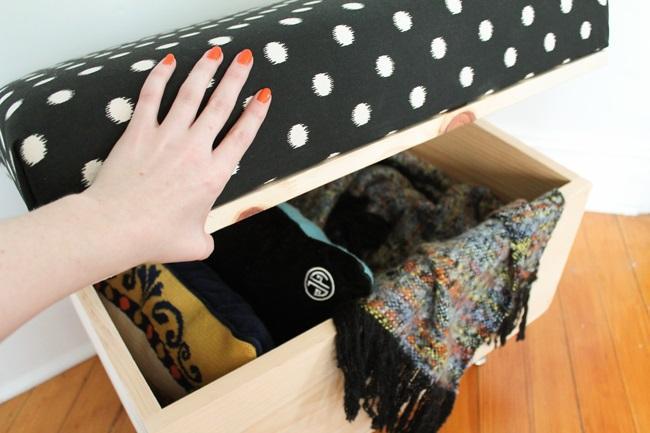
3. How To Build A Padded Storage Ottoman
The materials needed for this storage ottoman include plywood, wood strips, wood glue, foam, staple gun, hot glue, power drill, quilting batting, and upholstery fabric. Assemble the storage box, screw it together firmly, and sand it properly. Then, cut the foam and upholstery fabric and attach them to the box using a staple gun and hot glue where necessary.
See also: DIY Storage Bed Ideas
4. DIY Leather Storage Ottoman
Cut pieces of wood for the base, glue them together, and clamp them till they dried up. Once the base is dried. Prepare the fabric and foam to wrap it up and you have your storage ottoman.
5. DIY Storage Ottoman Made Of Plastic Bucket
This is made from a plastic bucket. Measure the size of the three partitions on the upper part of the bucket with masking tape. Use the masking tape to cut three strips of foam. Glue the three strips of foam to the partitions. This makes the whole buck balance in size and looks smooth.
6. DIY No-Sew Storage Ottoman
The materials needed for this DIY storage include upholstery fabric, quilting batting, bucket, and hot glue. Cut the batting to size the length of the bucket. Put together 5-6 layers of the long triangular batting and glue it around the bucket with hot glue. After this attach the upholstery fabric to it.
7. DIY Ottoman Storage
This is made from a plastic bucket, hot glue, fabric, and foam. Start by gluing a long triangular foam to the lower part of the bucket. Then, glue some strips of foam to the partition on the upper part of the bucket then add another layer of foam to the upper part to level up with the rest of the bucket. Repeat this process for the lid and attach the fabric to it.
8. DIY Decorative Storage Ottoman
This is made from the bucket, glue, foam, fabric, and decorative buttons. Wrap the bucket with foam and attach the fabric to it using glue. Then, move to the lid and do the same thing to it. After that, attach the decorative buttons around it.
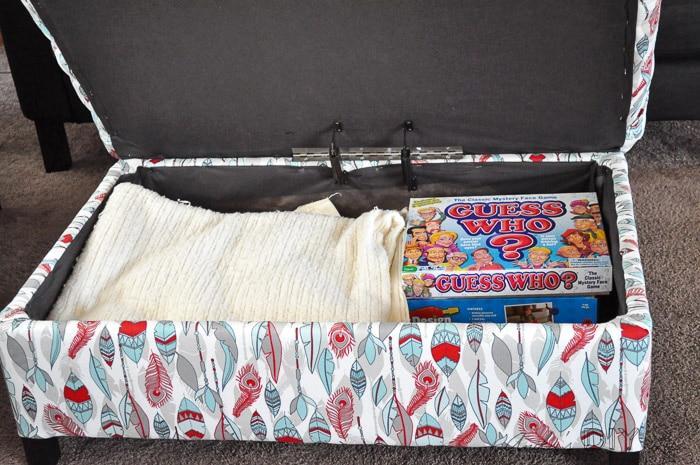
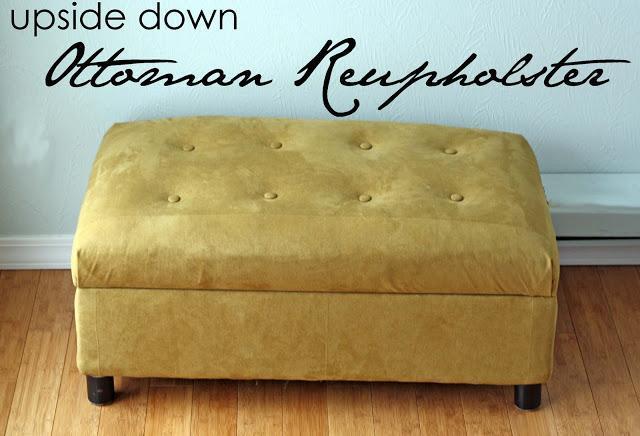
9. DIY Storage Ottoman
This is made from an old ottoman. Flip the ottoman upside down and prepare the fabric and foam to use with it. Attach the foam to the lid and the box, then attach the fabric to it.
10. How To Make A DIY Ottoman Storage
Start this DIY by cutting the plywood needed for the base and the fabric that will cover it. Assemble the base of the storage and put together the battling and fabric to wrap it up. Make sure you iron the upholstery fabric thoroughly.
11. How To Make A DIY Storage Ottoman
The materials needed for this storage ottoman include high-density foam, fabric, felt, hot glue gun, and sewing machine. Assemble the cubic box for the storage base then wrap the foam around it. After that, glue the fabric to the foam and attach the buttons to the lid.
12. DIY Ottoman With Storage
Cut the pieces of plywood needed for the cubic box, assemble it and prepare the foam and fabric, then wrap it around the box. The materials used include plywood, glue, staple gun, fabric, and foam.
See also: DIY Underbed Storage Ideas
13. DIY Upholstered Storage Ottoman
This is made from plywood, fabric, foam, a sewing machine, table saw, glue, and a staple gun. Assemble the box and cut the foam for each side of the box. Attack the foam, then sew the upholstery to cover the box.
14. How To Make A No-Sew Storage Ottoman
The materials needed for this DIY project include a tape measure, miter saw, foam adhesive, batting upholstery fabric, and a hot glue gun.
Cut the pieces of wood needed for the base. Attach some strips of wood to a large circular piece at intervals with screws then cover it with another circular piece. Wrap it up with batting then fabric and you're good to go.
15. DIY Crate Storage Ottoman
Measure and cut the pieces of wood needed for the storage, assemble the pieces using screws. Then, cut the foam for each side of the box, attach it and prepare the upholstery fabric to cover it up.
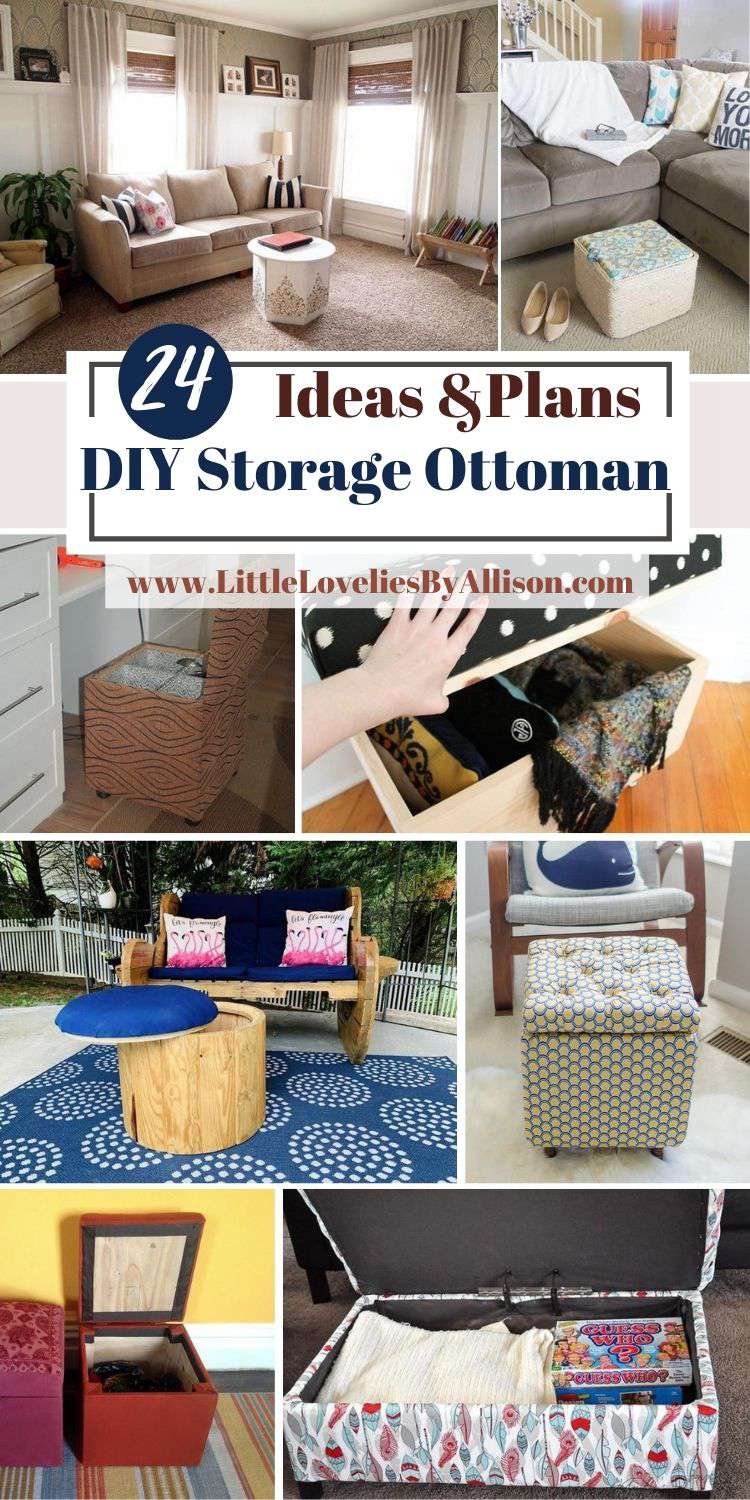
16. DIY Storage Ottoman
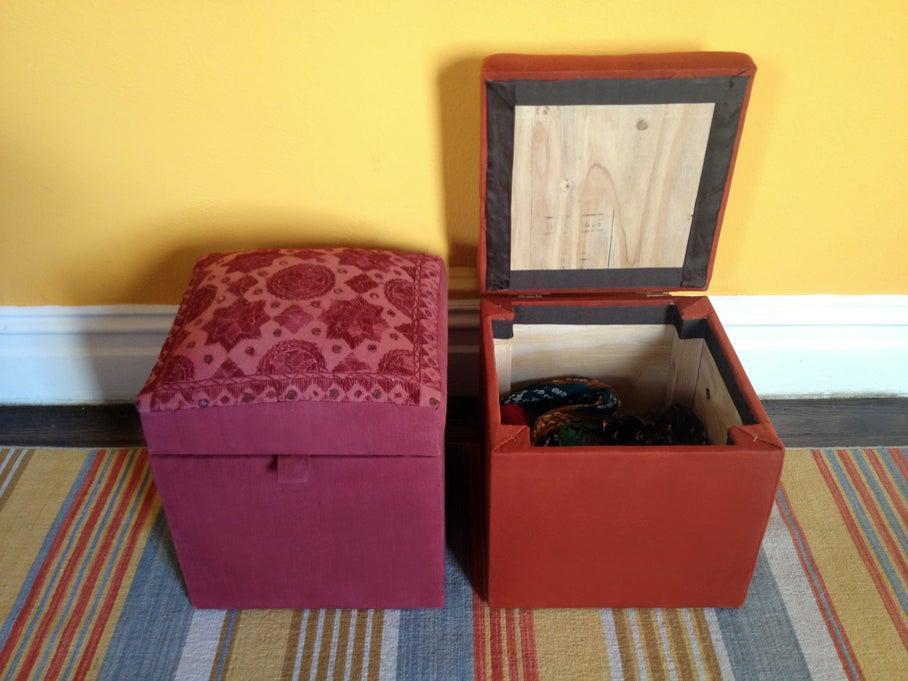
Start by assembling the front and rear panels of the ottoman, then attach the side panels. Cover each of the panels with black fabric before you assemble it to give the ottoman a cool interior. Then, wrap the exterior part of the ottoman with foam and fabric.
17. DIY Storage Ottoman Using Cardboard
The materials needed for this DIY include cardboard, glue, fabric, foam, and scissors. Cut two pieces of the circle from the cardboard and one long piece of triangle. Using glue, attach the triangle to the circle to form a circular box. Then, wrap the circular box with foam and fabric.
18. How To Build A Cardboard Ottoman With Storage
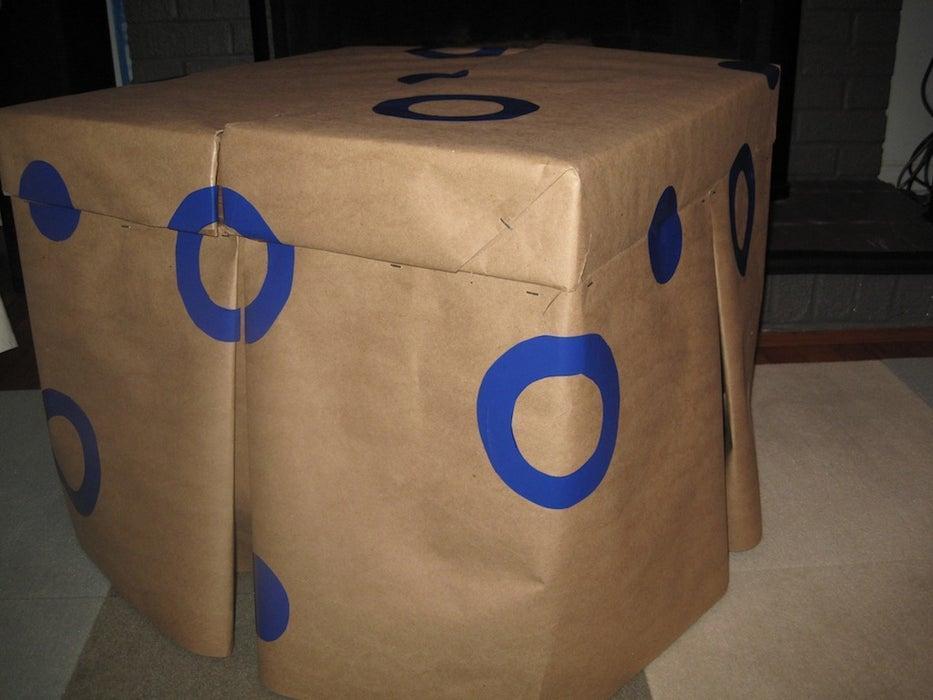
This is made from cardboard. Make the cardboard into a box then reinforce the box with additional cardboard from the inside. After this, you can decorate the storage ottoman as you like. The materials used include cardboard, hot glue, scissors, pencil, and measuring tape.
19. DIY Upcycled Ottoman With Storage
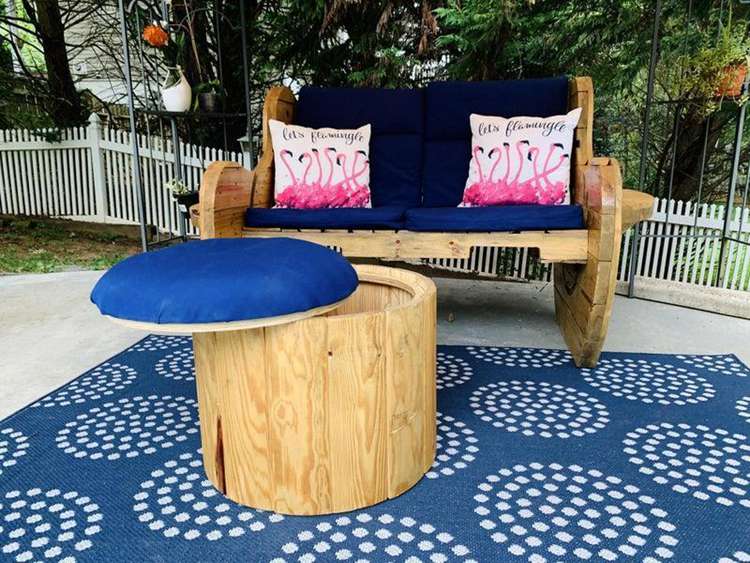
This is made from an old cable spool, scrap plywood, wood screw, wood glue, clamps, jigsaw, measuring tape, and sander. Disassemble the old cable spool then cut a circle from the scrap plywood then attach side panels to it. Assemble the ottoman and attach the decorative materials to it.
20. How To Make A Storage Ottoman
Get pieces of wood for the box. Get two pieces of the triangular box for the top and bottom panels and strips of wood for the side panel. Assemble then and work on the lid.
21. DIY Storage Ottoman Made With Cardboard
The materials needed for this DIY ottoman fabric include cardboard, staple gun, glue gun, scissors, and fabric. Start by making the box for storage. Double each piece of the ottoman box as reinforcement. Then glue the foam to the box and glue the fabric to it.
22. How To Build A Storage Ottoman
Assemble the base of the Ottoman with plywood then sand it down to make it smooth. Attach foam and fabric to the lid and you're good to go. The materials used for this DIY storage ottoman include plywood, hot glue gun, hot glue, foam, upholstery fabric, and screws.
23. DIY Storage Ottoman
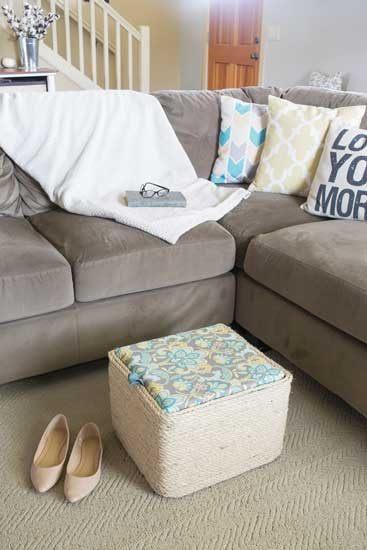
The materials needed for this include an old plastic crate, thick plywood, ribbon, fabric, rope staple gun, and hot glue. Attach one end of the rope to one end of the crate at the bottom then, start wrapping the rope around it till it reaches the top. After that prepare the lid and your ottoman are ready.
24. How To Make A Storage Ottoman Using A Bucket
Get a plastic bucket and remove the lid. Trace out the edges of the lid then place a piece of fabric down, place a pillow stuffing on it, then a circular wooden board, staple them together and attach it to the lid of the bucket.
Conclusion
That’s a wrap! All the storage ottoman projects listed in this article were made by people like me and you. You do not need any special skills to make any of the plans above. Simply choose a DIY storage ottoman that best suits you, gather materials and start building.




Ask Me Anything