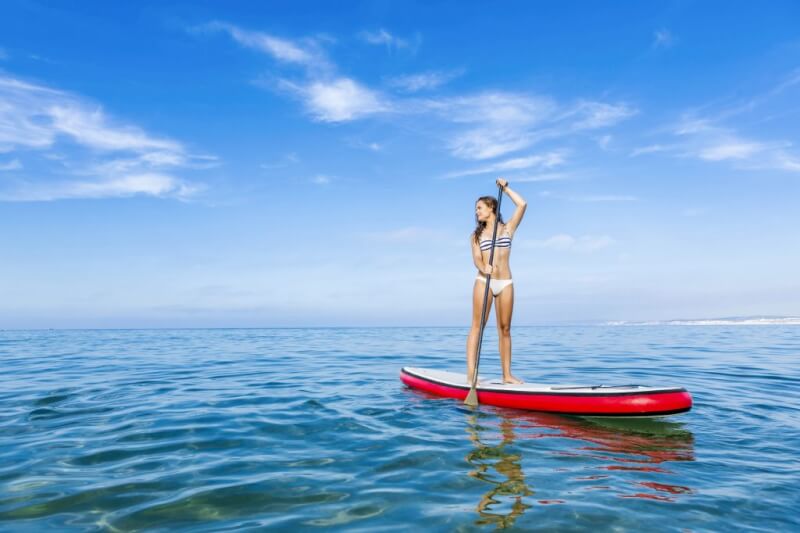
Do you love enjoying yourself by rowing in the river or lake? If yes, you should know of ways of making your experience by making your paddleboard. Sounds fun, right?
There are various ways to make the boards. It all depends on the types of material you have and the amount of time available. Below are 15 unique ideas on how to make these paddleboards at low costs.
Table of Contents
1. Wooden DIY Paddle Board
The first process requires you to have Paulownia, cork, cedar, plywood, and a topcoat.
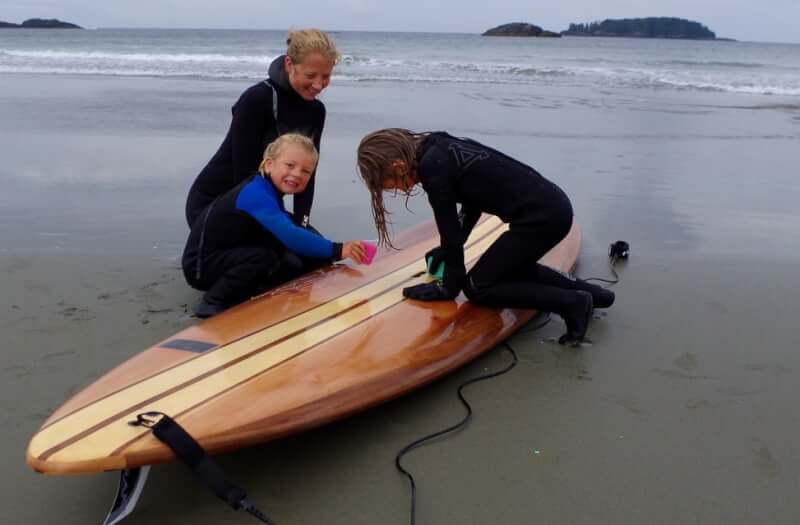
Basically, we are using the Paulownia wood to create the rails, deck, and base. The trick to a stronger paddleboard is to make the rails stringer. Position your rails on the deck and base and create strong connections using the plywood.
Use the topcoat for finishing as it brings a shiny effect.
2. Foam Shaping DIY Paddle Board
For this easy to do board, you need to shape your polystyrene foam board into a paddleboard. First, identify the size you want and note down the dimensions.
With help from others, shape your foam into the desired shape and size. The board is almost done, and all it needs are a few finishing touches. Use sandpaper or any smoothing machine to make the surfaces and edges smooth.
You can do additional designs and patterns, but at this stage, it is ready for use.
3. Long DIY Paddle Board
You are to make this type of board from Paulownia, cedar, and balsa wood. Cut them into 3mm sheets and then laminate them in epoxy.
After that, place the sheets together and glue them together. Use costs of epoxy to seal them up. Since it is a hand paddleboard, it would be best to make one that is below one kilogram.
For the design, you can use your imagination to create additional patterns for the perfect finish. To finish the whole process, you need a day or two.
4. Plywood DIY Paddle Board
This is one of the cheapest tricks, and to construct, take two sheets of plywood to the required sizes. Next is to strap side pieces to the front and stitch them also at the back.
Then do the stringers and braces and install them in the structure. Install the top piece, and the board comes into shape, and all that is left is adding fins and finishing.
You are to use adhesive, fiberglass, and resin to coat your piece. On the inside, ensure you use a sealant to seal all the holes and spaces to prevent water from flowing in.
5. Mash DIY Paddle Board
If you want a high-quality paddle to use during your boating adventures, then gather a ruler, pencil, drill, drill bits, spade, and a wooden board.
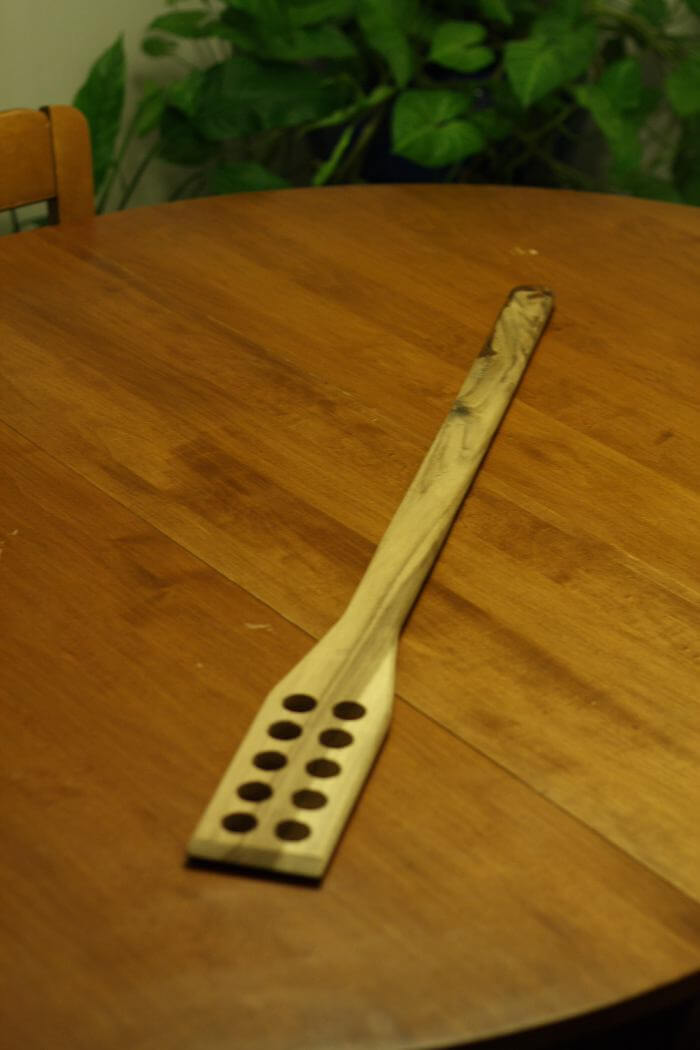
The process is simple; first, shape and cut out the paddle from the piece of wood. Use the pencil to determine the shape and create lines on the paddle. Next is to drill a hole at each intersection of the lines.
Use the spade bit to make the holes bigger and perfect. Use sandpaper to make the edges of the holes smooth. Your paddle is ready for use.
6. Hollow Core DIY paddle Board
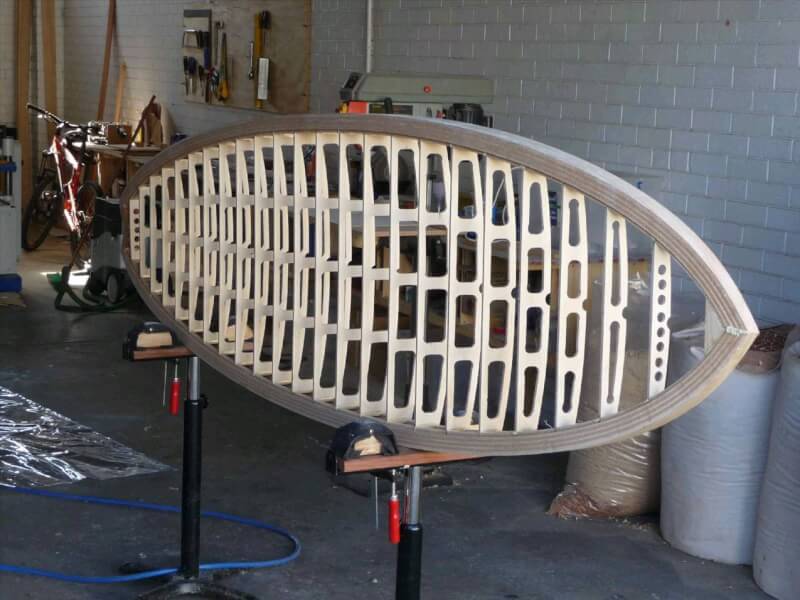
This final process is about installing hollow core frames to create a paddleboard. The hollow core saves you a lot of time.
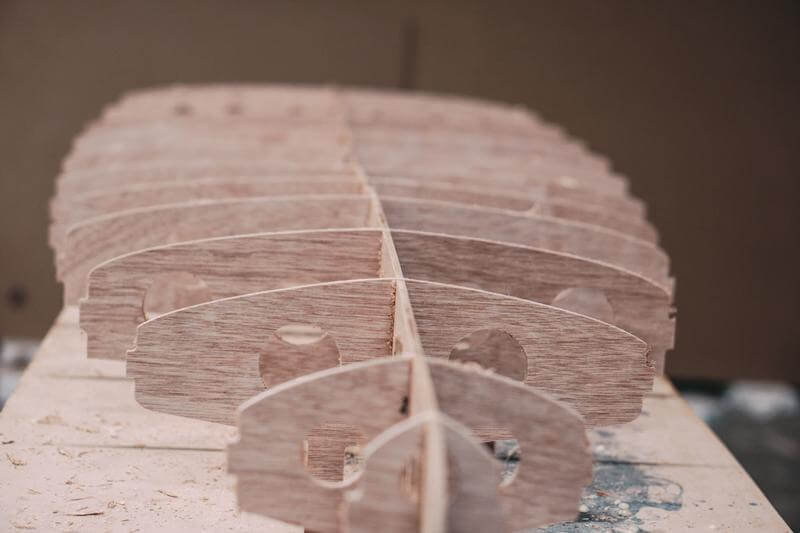
To install the hollow core, add each strip to the board, making the frame. Glue down the center strip all the way down. Then, add subsequent strips and glue them too. Do this for the top and bottom of the frame.
Sand the board to make a smooth finish, and your paddleboard is ready.
7. 5 Piece Carbon DIY Paddle Board
This is another way to get creative using carbon fiber, fiber sheet, glue, epoxy, and screws.
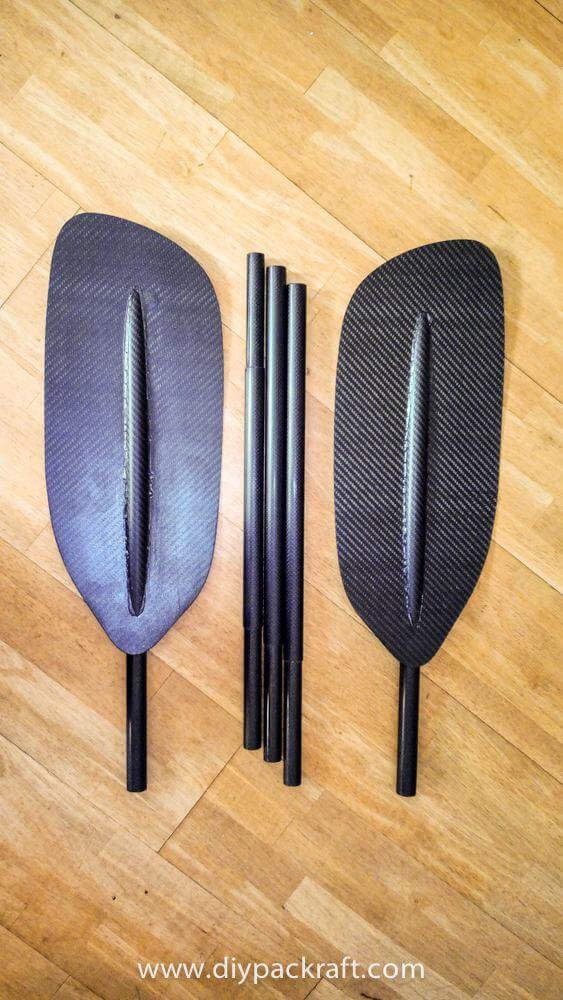
To start, assemble all the tools. The first step is to glue the fiber sheet onto the carbon fiber. Always use sheets and fiber tubing of appropriate size. Also, use epoxy to blend the pieces.
Then, use the screws to hold the pieces together. Remember to make the paddle as light as possible; 500 grams is a reasonable estimate.
8. Easy To Build DIY Paddle Board
Before you begin the building process, designing is key. For this, use a pencil to determine the shape and size of the product. Next is to assemble a polystyrene foam, plywood, acrylic adhesive, rasp, and weighs.
After that, glue the foam sheets together and then use the template you created to cut the shapes. Then use plywood to create a beautiful finish on the foam.
Finally, add handles, feet grips, fins, and many more to the board. Also, add some water proofing features for a better experience.
9. DIY Paddle Board Kits
There are four major steps to follow; assembling the internal frame, covering the frame using strips of wood, making your board waterproof, and finally doing the final touches.
The process takes few days; therefore, it is good to spare the whole weekend to do this. Also, use recommended cedar wood choice.
This process requires one to be familiar with woodworking, but it does not require complicated tools. Some of the materials to assemble are a jigsaw, orbital sander, chisel, table saw router, and hand plane.
10. Stand Up DIY Paddle Board
You need surfboard planks, epoxy, fiberglass, SUP handle, SUP vent, fin box, fin, leash cup, and a deck pad for the whole process.
Follow these instructions to build it from scratch: first, shape the surfboard planks and then laminate them. After that, trace half of the SUP on the roofing felt and use your saw to cut out the outline.
Remove the bulk, make cuts and hone your board to shape. Cut out the fiberglass and place it on the board. Pour epoxy onto the glass and spread it out. Let it dry, and it is now ready to use.
11. Inflated Bed DIY Paddle Board
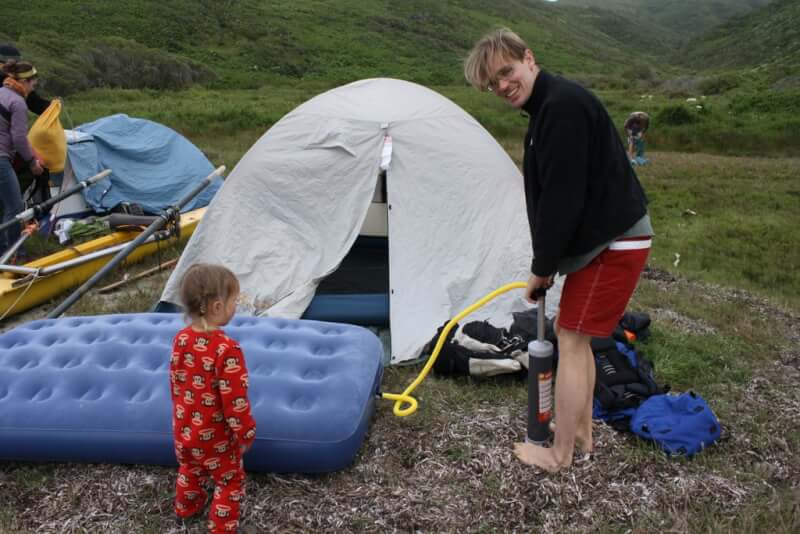
This is one way to turn imagination into reality by using an inflatable kayak and a paddleboard. You will also need a pump to pump up the board.
Let's begin by connecting the paddleboard to your inflated bed. Then, model an adapter and print it in 3D. After completing that, raise your mattress to make campers. Your bed is complete in these four easy steps.
Note that the bed is not a toy to play around with.
12. Land DIY Paddle Board
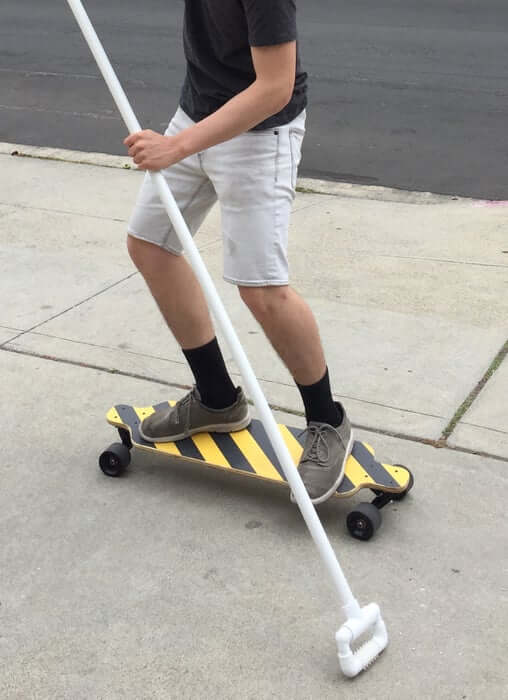
First, assemble the following tools and materials; band saw, table saw, wood file, rasp, orbital sander, sandpaper, drill, carpenter square, meter stick, plywood, polyurethane, grip tape, PVC pipes, and a massage roller.
Begin by making sketches to determine the dimensions to use. After that, cut your plywood to the required size and mark the dimensions on the wood. Next is to cut out the deck, then drilling and sanding it.
Add finishing touches to the board, then lay it out on the grip tape. Finally, add trucks and wheels using nuts and screws.
You can choose to construct the paddle stick using PVC pipes, but that is optional.
13. Easy Stand Up Paddle Board
Put your woodworking skills to the test by making this stand up DIY paddleboard using foam insulation, liquid nails, plywood, joint compound, epoxy, fiberglass, circular saw, razor knife, hand saw, weights, surfoam rasp, and an orbital sander.
Its construction is a series of tasks that include; you first put together and shape the plank, add the handle box, sand the whole board to make it smooth, fiberglassing, adding your fin box, and finally adding additional beauty products and colors.
This process requires time and concentration. If this is your first time, it would be best to ask for an extra pair of hands with some tasks.
14. Wood DIY Paddle Board
You can make use of leftover wood after construction to create a paddleboard. To do this, you need to come up with sketches of the final product.
After that, make your top and bottom panels, the fishbone frame, and then the rocker table. Stack up the bead and cove strips to build the rail. The final step is to attach the top panel, sand the whole board and glass for a clear finish.
Conclusion
How great will it be the next time you go paddling, you use your paddleboard. You are one step from achieving this. There are various ways you can make yours. Note that these processes need time and concentration to perfect them.
Most of us are not yet familiar with the paddleboard building process, and we think it is a complicated process. Use the information above to make your own quickly and at low costs.




Ask Me Anything