Hi there! Have you ever seen those DIY nail forms and wondered how to make them? There’s a lot of information online so it can be overwhelming. Each tutorial tells you a different way to make artificial nails and no two tutorials are alike.
I am a nail art fanatic and open to trying many designs and techniques. I first came across nail forms and the idea of using them on myself was something I was very excited about. Nail forms can be in different sizes, shapes, and materials. This is why I started looking into DIY nail forms in order to learn how to make my own custom nail art. In this article, you will see a couple of DIY nail form ideas feel free to try them out in your spare time.
It’s amazing what you can accomplish with some inexpensive plastic! I’ve made my own nail forms with both sheet acrylic and polyurethane. It’s easy to do, costs pennies on the dollar, and won’t break your back carrying them home from a salon. What are you waiting for? It’s time to try out this DIY project.
Table of Contents
1. DIY Homemade Nail Forms
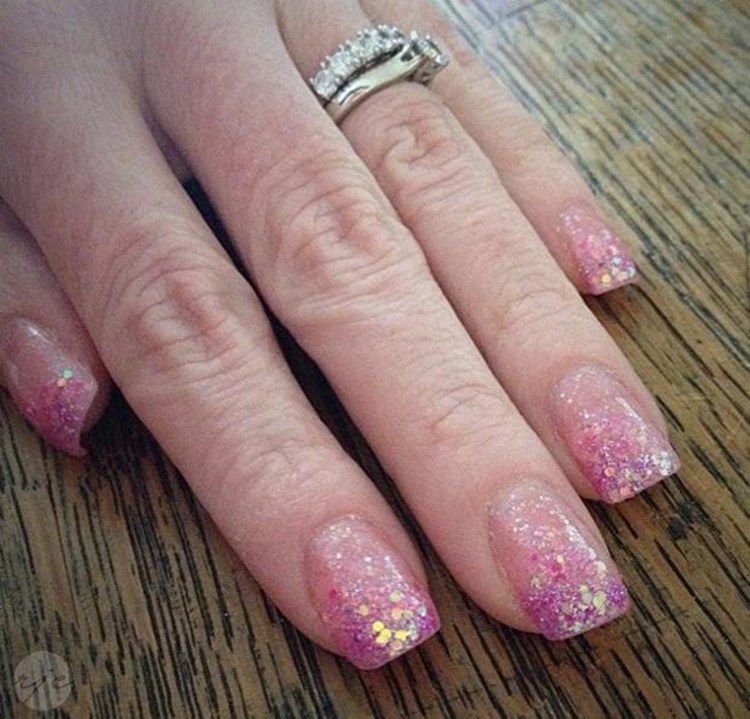
Using pure magic acrylic glitter powder, chrome white acrylic glitter powder, lux brush wipe pink, smoothie buffer, and Shine E Gel! Make this super excellent nail form! And if you're a beginner and don't know where to start from, follow this guide and learn how to make a homemade nail form. For the form, you need to get a sheet of construction paper /regular paper and tape. Cut a square piece from the paper and cover it with tape. Now, cut a slit in the piece and fold it under your nail. Use a strip of tape to close the tip and the opening of the slit. flawlessend
2. Easy Acrylic Nails
Here is the most straightforward DIY acrylic nail form you can make at the comfort of your home! The cost of getting your manicure done might be a little overboard when you think about it, but you can minimize the cost by learning how to keep your nails pretty all the time by yourself. All it will cost you is your time! momskoop
3. DIY Nail Art With Tin Foil
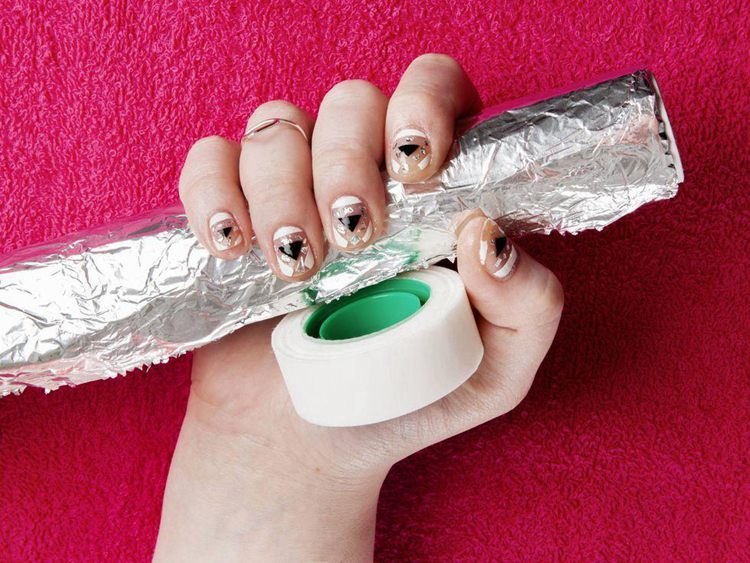
Are you a beginner? Would you like to know how to get your nails done with foil and scotch tape! If you want to go on this ride, here is a fantastic guide. Cut strips of scotch tape and cross it over your fingernails as shown in this guide, then apply your nail paint on it. cosmopolitan
4. How To Polygel Nails At Home
Have you ever wondered how to do poly gel nails by yourself? A poly gel nail falls between a regular manicure gel and an acrylic nail, though it is softer than both and very tender to work with. So if you want to answer your curiosity on poly gel nails, follow this guide, and boom! Your nails are all done. thisisdrkbeauty
5. Making Your First Nail Form
Are you in need of nail form? Here is an emergency nail form idea for you. It is not an everyday thing; it's just to give you a quick replacement for your nail form. It will be best to have photo paper to make the nail form, but if you can't get that, you can simply add clear tape to a regular sheet of paper/construction paper to give you the texture.
6. Homemade Nail Form
Having rough nails can sometimes be tiring! A perfect way to avoid that can be by making a nail form with paper and tape. The nail fo will allow you to fix your nails anytime. All you need to do is simple: cover the portion of paper you want to use with tape and cut out a slit from the middle. Turn the slit to a groove and place your finger in it. Use tape to hold the paper right to your hand and start applying everything to your nails. It is pretty simple to make.
7. How To Make Nail Form With Paper
If you ever run out of nail tips, nail glue, or nail forms, you can try this hack using paper, tape, and nail gel. The tape will make sure the nail gel doesn't stick to the paper, and it can come out perfect and neat. This nail form will not cost you a dime, and you can make it as fast as possible. In this same guide, you will also learn how to apply the nail gel and make it solidify quickly.
8. How To Make Nail Form For Acrylic
Foil paper, nail tips, and tape are the three primary materials for this homemade acrylic nail form. You can choose the nail form for all of your nails, or you can choose two. However, the size of the nail tip you will use will depend on the size of the nails you're working with. This means the size of the nail tip for your thumb will be different from other nails. Cover the nail tips with foil before to allow easy removal. you can adopt this method If you want to extend your nail tip.
9. Make Fake Nails With Tape
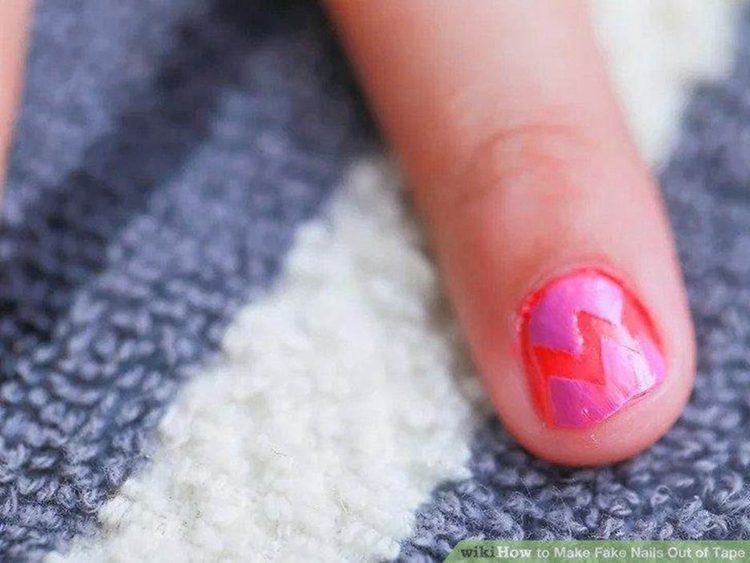
Making fake nails with tape! I know that sounds like so much fun to you; yes, it is fun. Get a clear tape - a one-sided scotch tape will work best- it is transparent and shiny. There are many ways you can design the scotch tape; cut a strip of tape two times longer than your nail and stick it on your nail. If it is too broad, you might need to trim the sides down to fit your nail. Now, just where your nail ends, cover the sticky side of the tape with paint, and you're good to go. Wikihow
10. Acrylic Nails Using Nail Forms
The central part of these acrylic nails lies in cleaning your nails and ensuring they are in the best state before making the nail firm or applying the nail gel. Some tools are needed for the cleaning, and they include an E-file, cuticle pusher, cuticle clean bit, and 100/180 nail file. The neat cuticle bit allows you to remove the dry skin accumulated on your cuticle as regular files can not get them off quickly. The 100/180 nail file will enable you to shape your nail tips beautifully.
11. Polygel And Nail Forms DIY
Polygel is soft, unlike acrylic, but it is slightly challenging to work because of cracks. At the point where your nail meets the nail form. It uses a stress area, and with poly gel, if it's not built correctly, you will have cracks in the area. To get the form ideally, you might want to apply the poly gel to your cuticle and drag it down the center of the form. Then, use a soft brush to spread and smooth the poly gel around your nails.
12. How To Apply A Nail Form
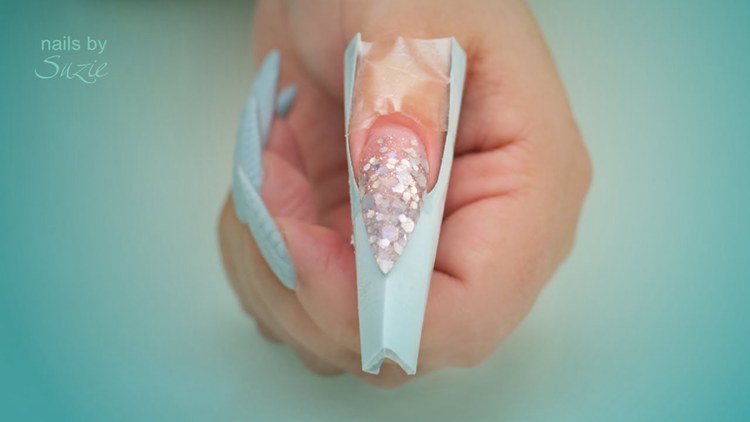
You might want to follow Suzie I'm this guide if you want to know how to apply a nail form. The form is not easy to work with because it has to be done right, or all the nails will be washed. The place of the firm is as important. By the time you take it off, file, and shape the nail you will have what pleases you and not the other way round. Suzie used a store-bought nail form, and she explained how to place the form correctly on two different types of nails; long and short nails.
13. Build An Acrylic Nail Without A Form
Imagine making an acrylic nail without using a form or tape? Well, here is a guide to making your dream come true. It is a straightforward process, and it is made from a combination of acrylic liquid and powder. However, the fluid to powder ratio is vital because it can lead to some logical reactions. If the liquid to powder ratio is correct, the acrylic will stay on your nail, and it won't be dropping, thereby doing your work fast.
14. How To Apply Acrylic On Nail Forms
Here is an excellent guide that will explain the process of applying acrylic on nail form. Since you're using a form for this acrylic, you don't need to worry about the liquid to powder ratio. All you need to do is watch this video and learn. You can shape the form into anything you like depending on each nail.
15. How To Sculpt Acrylic Nails With Nail Forms
To make your nail form roll into a nice curve, remove the paper backing from the hole and stick it to the back of the nail form. Dip your brush into the liquid acrylic and use it to pick a bead from the acrylic powder.
Place the bead on the point where your natural nail meets the form and spread it out to the free tip. Make sure you work as neatly as you can to avoid filing half of your acrylic away later. After that point, apply the second bead from your cuticle and spread it through your natural nail, but make sure it blends with the first bead.
Conclusion
Nail forms allow you to style your nails in different shapes by simply folding and unfolding the paper form. Start making your nails by hand today and save a lot of money! When your nails look neat, you feel great as well!!! Thanks for stopping by!




Ask Me Anything