It is essential always to look your best, and one way to do this is using makeup. Makeup gives us more confidence during our daily interactions with others. After you buy your make-up kit, you must know how to maintain it so as you use it for a more extended period.
Today, you are going to learn how to diy makeup brush holder easily at home. Most of these techniques are about reinventing and reusing materials at home.
Table of Contents
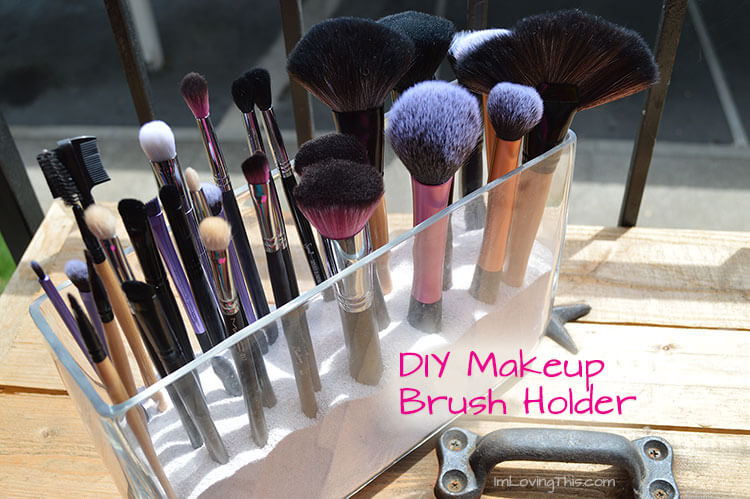
1. Clear Glass DIY Makeup Brush Holder
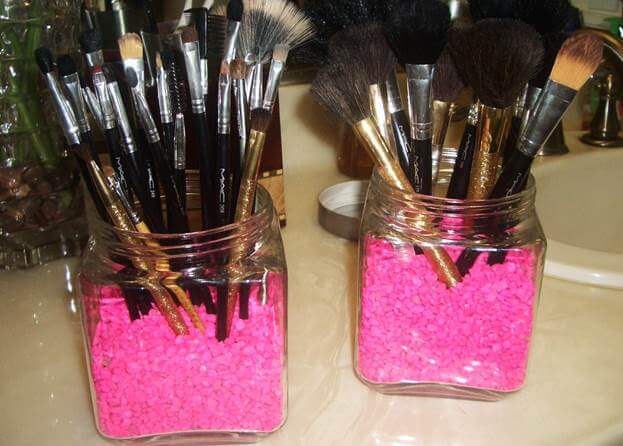
To make the transparent glass DIY makeup brush holder, buy a rectangle vase or use the one you have at home. Go out and pick some sand, or you can buy the decorated sand. Wash the rectangle vase and then place the sand in it.
Pour in the sand to reasonable levels. Your makeup brush holder is almost done. What is left is to stick the brushes into the sand, and that's it.
The whole process requires no purchase, but it is a very cheap process if you still buy the products.
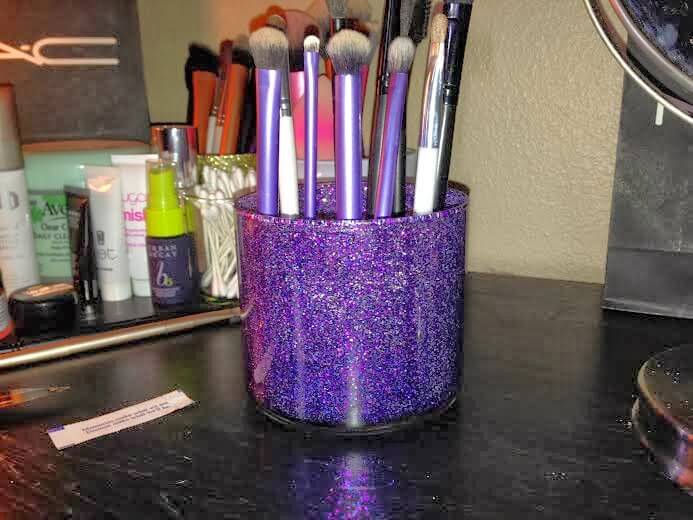
2. $1 Glitter Glass Brush Holder
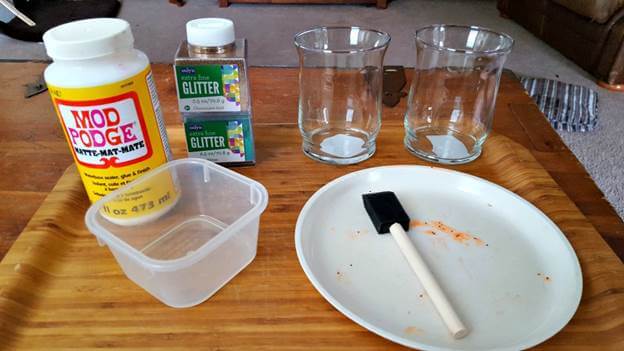
To start, buy a $1 clear glass container, Mod Podge, glitter, and a smearing brush.
Start by pouring the Mod Podge into the cup. Twist the cup to ensure it gets everywhere. Place the glitter in and let it dry. An alternative for the Mod Podge is polycyclic, but the process is the same.
After drying, use a brush to paint the inside. This is to act as a coat. Finally, put other decorations like name tags and others.
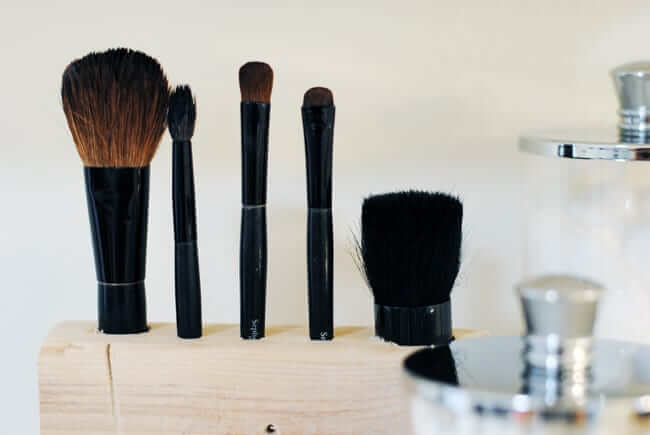
3. Cheap DIY MakeupMakeup Brush Holder
This budget-friendly tutorial requires you to have no special skills, and you need a chunk of wood, a drilling machine, drill bits, and a pencil.
All you do is cut any piece of wood and then drilling holes. For this process, you need a drilling machine and different drill bit sizes to make other slots. Position the paintbrushes on the wood and make outlines using a pencil before drilling.
Also, sketch the height of the brushes and drill to the required dimensions. Do this to ensure the brushes remain intact in the holder.
4. Tin Cans DIY Makeup Brush Holder
The things needed to make this holder are tin cans, mirrors, 3D liner, glue, brush, and acrylic color.
First, base coat acrylic white on the tin and let it dry completely. Then apply the glue to the dried surface and use a brush to smear it all over. Attach the mirrors onto the glued surface in the desired pattern. Use the 3D liner to fill in the spaces between the mirrors and the holder is complete.
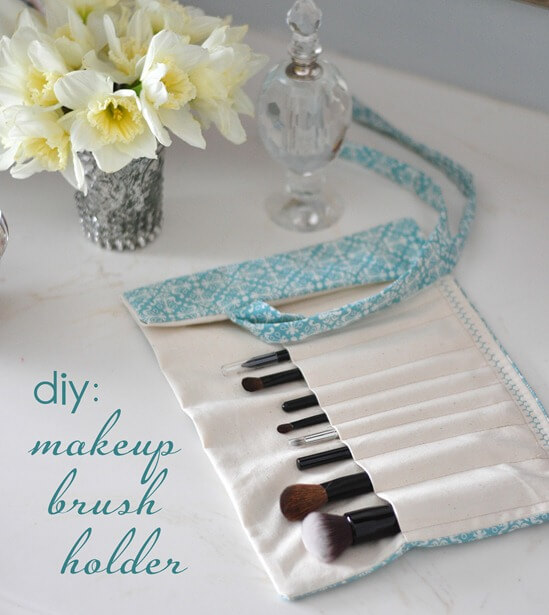
5. Fabric DIY Makeup Brush Holder
Finish making this fashionable makeup brush holder by using a piece of fabric and other readily available materials.
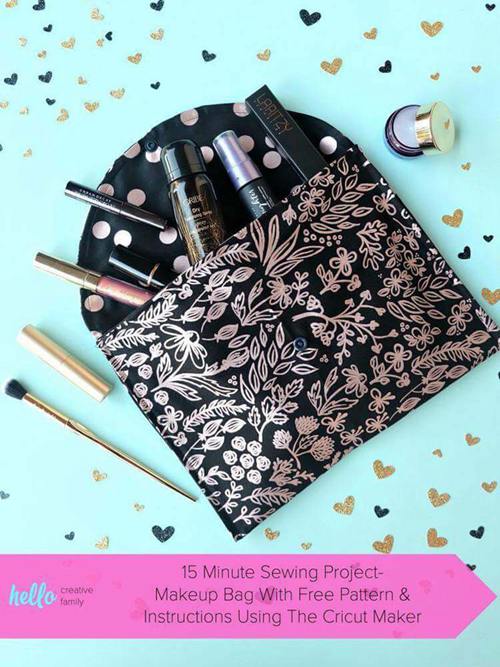
To start, create a plan. Next, sew the inside of the pouch and then stitch the individual brush pouches. Tie the end of the pocket using straps. After that, flip your fabric inside out and then seal the opening.
One advantage of this type is you can fold it and easily carry it with you.
6. Cardboard DIY Makeup Brush Holder
Cut out pieces of cardboard and glue them together to form a rectangular box with compartments inside. Make other separate small boxes that you will place inside the case of the bigger one.
Next is to add tape to the edges to make the box unified and appealing. Cover the smaller boxes with white tape and the other container with a brown cover. Fit the small box compartments to finish your makeup brush holder.
7. Galaxy DIY Makeup Brush Holder
Use an empty candle vase, paintbrush, glitter, and a hair spray to create a galaxy DIY makeup brush holder. Begin by cleaning out the jar and remove all spots and dirt. After that, use a Mod Podge to smear a thin layer on the vase.
Next is to get a separate bowl to mix black, blue, white, and purple glitter. Add up the mixture into the jar and distribute it evenly. After the glitter covers the Mod Podge, please leave it to dry. Also, use hairspray to make it stick.
After that, add plant filler and fix your makeup brush into the filler.
8. CD Case DIY Makeup Brush Holder
First, take an old CD case and measure your makeup brush to determine the dimensions. Use a knife to cut out the pieces. Place the pieces together using tape and then glue them to form a rectangular case.
Use acrylic paint to hide the adhesive used, and finally, place the makeup brushes in the holder.
9. Fab And Frugal DIY Makeup Brush Holder
Organize your room by using the fab and frugal DIY makeup brush holder that is easy to make. This process is about assembling products to create a unified piece.
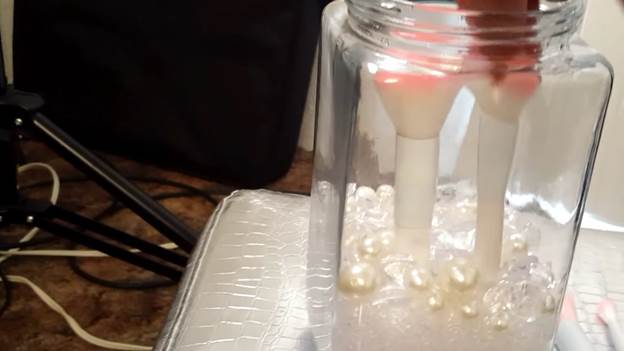
Get yourself a clear glass container and some beads of your choice. You can be creative and use pebbles and even coffee beans. Also, you can use only one color or a variety of colors.
Place the beads or pebbles into the clear container and then squeeze the paintbrushes in between. The advantages of this type are that it takes less time to finish and there is no need to buy any supplies.
10. Glitter DIY Makeup Brush Holder
Gather the following; glass votive, Mod Podge, gloss glaze, brush, and vinyl words.
First, use the brush to apply the Mod Podge onto the glass motive walls. Next is to pour your glitter in and rotate it to spread evenly. Continue sprinkling to ensure the whole wall has the glitter.
Remove the leftover glitter and let it dry. Use the brush to remove glitter that is ununiformed, and that did not stick properly. Add a layer of the Mod Podge onto the glitter and then add the glitter.
Let it dry again, and then use Triple Thick to seal the glitter. The holder is ready for use.
11. Hanging DIY Makeup Brush Holder
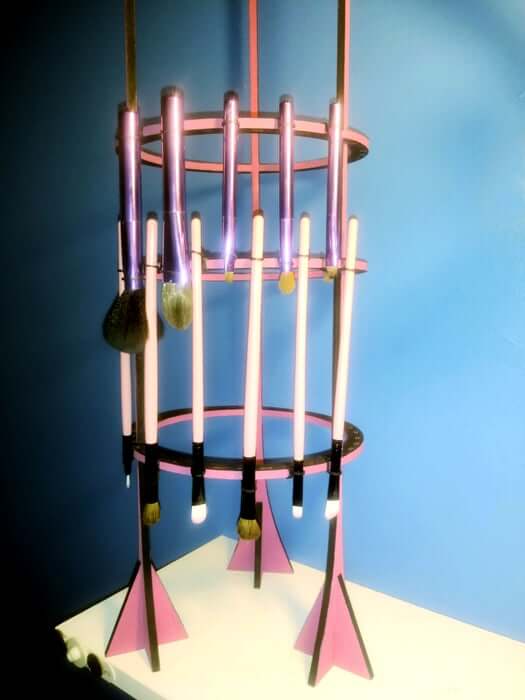
This type of holder keeps your brushes upside down to dry and for adequate storage. To start, you need plywood, hair elastics, wood glue, sandpaper, paint, and a laser cutter.
Then, design your handle and begin the construction. Cut out the plywood into the required sections and then sand it for smooth edges.
Assemble the pieces together using glue and then paint your frame. The last step is to attach the brushes with the hair elastics and attach your brushes to the handle.
12. No Expense DIY Makeup Brush Holder
For this final guide, you need any size glass, glitter, Mod Podge, and brushes. Use a brush to smear the Mod Podge over the outer surface of the glass. Sprinkle the glitter to cover all the white parts of the Mod Podge.
Please leave it to dry. Repeat the same process for other glass containers using different color glitters to make it more fun.
13. Cool DIY Makeup Brush Holder
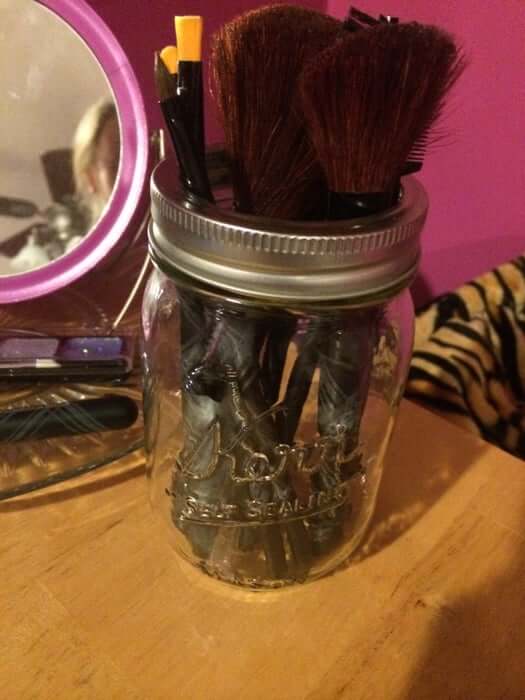
The whole process of making the makeup brush holder requires a mason jar and the makeup brushes.
First, remove the top piece of the Mason jar and screw it back on the metal rim. Throw in your makeup brushes, and the holder is complete.
You can decide to beautify it, but at this point, the DIY makeup brush holder is complete.
14. Glass DIY Makeup Brush Holder
To begin the construction, you need to have a glass container that has a lid and fillers.
The first step is to pour the fillers into the jar. It is advisable to start with the smaller filler, but you can choose to mix it up. Also, add up other decorative fillers for beauty purposes. Then lastly, insert the makeup brushes into the jar.
Leave enough space when adding the fillers to accommodate the fillers replaced by the brushes.
15. Sushi Mat DIY Makeup Brush Holder
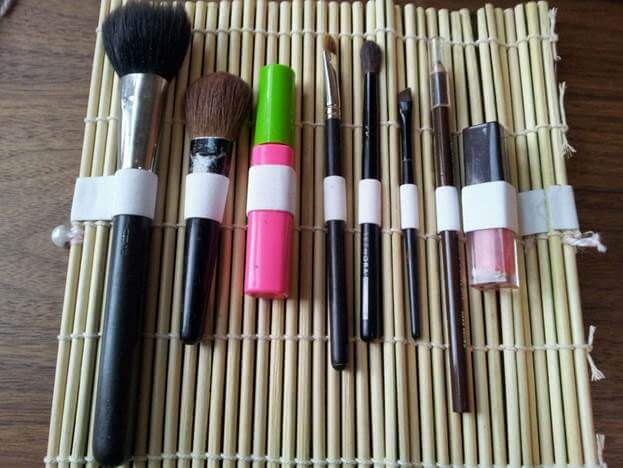
First things first, you need a sushi mat, elastic fabric band, glue gun, pair of scissors, a button, and a string.
After assembling all these, place the makeup brushes on the sushi mat and weave the bands. Then, remove the excess bands by cutting them out using your pair of scissors. Now take the glue gun, apply glue to the elastic, and then fold it to the bamboo.
The final stage is to attach the bottom part by threading the string to the bamboo stick's end. Don't also forget to string the button. Remove the spare parts, and the sushi mat DIY makeup brush holder is ready.
Conclusion
All the above methods are very simple, and anybody can do them. Use them today to keep your room, especially makeup brushes, in order. These methods are also very affordable, and there is no reason not to make yours today.
There are no special skills required, and you can always ask for help when you need it.




Ask Me Anything