Your mailbox says much about your home as well as you. It is one of the first things you notice when you get home from work and when a visitor comes to visit. It is also a place where you receive essential mails; therefore, it plays a crucial role in the home.
It is vital to make yours presentable. You can make upgrades to your mailbox by using materials easily found at home. Here are 13 easy to do hacks to try out.
Table of Contents
1. Quick DIY mailbox post plans
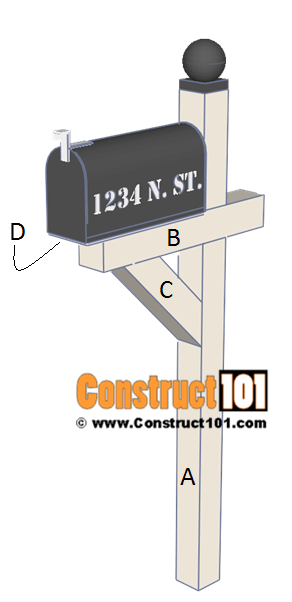
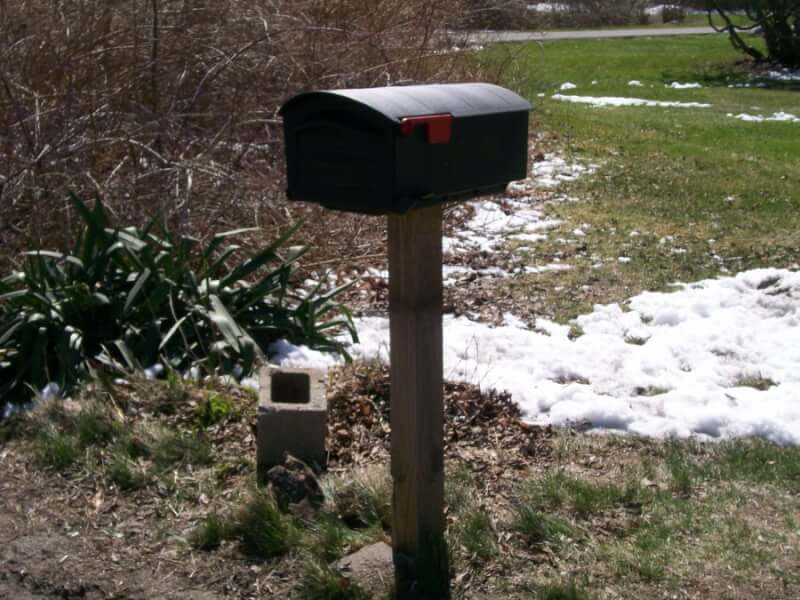
For this process, you need to get your measurements and materials right. You will need to have a mailbox, wood, deck screws, and concrete.
Your first step is to design the project to determine the right measurements. After that, cut out the wood into the required sizes. Then make notches where you will create joints for your mailbox post.
Join all the pieces together using the screws and add your mailbox. Now you can make decorations such as painting and creating patterns.
2. Homemade Modern DIY Mailbox Post
Try upgrading into a modern DIY mailbox post using wood, steel, concrete mix, steel pipe, angle glider, clamps, and glue.
To start, use the concrete mix to create a foundation for your mailbox post. Stick the galvanized steel pipe into the concrete mix. Then, bend the steel plate and also install the door. Attach the angle steel using the glue.
You can be creative and add other beauty features such as flags and handles.
3. Stone DIY Mailbox Post
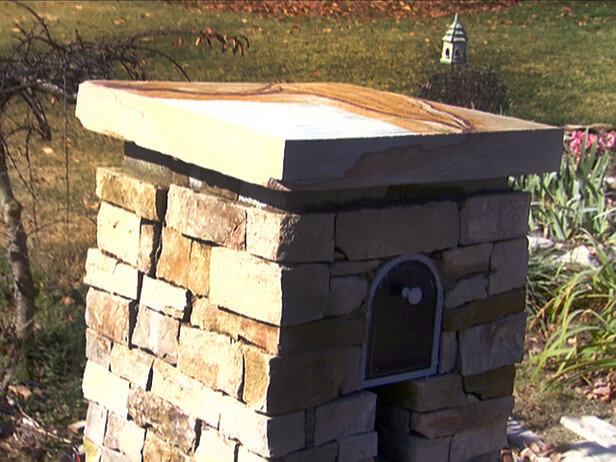
To create a strong mailbox post, you need a concrete mix, rebar, blocks, solid caps, motor bags, two stones, brick ties, mortar, mailbox, newspaper holder, tape measure, shovel, hammer, plywood, hoe, framing square, string, plumb line, masonry blade, and sand.
The first stage is to design your plan. Next, dig a footer and then pour the concrete mix. After that, lay the blocks and also set the cap blocks.
Finally, set the stones in mortar from top to bottom. Don't forget to do some finishing touches like smoothening the joints using a soft brush. Then clean off the excess mortar using your wire brush.
4. Garden Storage DIY Mailbox Post
The first step is to cut out old posts to the right height. Take a smaller piece and measure up to the point it’s going in. Cut out the section using a hammer and chisel. Next, place the pieces together and drill holes.
You can do a decorative piece for the bottom part. Drill your screws to attach it to the other frame. Make a hole for the base and place your mailbox post in it. Adjust it to the right position.
Use spray paint to make your mailbox beautiful. Drill another piece onto the frame where the mailbox sits on. Lastly, place the box on the base and screw them together.
5. Double DIY Mailbox Post
How about you try out something different and make a double mailbox? You have to first install your post by using a wood post. This process entails creating a sturdy base for the project.
Next, you have to make the mailbox frame. This is the stage where you mount the two mailboxes on the edges. Make it strong by using nails, nuts, and screws.
6. Modern DIY Mailbox Post
You need pressure-treated boards and two posts of the desired height for this method. Other materials are a mailbox, post light, foam for the post hole mix, and a brad nailer.
To begin, cut the posts to pieces to create a fence. Paint the details to the desired color at this stage. Then, make the upper shelf where the mailbox is going to sit. Attach two posts in the shelf space and then add the slats.
Then, put the box in place and ensure the door fully opens. Add and glue the supports to keep the mailbox sturdy.
Make holes for the stand and fit the frame in it. Secure the box in place and add additional beauty products and other patterns.
7. DIY Mailbox Post With Trellis And Garden Box
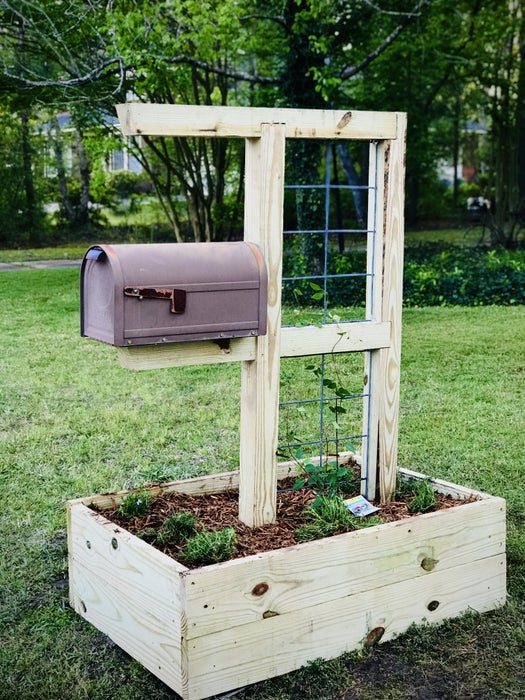
There are many ways of making a mailbox, and for this type, you need a mailbox, screws, trellis, raised bed garden box, pants, marking tools, chop saw, circular saw, chisel, hammer, screwdriver, bits, bolt cutter, and hole auger.
First, you need to put your ideas on paper and determine the right dimensions. Next, cut out the pieces and fit them together using screws and wood glue. After that, construct your base and place soil and the plant.
Now fit the mailbox frame to create a unified piece for your project. For the garden box, use plants that will not grow to exceed your box.
8. Cedar DIY Mailbox Post
For this project, we are going to use cedarwood. First, cut the wood into the required size. Do a half lap joint to make a flat joint of two pieces. Do additional birds mouth joint at the bottom of the flat joint and another on a smaller piece.
After that, attach the pieces using glue and screws to make one frame. Cut out another part where the mailbox is going to sit. Add boiled linseed oil to the top of the structure and smear it.
Dig out a hole to fit the frame and finally attach your mailbox.
9. Brick DIY Mailbox Post
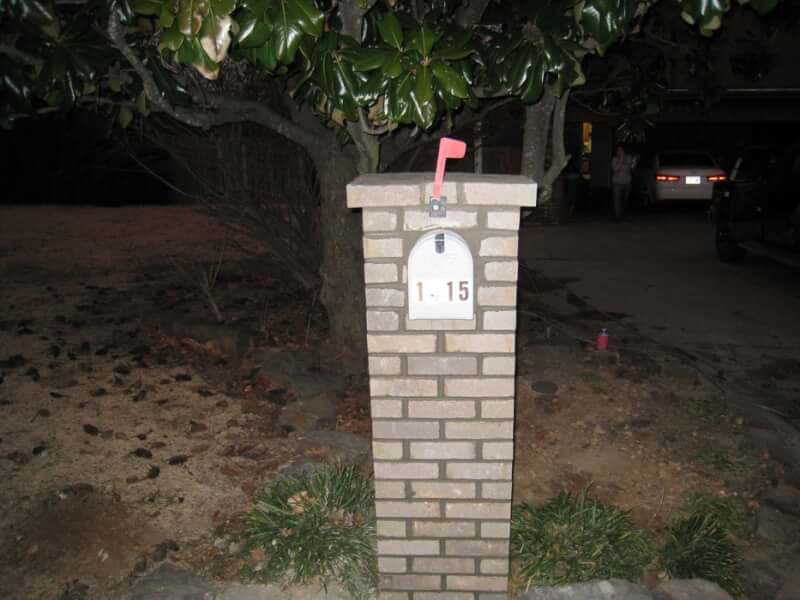
To create one of the most robust mailbox posts that can withstand harsh weather conditions, you'll need a masonry trowel, level, brush, masonry jointer, square, tape measure, shovel, wheelbarrow, masonry hammer, brick tongs, and masonry saw.
For the materials to use, get bricks, bags of mortar mix, blocks, cement mix, rebar, mailbox, and water.
Now, start by digging a hole to create a strong base, then place two blocks inside. Pour the cement mix, water and mix it with the trowel.
Bond the two brick courses using the mortar. Then, add the layers of mortar and also bricks going up. Now create a perfect top where you are to place the mailbox. Fill any holes and finally screw the mailbox onto the top.
10. Sheet Metal DIY Mailbox Post Plans
This process is easy to conduct, and with the right tools, it takes less time. First, cut your metal piece into the required size and use a file to smoothen the edges. The next procedure is to make the bottom, and to do this, bend the bottom piece to create an arc.
Useful tip; use a circular structure like a pipe for the perfect curve.
Take your top and make two bends at the bottom side. Then, place the piece inside the bottom arch and join the two together.
The top and the bottom part are complete, and to make the backside, measure the dimensions and cut out a piece of the metal plate. Use the cutout piece also to cut the front side. Attach the backside and for the front, use hinges to allow the door to open and close.
The final procedure is to spray paint the box to your desired color scheme.
11. Rural DIY Mailbox Post
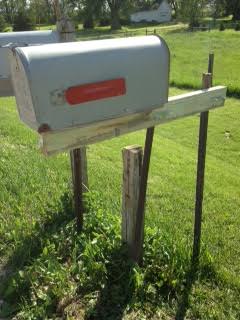
Let's go traditional and make a mailbox post using T-posts, U bolts, wood screws, post driver, saw, tape measure, drill, drill bits, hammer, wrench, screwdriver, and pencil.
After that, shape the box by forming a T drill using the cutouts. Also, make the front and rear sides. Use the drill to make holes where you insert the screws to put the whole box together.
Lastly, set up your mailbox onto the stand and secure it with screws.
12. Swivel DIY Mailbox Post
The whole process is easy to conduct, takes less than an hour, and there are no special skills needed. Begin by collecting the following: a swivel base, treated post, lumber, screws, mailbox, spring, bolt latch, saw, tape measure, screwdriver, and a drill.
Start by measuring and cutting the lumber to create a base and screw the mailbox in. Next is to attach the spring onto the post to make the movements. Finally, observe the box and make sure it is moving in an intended manner.
The advantage of having this box is that its movements shake off the snow during winter, and it is the right way to keep yourself away from the street when getting the mail.
Conclusion
It unbelievable the mailboxes posts we can create using readily accessible materials at home. The mailbox post building process requires different materials, and if you gather the required ones, you are good to go.
All you need next is a guide to help you through the entire process. Most of these mailbox post tutorials take less time to complete. Use the ideas above and make a mailbox post that is stylish and adds beauty to your home.








Ask Me Anything