As a kid, one thing I couldn’t resist was lemonade, I would always visit any lemonade stand I see. Trust me, they all tasted like heaven, ahh, “Sweet memories.” If you are a parent, this article will show you 24 DIY Lemonade stand ideas that you can build for your kids or yourself.
Making a lemonade stand might seem like a hard task but once the required tools and materials are readily available, the rest becomes very easy. Are you ready to build a DIY lemonade stand? Let’s begin!
Table of Contents
1. DIY Lemonade Stand
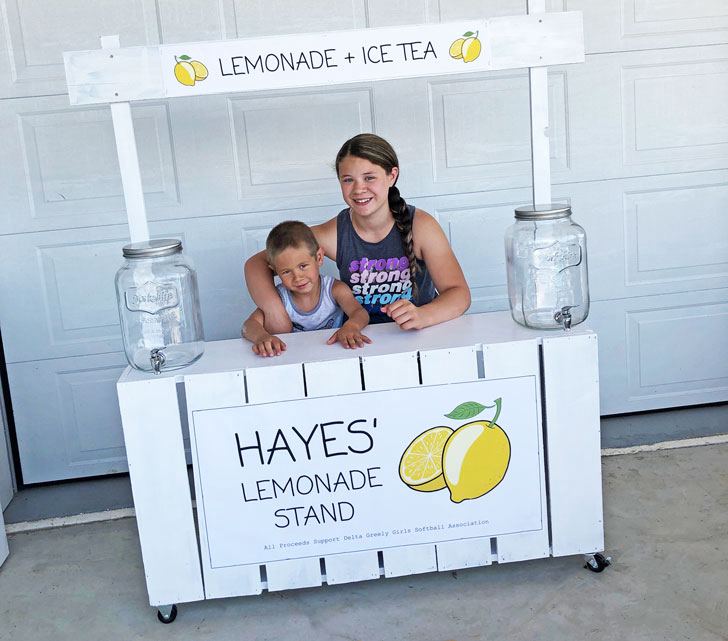
This lemonade stand is made from milk crates, velcro, staple gun, and paint. It does not require screws, nails, or bolts. Staple two sheets of velcro to two sides of the crates and join the crates together with these sides. Note that the number of crates required is dependent on the number of people that will use the stand.
2. How To Build A Lemonade Stand
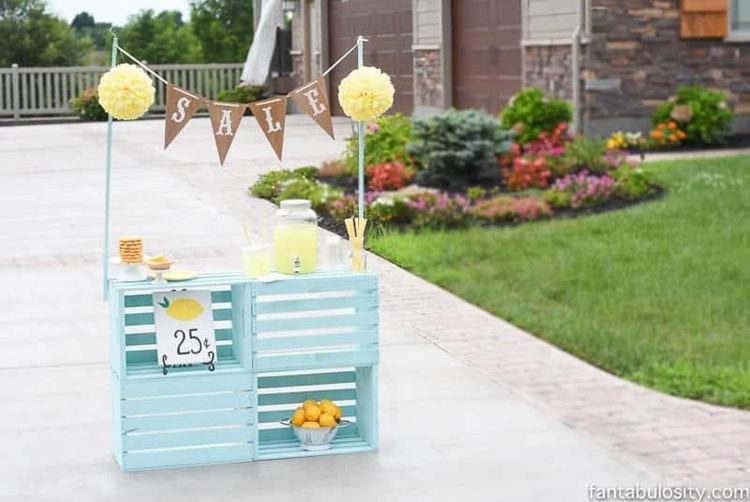
The materials needed for this lemonade stand include crates, nails, spray paint, and a hammer. Nail two crates on top of each other with nails and hammer with the front of the crates alternating, repeat this for the second set of crates. Then, spray paint the stand and attach two pinwheels to both sides to hang the banner.
3. DIY Lemonade Stand
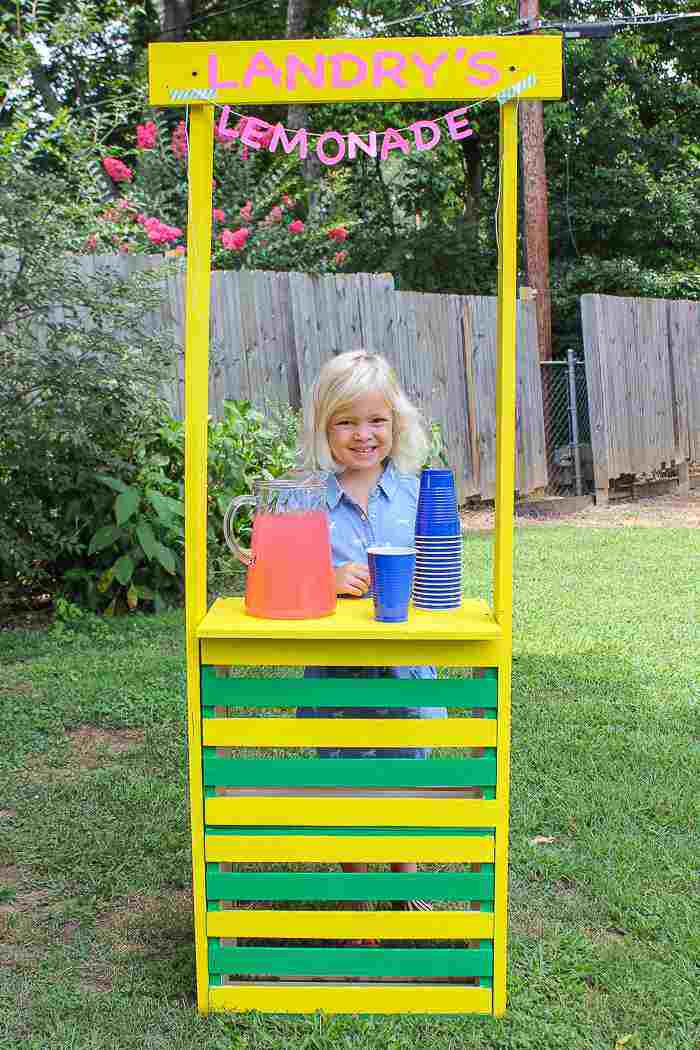
This is made from crates, glue, wood screws, paint, paintbrush, and strips of wood. Assemble the crates into two rows with glue and screws. Use the strips of wood to cover the gap between the crates, then paint the stand in your desired color. Attach a pole to both sides and hang the banner.
See also: 15 DIY Basement Bar Plans
4. DIY Lemonade Stand Under $15
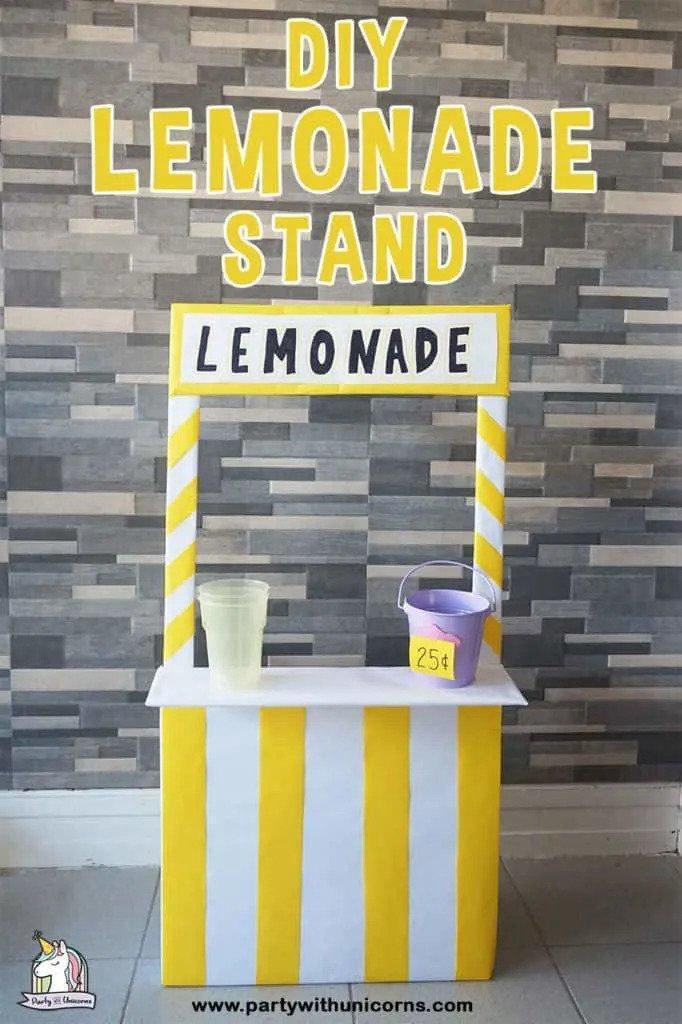
The materials needed for this include 2 foam boards, cardboard box, glue, welcome board, 2 wooden sticks, duck tape, lemonade, and construction paper. Make a large box with the form boards and glue the cardboard box inside it. Cover the form box with an oversized foam board. Paint the wooden sticks and attach them to the foam box. After this, decorate the box and the wooden sticks.
5. DIY Lemonade Stand With Wheels
This amazing lemonade stand with wheels is made from cedar fence pickets, boards, plywood, pocket screws, brad nails, wood glue, sandpaper, paint, and fabric. Measure and rip the cedar fence down to 52" long for the lemonade sign board. Cut out the letters from a piece of plywood and glue them on the 52" longboard. Drive two vertical supports into the ground to hold the board. Just below the signboard, attach the support bracket which will hang the canopy and move on to building the table.
6. DIY Rolling Lemonade Stand
This is made from wide trim boards, plywood, 4 caster wheels, screws, and wood pieces. To make the work easier, you can pre-paint the boards, then assemble the base of the stand. Once the base is ready, attach the casters wheel to the bottom and make the vertical support pole.
7. DIY Lemonade Stand
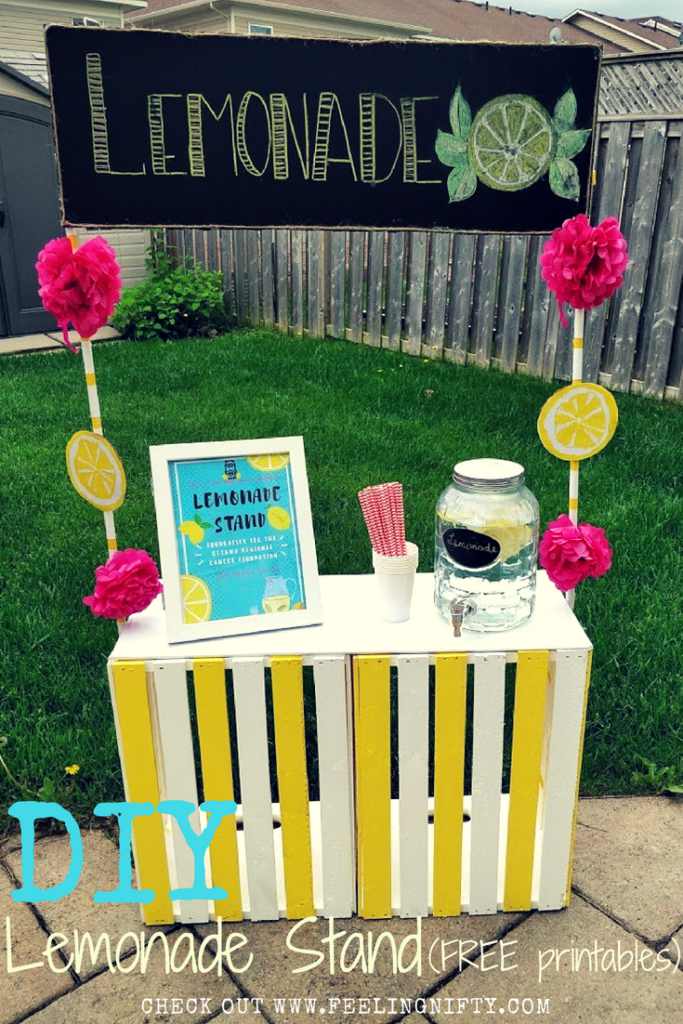
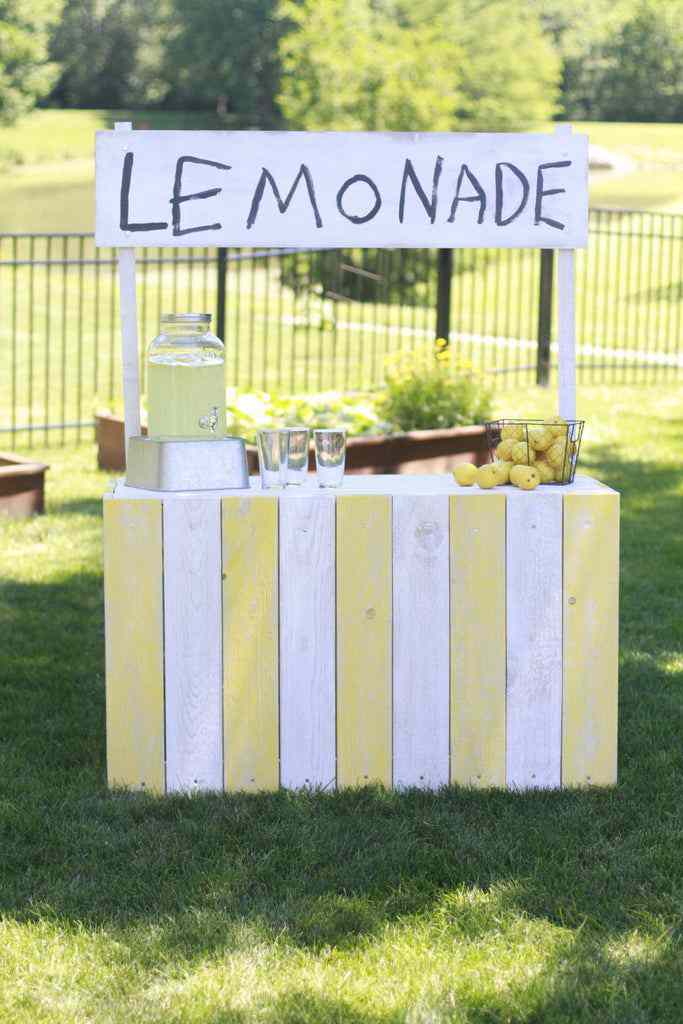
To make this beautiful lemonade stand, you need 2 big wooden crates, 2 wooden dowels, MDF boards, hook and loop velcro strips, zip ties, black foam boards, a hot glue gun, and scissors. Stack the crates up and paint the boards in alternating white and yellow colors. Attach the wooden dowels to both sides and you're good to go.
8. DIY Lemonade Stand
To make this mini lemonade stand, get four milk crates, spray paint, 2 wooden dowels, nails, and a hammer. Join the four crates together in two rows with the front of the crates alternating. Spray paint the crates and attach the wooden dowels to the sides of the crates with brackets and you're good to go.
9. How To Build A Lemonade Stand
The materials needed for this include plywood sheets, wooden boards, swivel casters, fixed casters, screws, and glue. Assemble a square base for the lemonade stand and insert the upright support inside it. Attach swivel casters to one side of the base and cover the base with wooden boards. Cut the plywood sheet to make the tabletop and the rooftop.
10. DIY Rustic Reclaimed Wood Lemonade Stand
This rustic lemonade stand is made from reclaimed wood, a project panel for the fine top, 2×4" pieces, and casters. Start by making the base assembly for the lemonade stand. Assemble the base with 2×4 and the project panel and stain the frame. Cut and attach the reclaimed wood pieces to the frame with glue and screws.
See also: 25 DIY Tiki Bar Ideas
11. How To Make A Lemonade Stand
This is made from wood pieces, screws, glue, miter saw, tape measure, and sandpaper. Start by making the base assembly for the lemonade stand, then make the upright support and hang the lemonade sign with it.
12. DIY Lemonade Stand
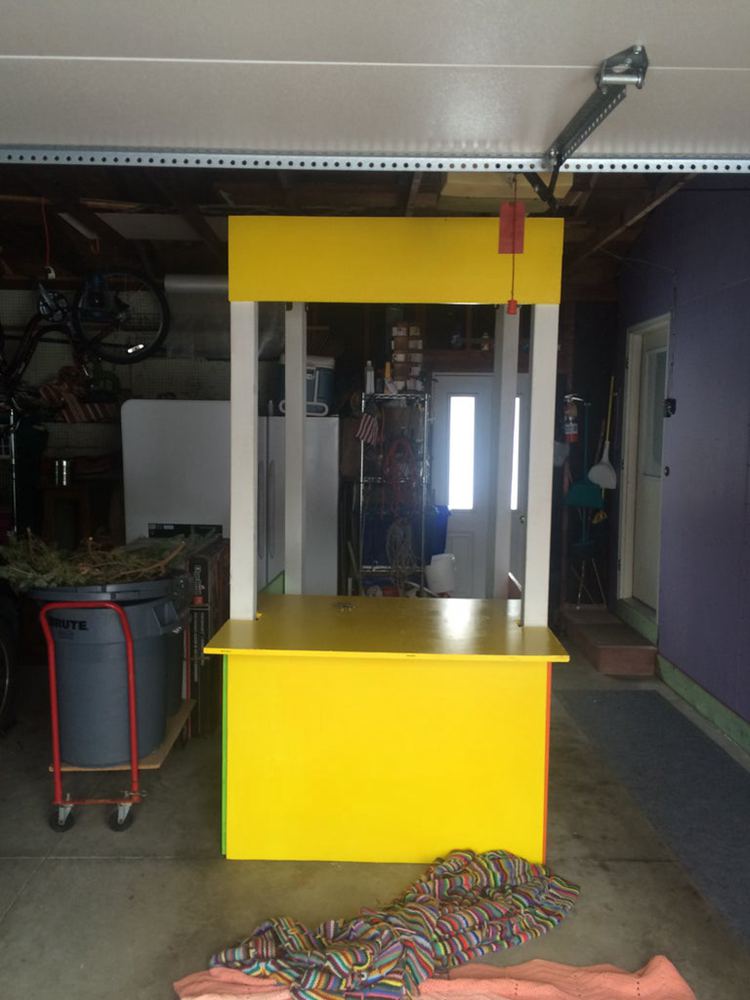
This is made from a sheet of plywood cut into 2 2×4", 3 2×2", and 2 1×2". Rio down the sheet of plywood into pieces and assemble the base of the lemonade stand. Place a large piece on the base as the tabletop, then make the upright support. Paint the whole lemonade stand in white and yellow.
13. DIY Lemonade Stand
This is made from plywood, hinges, primer, and paint. Cut the plywood into pieces and add primer to the pieces. After this paint them and assemble them for the lemonade stand.
14. DIY Lemonade Stand On Cart
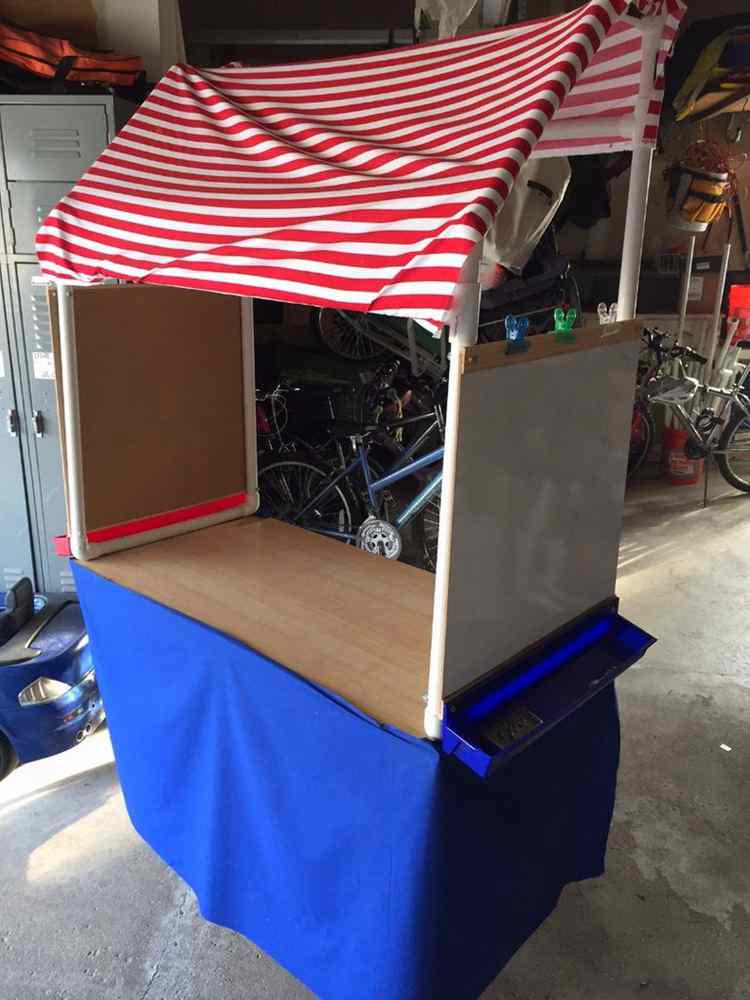
The material needed for this includes plywood, PVC pipes, PVC elbow fittings, fabrics, and swivel clips. Make the frame for the lemonade stand with the PVC pipes, then cover the frame with pieces of plywood boards. Use the fabric to make the rooftop.
15. DIY Pallet Lemonade Stand
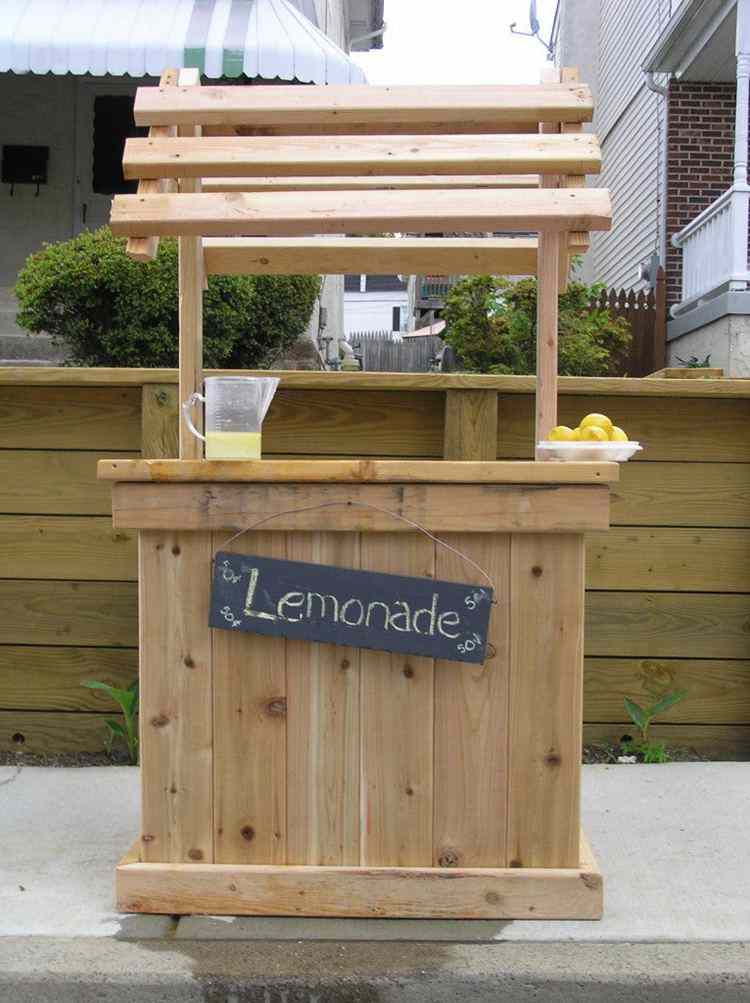
This is made from wooden pallets, wood screws, wire, glue, sandpaper, and black chalkboard. Disassemble the pallets and take out the wooden boards. Use the wooden boards to make the base of the lemonade stand. Join three pieces uprightly and use this as the vertical support holding the roof. The roof is also made from wooden boards.
16. DIY Vintage Country Chic Lemonade Stand
The materials needed for this DIY lemonade stand include a plywood sheet, screws, glue, paint, and a miter saw. Cut down the plywood sheet into pieces and assemble the pieces to form the base of the lemonade stand, the tabletop, and the signboard. Once the structure is complete, paint it and you have your awesome lemonade stand.
17. DIY Lemonade Stand
This is made from a sheet of plywood and PVC pipe. Cut and assemble the plywood as the base of the lemonade stand. Then, assemble ½" PVC pipe and elbow to form the upright support.
18. How To Make A Lemonade Stand
This is a very simple and cheap lemonade stand. It is made from plywood, wooden boards, glue, screws, and tape measure. Cut and assemble the wooden pieces as the base of the lemonade stand, then, glue the plywood board on it as the tabletop. Cut the pieces for the upright support and you're good to go.
19. How To Make A Lemonade Stand Using PVC
The materials needed for this lemonade stand include PVC pipe, tee connectors, PVC elbow fittings, glue, and paint. Pre-cut the PVC pipe before starting the project and if you don't have any power tools to cut down the pipes, get it done at the store.
20. DIY Fence Picket Lemonade Stand
This is made from fence pickets and 1×12" boards. Cut the fence pickets onto ⅓". Screw some 1×12" together to form two frames. Attach the casters wheel to the bottom of both frames and join them with the ⅓" pickets. Paint the lemonade stand and you're good to go.
21. DIY Cardboard Lemonade Stand For Kids
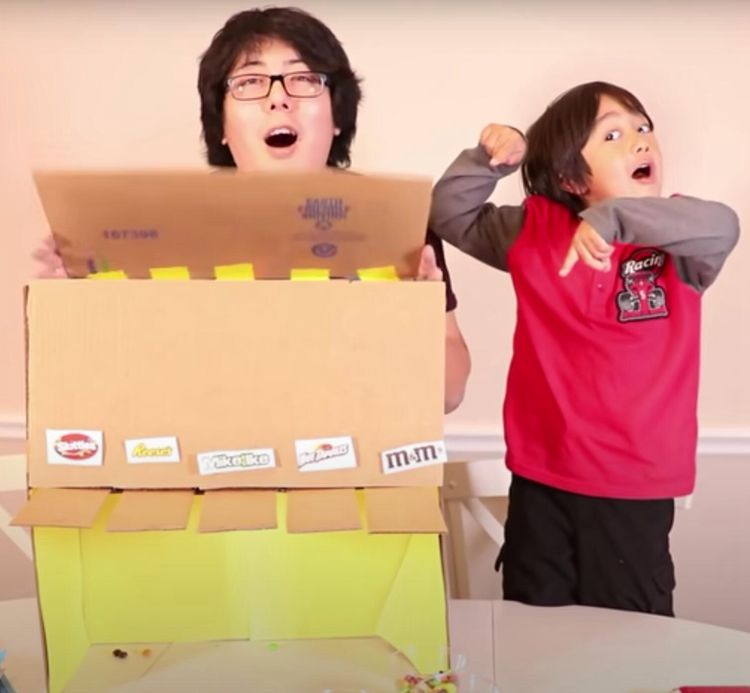
To make this, get big cardboard boxes, tape, marker, hot glue, scissors, and large color papers. Assemble the cardboard boxes by folding the flaps together as the shelf to hold lemonade cups. Decorate the box with colored paper and you're good to go.
22. DIY Lemonade Stand
The materials needed for this DIY lemonade stand include 2 big wooden crates, a thick plywood project panel, wood screws, drill, circular saw, and paintbrush. Cut the plywood panel and the wood to pieces. The crates will remain as it is. Then, paint everything and assemble the world pieces by sides of the crates and the plywood board as the tabletop.
23. Lemonade Stand DIY
The materials needed for this include primed boards, plywood, Wood pieces, fixed caster, swivel caster, wood filler, miter saw, jigsaw, painter's tape, caulk, speed square, and nail gun. Cut the boards into pieces and make a square base for the stand, attach casters to the bottom of the base. Cover the frame with pieces of 2×4" and assemble the poles.
24. How To Build A Lemonade Stand
The materials needed for this lemonade stand include 2×4", plywood, miter saw, wood screws, glue, and sandpaper. Cut the 2×4 pieces into pieces and assemble a fee for the stand. Then comes the frame with plywood and you're good to go.
Conclusion
Were you able to find an ideal lemonade stand? We would love to know your pick and why you chose it, always feel free to contact us via the comments section if you need help making a lemonade stand. We have professionals on standby who are always willing to help.






Ask Me Anything