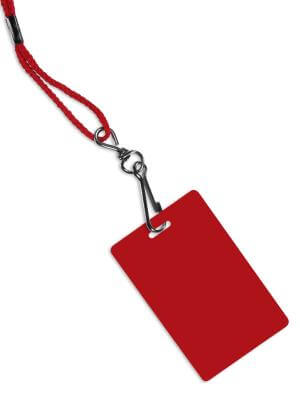
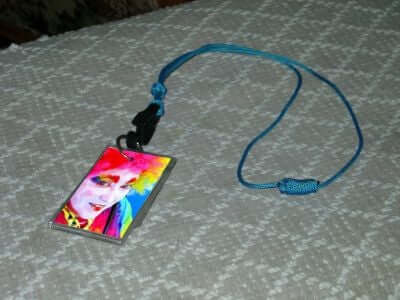
A lanyard is a tool that makes life easier by holding your keys, cards, and many more. Lanyards are also popular in many organizations as they mostly identify employees. There are many other benefits that this tool brings.
What you need to know is that there are easy steps to use to create your own. You can also reinvent old lanyards and create other unique products. The tutorials below are some practical ways to do this.
Table of Contents
1. Fabric DIY Lanyard Tutorial
The main requirements are a piece of fabric and a split key ring.
To start, cut the fabric into the desired size and iron it on both sides. Next, fold the strip into two halves and use a sewing machine to stitch them up.
Wrap the lanyard around the neck and position it so that the right side lies over the top part, and pin them together. Sew the edges and assemble the lanyard. The last step is to thread the keyring and then add the hook.
2. Easy Sew DIY Lanyard
First off, you need a fabric, pair of scissors, iron, and a sewing machine. Start by using a pair of scissors to cut the fabric. Next, fold the fabric in half and then press using an iron. Fold again towards the center and press.
Fold in half and press again. Use a sewing machine to make a top stitch on the fabric. Then fold and press the ends.
Then you thread a swivel clasp onto one end and tuck the other end under the fold. Iron and sew the knot to finish your lanyard.
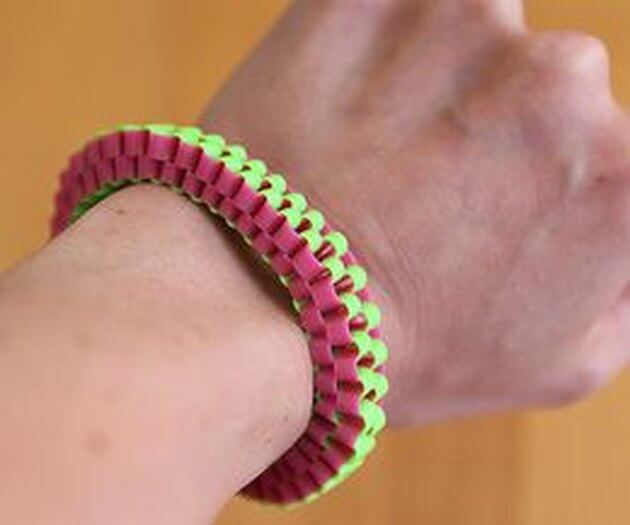
3. DIY Lanyard Bracelet
Let us try reinventing our old lanyard and turn it into a bracelet using two plastic strands and a metal clasp.
This process is so easy, and to begin, cut the strands into two equal pieces. Slide the clasp into the middle of one strand and lay it perpendicularly.
Fold the strands together and then straighten them out. Repeat the same process until you make a long box chain. Next is to fit the bracelet on your wrist and cutting out the remaining parts.
Slip the end of the clasp over one of the laces and make a knot. Trim the bracelet, and it is ready.
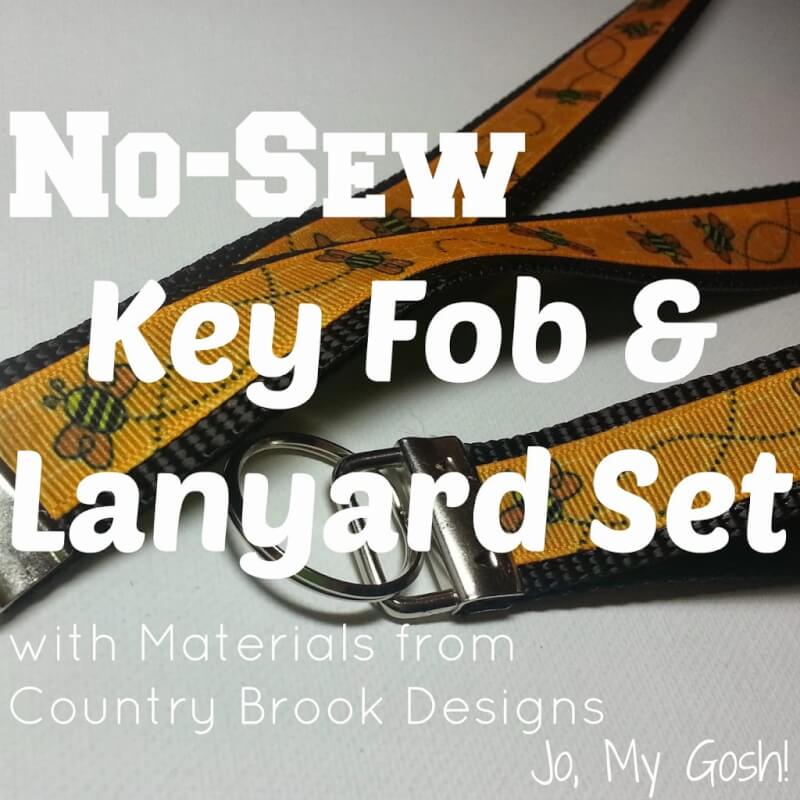
4. No-sew DIY lanyard key forb set
Start the process by assembling a ribbon, nylon webbing, key chain fob, jewelry plies, fabric adhesive, and scissors. After that, follow the following guidelines:
Measure the ribbon and the webbing and cut them into the required sizes. Paint glue on the backside of your ribbon and spread it to the edges. Next, you press the glued ribbon to the webbing and let them dry.
Then, press your webbing together to form a loop. Stack the ends on top of each other. Use your pliers to clamp the ends to make them firm.
5. Key Fob DIY Lanyard
First, you will require; two coordinating fabrics, fusible fleece, thread, pins, snap hook, safety pin, rotary cutter, mat, fabric marker, and a ruler.
Step one is to measure and cut out the fabric. Then sew the pieces, and use the iron to press the seams open. Next, attach a safety pin to the end of the pieces to help turn the fabric inside out.
Press the fabric again. Assemble the pieces together and sew them. Place the hook inside and secure it with a zigzag stitch. Lastly, you sew the band along the edges, and that's it.
6. DIY Lanyard Knot
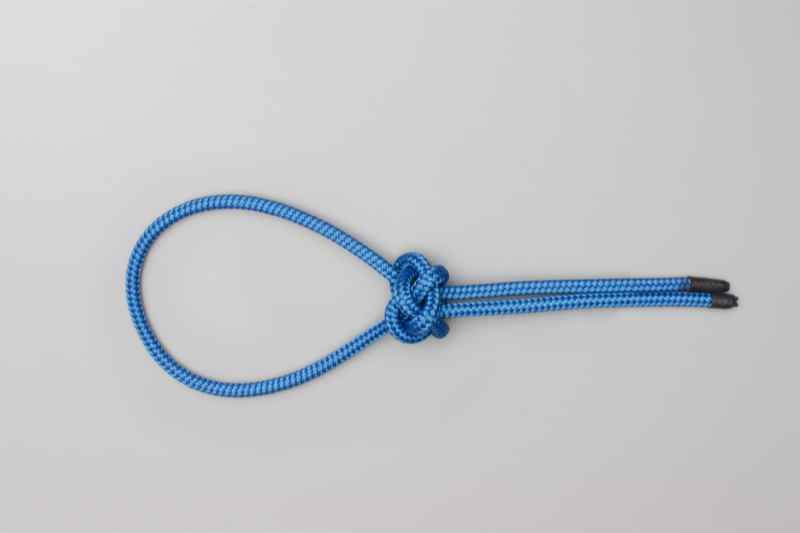
This easy to tie knot that you can use to connect things around your home takes less than 10 minutes to make. All you need is a lanyard rope, and you are good to go.
Now, place a bight and form a loop in one end of the rope. Pass the rope's other end under and then around the circle. Pass the end outside the bight and then through the center of your Carrick bend.
Repeat the same for the other end and finally tighten them to make the knot.
7. DIY Lanyard Tie Knot
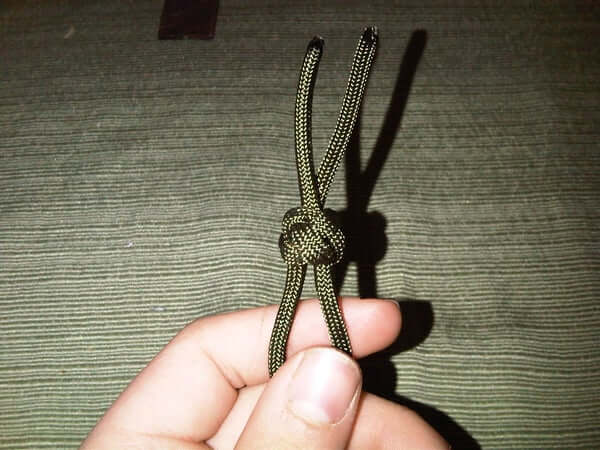
To make the lanyard tie knot, you need a Paracord, your ring finger, and maybe scissors to cut it into the right size.
Start by making a bight that leaves congruent ends, then place your ring finger into the bight. Next is to make the knot by looping the cord and doubling it. The final step is to take your finger off the bight.
8. Beaded DIY Lanyard
The first stage of any building process should be designing the end product, which is the same for this. After that, ensure that you have the following requirements; beaded design board, piers, wire cutters, keyring, beading wire, and crimping beads.
To begin the construction, use a rubber band to wrap one end of your beading wire to prevent the beads from sliding out. Slide beads into the wire, and the last should be a crimping bead. Use pliers to squeeze the bead to ensure it does not come off.
Remove the rubber band and add another crimping bead to the other end after cutting the excess wire and clamp the metal ring on the lanyard.
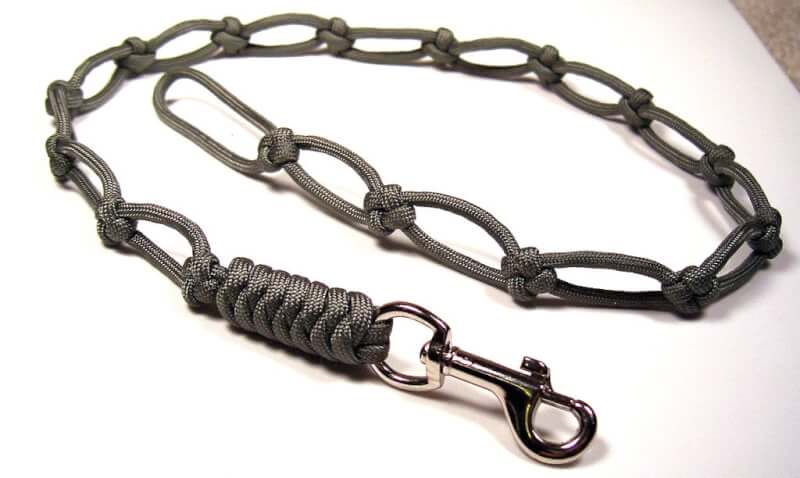
9. Para cord DIY Lanyard
This entire process needs a Paracord lanyard, carabiner clip, a metal ring, ruler, twist tie, scissors, and lighter.
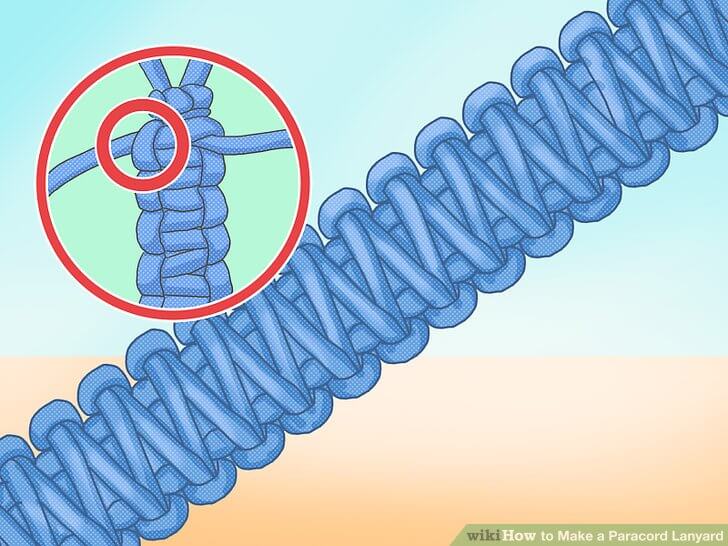
First, measure the required length and cut out excess parts. Next is to mark the center of your Paracord using a rubber band. The final step of this stage is to make the lanyard knot. It involves a series of loops that you have to get right.
The next stage involves braiding your cord. To do this, connect your cable to a carabiner, cobra stitch it, and then melt the loose ends using your lighter.
10. DIY Lanyard Weaves
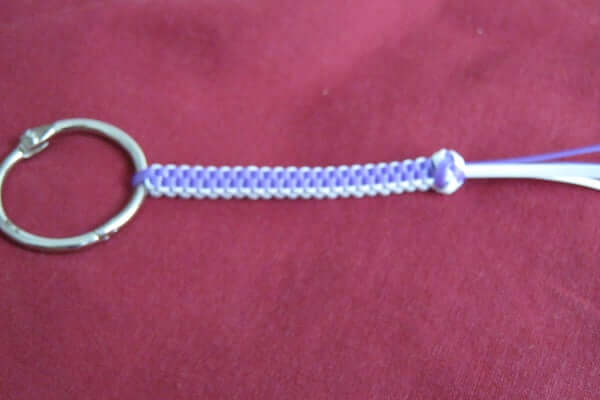
This is another way to create a beautiful lanyard using a lanyard string, keyring, and time. The entire process is mainly about making loops using the lanyard string.
Next is to put the knots together to create a strong base. After making these knots into the required size, use a Turk's head to prevent it from untying. The process can be tricky at times, and you can refer to pictures to help you out.
11. Breakaway DIY Lanyard Knot
This is how to do the breakaway DIY lanyard knot; cut out a paracord to the required size and make a bight from the end. Continue by tying a decorative knot and then finishing each end using a flame from a lighter.
Now what is left is to tie your break away knot. After that, secure it so that it can firmly hold a badge.
12. Cross Knot Para Cord DIY Lanyard
Use the instructions below to build this using a Paracord, scissors, swivel snap, lighter, and hook. First, center the Paracord and form a bight at one end. Next is to tie a cross knot to make an "S" shape.
Then, make loops and then tie your knot. Continue making these knots, and finally attach your swivel snap. Tie the snap, and the lanyard is now complete.
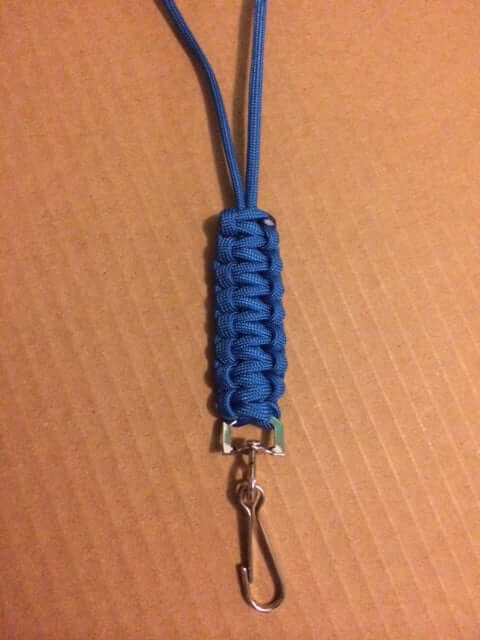
13. Basic Cobra Para Cord DIY Lanyard
This tutorial requires you to have a Paracord, scissors, lanyard clips, and a lighter. The lanyard takes less time to make, and all you have to do is fold the cord into 2 to find the center and then thread this cord through the clip up to half way.
Now position the cord for braiding. Make the first cobra braid, then the second. Tighten the lanyard braids, cut out the excess parts and finalize by melting the ends.
Don't forget to include a hook that will hold your keys and card tightly.
14. Dog Collar DIY Lanyard
Try out making your dog a lanyard collar using a lanyard, release buckle, D ring, strap adjuster, scissors, lighter, and a sewing machine.
To start, cut out the lanyard into the required size, determine this by fitting it first on the dog's neck. Seal the ends next using the flames from the lighter.
The next step is to add and secure the strap adjuster on the lanyard. Then, add one end of the buckle and thread your lanyard through the adjuster. Finish off by adding a ring and the other side of your buckle and securing them.
The collar is complete, and you can now use it the next time you take your dog for a walk.
Conclusion
Lanyards are good places to keep your keys and job cards. Learning how to make them can benefit you in various ways. Some include making yours depending on your preferences and reducing the cost of buying a new one.
Most of the guides above require fewer materials and also less time to finish. Some processes might require you to use help from others, but you can manage most of them on your own.





Ask Me Anything