Not everyone likes using a machine dryer. Personally, I would go with the old way of drying clothes on a drying rack after a good wash. In this article, I have put together a list of DIY drying rack projects that you can build with a few tools and materials needed.
We didn’t just list clothes drying racks, we also added drying racks for your herbs. Trust me, you will love all the projects listed in this article, they were carefully selected by our best researchers. Check them out, and thank me later.
Table of Contents
1. How To Make Clothes Drying Rack
The creator had a drying rack that was taking up much space and not strong. This particular dry rack that you'll learn how to make was made from original lumber wood. Here are a few tools that were used. You need a miter saw, Forstner bit, deep face clamps, and probably some earbuds to protect your ear from the noise of drilling and cutting.
2. DIY Clothes Drying Rack For Balcony
This is super easy to make, it's lightweight, portable, and foldable. It is way better than buying a modern-looking drying rack that might not last as long as this one. This time-lapse video tutorial guide shows you how to make this from start to finish. Although the list of tools was not mentioned in the video, you can see things like a nail gun, a drill press, and a few others.
3. DIY Cabinet Door Drying Rack
In this video tutorial, the creator used some 2x4 lumber wood as the vertical post of the rack and some 1x4 as the arms of the drying rack. This project requires a lot of wood, some for the base, the vertical post, and the arms that will be sticking out of the vertical wooden post. The arms will be the racks that you can place your wet clothes for drying. The task is simple and easy for even a beginner.
4. DIY Hanging Drying Rack
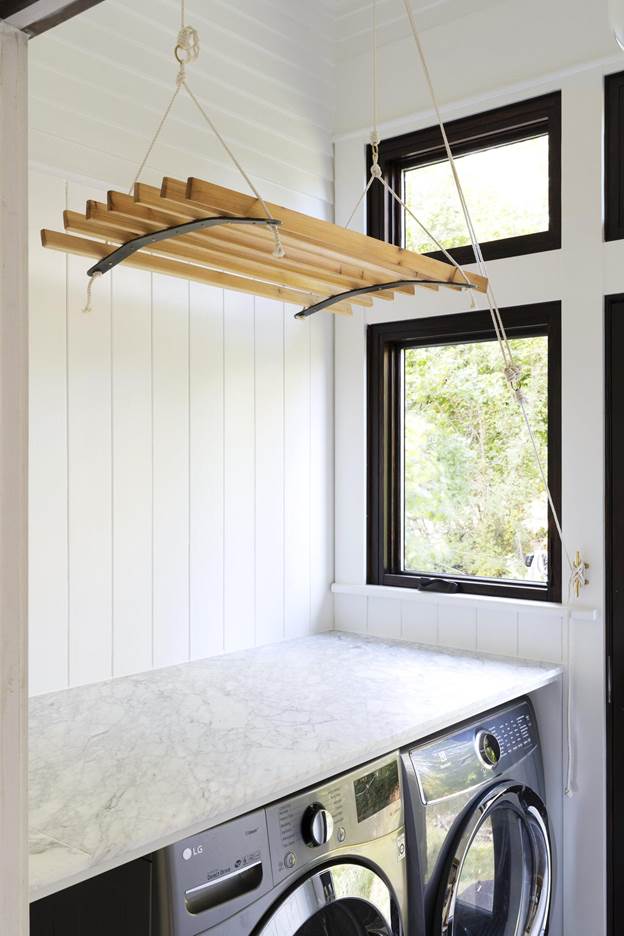
This is the coolest drying rack I have seen ever. It's small, portable, movable, and even adjustable. When I say adjustable, I mean, you can hang it high up above your washing machine in your laundry room,m and when you wish to dry some clothes, use the handle attached to it to adjust and bring it lower for you to have access and the, put clothes on it, then adjust it again and take it up higher where it will dry faster. All you need is a single pulley and double pulley, 2 ceiling hooks, 3 o-rings, brass nautical cleats, plywood,d, and a few others.
5. Space-Saving Drying Rack
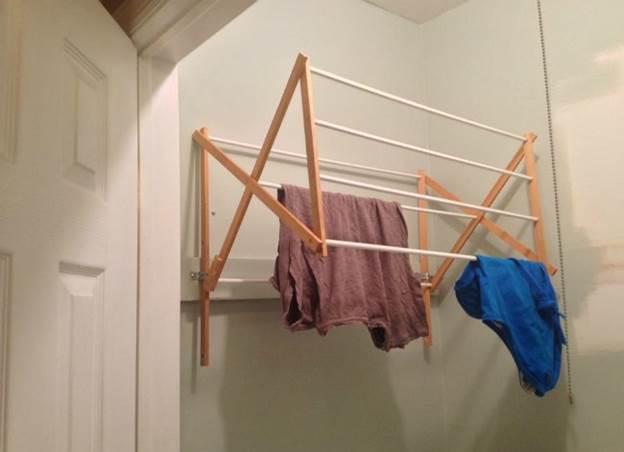
You might not have enough space at home or in your laundry room to hang a large drying rack, you can build a thing like this that is space-saving, foldable, and portable. It's easy to make from scratch and also durable. The drying rack simply hangs on the wall, so choose any part of your wall that you want the rack to be hung. Once it hangs firmly, you can easily pull out the outer layer that is folded inside and hang your wet clothes, after drying push it back in.
6. DIY Dish Drying Rack
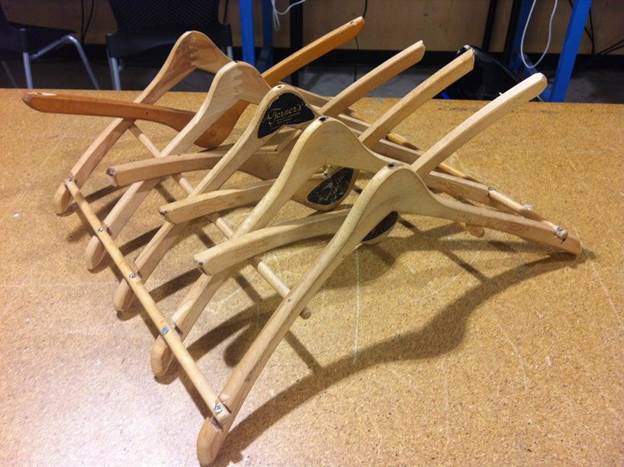
The creator made a lot of mistakes so that you don't have to, that's why this guide is as good as I say it is. The process took about 4 hours and it's very inexpensive. You need hangers, now this depends on how many wooden hangers you have at home. Those wooden hangers will be remade and manipulated to form a drying rack that can serve both for dishes and small clothes or towels.
7. DIY Beer Bottle Drying Rack
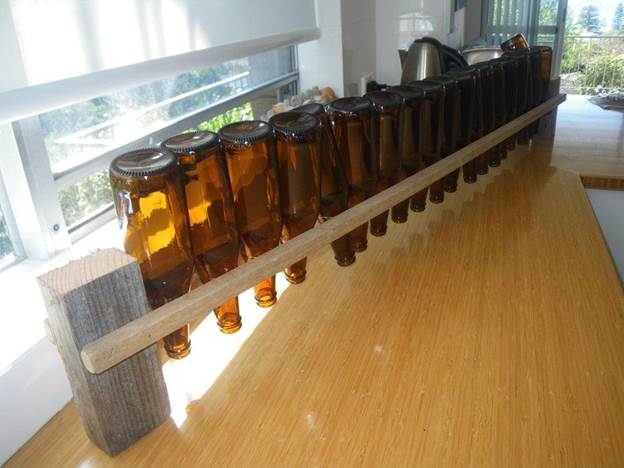
I appreciate the idea behind this drying rack, the creator had even a better idea in mind while making this, knowing it will work and serve its purpose so, I believe this can work for you too. From the image, you'll need 2 pieces of scrap wood, almost the length of the bottle, 2 long wood pieces that can accommodate about 20 beer bottles, and just 2 minutes of your precious time.
8. DIY Foldable Clothes Drying Rack
So, the creator started by cutting an 8-foot wood piece in half and he did that with a table saw. If you don't have a table saw, a miter saw should do the trick, just be careful to make the cut accurate. This time-lapse video tutorial shows you the step-by-step making process, from the very first cut to the wood, to the last glue and spray used to finish it. Another thing that makes this rack so good is that after drying, you can easily fold it and tuck it out of the way in a corner, and it can dry as a lot of clothes without them touching each other.
9. DIY Clothes Drying Rack
Here is an amazing drying rack made specifically for drying clothes. You'll need 5 Copper elbow joints, 8 'T' joints, 4 copper pipe caps for the feet, 2 hinges, a drill, a polyurethane sealant, sandpaper, wood glue, rope, and some wooden dowels. The making process is quite simple and quick. Once you have all this material ready, all you're going to be doing is assembling all the pieces to form the drying rack.
10. How To Make A Foldable Clothes Drying Rack
I think I'm going to try this drying rack out after I explain how to make it to you. It's super quick and easy. The rack is for outdoor use although you can also make one inside the house, it doesn't take up much space and it is firmly fitted to the wall, all you'll need to do is pull it out before, and push it back in after use. You'll need 2 metal square pipes, 2 flat metal sheets, and 4 flat elbow metal sheets. You'll also need a strong rope that will go from one side of the pipe to the other and be firm enough to carry the weight of your clothes.
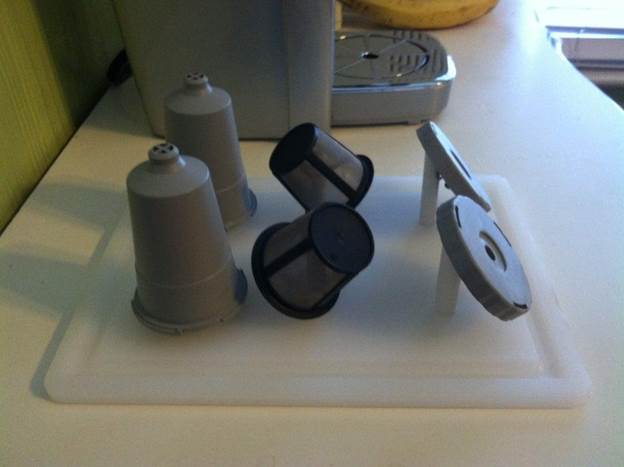
11. DIY K-Cup Drying Rack
Let's start with what you'll need for this project. You'll need a hanger that you might already have at home, a cutting board that costs about $3.99, a Forstner drill bit, a saw, a box cutter, a small hammer, and a drill. The next step starts with trimming and cutting the board, marking and drilling holes on the board, cutting the hanger, and assembling the pieces to form your K-cup drying rack.
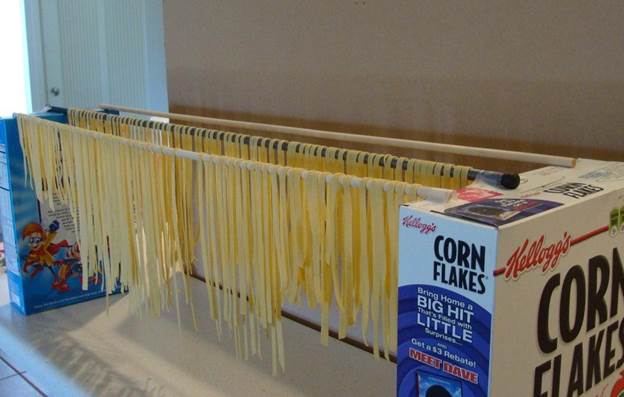
12. Pasta Drying Rack DIY
You love cooking and also love eating pasta a lot, you might want to consider making this pasta drying rack. It's effortlessly easy and quick. You will need some clean dowels, wood, or metal. It doesn't matter just ensure that they are clean before mounting. You also need 2 lathe cereal boxes and scotch tape.
Once you have your materials ready, assemble your racks, simply by placing one dowel at a time on the edge of the cereal boxes. The length of the dowel is up to you. When you place one dowel, use the scotch tape to hold it firm to the cereal box. Repeat the same for other dowels and your pasta drying rack is ready for use.
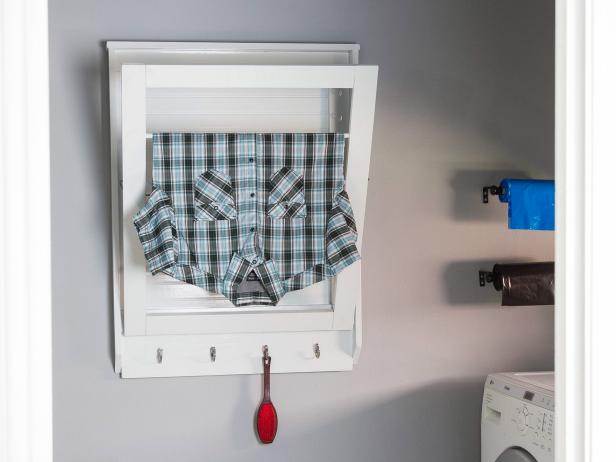
13. DIY Fold-Down Laundry Drying Rack
This is a cool denying rack with a great adjustable level that determines how far you want to adjust it. The frame hangs on the wall firmly and the other outer part is folded inside and can easily be retracted to hang clothes. You need wood boards, wood dowels, beadboard, clamps, wood glue, rubber mallet, wood putty, hinges, utility hooks, paint, wood screws, sandpaper, a drill, and much more.
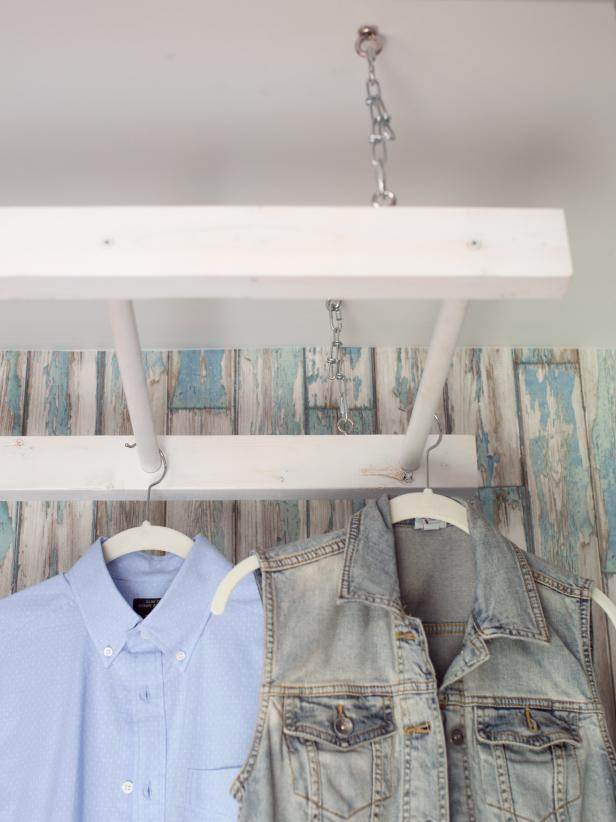
14. DIY Drying Rack From Ladder
This is yet another stylish drying rack made from wood. You need a wooden ladder, eye bolts, drywall anchors, locking chain links, miter saw, satin spray paint of any color of your choice, sanding block, measuring tape, cordless drill, and a few others. Here are the steps, first you cut the ladder, sand it, paint it, install the ceiling anchors, add your chain links, then hang your ladder and use it to dry your clothes. You can hang only a few clothes without them touching each other.
15. DIY Drying Rack For Herbs
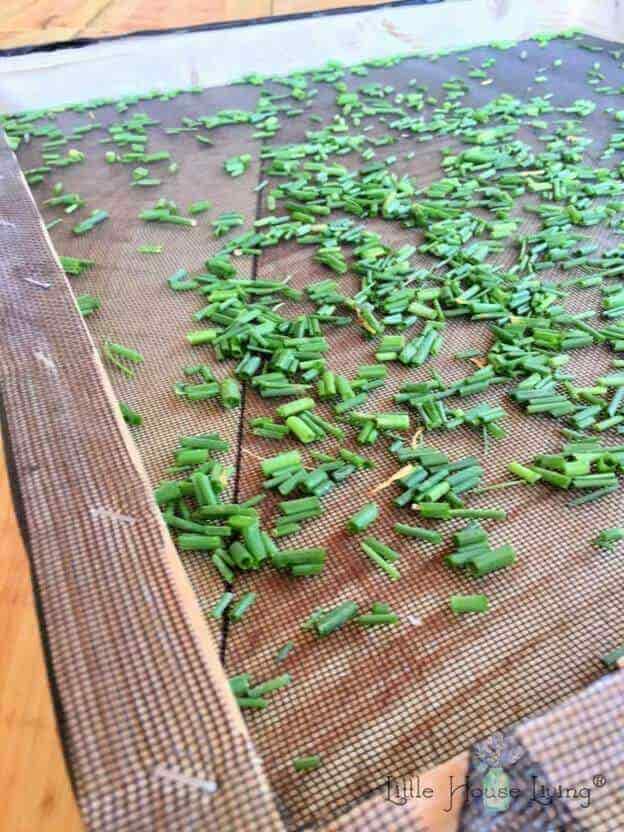
You just need a few materials to build this, and it will take you roughly 30 minutes to complete the entire process and start hanging your herbs to dry. This drying rack can easily be hung on the wall and won't take up much space, it can also hold a lot of herbs, and can also be used as a decorative piece to add life to your home.
16. DIY Herb Drying Rack
Here is another great drying rack for herbs. It's a simple construction, even a beginner with no woodworking experience can build this. You need a ½ inch wood, 4 boards, two will be 24 inches and the other two will be 21 inches. Then, you need some screws, a staple gun, a nail gun and you're good to go.
Conclusion
That is a wrap on our epic compilation of amazing DIY drying racks. All the projects listed in this article are quite easy to make or build from your home. It’s okay if you do not get the hang of it in the first or second try. You can keep trying until you master the art of building a flawless drying rack.
Thanks for stopping by, if this article has been helpful, you can share it with your friends or family members who might want to build a drying rack.




Ask Me Anything