A dry-erase board provides you with a clear surface to display your content and sometimes jot notes. It is made from materials that are readily available around your house or those that cost just a little in the store.
After rummaging through the numerous ways you can make an erase board, I finally narrowed it down to these 10 best and amazing DIY dry erase boards that can be made from home without using a lot of tools.
Table of Contents
1. DIY Dry Erase Board
Would you choose to save your money and spend a little of your energy and time to make this amazing whiteboard? In my case, I would surely save my money because an hour of my time won't kill me.
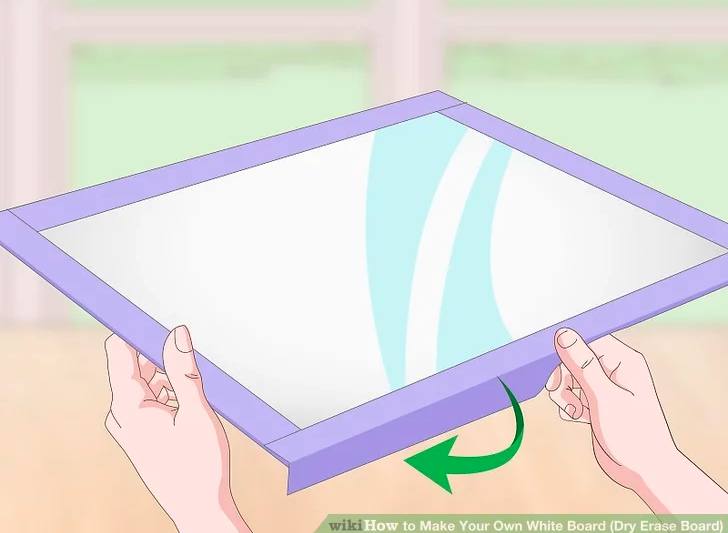
You have two different options for this erase board; it is either a plastic board or a foam board. Once you know which type you're going for, you need to determine the size of the board you want as well. The clarity of these two factors is very essential for the success of the project.
2. Mini DIY Dry Erase Board Made In Minutes
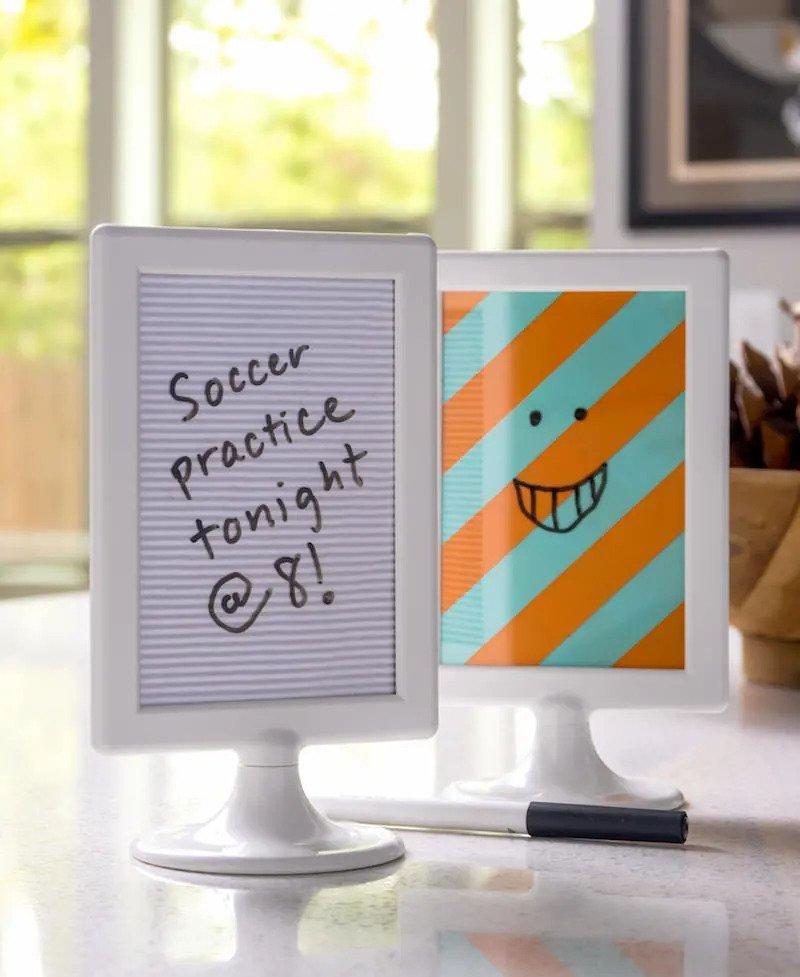
If you're a beginner and you would love to have a DIY dry erase board, this is the best erase board for you to begin with. It is cheap and simple.
Here are the simple steps you need to take:
First, you need to get a plastic or glass frame, then cut a piece of cardstock to size the frame. Wrap the cardstock with washi tape and install the cardstock into the frame. Make sure the card fits very well in the frame to avoid removal. You can use two colors of washi tape like the green and orange used in this guide.
3. DIY Glass Dry Erase Board
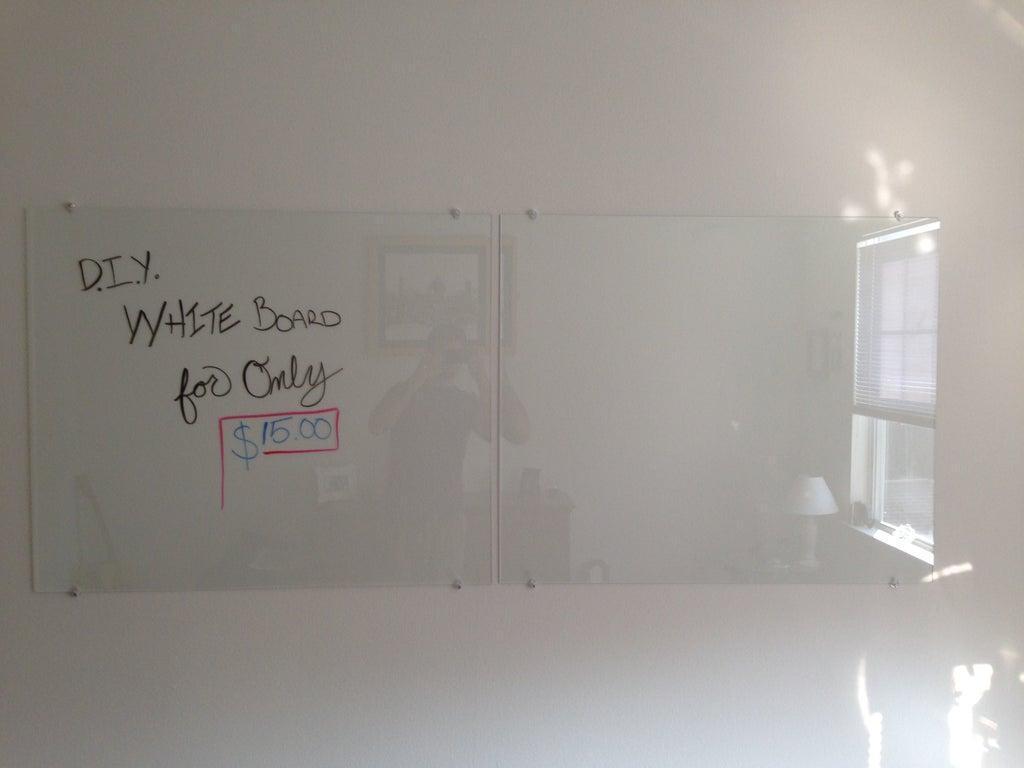
You can own this awesome board with only 15 bucks!
The first step is to gather the materials required. You can easily use a replacement window glass for the glass board if you can get it around but if the other way round, you can get the glass from the available store around. And for tools, you only need a screwdriver!
After the materials are intact. The next step is to install the board to the wall and continue writing and erasing.
4. How To Make A 4'x8' Dry Erase Board For $20
After searching through the internet, the instructor in this video settled with one of the erase board ideas, and below you will learn the materials and details of how he made it.
This dry erase board is made from 4'×8' white hardboard. Apart from the hardboard, other materials required for the project include white end caps and a metal mirror holder. The cost of everything is approximately $20.
It is very cheap and easy.
5. DIY Dry Erase Board
Getting a DIY done is mostly not the problem, but getting the materials and equipment needed can be tough sometimes. Whereas, for this erase board you only need a few and common materials and tools like a frame, wrapping paper, tape, dry erase marker, and scissors.
The first thing you need to do is to remove the back piece of the frame and drape the wrapping paper around it, secure the paper with tape and re-install the back to the frame again.
6. How To Make A Custom Dry Erase Board On A Budget
Having a budget sometimes means trying to be a minimalist. The instructor in the video gets the white large board from the home depot with a price lower than any other store.
What you need for the project include a whiteboard panel, a mirror mount, and plastic bracket trims. Once you get these materials the next step is to start making your dry erase board.
7. DIY Office Dry Erase Board
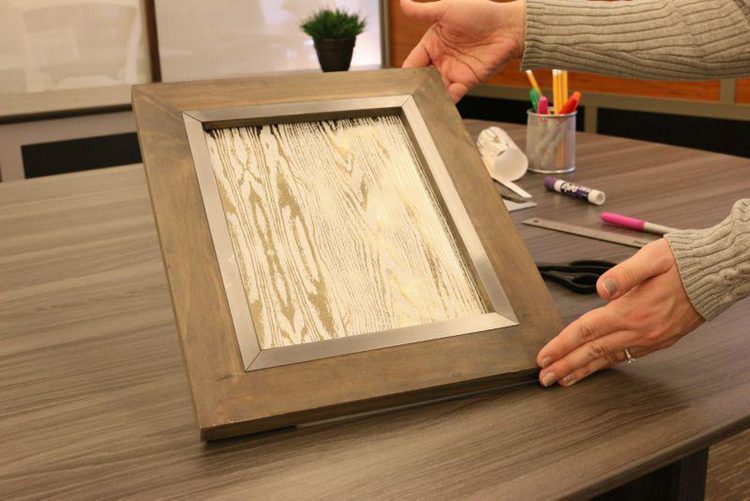
Do you need an additional space on your desk where you can temporarily keep ideas? You need this dry erase board made from wood frame and paper.
Using the back of the frame as the measurement guide, cut the paper in a rectangular shape that fits the size of the frame back. Remove the back from the frame and attach the rectangular paper to it. After securing the paper very well, you can restore the back of the frame and you're good to go.
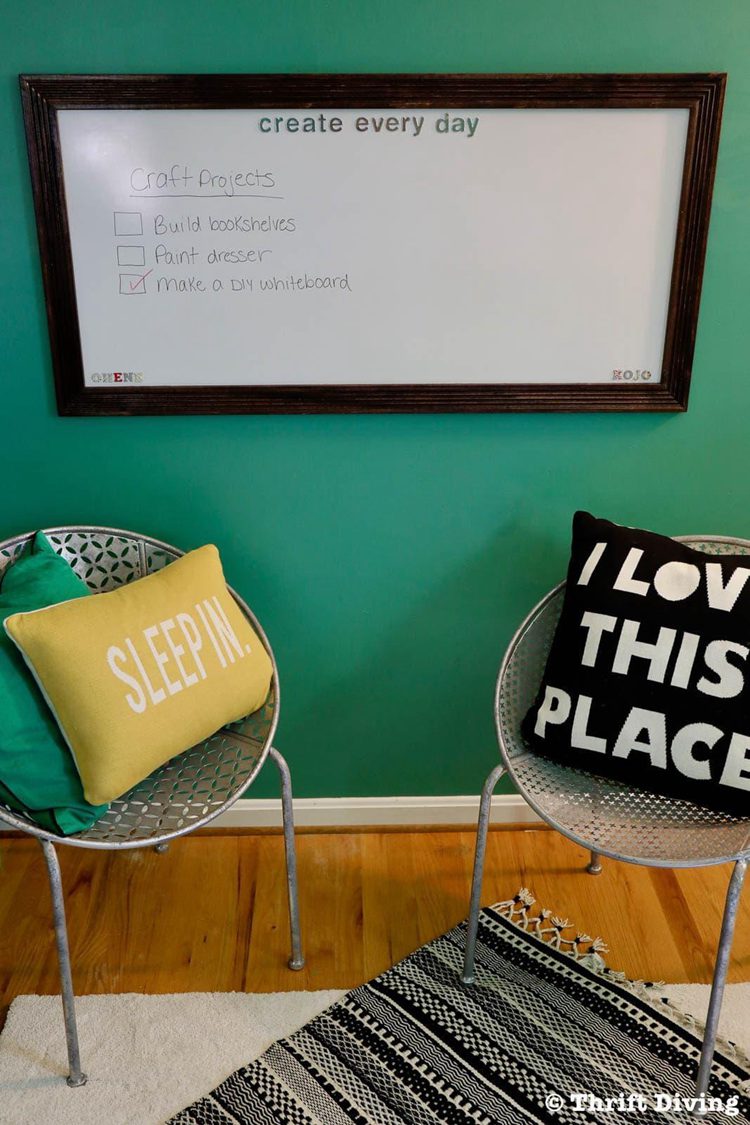
8. How To Make A DIY Whiteboard
Nobody has much time to spend on a whiteboard DIY, we all have other businesses we must attend to. That is why we need to learn how to make this quick and easy DIY whiteboard.
Apart from the fact that the whiteboard is easy and fast to set up, the cost of making it is relatively minimal.
9. DIY Acrylic Dry Erase Board
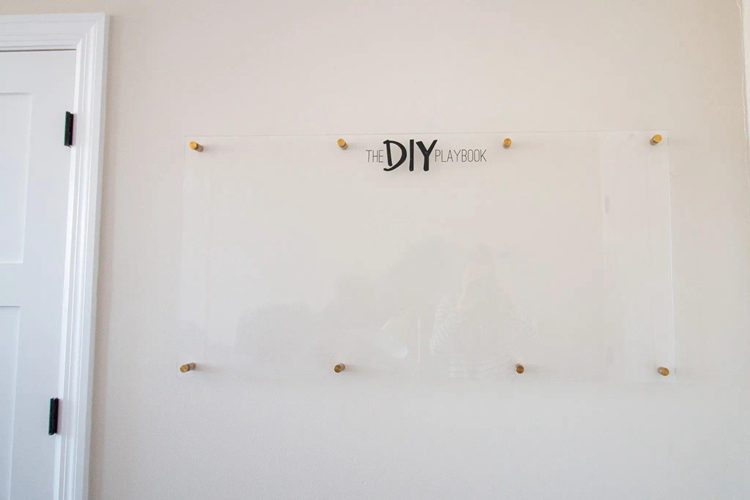
Ain't you curious how they made this acrylic dry erase board? If you're not, I am! Here is how it is made:
First get this material: acrylics, plywood, standoffs, decal, anchors, screws, sharpie, and brad point drill bit. Prepare the acrylic and drill holes on it to fit standoffs. Though the addition of the decals is optional, you can attach them to spice up the boards.
10. DIY Dry Erase Board For $20
In this guide carefully select a 16"×20" glass and a solid color to use on it. He chose a white color because it is light and added two coats to make it strong. Then to prevent the paint from scratch, you can apply to spray on the paint. Any other light colors will do well too.
It is relatively inexpensive and fully functional. I mean $20 is not too much for this amazing dry erase board.
Conclusion
A dry erase board doesn't have to be all flashy, and expensive. If you want something simple and affordable any of the ideas mentioned above is the best way to go. Thanks for stopping by, if this content has been helpful to you, kindly share!



Ask Me Anything