
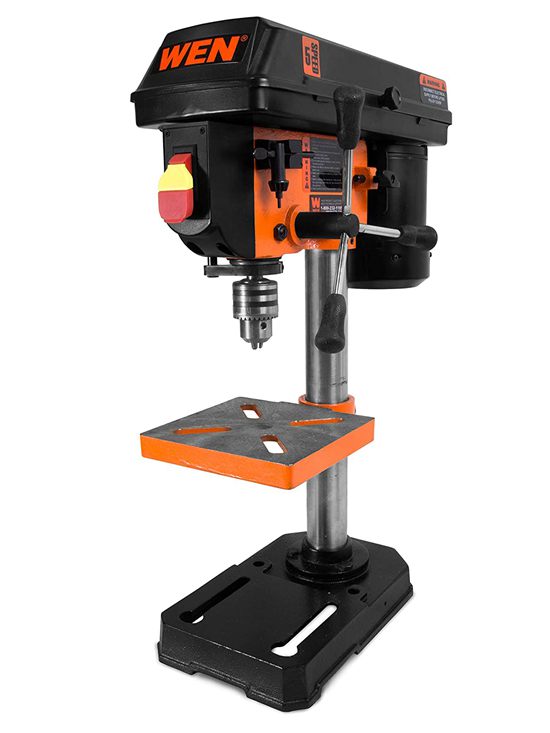
A drill press table is mainly designed for metal materials and not wood. It is also great at clamping woodworking projects and keeping them in place while you drill. It helps with making precise holes in the exact location you want them, and the exact type of way you need the holes.
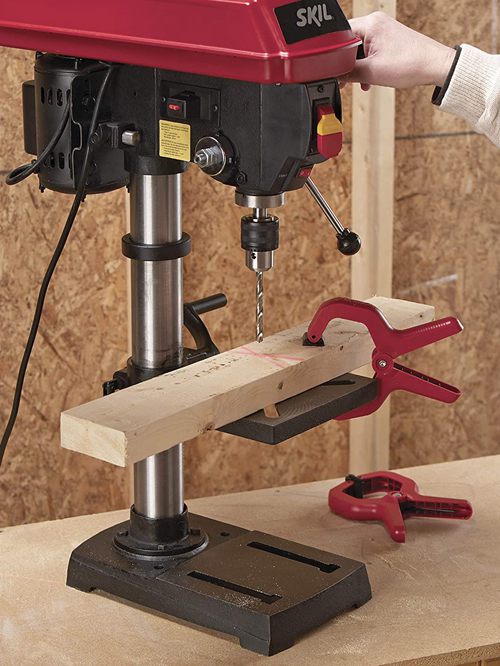
But do you often find that the drill press tables that come with your drill press are very restrictive without much work area? This is usually the challenge of many builders and constructors, and this is why they are usually looking to replace their drill press table. You, however, find that these table replacements are often too expensive and cost a fortune.
Thankfully, with a few dollars, you can build yourself a drill press table in your workshop. Check out the tutorials below.
Table of Contents
1.Handy DIY Drill Press Table
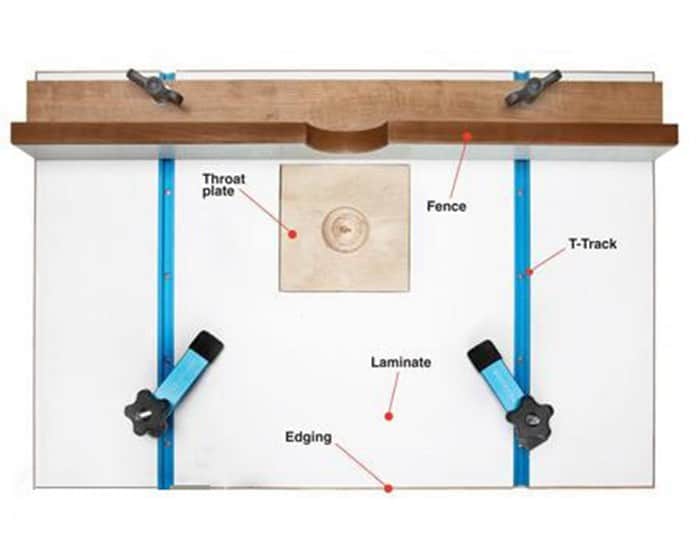
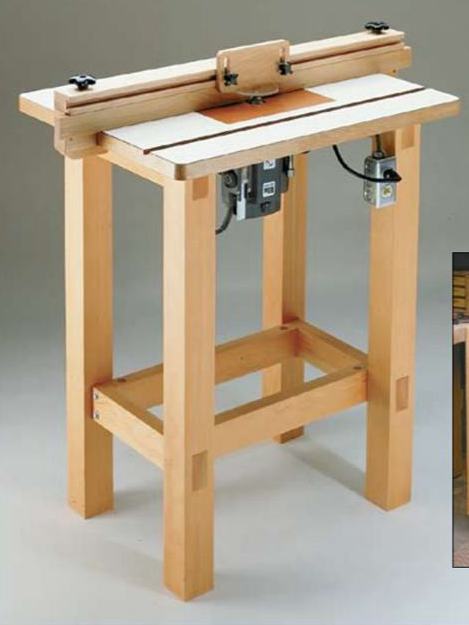
This drill press table is a little more sophisticated than usual. This is because the designer decided to go a bit over the top with his design; however, it is not difficult to make. His drill press table features a fence, a throat plate, T-tracks, edging and a laminate.
For this drill press table, you would need a belt sander, clamps, drill bit set, router, table saw, and a hole saw kit. The designer also suggests that you keep a flush-trim bit, a straight cut bit, and a 45-degree bevel bit handy, as well as contact cement, wood glue and some more materials listed within the tutorial.
The written tutorial is brief and clear enough; you can follow along easily.
2.DIY Shop-made Drill Press Table
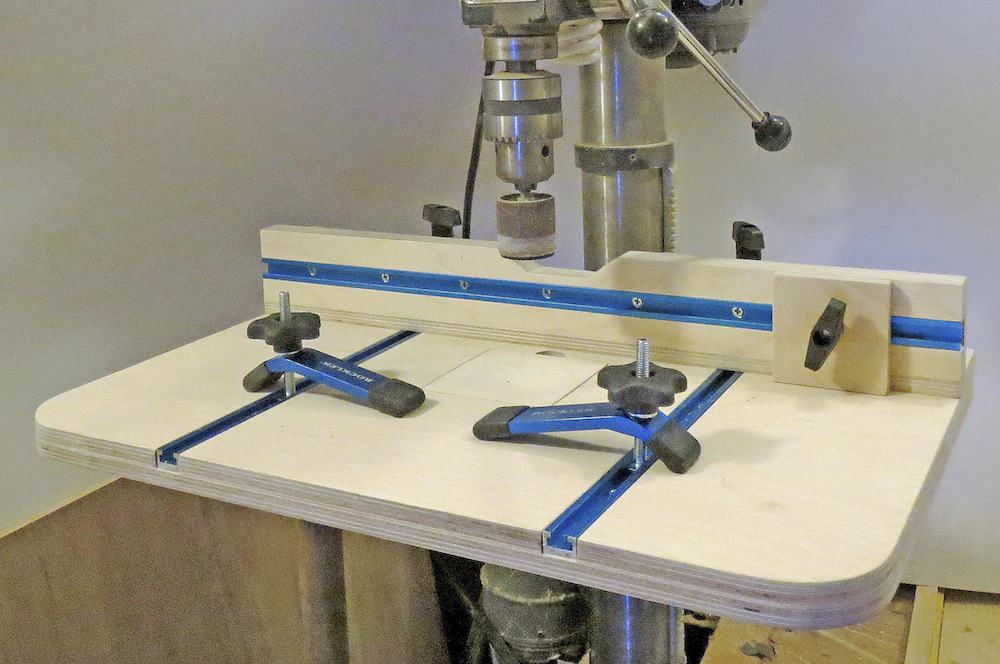
According to the designer, this drill press table is a must-have in all workshops. Because of the challenge of using stationary drill presses (which are not user-friendly for woodworking or metalworking), he designed this table.
The drill press table is built to have an adjustable fence that helps with drilling holes that have equal centres and a stop block that helps to make repeatable drilling operations alongside the fence. The designer also claims that with as low as $50, you can build this drill press table.
Within this written tutorial, you’ll find dimensions, diagrams, materials and instructions on how to build yours.
3.DIY Drill Press Table and Fence
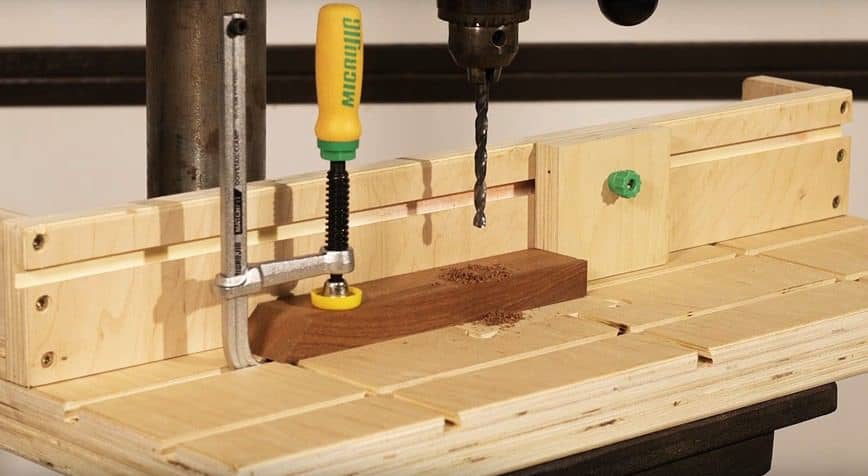
This drill is built in a sliding dovetail style that makes it less complicated than T-tracks. This 9-stepped tutorial is everything you need to make an unmatched drill saw table. You’ll need a table saw, dovetail pro kit, drill, router, glue, mitre saw, router table, table saw fence and a list of other tools inside the tutorial.
This tutorial has a written version, as well as a video. They both have clear, workable instructions, and you can easily follow anyone you choose. Step one has to do with cutting pieces for the table and creating mark lines for dovetail groves. Step two and three involve routing the dovetail groves, while step four creates a space for Backer pieces.
In step five and six, you assemble and finish the table bottom, and in step seven, eight and nine, you build and install the fence then start to use your drill press table.
4.Easy Drill Press Table
If you have spare pieces of MDF leftover in your workshop, you’re in luck! This designer built his drill press table using scraps of MDF and T-molding. Other parts and materials he used include T-track, knobs, T-nut, thumbscrews, wood glue, drywall screws and cabinet screws.
He also used a table saw, jigsaw, push stick, feather board, a drill and a countersink drill bit. In a pdf file attached to this tutorial, the designer outlines the building plan for the table. This written tutorial is relatively lengthy and would require a bit of concentration.
Thankfully, there are images in it, and this would help to aid better understanding. There is also a video tutorial if that is your preference.
5.Simple DIY Drill Press Table
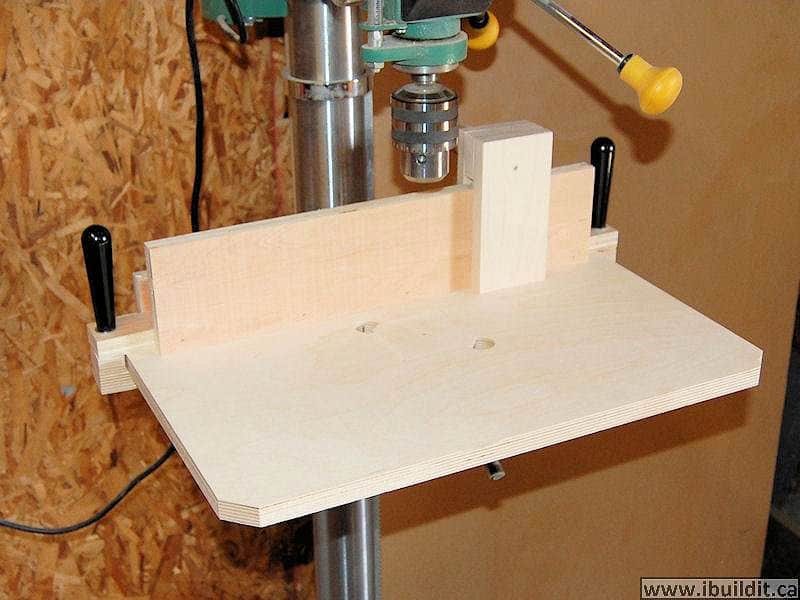
The designer created this drill press table not to be able to allow inserts. He also added a fence that has a stop block. For this project, you would need assorted sizes of plywood, T-tracks, hardwood, countersink screws, star knob, T Bolt, drill, router, drill press, table saw, belt/disc sander, among others.
This is a 12-minute long video tutorial with clear instructions, tells you the dimensions you need and demonstrates how you would make your own. For further information about this plan, you can check in the video description.
It also comes with a written version found within the description box.
6.The Ultimate Drill Press Table
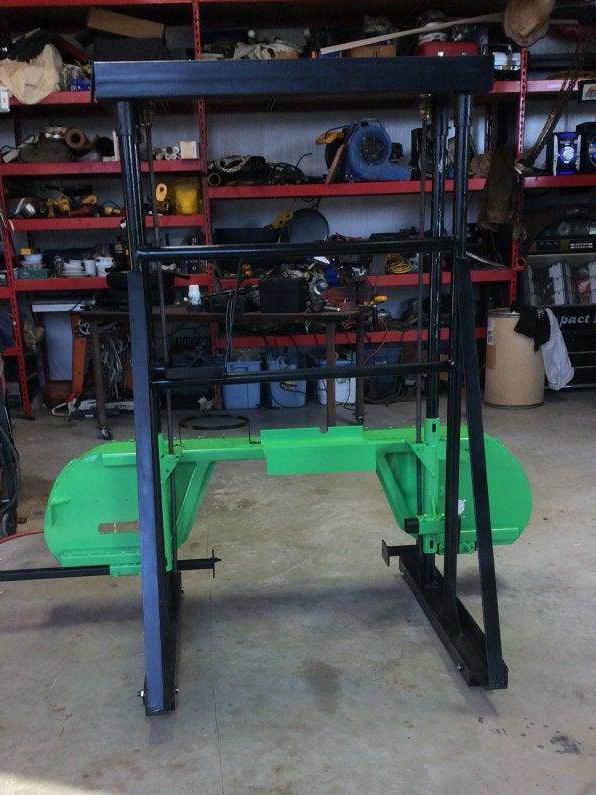
Unlike other drill press table plans, this one is not wooden, and this, therefore, makes the table lighter than other heavy ones. It is also made in such a way that it is attached to the project using bolts and knobs. It also doesn’t have t-tracks that collect dirt.
There is a video of the tutorial which covers the entire building process of creating this unique drill press table. It also has a written version that shows how this plan is created, using some pretty clear instructions.
7.Cheap and Easy DIY Drill Press Table
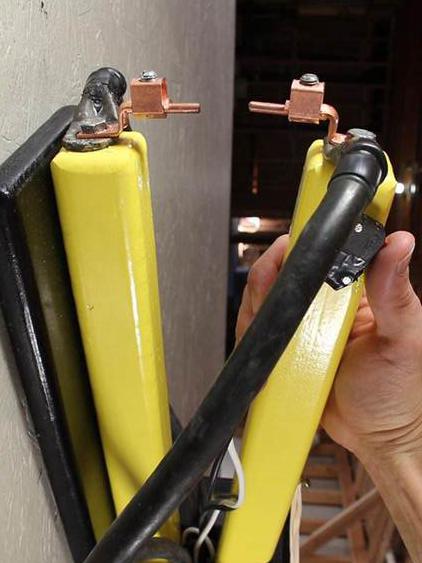
This tutorial shows you how to build a drill press table without the accompanying expensive T-track. It has a rotatable insert that helps to prevent a blowout in the back of the workpiece; all you need to do is give it a spin to get a new surface.
Its laminated 18mm plywood makes it sturdy and serves as slots that help you clamp your workpiece in place. The video tutorial is not so lengthy, and is not complicated to understand; you can take notes while you watch.
Conclusion
Drill Press Tables are one of those tools you can’t do without in a regular workshop. With the listed tutorials, making one should no longer prove to be a challenge. The lessons are easy to follow and understand, and with the right resources, you can get to building yours. The only difficulty you may face would be deciding which of the plans to use, but that can be quickly sorted when you select a building plan that caters to the peculiarity of your Drill press table needs.

Ask Me Anything