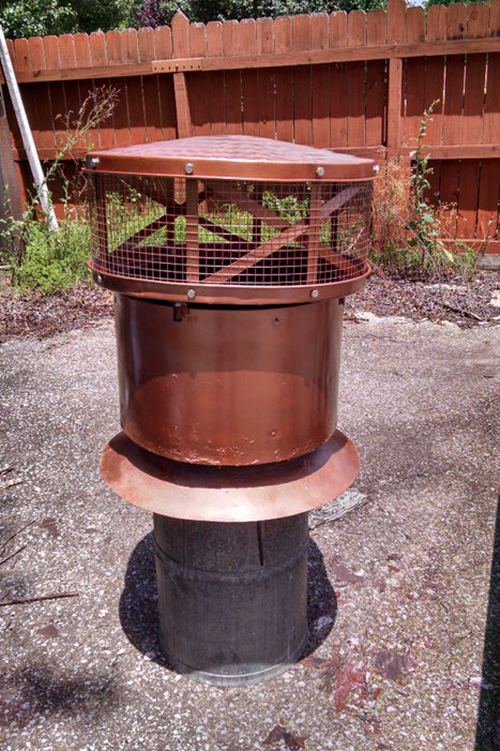
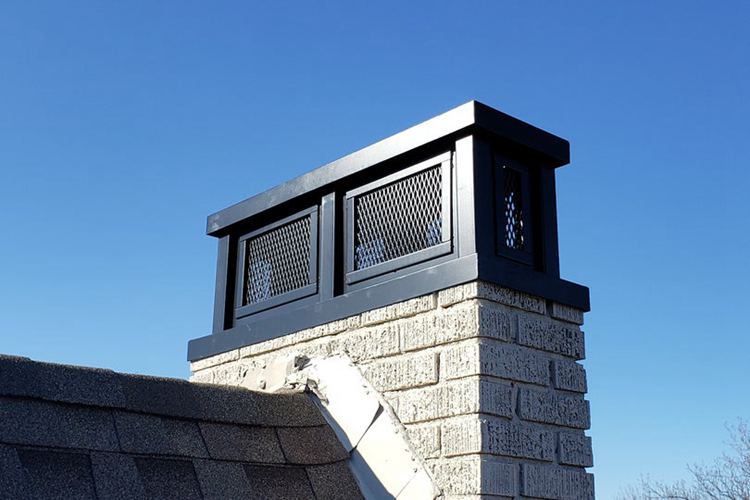
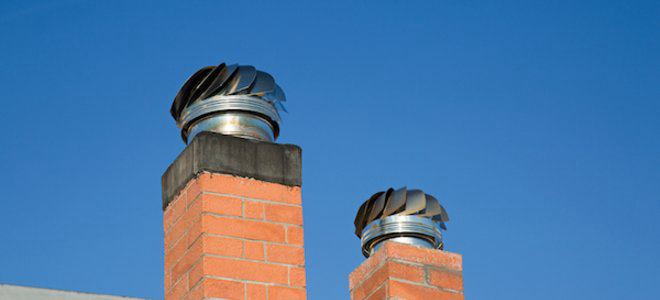
There is nothing better than a crackling fire on a cold winter’s day, but it is not without its problems. The chimney needs to be maintained regularly so blackness doesn't build on the inside and gas fumes can flow freely out of your home. However, a chimney cap is something you should consider building for your chimney as it will help to keep the rain out of your chimney.
Are you looking for a do it yourself Chimney Cap or maybe some advice? Have you ever wanted to know how to make a chimney cap? Well, you are in the right place, there are a lot of amazing projects that you will find in this article. Chimneys are of different sizes, but not to worry, you should find a suitable DIY Chimney Cap Project for yours. The ideas in this article are perfect to keep the rain out of the fireplace. An inexpensive solution that looks wonderful too!
Table of Contents
1. How To Make A Chimney Cap
Today we start off this DIY with this excellent guide on making a cheap, durable, and reliable chimney cap for your chimney at home. The creator of this video guide started this project with a simple sketch of how the chimney cap will look when constructed. He mapped out his dimensions in millimeters and used it as his guide throughout the entire making process.
The creator used a metal sheet, an empty can of soda, a wire cutter, and a few other supplies. If you’re interested in using this guide to make your chimney cap, check the link or learn more.
2. Chimney Cap DIY With Scrap Metal
With this video guide, you can build a simple chimney cap with as little scrap metal as you may have laying around. The first step will require you to cut out parts of scrap metal used for the project. This will involve welding, fabricating, and a lot of advanced engineering work. The chimney cap created by the creator of this guide was super sturdy, made from metal tubing, metal sheets, no screwing, and nailing. It’s just a simple welding project.
3. How To Form A Chimney Cap
Want to learn how to make a chimney cap with an extended chimney crown? Here is a video guide that will teach you the simple steps involved. The creator used metal flashing for this concrete chimney crown. This project is pretty quick and easy, the building duration is under 30 minutes, and the making process is seamlessly easy to follow. This video guide will show you how to easily efficiently construct and install a chimney cap, so check the video guide to learn more.
4. Installing Chimney Caps
This guide focuses on efficiently constructing and installing a chimney cap rather than making one from scratch. This is one of the most remarkable and easiest ways to install a chimney cap for your chimney at home.
The creator of this video guide purchased a chimney cap for a rather large-sized chimney, and it covered perfectly. So, if you’re willing to use this guide to make a chimney cap today, you’ll need to measure your chimney crown, go out and get a suitable chimney cap, and install it effortlessly. If your chimney is as big as the one in this video, then you’re ready to go.
5. Chimney Cap From Garbage Can Lids
You can make a chimney cap from anything you have around you, as long as it’s able to get the job done, solve your problem efficiently. This might n9ot be the best idea ever, but it works, and it’s pretty effective.
The creator used garbage can lids for this project and a few other supplies like; bolts, nuts, threaded lock liquid, high temp putty, spring clip nut, galvanized steel, 19 gauge hardware cloth, and lots more. The making process is quick and easy to perform, and it costs under $75. instructables
6. DIY Metal Chimney Cap
Check out this project; this is advanced work that requires a highly experienced welder, fabricator, and engineer to perform effortlessly. If you’re a beginner, this guide is not for you, check the next one and try something easier.
This project took 13 long practical steps, with images to show you how it was made. It’s also quite expensive but can be a bit inexpensive if you already have most of the tools used at your disposal. For more information on this, check the link to learn more. instructables
7. Homemade Chimney Cap
Are you looking for a modern and stylish chimney cap to build for your chimney at home? Look no further. Here is a simple guide with steps and instructions that will guide you on making this chimney cap today.
Well, this project requires intermediate experience, which is fair enough. It also costs $50 - $500 to make and will take you over 5-10 long hours to build from scratch. This project requires five easy-going steps to follow. Check the link and learn more now. doityourself
8. How To Cap A Chimney
This guide offers several methods that can be applied to make a chimney cap for your home chimney outlet. The first method requires you first to measure the size of the chimney crown and opening to build the appropriate size of a chimney cap for it. The first method involves the installation of an already made chimney.
The following method is for those with a double outlet. It’s the same as the first one; the only difference is that the new chimney cap that you’ll be purchasing will be bigger than the previous one with a single outlet. To check out other methods to gain other options, tap the link for this guide and learn more. wikihow
9. How To Make A Chimney Cap
The creator of this video guide started with how the chimney will look like, with a long extended chimney cap or a short one. He later settled for the extension, and it worked out perfectly. You’ll need an oversized galvanized cylindrical metal tubing, a galvanized metal sheet, some bolts, nuts, and you’re good to go. The making process is quick and seamlessly easy to follow.
10. DIY Chimney Cap Build
Is the chimney on your roof missing a chimney cap? Here is a great video tutorial guide that will teach you how to effortlessly make a simple chimney cap. This chimney is quite a big one, and the making process involves a lot of advanced tools and machinery, so if this is above your level, you can easily skip to the following guide and save yourself the stress if you’re not up for it.
11. Galvanized Chimney Cap Installation And Build
First off, you’ll need a large galvanized metal sheet that will be used for the chimney cap. This metal sheet will be cut and made into shape for the chimney cap. As long as you have the right tools to prepare this metal sheet into the chimney cap that it should be, you’re good to go. You’ll also be performing a simple installation after building.
12. How To Install A Chimney Cap
If you’re not down with constructing a chimney cap from start to finish by yourself, then you can easily apply this guide, purchase a good quality chimney cap and use the steps in this video guide to install it perfectly. It won’t take up to 10 minutes to install once you have your ready-made chimney cap home. Here are a few tools you need, a cordless drill, claw hammer, level 4ft, tape measure, OBD2 scanner, circular saw, square, and a toolset.
13. DIY Chimney Flu Camp
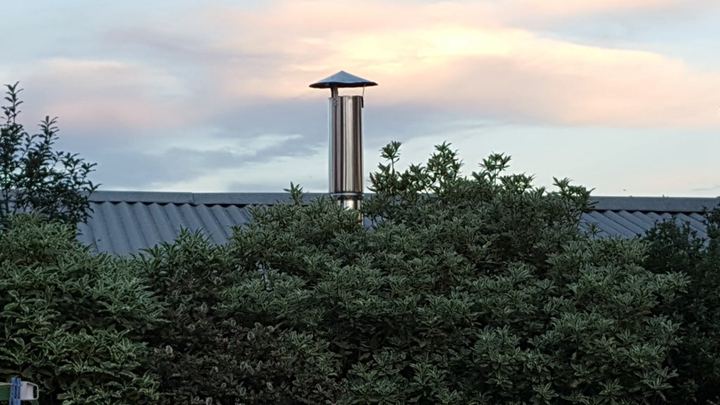
This is one of the best chimney caps ever made on this DIY. Here are the materials and tools that you’ll need to get started. You’ll need a flue pipe offcut and some stainless steel pipe rivet. For the tools, you’ll need drill bits, cardboard or thick paper, a permanent marker, grinder, pop rivets gun, tin snips, small clamps, and a pair of safety gloves. The making process is quick and easy to follow with just nine easy-going steps, and you’re good to go. instructables
14. Chimney Crown Installation
Today with this video guide, you’re going to learn how to install a chimney crown for a double flue chimney. This video guide has no instructions on building a chimney cap from scratch. You’ll have to buy one if you haven’t already. Once you have that ready, you’ll have to take the crown, which will cost you some quantity of concrete mix to get the chimney crown stable, neat, and perfect for keeping water away from the masonry to avoid failure. Check the video link to learn more.
15. Concrete Chimney Cap DIY
This is the last guide made on this DIY project, and you’ll be making a concrete chimney cap that is 8 ½ feet x 3 ½ feet. The creator started by mixing his concrete to build the chimney crown before moving into the chimney cap installation if you choose to buy a chimney cap at your local store. Either way, there is no step-by-step instruction on making a chimney cap from scratch in this video tutorial guide, so check the link to learn more.
Conclusion
Finally, we have come to the end of this fantastic DIY guide. I hope you found the guides above super helpful. You can now make as many chimney caps and crowns as possible and get them installed and ready for use. Do have an excellent building time as you follow the guides appropriately. Thanks for checking out this DIY; we hope to have you revisit us. Bye!




Ask Me Anything