Instead of spending a lot of money on a new canister filter from stores, you can save a lot by making one with items that can easily be found. Making a canister filter is not as hard as it may seem. A few steps here and there and you’re done with the process.
In this article, you’ll find 10 projects that will teach you how to make a DIY canister filter.
Table of Contents
1. How To Make DIY Canister Filter
To construct a canister filter from scratch you’re going to need a few connecting pieces, 2 half-inch male hose connectors, 1 half-inch PVC ball valve, 1 half-inch bulkhead, rubber rings, plumber’s tape, a 1 half-inch by the 4-inch flexible male riser, and a 1 half by a 1-inch male riser. All these can be found in the irrigation section of your local hardware store.
Don’t also, forget your drill, you need that when you get a 2 Gallon water tank container that has a spout, a water-tight lid, and an air vent, but if yours doesn’t have one, no worries. You also need an input and an output for the canister, check the guide to learn how to make one.
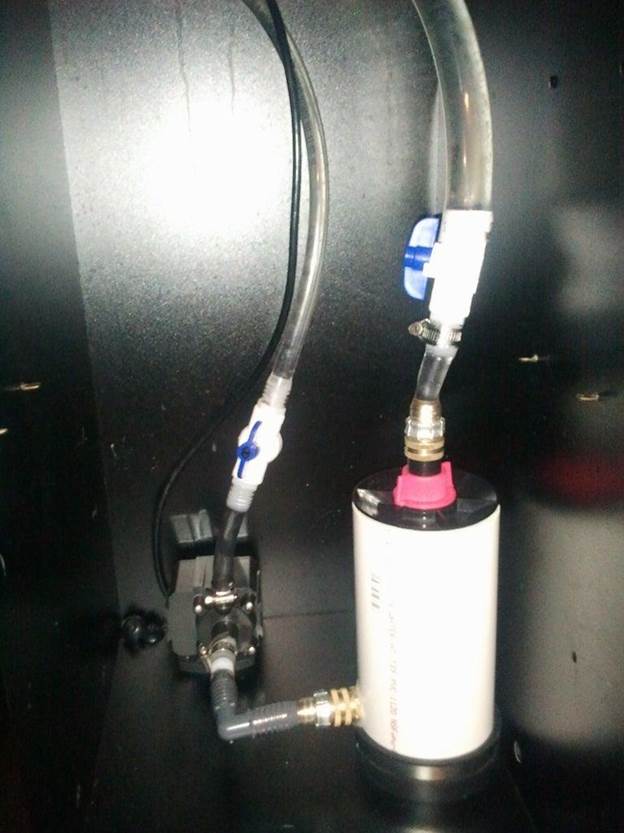
2. DIY Aquarium Canister Filter
This is not impossible to make but you will need a lot of materials. A new canister can cost over $100, but with this guide, you can build one that will cost less. You need 8” of 4” diameter PVC pipe, 1-4” diameter plug, one 4” diameter rubber end cap with a hose clamp, 2 frame garden hose repair end, threaded valves, PVC grates, PVC glue, PVC cleaner, Teflon tape and many more other items that are just as important as the rest.
With all those pieces, you need to be careful when following the guide, there are a lot of connections, and any wrong connection can cause you to start all over again.
3. DIY Canister Filter
Gather your materials from any local hardware store near you, and start building your canister filter from scratch. You need a cheap soldering iron, a waterproof epoxy, for sealing the hose to the gallon, and a couple of hose joiners.
You can use any pump you have from an existing waterfall filter or an old canister filter. The steps are simple and easy to follow, so you shouldn’t have any trouble whatsoever.
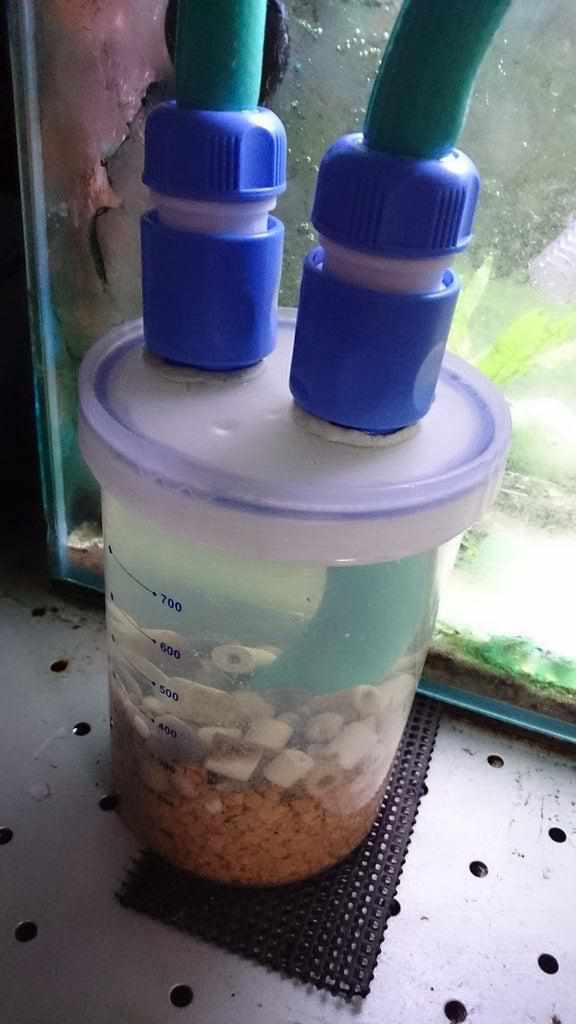
4. How To Make A Canister Filter Using Plastic Jar
If you have a plastic jar just lying around, no need to get a new canister filter, you can make something long-lasting with that. If you have some plumbing experience then you won't need plumbing professional services ,this will be a walk in the park for you, but the process is super easy for even a beginner to work with.
You need a soldering iron, hose joiners, a powerhead water pump, and some soft packaging foam.
5. Homemade Aquarium Filter At Home
You can either use an empty square-shaped plastic container or buy one at any local hardware store. Some tools you need for this project are a drill, pliers, scissors, a water pump, soldering iron, and some 100mm vinyl tubing elbow connectors.
You need to use suction cups for the hose so that it can lean on the wall of your fish tank while the canister filter sits by the corner.
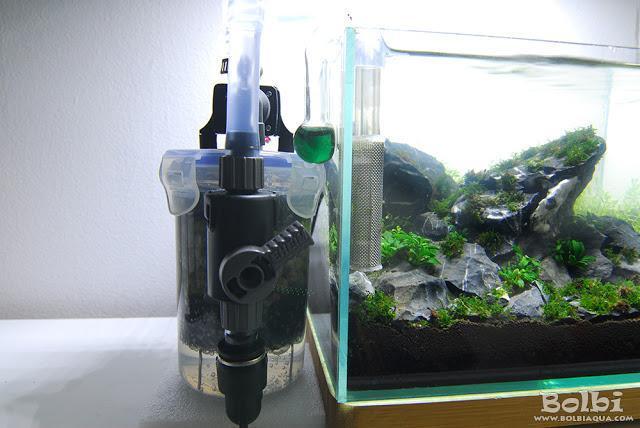
6. DIY Hang On Back Canister Filter
This is the most commonly used filter. No one wants their canister filters taking up much space close to where your aquarium might be. Besides, they don’t want to see the canister that is why it’s hung on the back.
You need a plastic container that is 10-inches tall, 10-inches wide and 5-inches deep. You also need to construct a wooden clamp to hang over the edge of your aquarium, a powerhead, 1 half-inch PVC pipe for the intake for the filter, and some biological media.
7. DIY Nano Canister Filter
It is hard to find a small canister filter in the market, the ones you might see which aren’t small enough are very expensive. That is why constructing a nano canister filter is your best option yet. All the needed items in this guide will cost $25 and are from eBay.
You need a 350ml storage container solid with thick walls, a drill, a DC12V 3m 240/H ultra brushes motor submersible pump, and a 10x10 M4 DD type rubber anti-vibration mount.
8. DIY Cheap Aquarium Filter
If you are looking to spend less on an aquarium filter then, try out this guide. You need a bucket that has a tight lid, some biological media, foam lots of them, a long hose, and pipe connectors. This is the simplest and fastest project. Within minutes you’re done and you have a cheap, and efficient aquarium filter. Spend less, Save more, and construct this amazing aquarium filter.
9. DIY Canister Filter For Aquariums
Get ready because you are going to start this one out with a 4-inch PVC pipe, male abs threaded end cap, 4-inch female gasket, 4-inch female adapter, 4-inch end cap, and fittings to make your bulkheads.
For the output of the canister, you will use 4 PVC elbows and PVC pipes that will be cemented together after dry testing to confirm that they are all the right angles. 1-inch fitting was used for the output which will allow less restriction of flow. You can spray-paint the whole canister with any color you want to give it a new good look.
10. Huge DIY Canister Filter
Do you need something huge? Then, this guide is great for you. It’s cheaper to construct, unlike a normal canister that you could buy at a store. You need a 5-gallon bucket, with a tight lid, and a drill. The input and output are easy to make. You need PVC pipes to get that done. You can also use spray paint of any color you choose to make it aesthetically pleasing.
For the drill, you need to use a drill bit of 4-inches, drill holes, and put in Uniseals in two places. This project won’t take time but it will take up some space.
Conclusion
Each canister filter in this article has a unique making process. We included brief summaries of each guide to help you understand what to expect. Before deciding on which project to make, you should check if you can easily find the materials used and if following the guide won’t be hard for you.
Thanks for stopping by. Be sure to check our homepage regularly for more amazing updated DIY articles.


Ask Me Anything