
We have put together some of the best DIY belt projects that you can make from the comfort of your home. You can purchase a belt online or in stores near you, however, there is a pleasant feeling that comes when you make one with your preferred material and style.
With over 22 different DIY belt projects to choose from, you can always visit this page and decide which belt you want to rock next.
Table of Contents
1. How To Make A Leather Belt
You will need a strip of 12oz leather, solid brass inch and a half roller buckle, 2 Chicago screws, pull skiver. At the head of your leather strip, use a pull skiver to take off extra bulk so it lays smoothly. Make four holes for a screw with a slot punch at the middle of the holes. Slide in your belt keeper, then put the buckle through the slot punch, and screw where you have your holes together. At the other end of the belt, you can have holes lined up to fit your waist and you're good to go!
2. DIY Leather Belt
This is another great belt, you will be considering a top-class leather or wherever your budget lies. Get a 1.25-inch leather belt blank with a buckle strap in place already. Punch the holes at the other end of the belt. With a number 3 edge Beveler, shave off edges of the leather strip and dye as desired when dried, apply a leather finisher to give it a satin or matte finish and voilà.
3. How To Make A Leather Waist Belt For Women
A beautiful belt for the women out there, this is quite simple though it requires extra skill. Measure around your belly with tape and on your leather fabric, cut half of what you measured. Back to your leftover cut a sufficient length in a long triangular way so you have a tip at the front, use the pattern to cut out another so you have two sides with a tip at the end. Take one side and sew up to your First half you measured on your belly at the end, with the other tip at the other end of the leather and you can then tie around your belly into a bow or any way you love it!
4. How To Make A Double Sided Belt
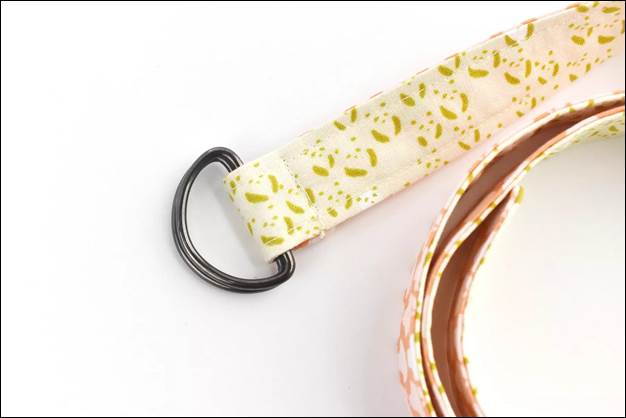
For this double-sided belt, get ⅛ yard of two fabrics. The length should be the size of your measured waist, Measure the width of the D-rings and add ½inch to the measurement then cut two strips of fabric with that measurement. Cut a matching strip of fusible interfacing and fuse it to the back of the strip. Sew belt pieces together using a bodkin or turning tool to turn inside out, then topstitch along both sides of the belt. Fold ends around both D-rings then sew to secure in place.
5. Running Belt DIY
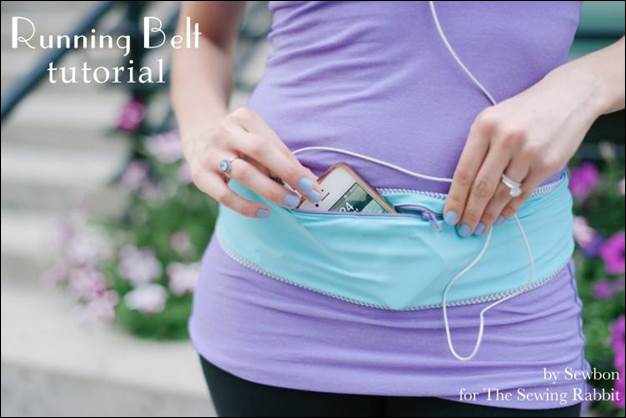
This running belt is made of spandex or nylon fabric with a zipper attached to keep your phone. Measure your waist snugly and cut the fabric to that length, place your zipper at the center and topstitch to the fabric then turn the belt wrong side out and stitch up the sides. Unzip the zipper and tuck in then topstitch the tube, cut two pieces of fold-over elastic, and stitch around the edges and there you have it!
6. DIY Denim Belt
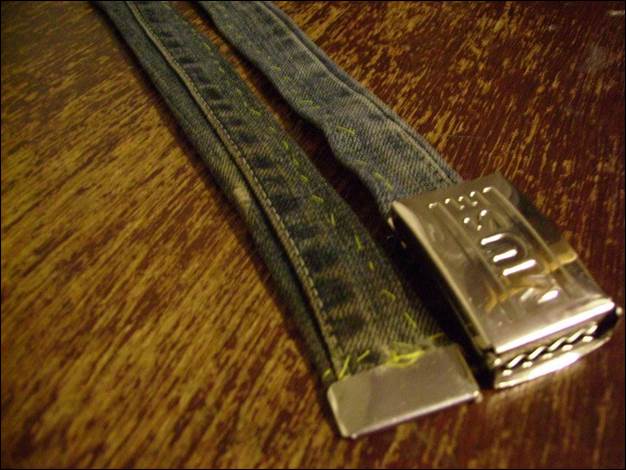
An old pair of jeans will do just fine for this. Measure the size of your waist, then cut out the length and width of the belt. Sew the edges with a sewing machine or hand needle. You may have to buy a buckle to fit or use an old buckle to fix it to the belt.
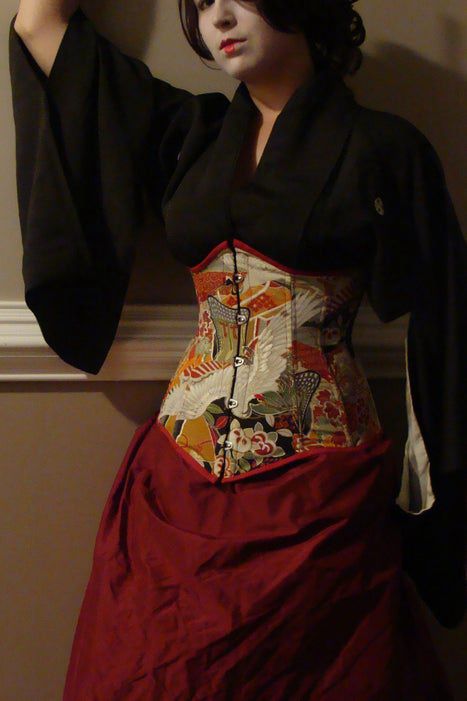
7. How To Make A Kylie Jenner Corset Belt
They are varieties of corset belts out there, but this is uniquely beautiful for the ladies who want to appear well figured. After buying ½yard of two different kinds of fabric leather, get your precise measurements. On your fabric ensure to cut out 2 inches backward of the actual size of your waist so you can have that tuck in style, create your pattern with the measurements and cut out on your fabric. At the front make really nice holes so you can lace it up and rock your belt on that dress.
8. DIY Strap Belts
A strap belt is different from the other leather belts. Here you will be using cotton wheaton. Wrap it around your waist so you take out the excesses. Overlock the edges, then put in the D-rings at the edge of the overlocked end and fold the overlap little tab over and again to make a loop and then you pin so you can see it stitch later. At the other end of the belt also make a loop and your belt is ready.
9. DIY Chain Belt
You will be having a really stylish chain belt here. Get your chain, lobster hooks or clasp contraction, jump rings, jewelry plier, and cutter in place. Measure the chain around your waist and cut off where desired. Attach a jump ring to the end and fix the hook. You may have it that way or make it more intricate by adding a second ring halfway your waist so it drops stylishly.
10. How To Make A Stretch Belt
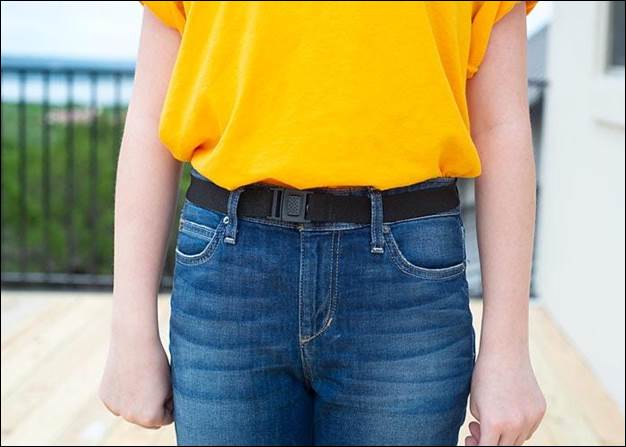
This is the simplest because you won't spend more than 5 to 8 minutes getting it done. A soft woven elastic strip is needed with a center release buckle. Measure your waist and also the width of the buckle, then subtract the width of the buckling; from the measured waist and take out one inch again. Ensure your elastic fits through the loop, slip elastic through buckle loop and sew, do the same for the other end and you're done!
11. NES Belt DIY
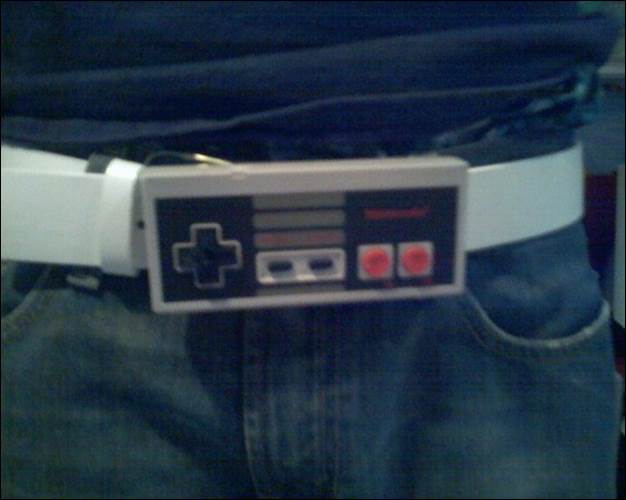
No special knowledge is required to do this. An NES controller is needed, two 90⁰ metal corner brackets, soldering iron & solder. Take out the cord from the NES controller with your pliers, cut out the bottom section of a metal hanger and bend to the square. Solder the ends to seal it. Drill holes of the size of a screw put your flattened brackets on the NES with the wire underneath. Put liquid nail and leave to dry and your belt is ready!
12. How To Make A Paracord Rescue Belt
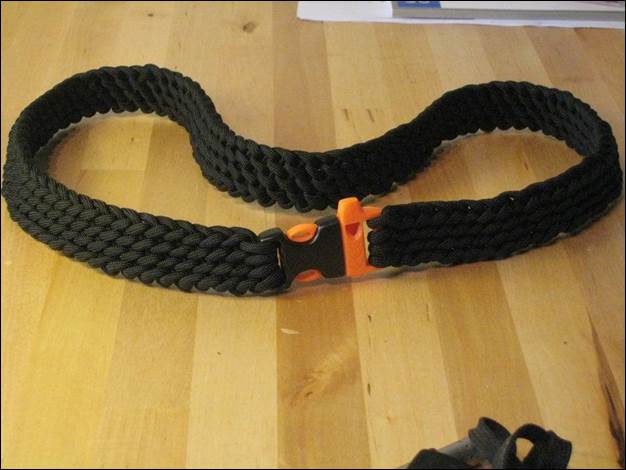
This should be easy for you if this isn't your first time making a paracord. Get a 550 paracord using 50ft of cord for the belt depending on the length you want, a high decibel whistle buckle, and a lighter. Start your first loop in the buckle and make your paracord to your desired length, at the end fasten to the other end of the buckle and use your lighter to burn off the edges to keep it sealed.
13. DIY Tread Belt
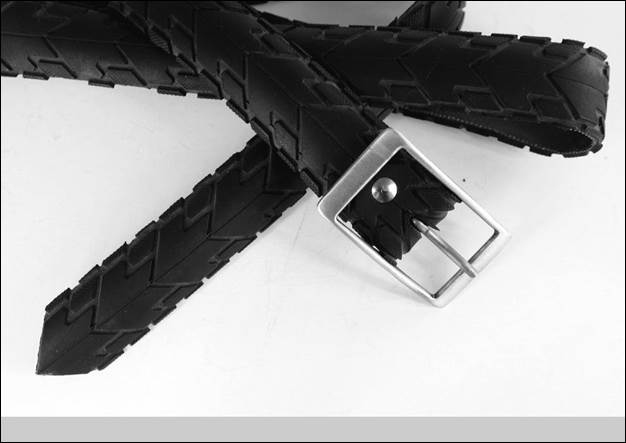
This is made out of used bicycle tires. You will have to buy a belt buckle and Chicago screws. Cut the tread to the width of the buckle, make holes and slot punch and fix your buckle and ta-dah!
14. DIY Corset Belt
An old pair of pants will be easier as much sewing won't be required. Cut out to the desired size, open up closed ends, and stitch. Sew eyelets on twill on both ends of material and put strings across.
15. DIY Cheap Gucci Belt
A black random belt will do. To place your newly created Gucci logo, use foil paper to achieve your double G and use clear tape to hold it at the front. You can show off your custom belt. The making process is easy to follow.
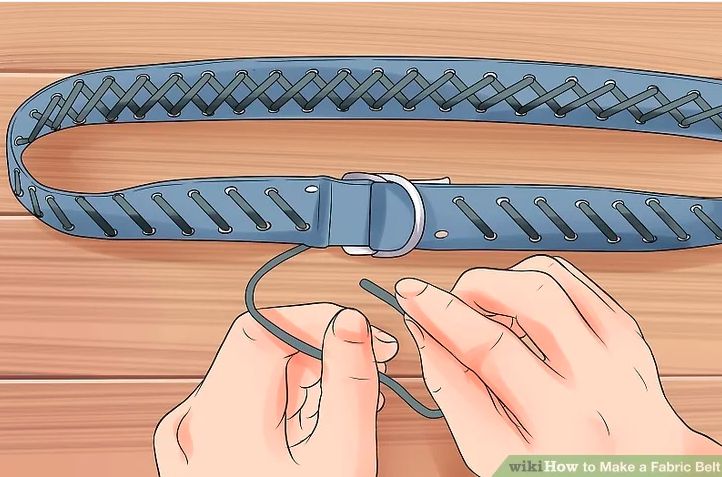
16. DIY Fabric Belt
This fabric belt is padded with another strip in it. Cut your fabric length and width that fits the buckle. Topstitch the edges after folding to a slimmer strip. Put in the buckle and belt keeper, then sew the loop at both ends. Open holes and fix eyelets.
17. DIY Denim Ribbon Belt
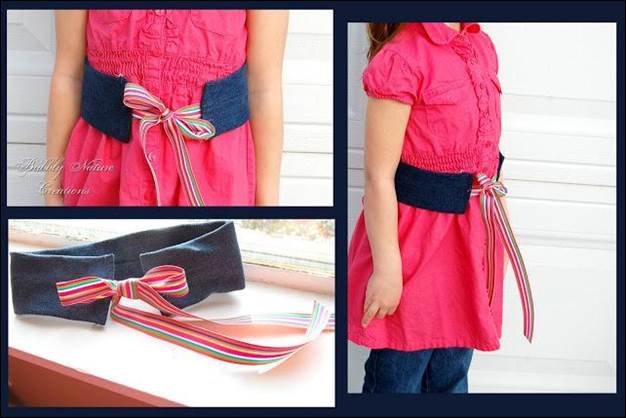
As the name implies, you will be needing new denim and a ribbon. Measure your waist and subtract 3 inches off what you measured, whatever get is the length of your denim, choose your desired width, sew the edges together pulling the right side up. Cut out your ribbon and sew to each side of denim and it's ready.
18. DIY LED Belt
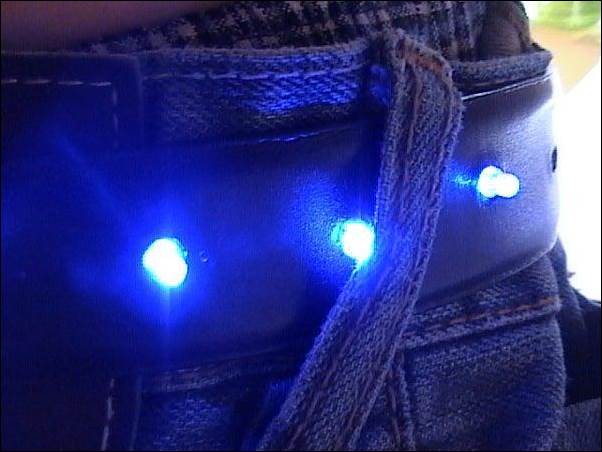
This is an awesome style. With the holes punched, put LED into the holes. Strip off your wire of the plastic cord to have the thin one. Solder wire to the LED, attach the battery snap to the nine-volt, and tape the battery in front so it reaches the snap then tape the back wire also.
19. How To Make A Fabric Belt
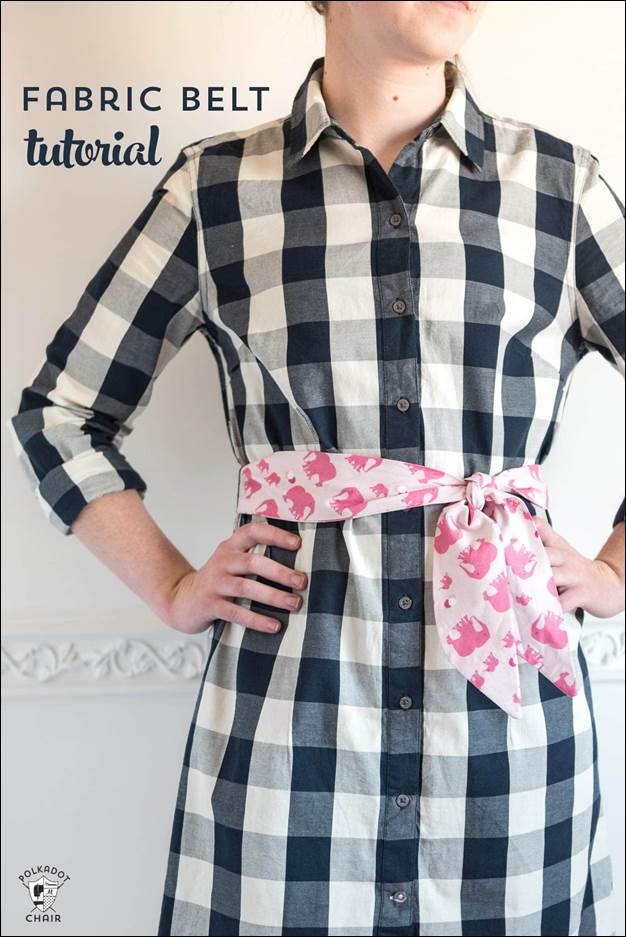
Making this belt is just simple, get your really nice fabric to measure the length and desired width. Your fabric will be doubled. Then at the bottom cut at an angle of 45⁰ to get the V-shape at the end and tie stylishly.
20. How To Make A Fabric Belt
Your fabric length should be 7 in he's longer than your waist with 5inches in width. Fold in the edges and sew. You can tie to a knot or use an O-Ring or D-rings or a buckle which will mean adding holes to your strip. You can beautify with decorative stitch or corset-style lacing.
21. DIY Nike Belt
Get a number of Nike strips, using a seamer birth rip off sewing at buckle ends, because you want yours longer, sew up end to end and then slip strip to buckle and sew the loop, do the same for the other end and your adjustable belt is ready.
22. DIY Macrame Belt
Do you love macrame crafts? Here’s one to try out. This might be more time consuming, so you just follow through a step at a time. This is a really beautiful belt, the guide is pretty much easy to follow.
Conclusion
Here’s a pro tip (Bookmark this page) You might need it later. All the DIY belt projects listed in this article are simply amazing with each having its uniqueness. Some of the projects are easy to make while others aren’t. Go through the list, choose your preferred DIY belt project, gather the materials and tools and get on with the making process.
The comment section is now open for contributions and questions regarding this article. Thanks for stopping by.


Ask Me Anything